Ideogram Object Remover

Ideogram Object Remover removes selected objects from an image using a supplied mask, then reconstructs the hidden area without requiring any text prompt. It is designed to preserve surrounding composition, lighting, textures, shadows, and reflections while cleaning up unwanted people, products, signage, clutter, or other localized elements. The workflow is straightforward: source image plus mask in, edited image out, making it well suited to production retouching, asset cleanup, catalog preparation, and creative post-processing pipelines.
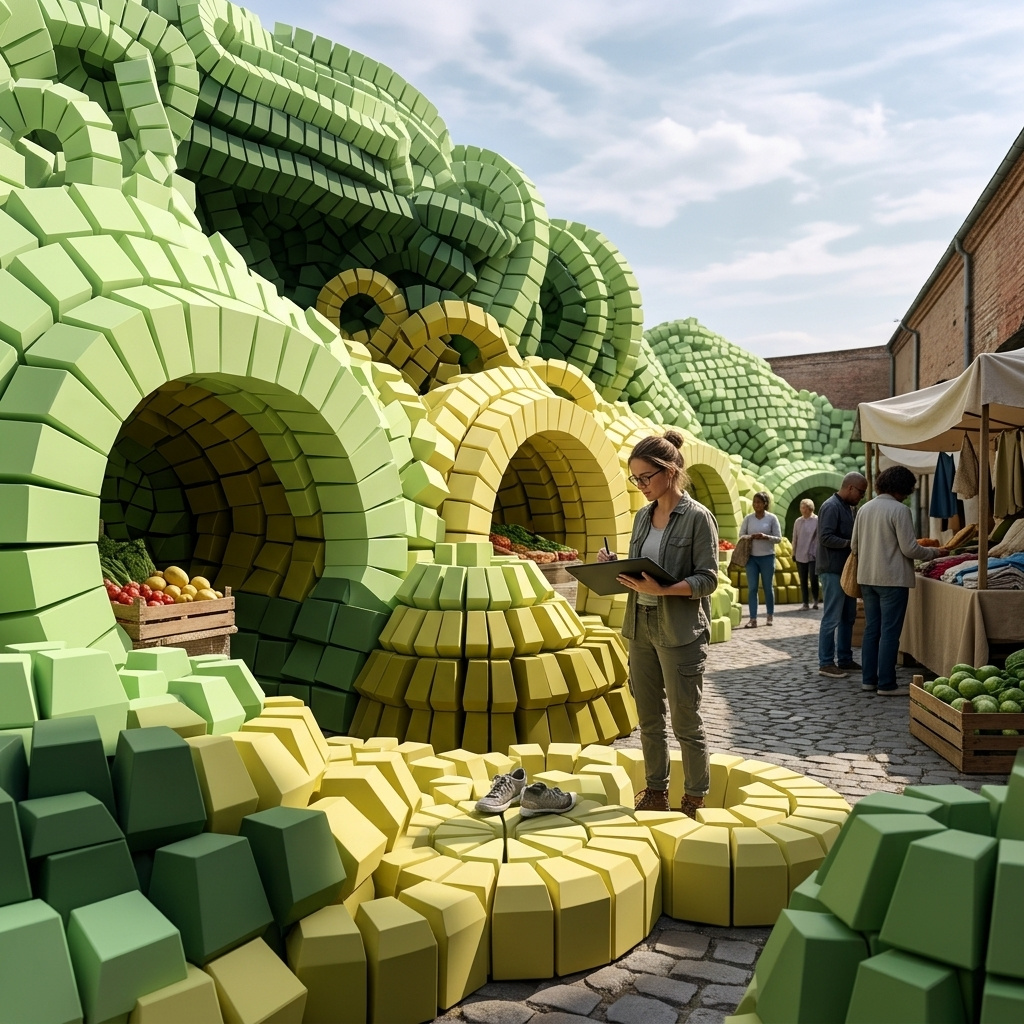
Removing objects from images
How to erase objects, people, watermarks, and timestamps from an image with Ideogram Object Remover using a mask, with no prompt required.
Introduction
Ideogram Object Remover clears a selected object out of an image and rebuilds the area behind it. You pass an image and a mask marking the region to erase, and the model reconstructs that region to match the surrounding scene, carrying lighting and texture across the fill.
It runs without a text prompt. The mask is the only instruction, so whatever you leave unmasked stays behind. An object's shadow or reflection is part of what you want gone, so paint it into the mask too, or the object lifts and its shadow stays.


It handles everyday cleanup: unwanted people, distracting props on a product shot, watermarks, and burned-in timestamps. The sections below cover the request and how the mask drives the result, then work through each cleanup job.
The request
Each call takes an image, a mask, and nothing else. There is no positivePrompt, so the result is fully determined by what the mask covers.
import { createClient } from '@runware/sdk'

const client = await createClient({ apiKey: process.env.RUNWARE_API_KEY })
await client.connect()

const [result] = await client.run({
  model: 'ideogram:object-remover@0',
  inputs: {
    image: 'https://example.com/photo.jpg',
    mask: 'https://example.com/mask.png'
  }
})
import asyncio
import os
from runware import Runware
async def main():
async with Runware(api_key=os.environ["RUNWARE_API_KEY"]) as client:
results = await client.run({
"model": "ideogram:object-remover@0",
"inputs": {
"image": "https://example.com/photo.jpg",
"mask": "https://example.com/mask.png"
}
})
asyncio.run(main())curl https://api.runware.ai/v1 \
-H "Authorization: Bearer $RUNWARE_API_KEY" \
-H "Content-Type: application/json" \
-d '[
{
  "taskType": "imageInference",
  "taskUUID": "a1b2c3d4-e5f6-7890-abcd-ef1234567890",
  "model": "ideogram:object-remover@0",
  "inputs": {
    "image": "https://example.com/photo.jpg",
    "mask": "https://example.com/mask.png"
  }
}
]'runware run ideogram:object-remover@0 \
inputs.image=https://example.com/photo.jpg \
inputs.mask=https://example.com/mask.png{
"taskType": "imageInference",
"taskUUID": "a1b2c3d4-e5f6-7890-abcd-ef1234567890",
"model": "ideogram:object-remover@0",
"inputs": {
"image": "https://example.com/photo.jpg",
"mask": "https://example.com/mask.png"
}
}Response
[
  {
    "taskType": "imageInference",
    "taskUUID": "a1b2c3d4-e5f6-7890-abcd-ef1234567890",
    "imageUUID": "f1e2d3c4-b5a6-7890-1234-567890abcdef",
    "imageURL": "https://im.runware.ai/image/os/a14d18/ws/2/ii/f1e2d3c4-b5a6-7890-1234-567890abcdef.jpg"
  }
]inputs.imageandinputs.maskeach accept a URL, a UUID from a previous task, a data URI, or Base64.seedis the only other control, useful for retrying a fill you didn't like.
The input's long side is capped at 1024 px. A larger image is downscaled with its aspect ratio kept, and the result comes back at that reduced size. This is a cleanup tool for web and preview resolutions, not a way to retouch a print-resolution master in place.
How the mask drives the result
The mask is a black image with the area to erase painted white. Everything black is kept untouched. Since there is no prompt, the mask is the entire instruction, so what you paint is exactly what the model tries to replace.
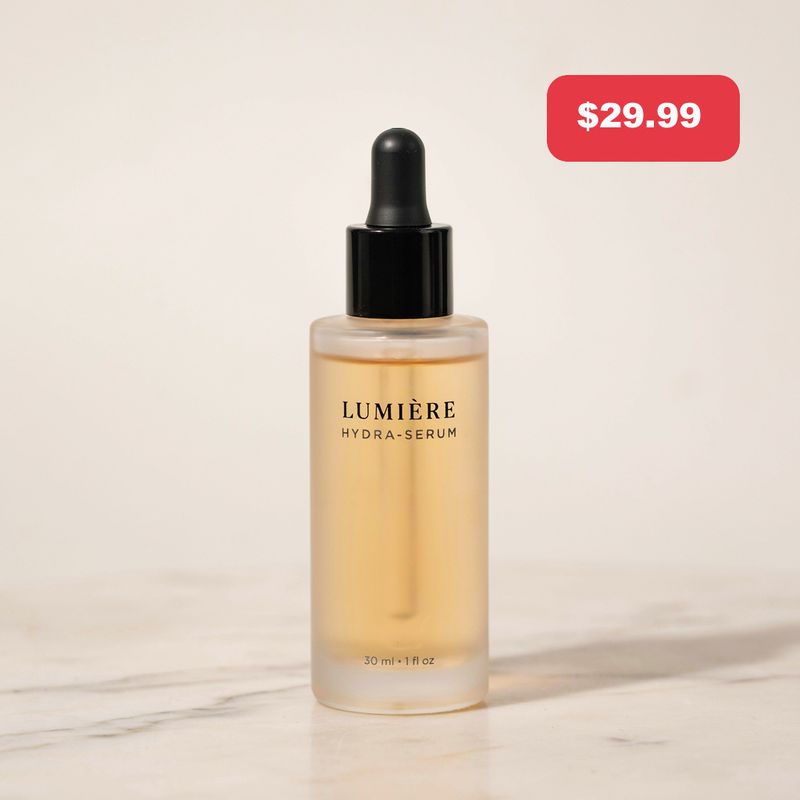
A price sticker on a packshot is a clean case. The white shape covers the sticker, and the model rebuilds the bottle surface underneath.

- Source image
- Mask
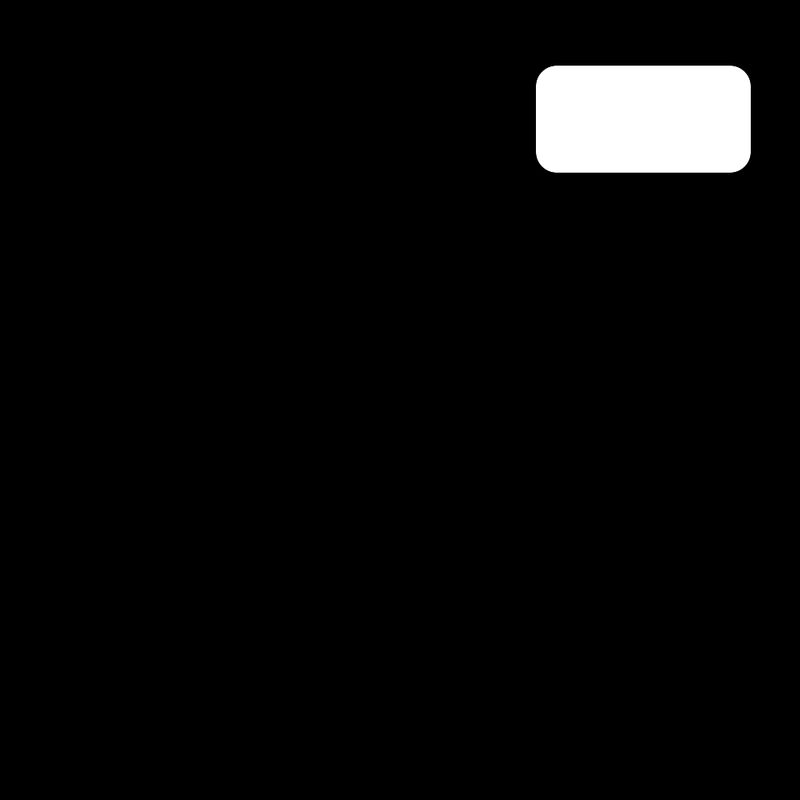


Paint the mask a little larger than the object, not tight to its edge. A slim margin gives the model room to blend the fill into the background, where a pixel-tight mask can leave a faint outline. When an object casts a shadow or throws a reflection, include those in the mask too, otherwise the object leaves but its shadow stays and gives the edit away.
Drop an image below to paint a mask by hand and download it, ready to pass as inputs.mask. Black stays, white is erased.
Drop an image here or browse
Generating the mask automatically
Painting a mask by hand is the slow part, and for a person you can skip it. An imageMasking task finds the person and returns a mask you pass straight to the remover, no painting. This is the mask that cleared the hiker in the hero above.

import { createClient } from '@runware/sdk'

const client = await createClient({ apiKey: process.env.RUNWARE_API_KEY })
await client.connect()

const [result] = await client.run({
  model: 'runware:35@5',
  inputs: {
    image: 'https://example.com/photo.jpg'
  },
  settings: {
    maskPadding: 12
  }
})
import asyncio
import os
from runware import Runware
async def main():
async with Runware(api_key=os.environ["RUNWARE_API_KEY"]) as client:
results = await client.run({
"model": "runware:35@5",
"inputs": {
"image": "https://example.com/photo.jpg"
},
"settings": {
"maskPadding": 12
}
})
asyncio.run(main())curl https://api.runware.ai/v1 \
-H "Authorization: Bearer $RUNWARE_API_KEY" \
-H "Content-Type: application/json" \
-d '[
{
  "taskType": "imageMasking",
  "taskUUID": "a1b2c3d4-e5f6-7890-abcd-ef1234567890",
  "model": "runware:35@5",
  "inputs": {
    "image": "https://example.com/photo.jpg"
  },
  "settings": {
    "maskPadding": 12
  }
}
]'runware run runware:35@5 \
inputs.image=https://example.com/photo.jpg \
settings.maskPadding=12{
"taskType": "imageMasking",
"taskUUID": "a1b2c3d4-e5f6-7890-abcd-ef1234567890",
"model": "runware:35@5",
"inputs": {
"image": "https://example.com/photo.jpg"
},
"settings": {
"maskPadding": 12
}
}Response
[
  {
    "taskType": "imageMasking",
    "taskUUID": "a1b2c3d4-e5f6-7890-abcd-ef1234567890",
    "maskImageUUID": "f1e2d3c4-b5a6-7890-1234-567890abcdef",
    "maskImageURL": "https://im.runware.ai/image/os/a14d18/ws/2/ii/f1e2d3c4-b5a6-7890-1234-567890abcdef.jpg"
  }
]
Pass the returned maskImageURL into the remover's inputs.mask. The mask comes back as a loose region over the subject rather than a tight cutout, which is all the remover needs, since it rebuilds the background inward from the region's edge. settings.maskPadding grows that region outward for extra blend room, and the detectors cover people and their parts: runware:35@5 for a person, runware:35@2 a face, runware:35@3 a hand.
Person masks cover the figure but not the shadow it casts, so work from a source under soft, even light and check that no shadow is left standing where the subject was.
Removing a scene object
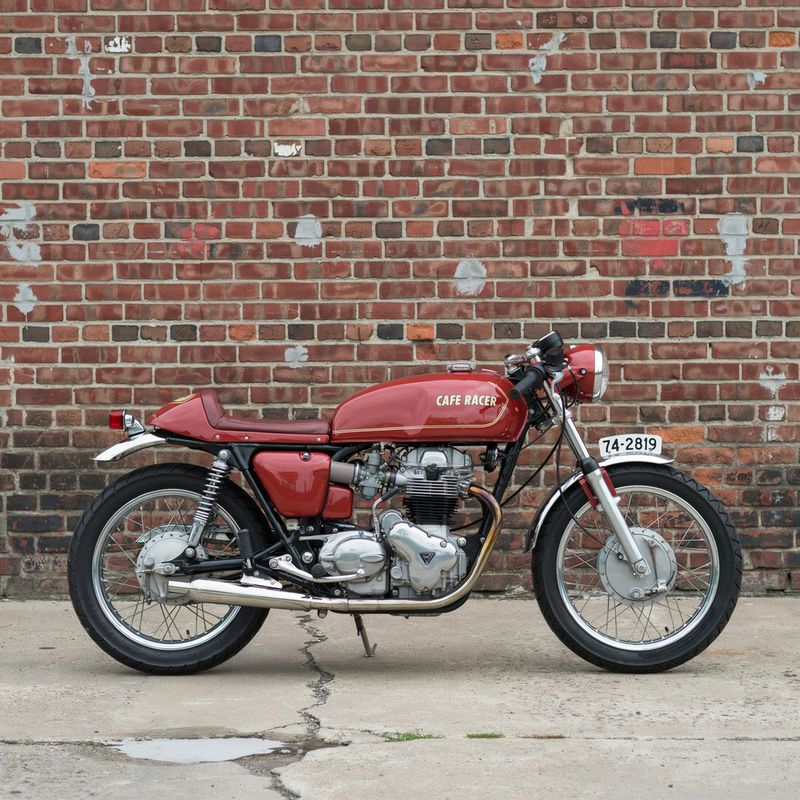
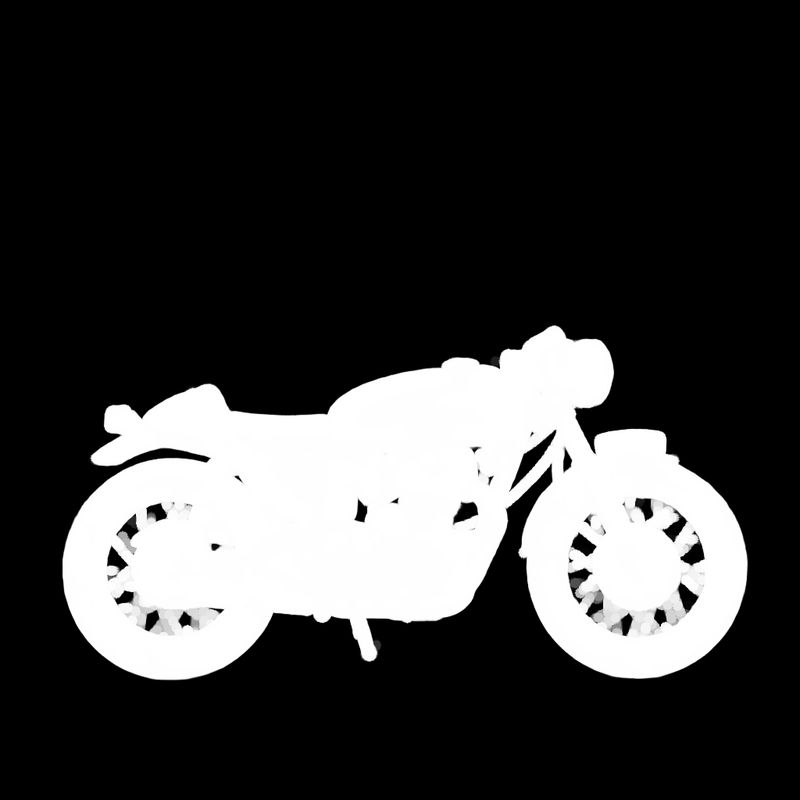
A mask can trace any shape, however involved, and here's the trick that saves you from drawing it. removeBackground is built to cut a subject out onto a transparent background, but that cutout is the exact silhouette the remover wants. Run it on the photo, and the shape it isolates becomes your mask, traced down to the gaps between the spokes.

- Source image
- Mask


import { createClient } from '@runware/sdk'

const client = await createClient({ apiKey: process.env.RUNWARE_API_KEY })
await client.connect()

const [result] = await client.run({
  model: 'runware:110@1',
  inputs: {
    image: 'https://example.com/photo.jpg'
  }
})
import asyncio
import os
from runware import Runware
async def main():
async with Runware(api_key=os.environ["RUNWARE_API_KEY"]) as client:
results = await client.run({
"model": "runware:110@1",
"inputs": {
"image": "https://example.com/photo.jpg"
}
})
asyncio.run(main())curl https://api.runware.ai/v1 \
-H "Authorization: Bearer $RUNWARE_API_KEY" \
-H "Content-Type: application/json" \
-d '[
{
  "taskType": "removeBackground",
  "taskUUID": "a1b2c3d4-e5f6-7890-abcd-ef1234567890",
  "model": "runware:110@1",
  "inputs": {
    "image": "https://example.com/photo.jpg"
  }
}
]'runware run runware:110@1 inputs.image=https://example.com/photo.jpg{
"taskType": "removeBackground",
"taskUUID": "a1b2c3d4-e5f6-7890-abcd-ef1234567890",
"model": "runware:110@1",
"inputs": {
"image": "https://example.com/photo.jpg"
}
}Response
[
  {
    "taskType": "removeBackground",
    "taskUUID": "a1b2c3d4-e5f6-7890-abcd-ef1234567890",
    "imageUUID": "f1e2d3c4-b5a6-7890-1234-567890abcdef",
    "imageURL": "https://im.runware.ai/image/os/a14d18/ws/2/ii/f1e2d3c4-b5a6-7890-1234-567890abcdef.png"
  }
]
The cutout comes back as the object on transparent, so flip it to a black-and-white mask, the object in white, and pass it as inputs.mask. One model outlines the object, the next erases it.
The bike fills most of the frame, so the fill has to rebuild a large stretch of brickwork across an irregular hole, not patch a small gap. A repeating surface like brick or tile is what the model rebuilds most convincingly over an area this size, where a one-off detail behind the object would be harder to invent.
Removing watermarks and logos
A watermark or logo stamped into a photo sits on top of the scene, so the model only has to rebuild the texture it was covering.


Keep the mask to the mark itself. A corner watermark over sky or water lifts cleanly, while one laid across fine detail like faces or text is where a removal is most likely to smudge, so check those spots at full size.
Erasing text and timestamps
Burned-in timestamps and captions are the same job as a watermark: a flat overlay the model reconstructs behind.


Mask the whole run of characters as one block rather than tracing each glyph. The area is small and usually sits over a plain surface, so the fill is quick and reliable.
Tips
-
Mask a little loose, not tight. A small margin around the object blends the fill into the background. A pixel-tight mask can leave a faint halo where the edit meets the original.
-
Include shadows and reflections. An object that casts a shadow or reflects in a surface needs those areas masked too, or the object goes and its shadow stays.
-
Let a model draw the mask.
imageMaskingsegments people andremoveBackgroundisolates a foreground object, so most masks need no hand-painting. -
Match the input to the 1024 px cap. The result returns at reduced size, so use it for web and social output, and keep a full-resolution retouch pipeline for print.
-
Reroll when a fill misses. The same mask with a new
seedgives the model another attempt at the reconstruction, which is faster than re-masking.