FLUX Virtual Try-On

FLUX Virtual Try-On is a virtual try-on image editing model from Black Forest Labs that generates apparel try-on results from a person image plus one or more garment references. It is tuned to preserve the subject's face and pose while transferring garments with strong logo, print, stitching, and hardware fidelity, making it suitable for catalog-scale styling, product visualization, outfit transfer, and shopper-facing try-on workflows. It supports multi-garment composition, seeded generation, and output sizes up to 2 megapixels.
Virtual try-on
How to dress a person in any garment from a reference image with FLUX VTO. The call takes one person photo, one garment photo, and a short prompt.
Introduction
FLUX VTO takes two images, a person and a garment, and produces a new image of that person wearing that garment. The model preserves the person's face and body pose while replacing their clothing with the garment from the reference.


The person of image 1, maintaining exactly their face and pose, wearing the floral wrap dress of image 2.
The model works with any garment type (tops, dresses, jackets, full outfits) and handles both flat-lay packshots and on-model garment references. The prompt tells the model which garment details to transfer, and it handles the rest: draping, fabric physics, lighting adaptation, and skin-tone-consistent shadow rendering.
Fitting room
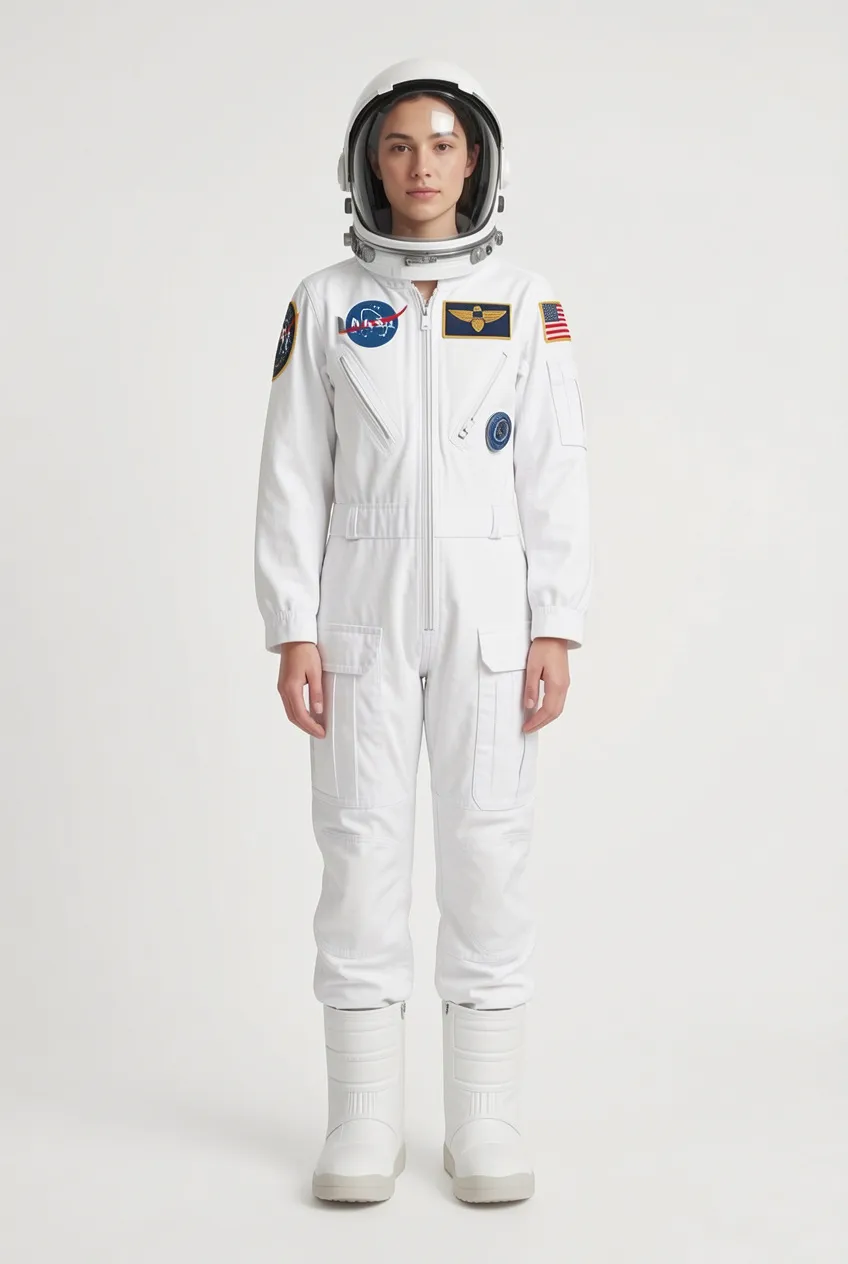
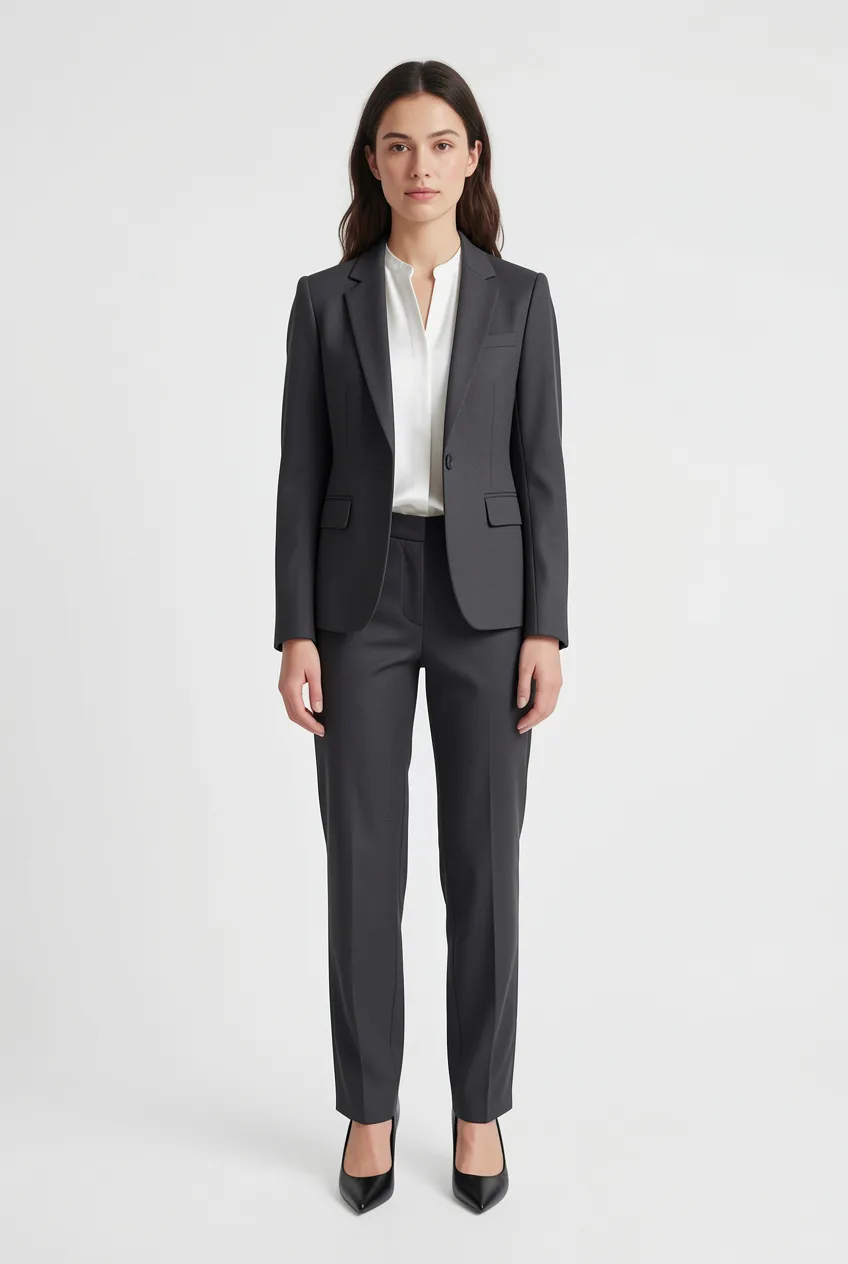
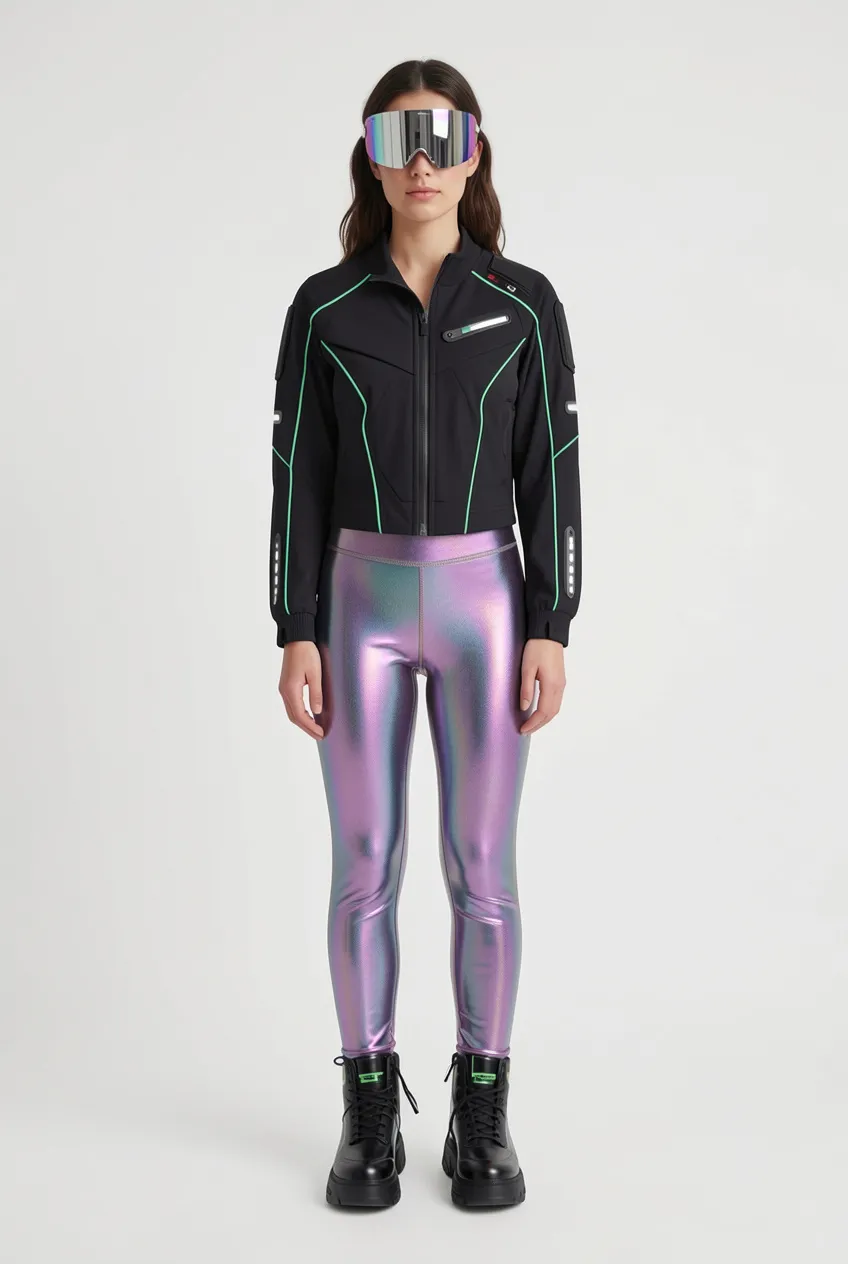
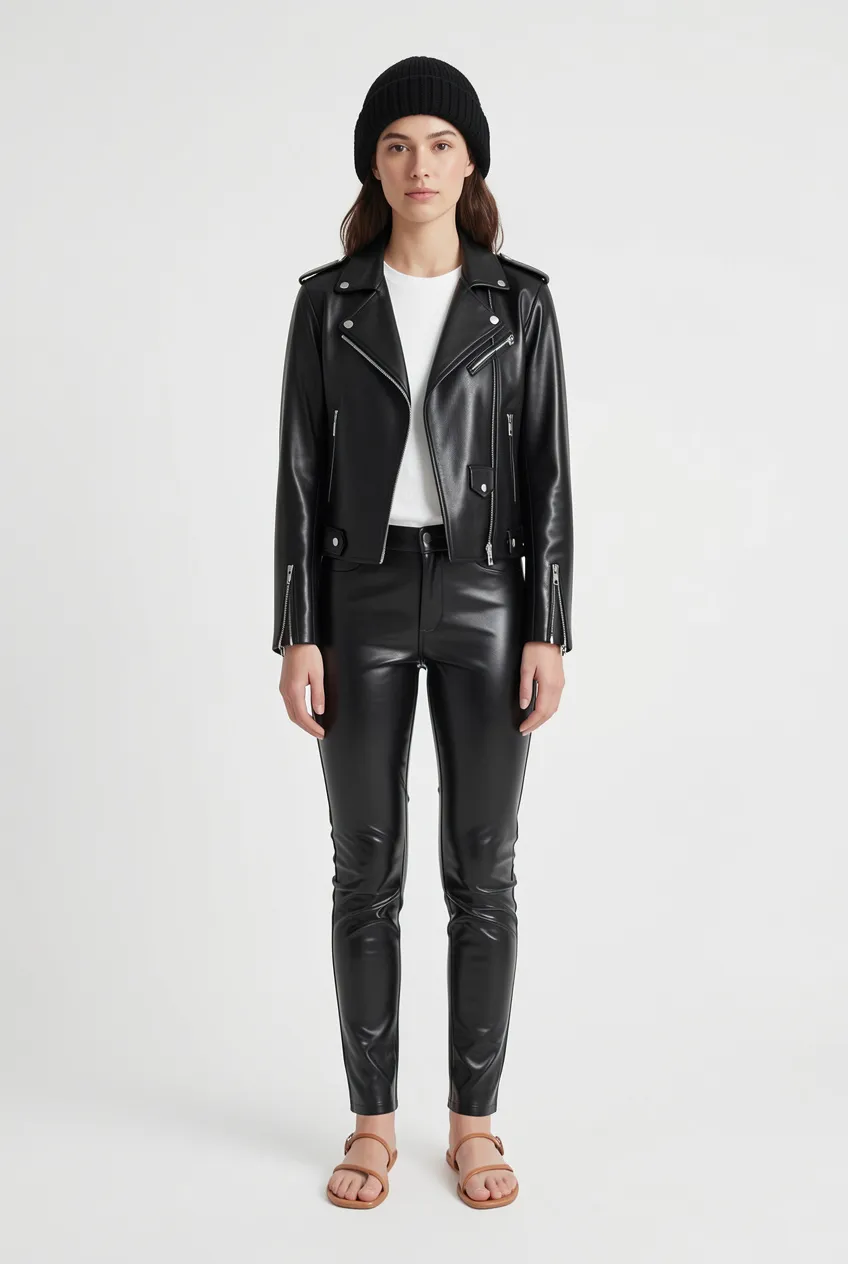
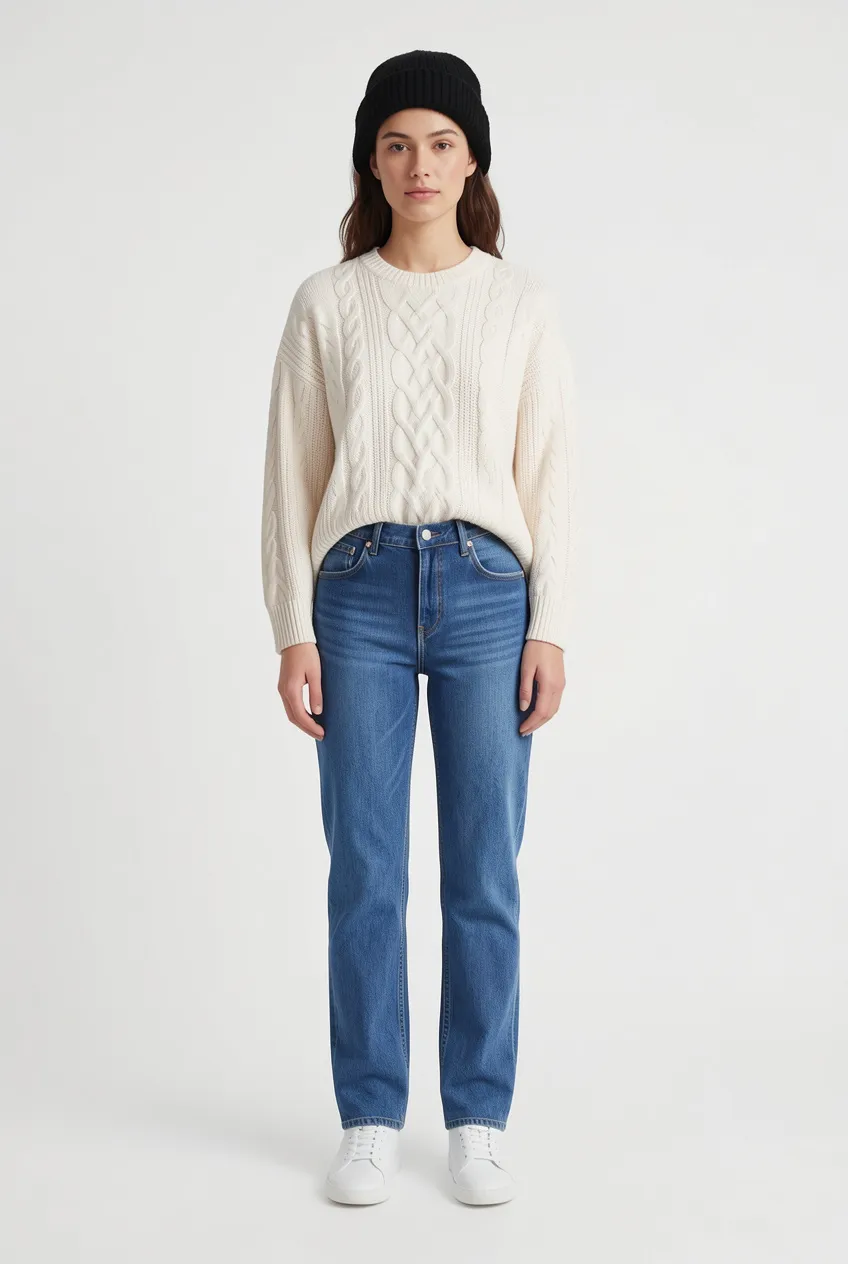
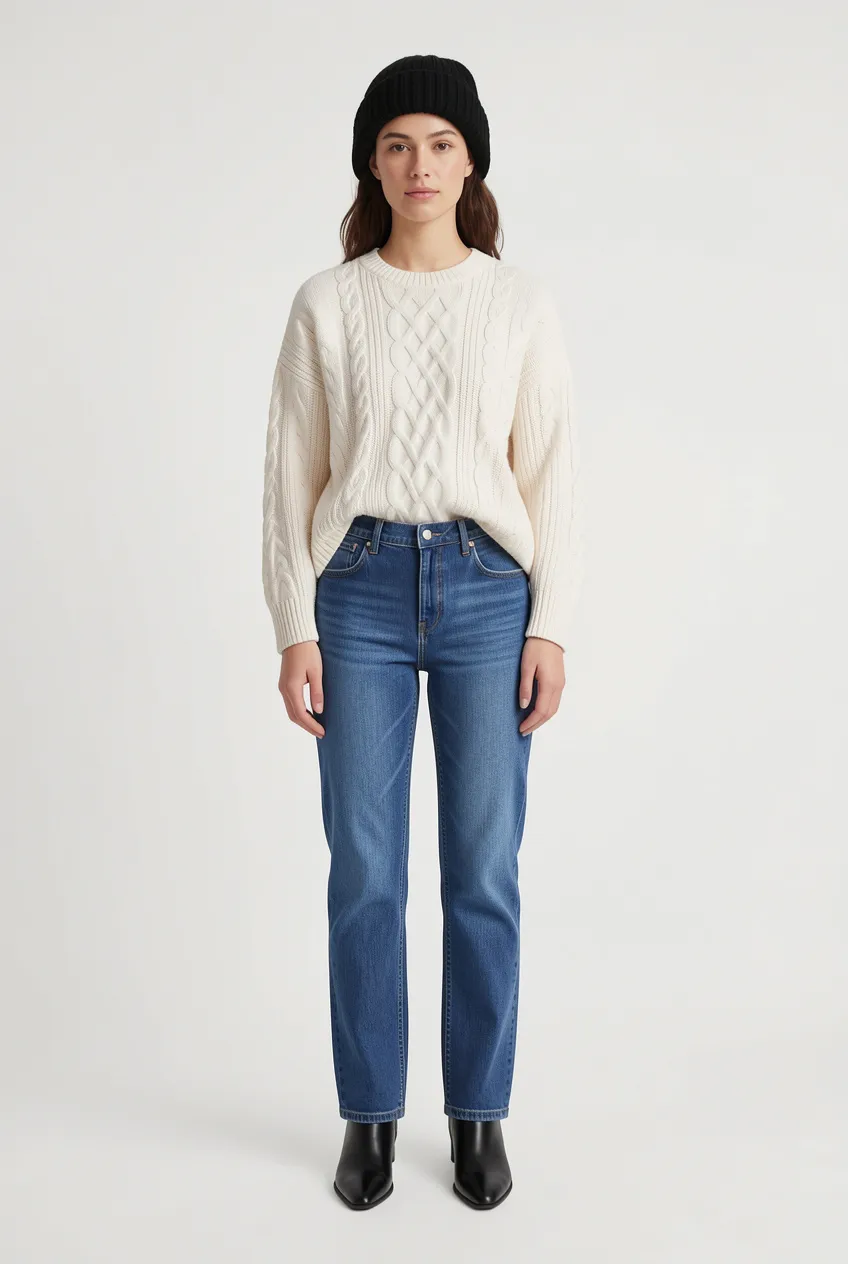
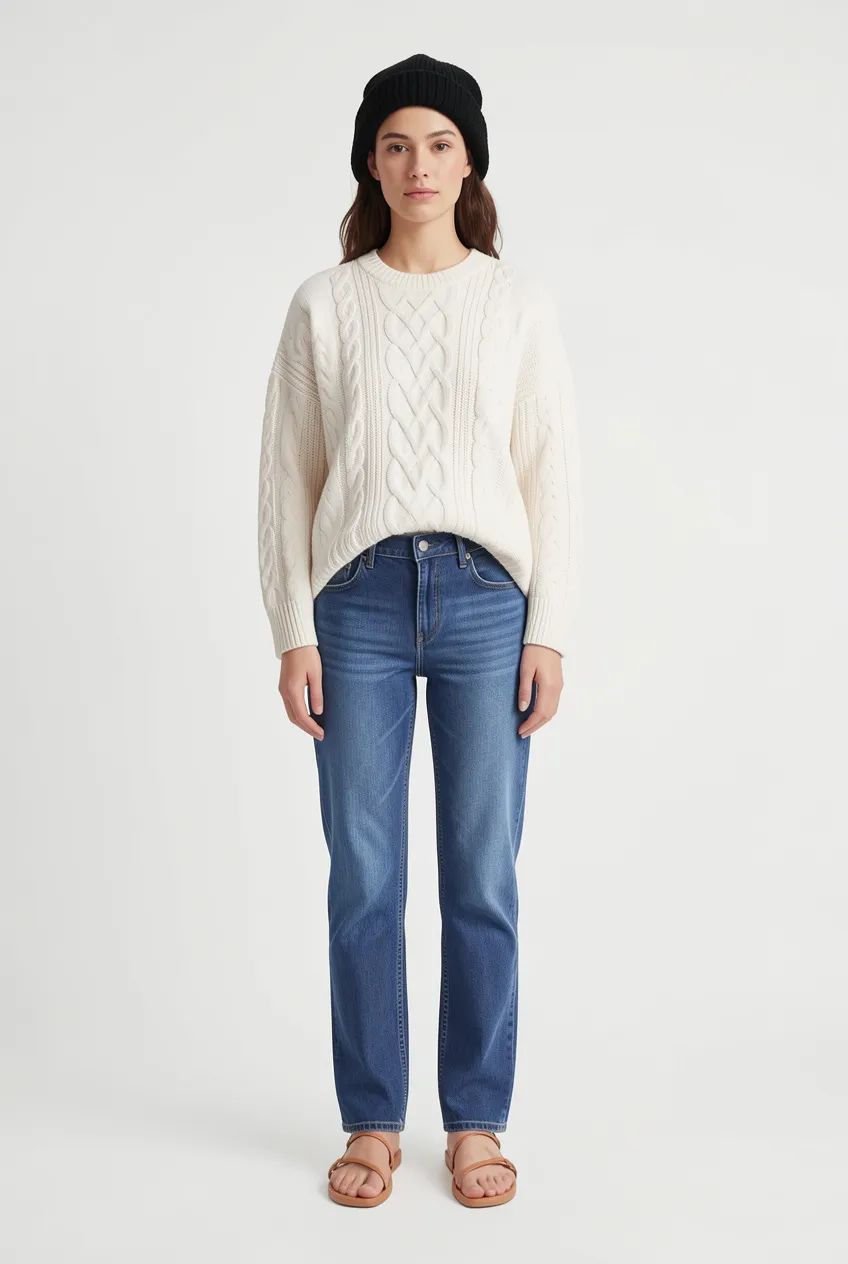
Pick a person and a garment to see the try-on result. Every combination was generated from the same set of garment references and person images.
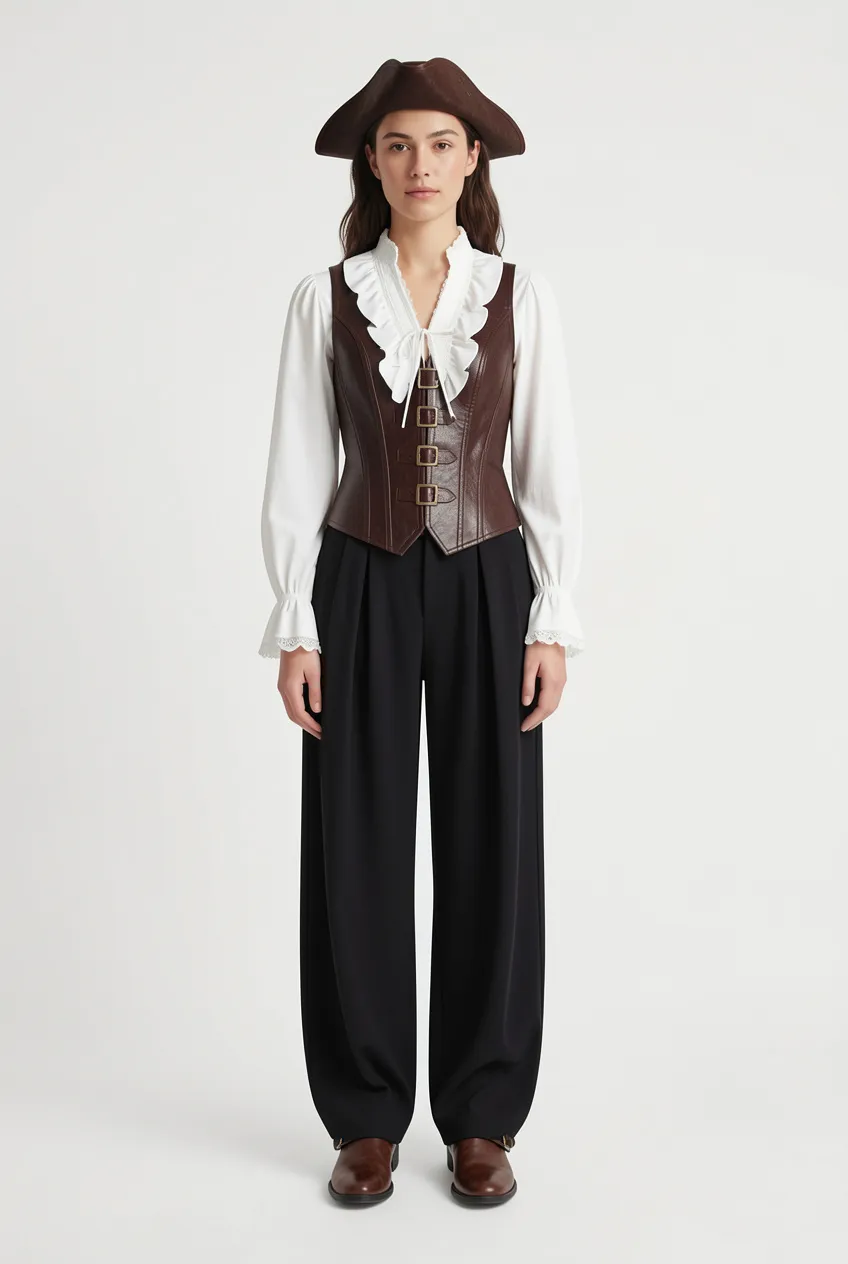
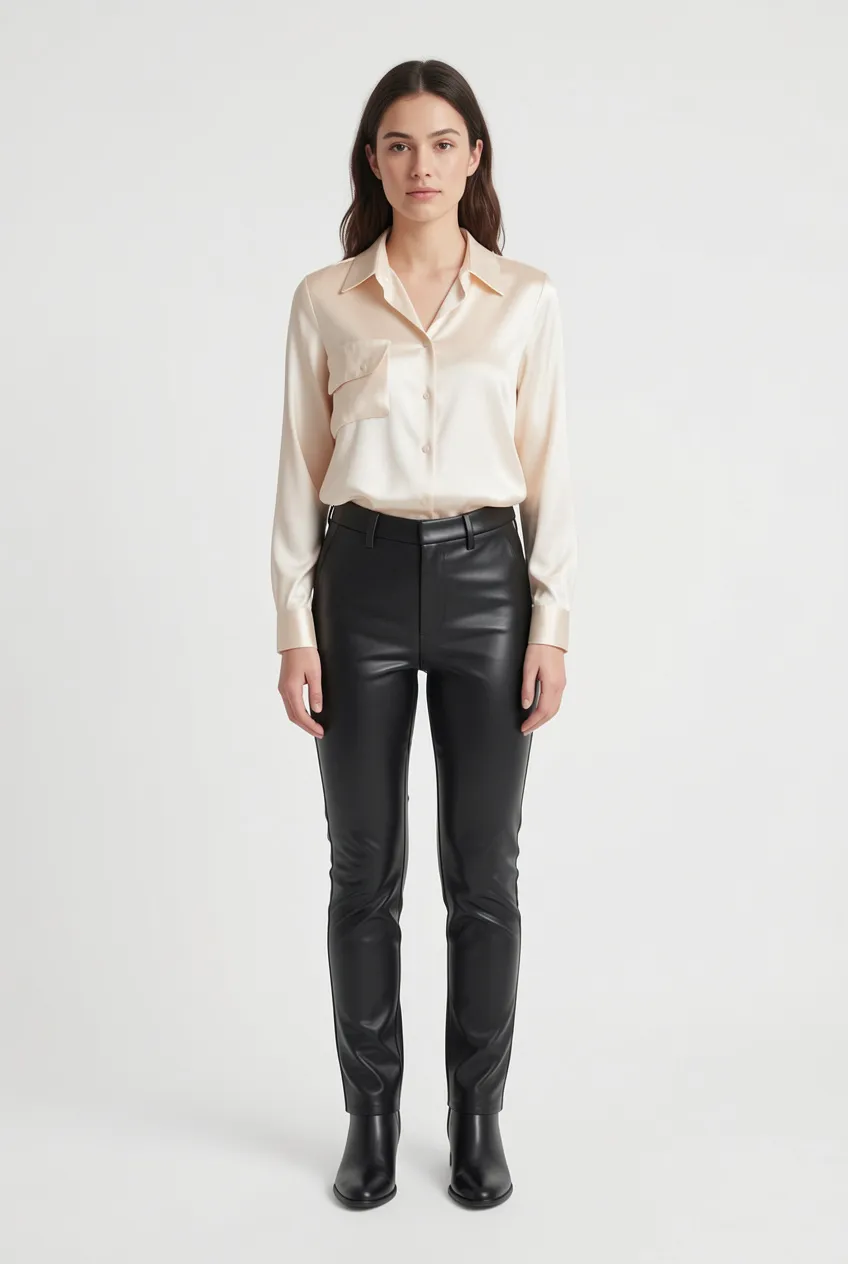
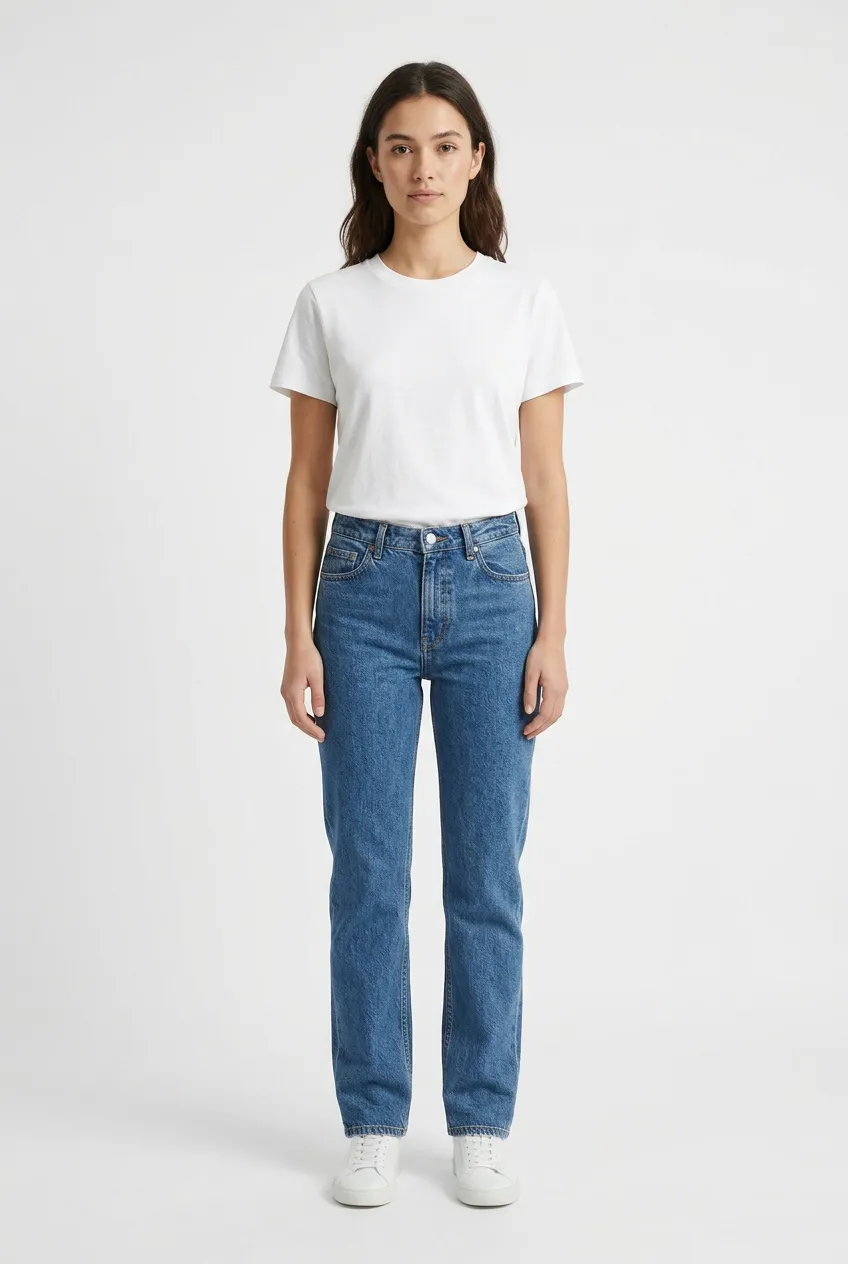
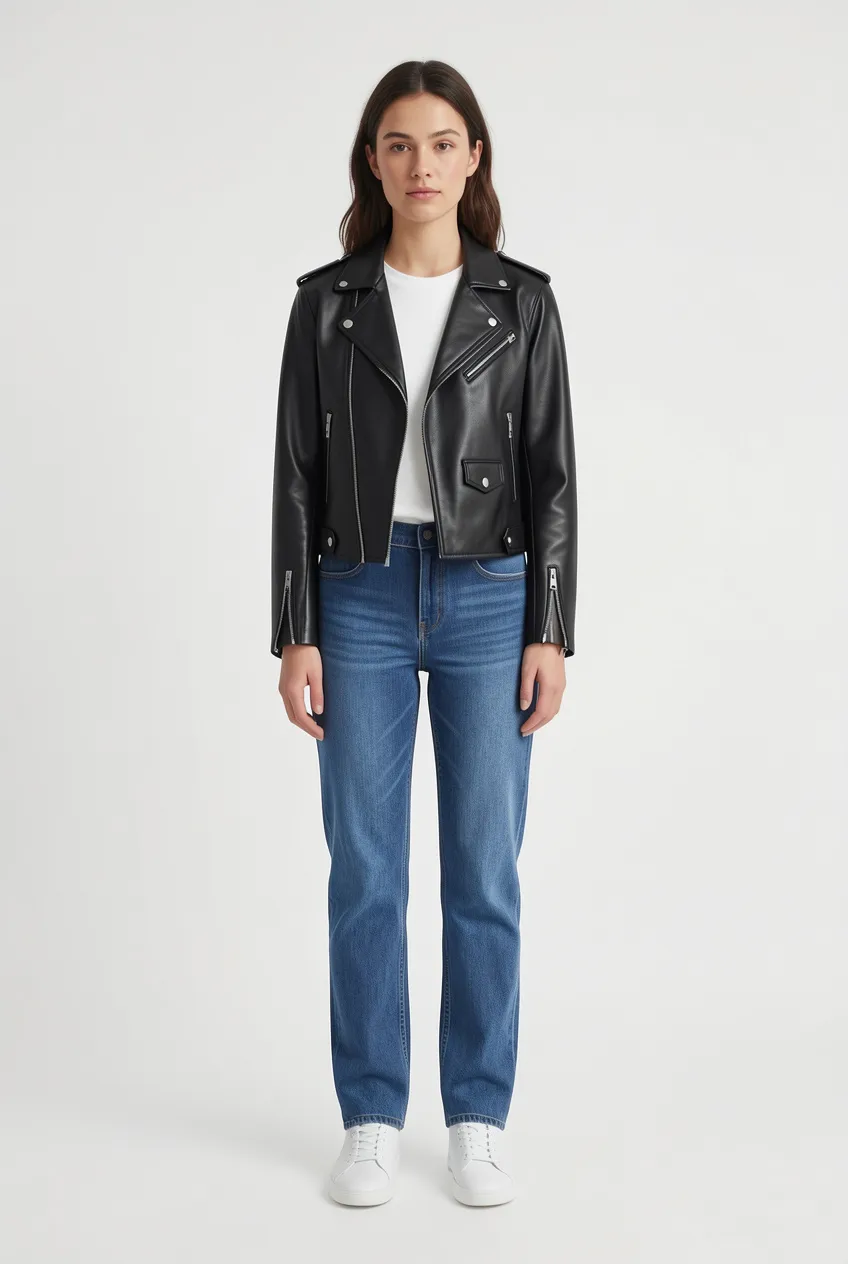
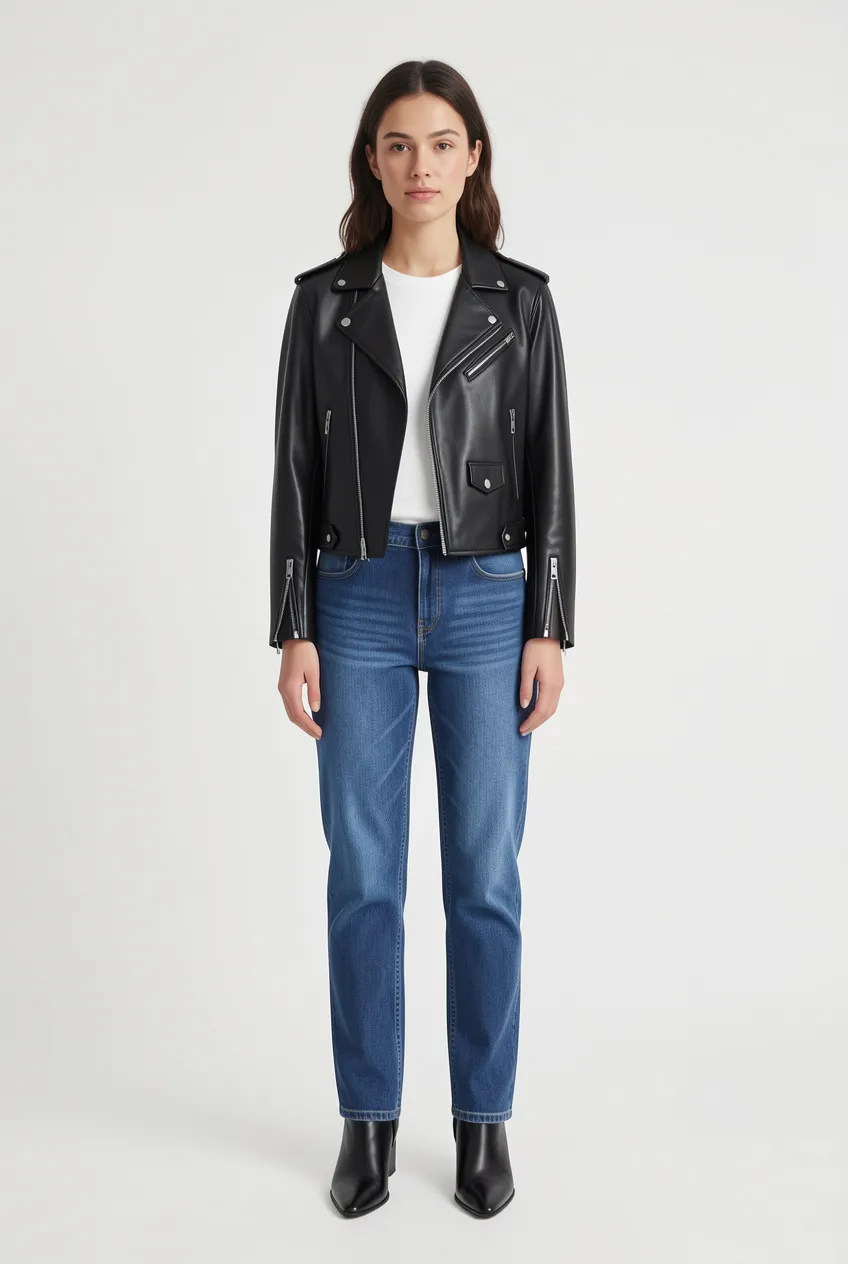
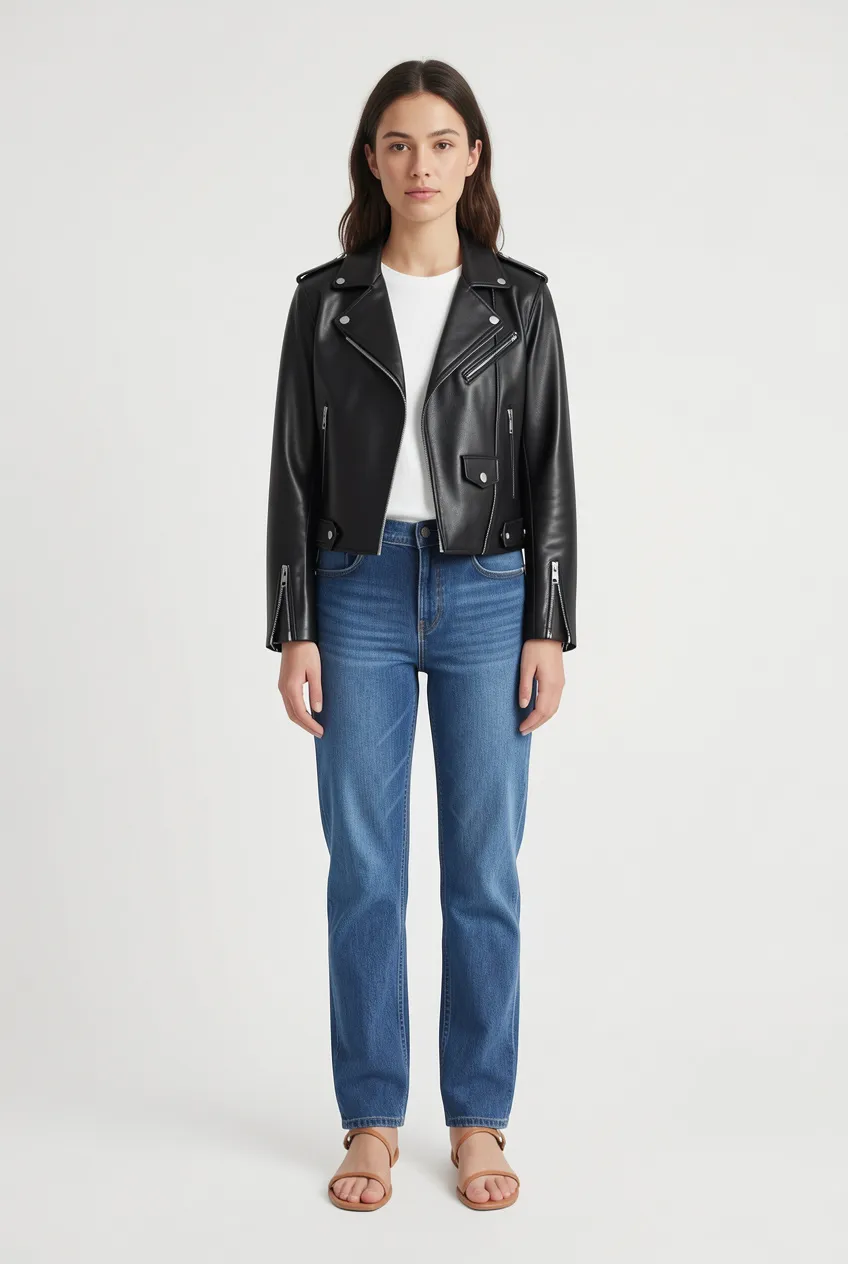
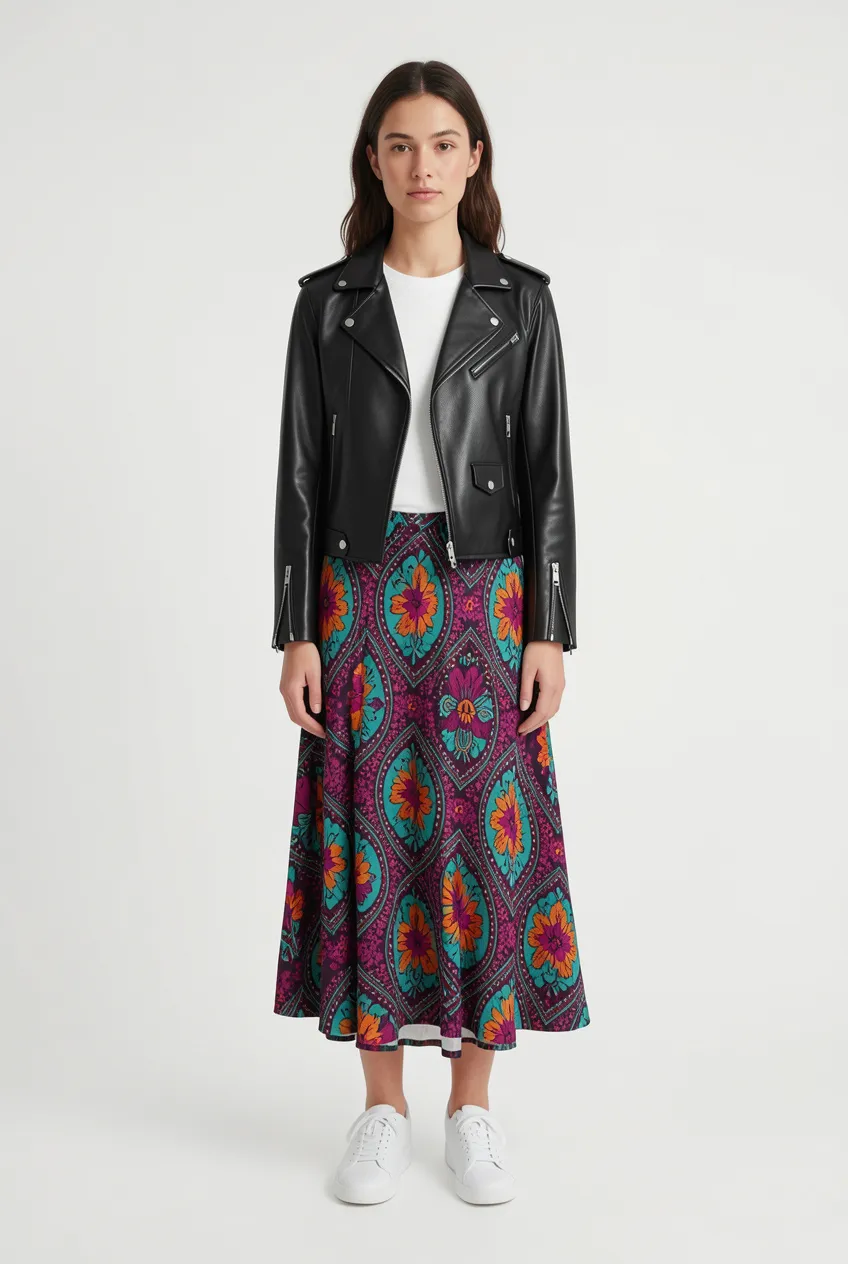
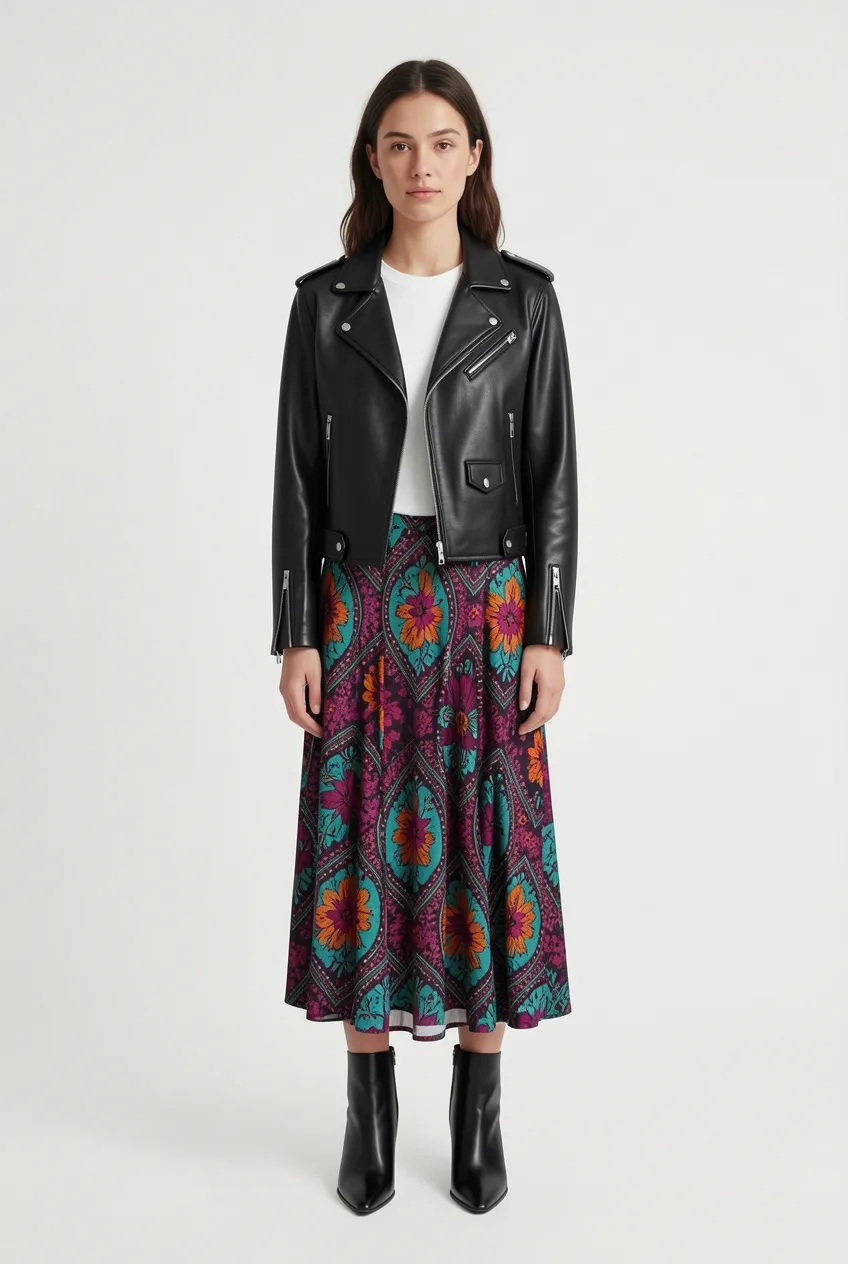
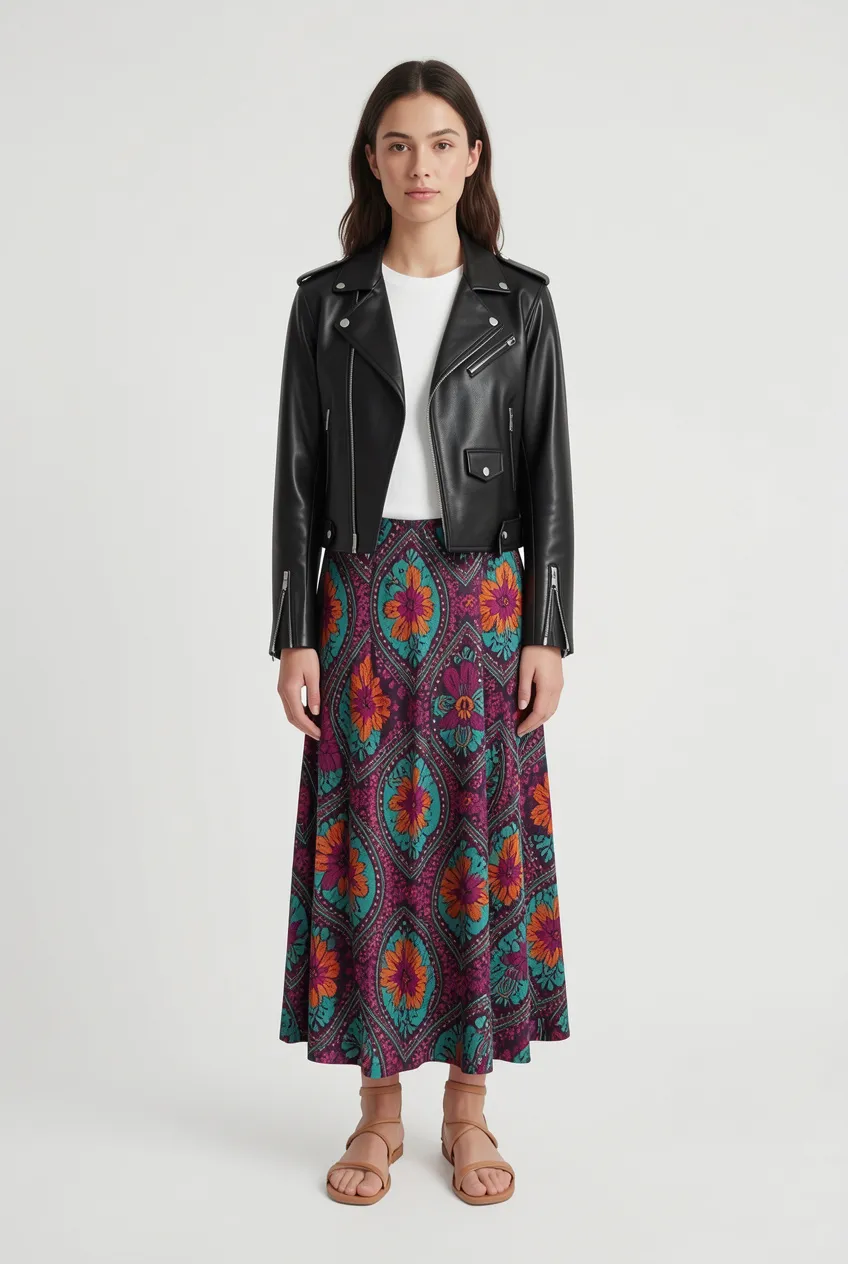
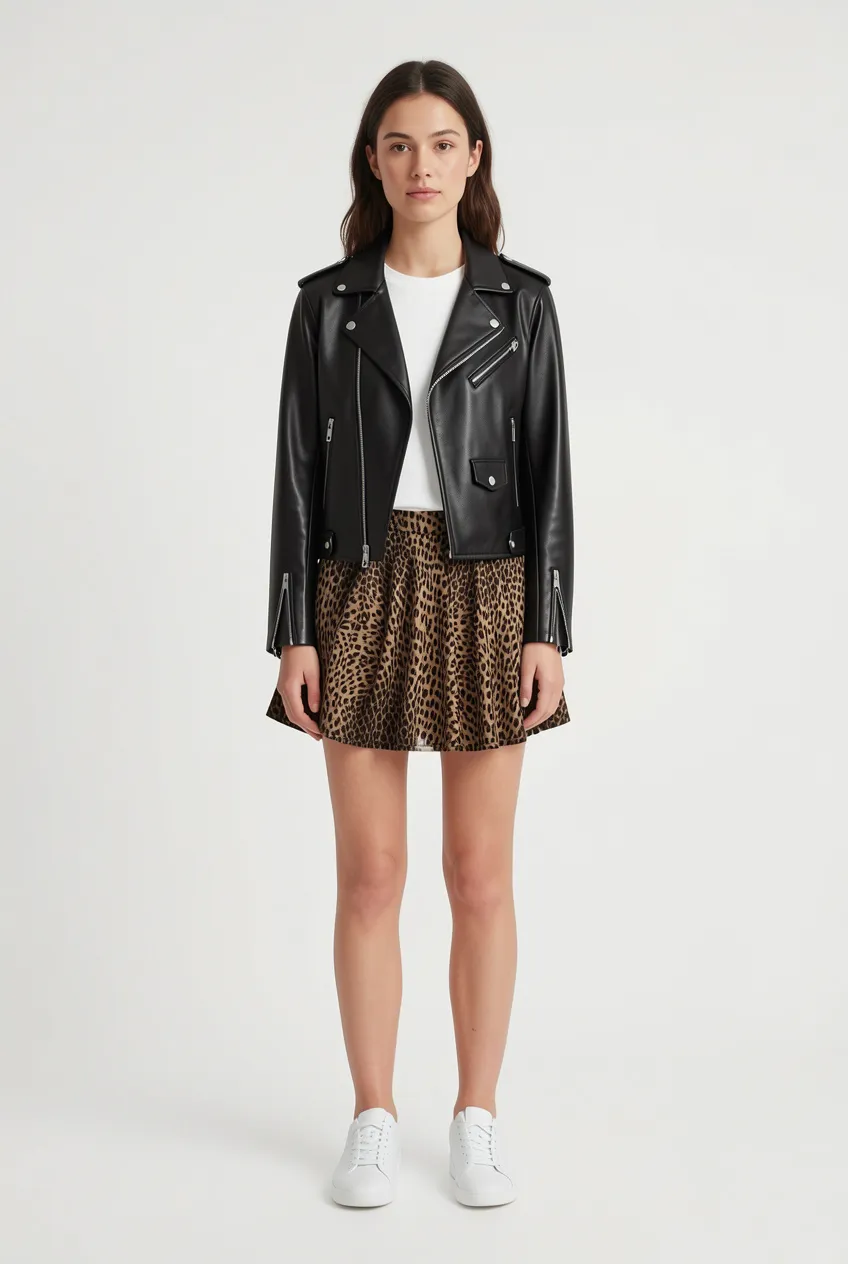
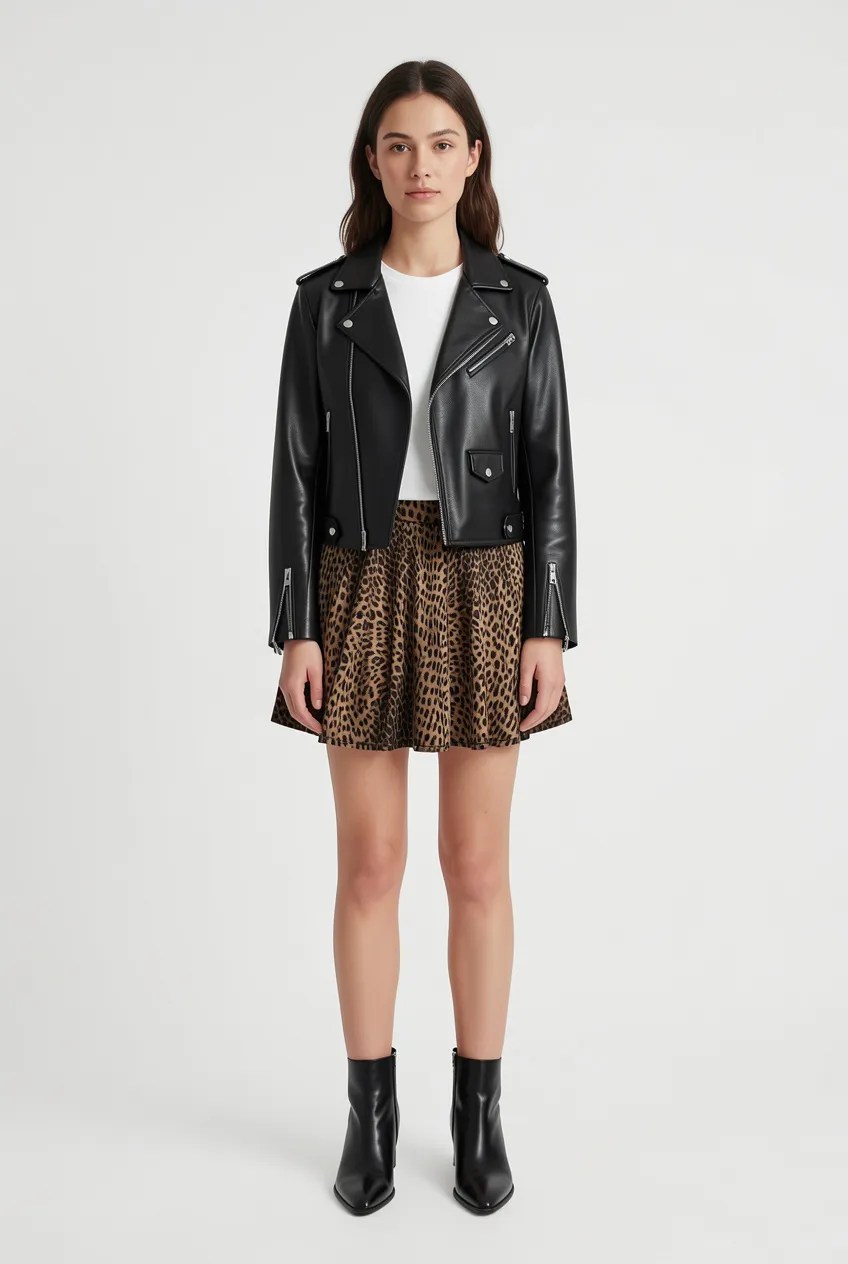
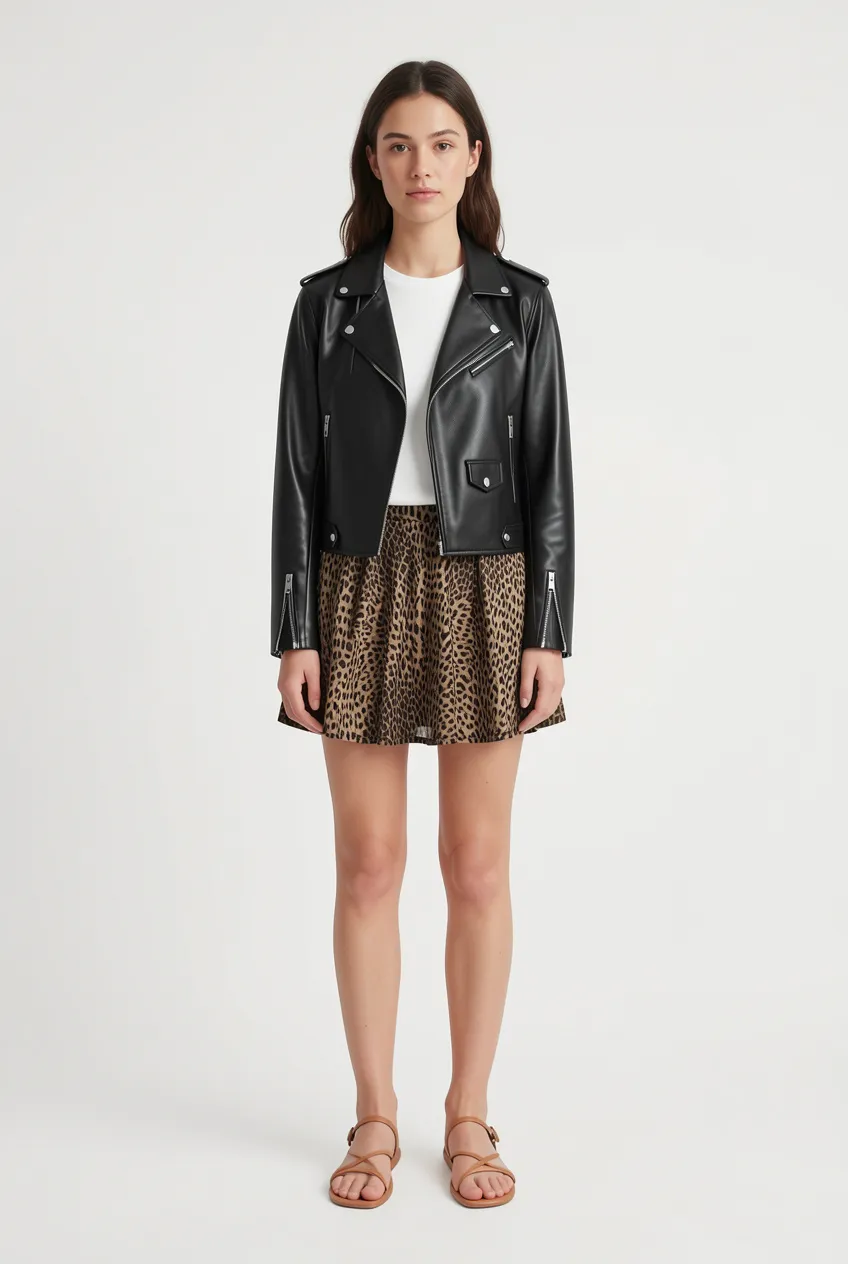
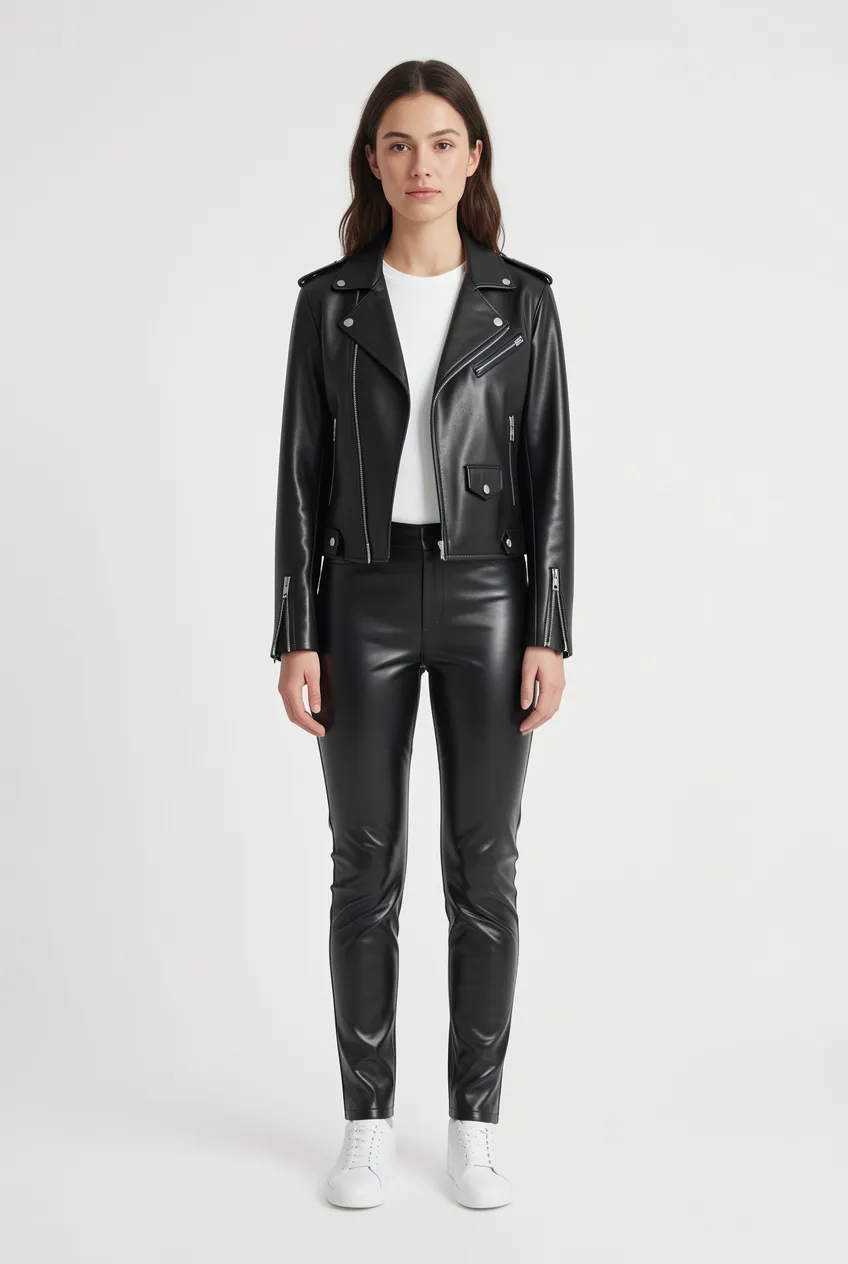
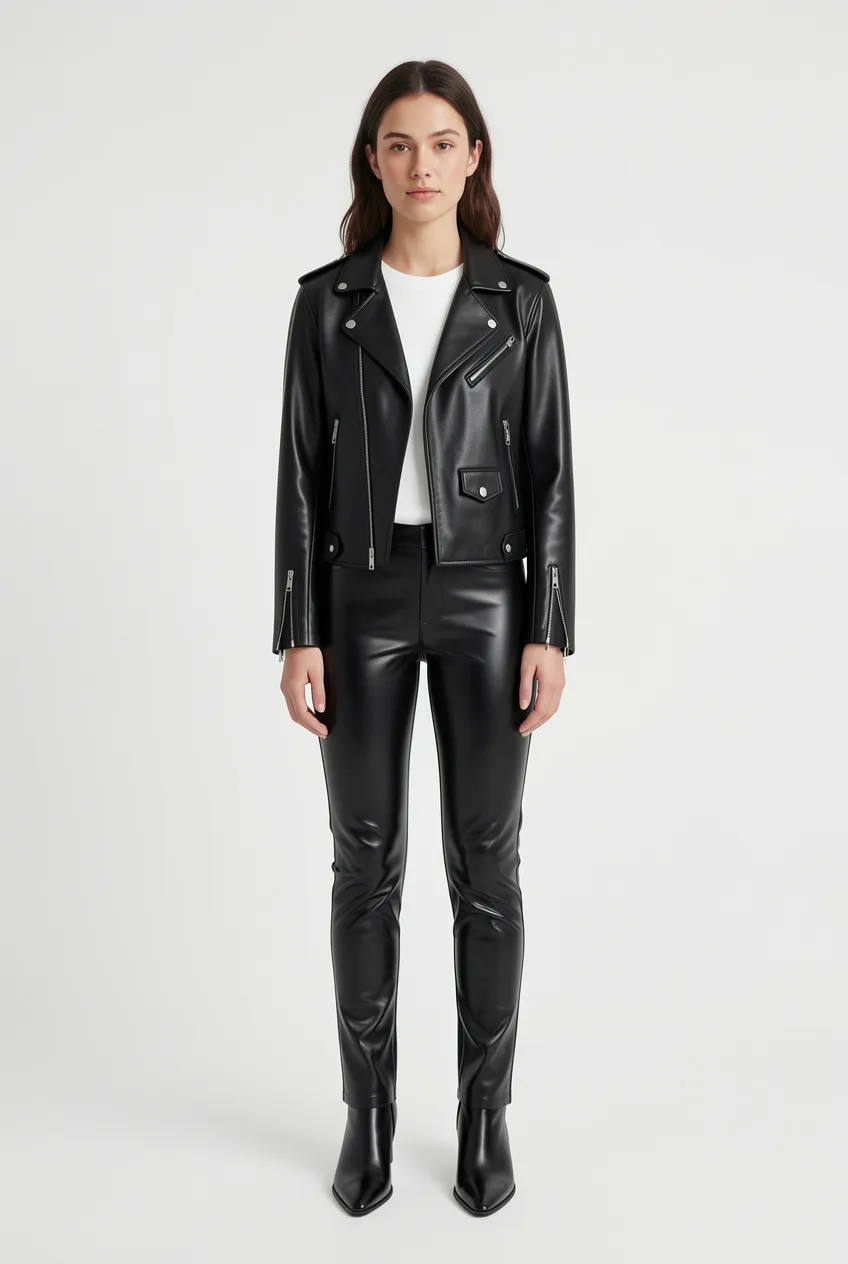
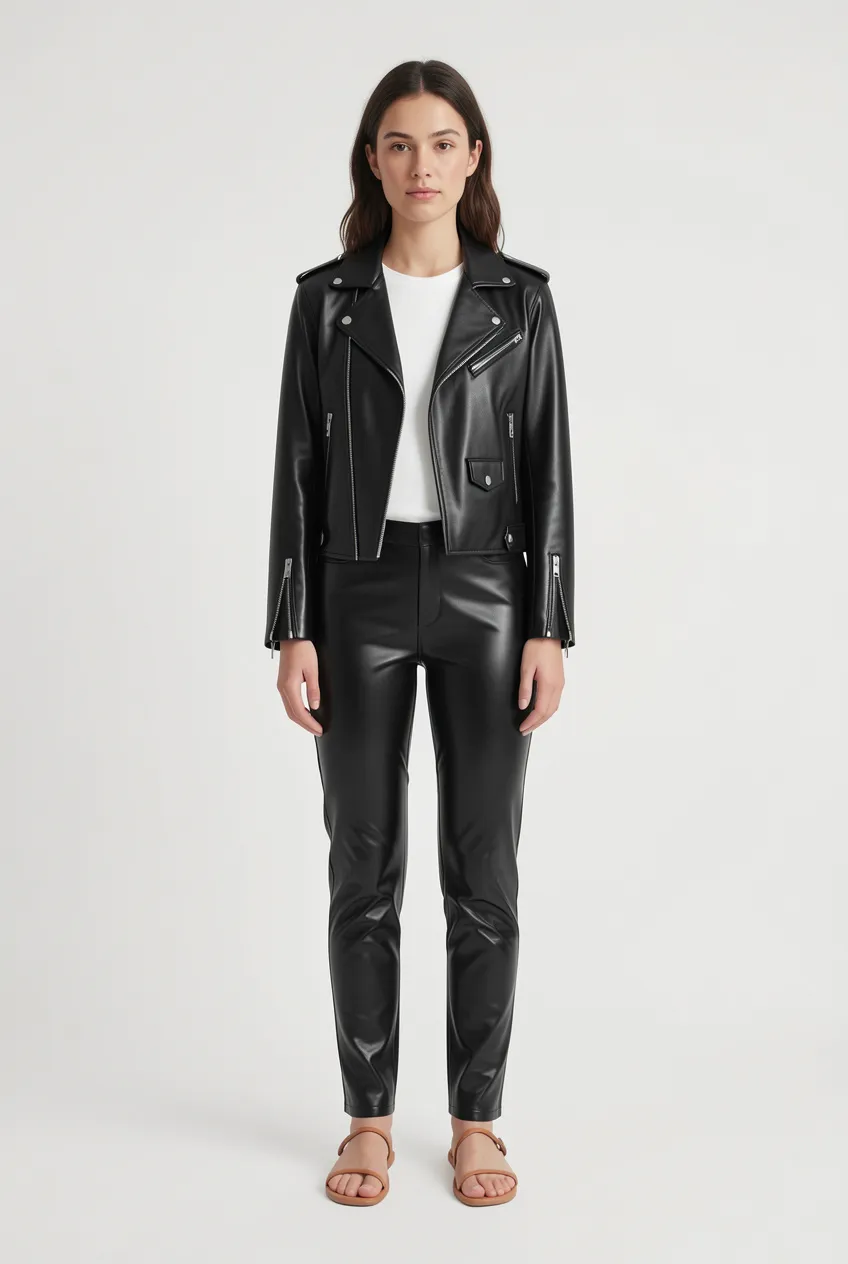
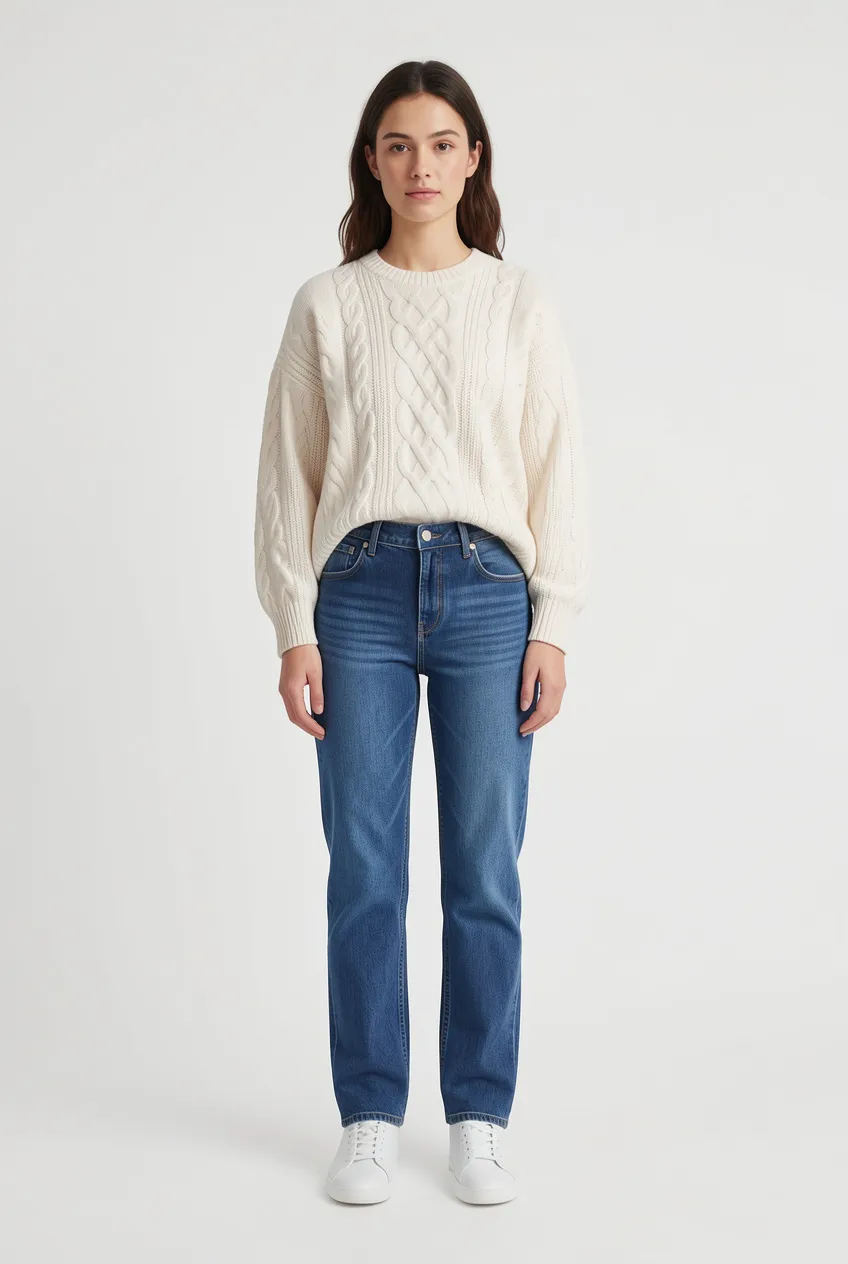
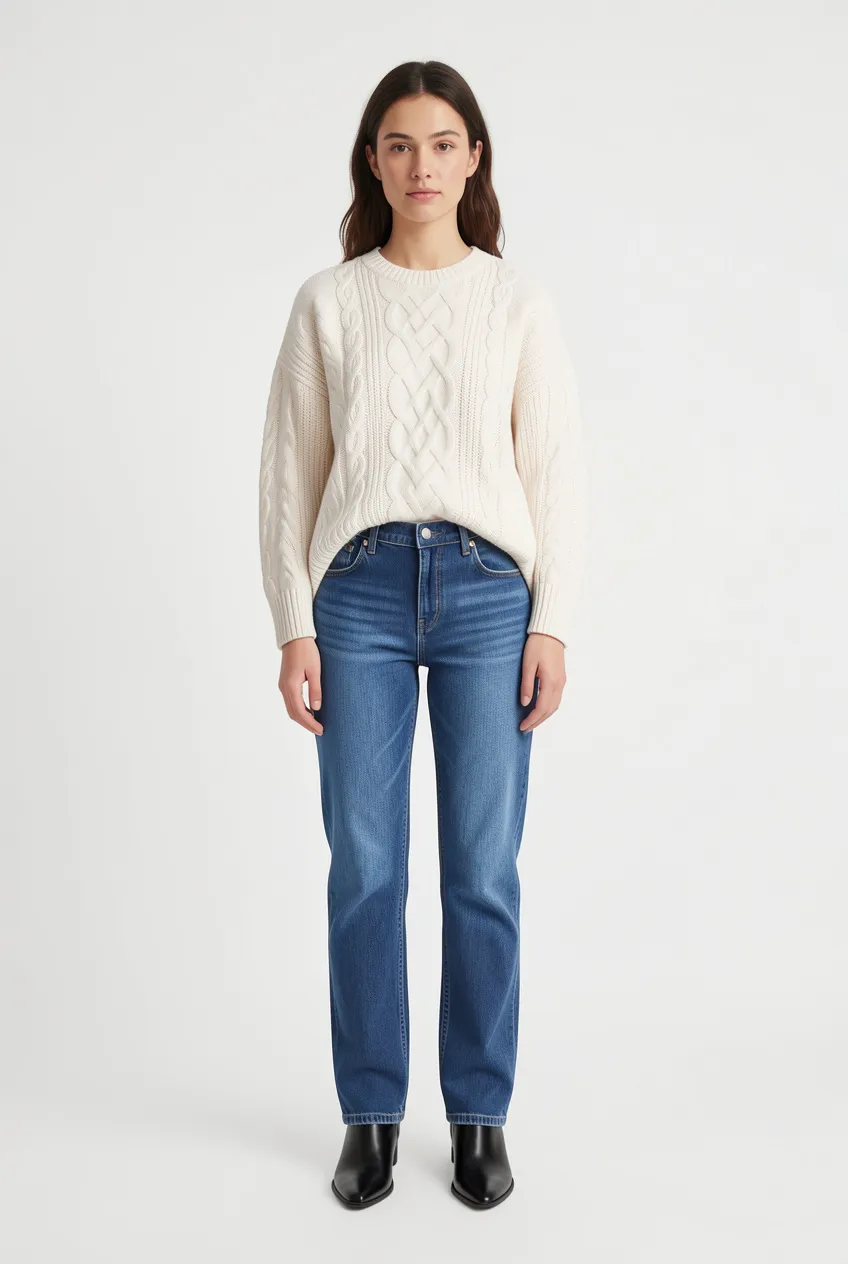
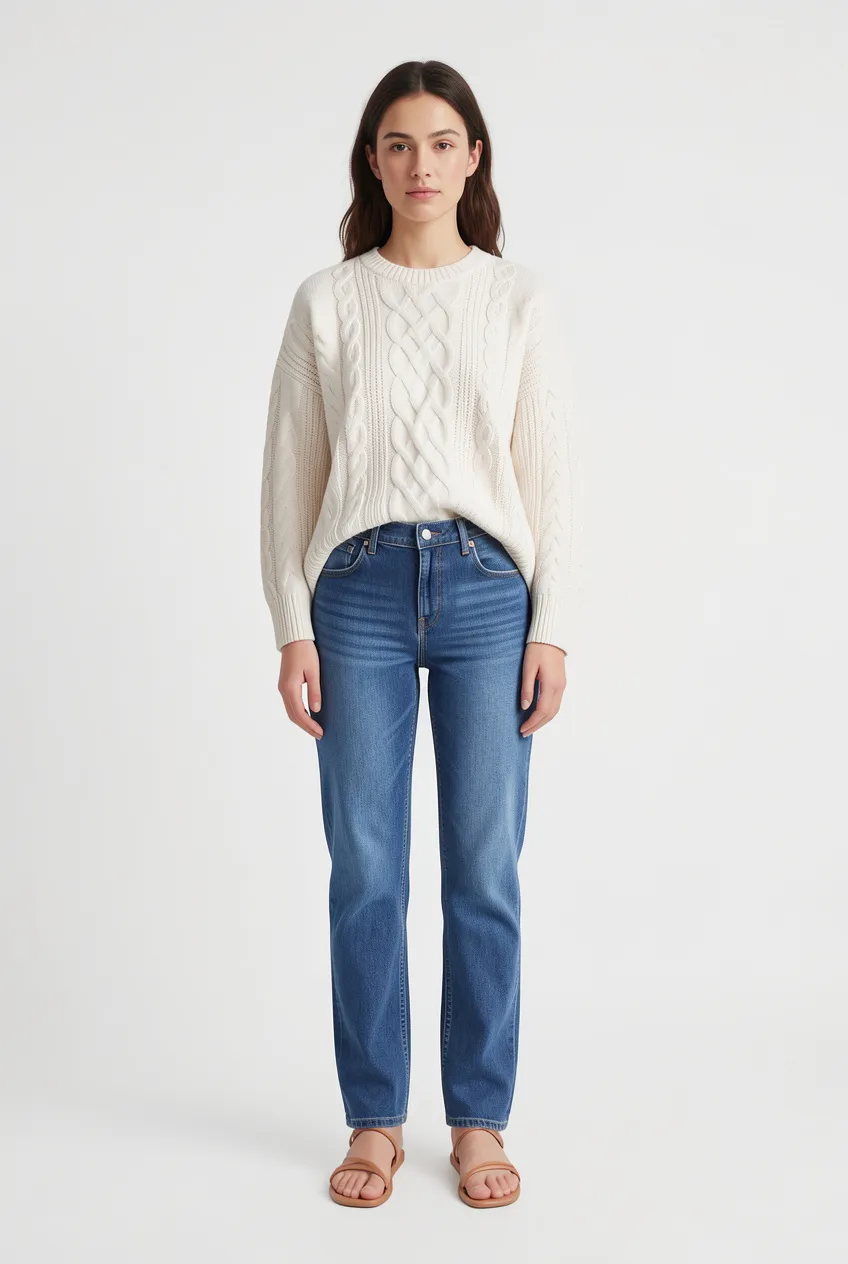
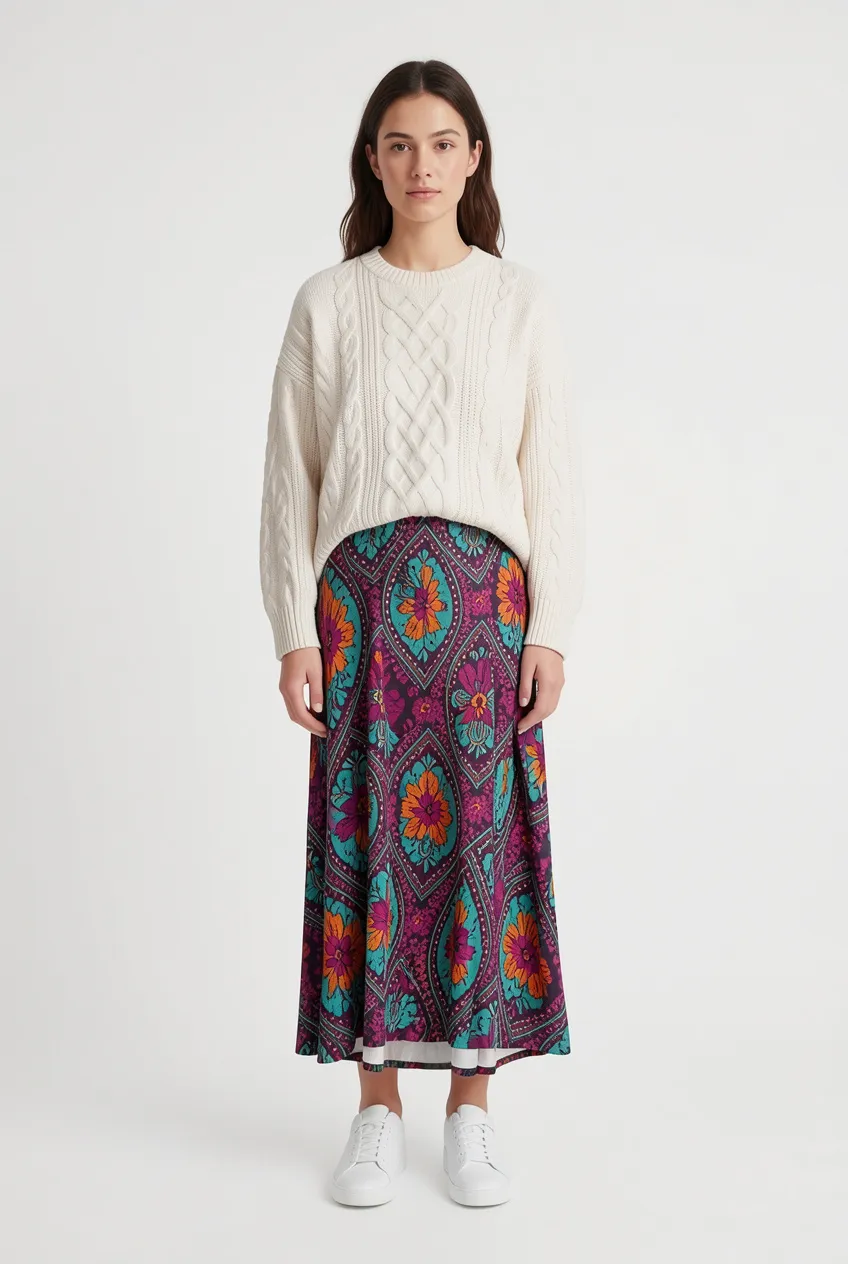
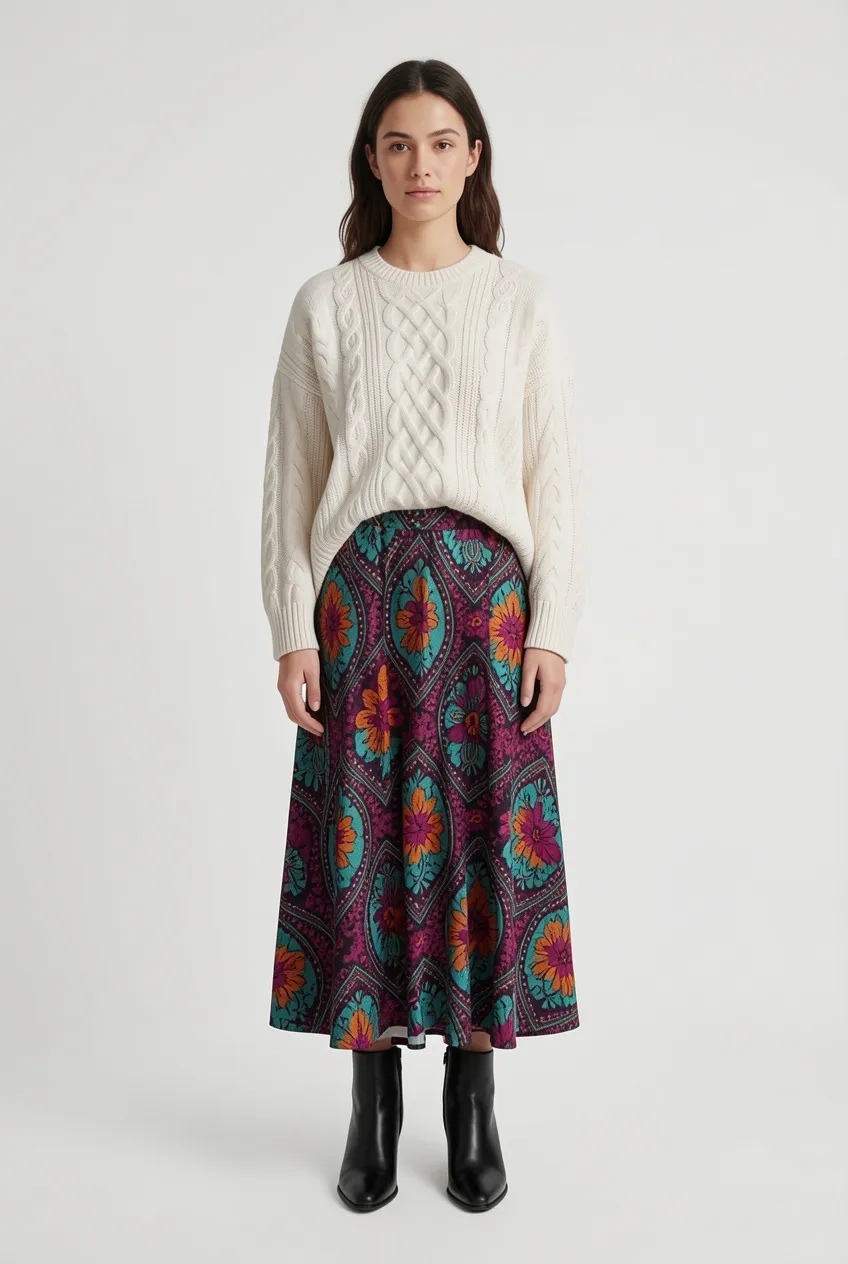
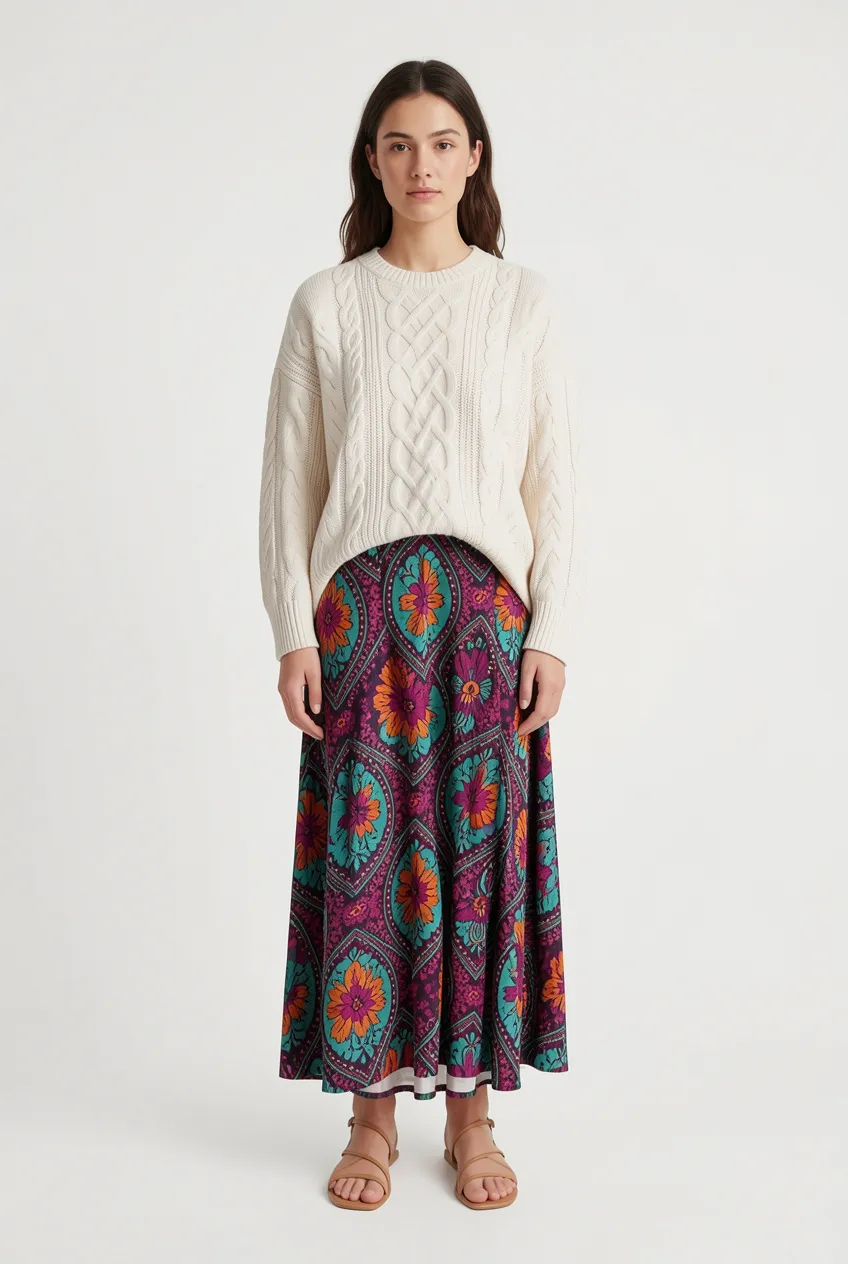
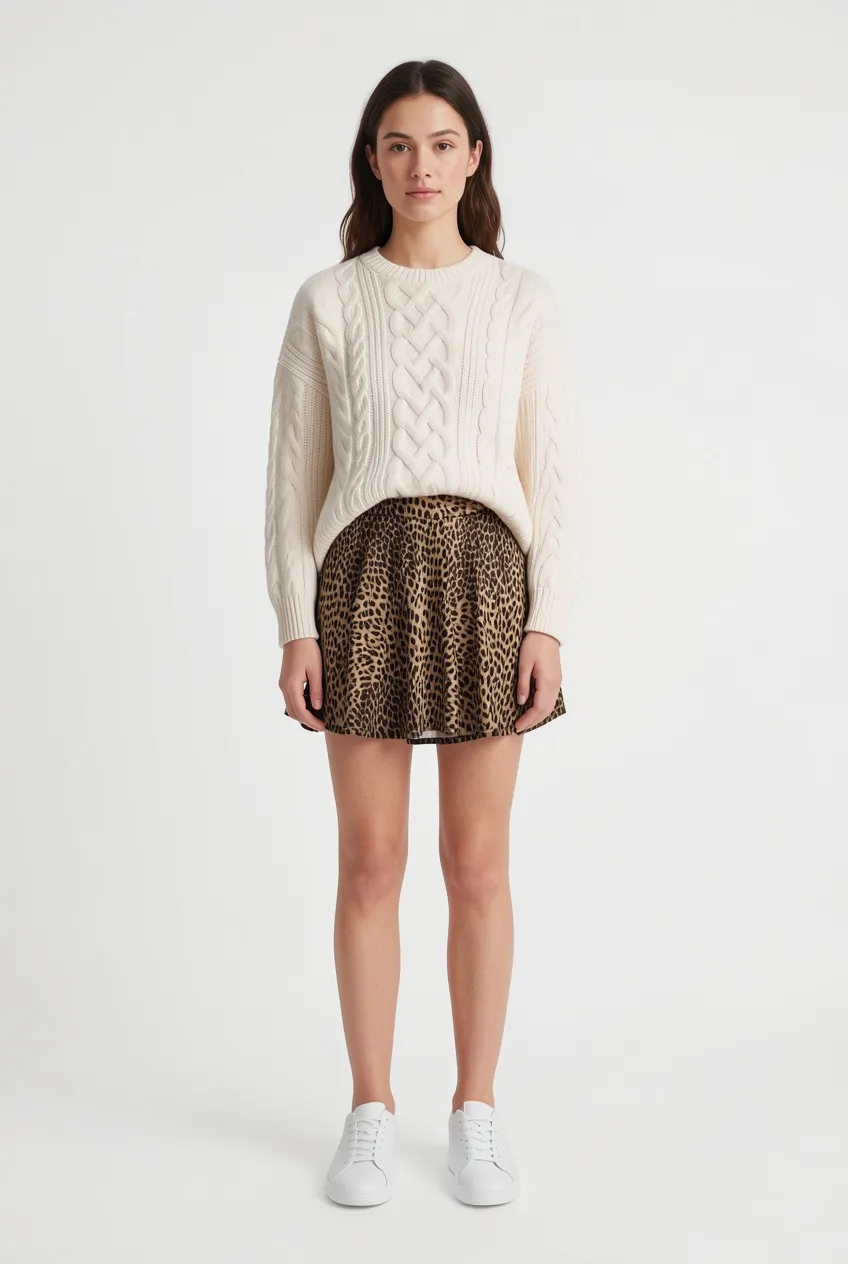
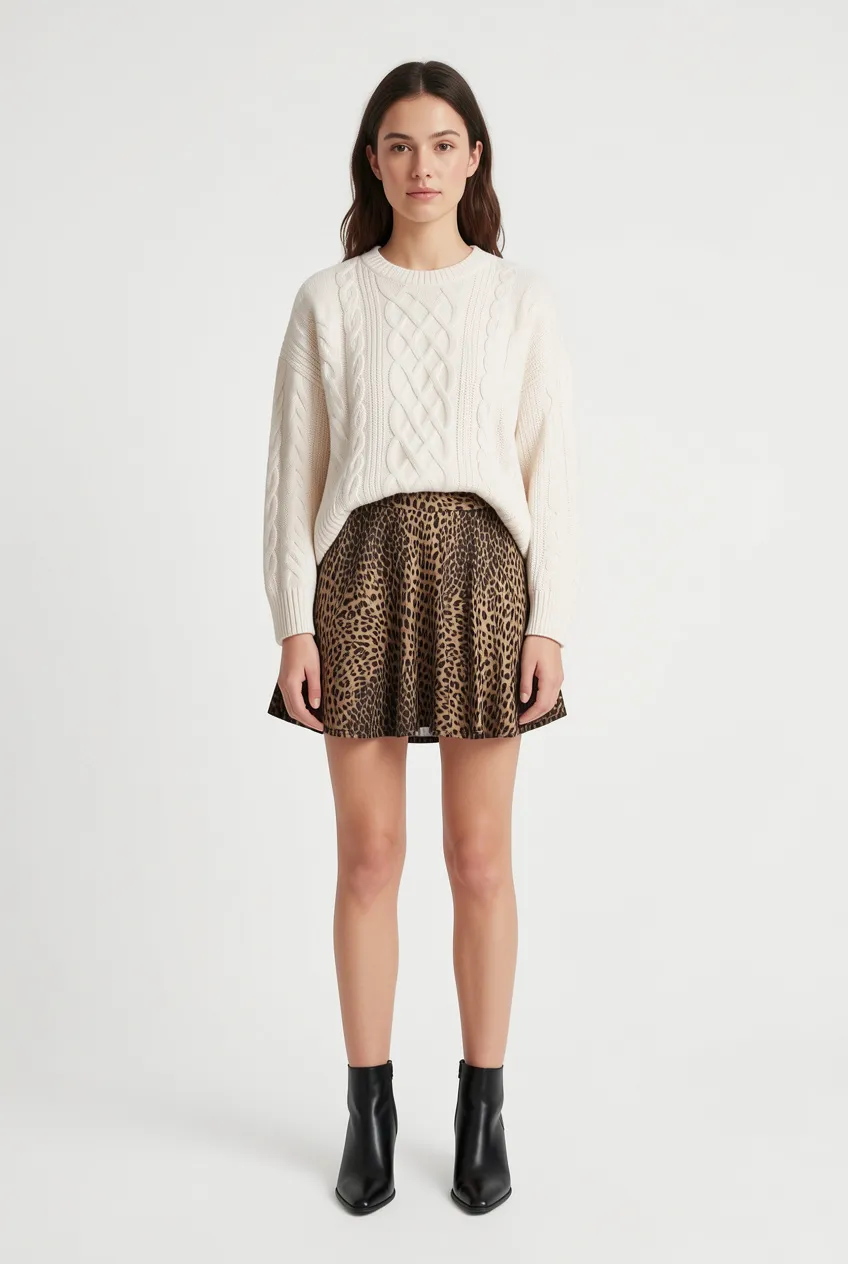
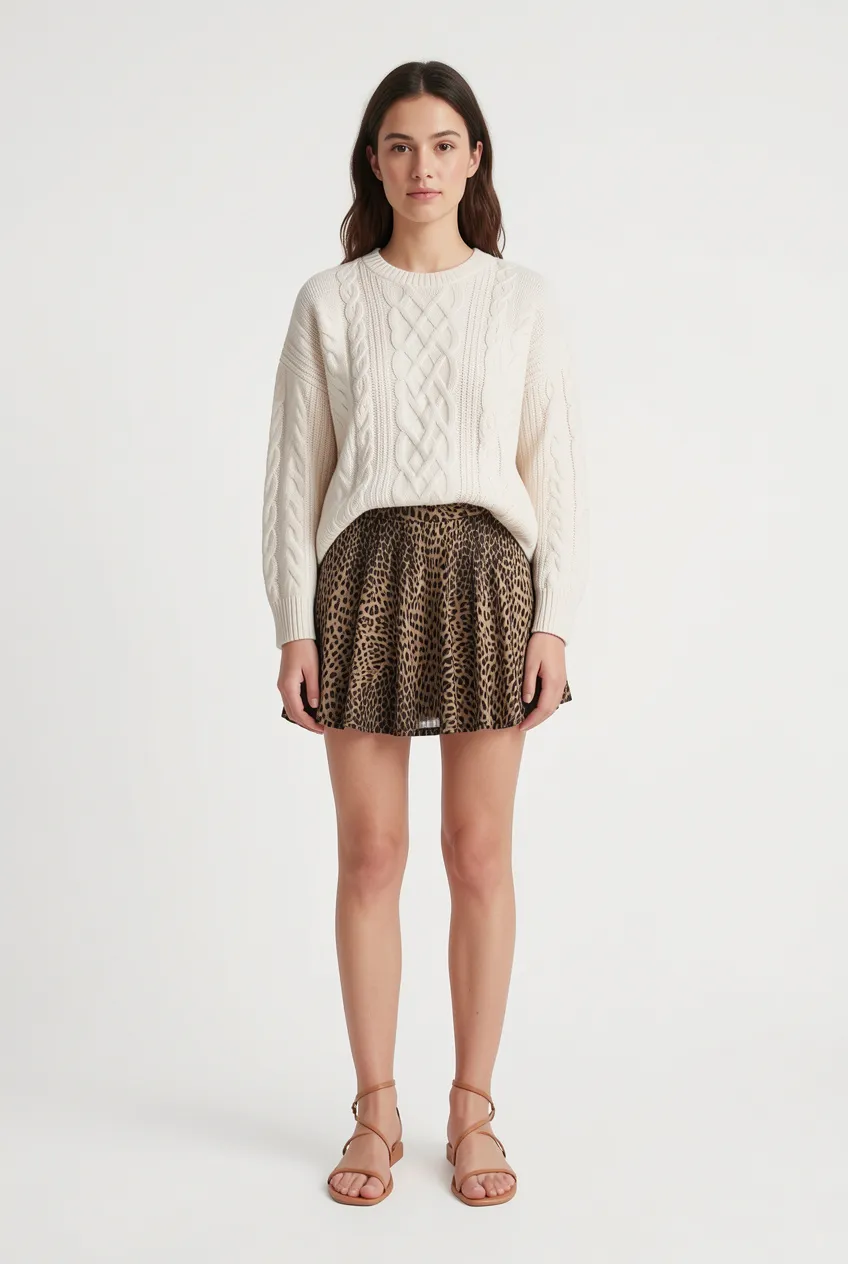
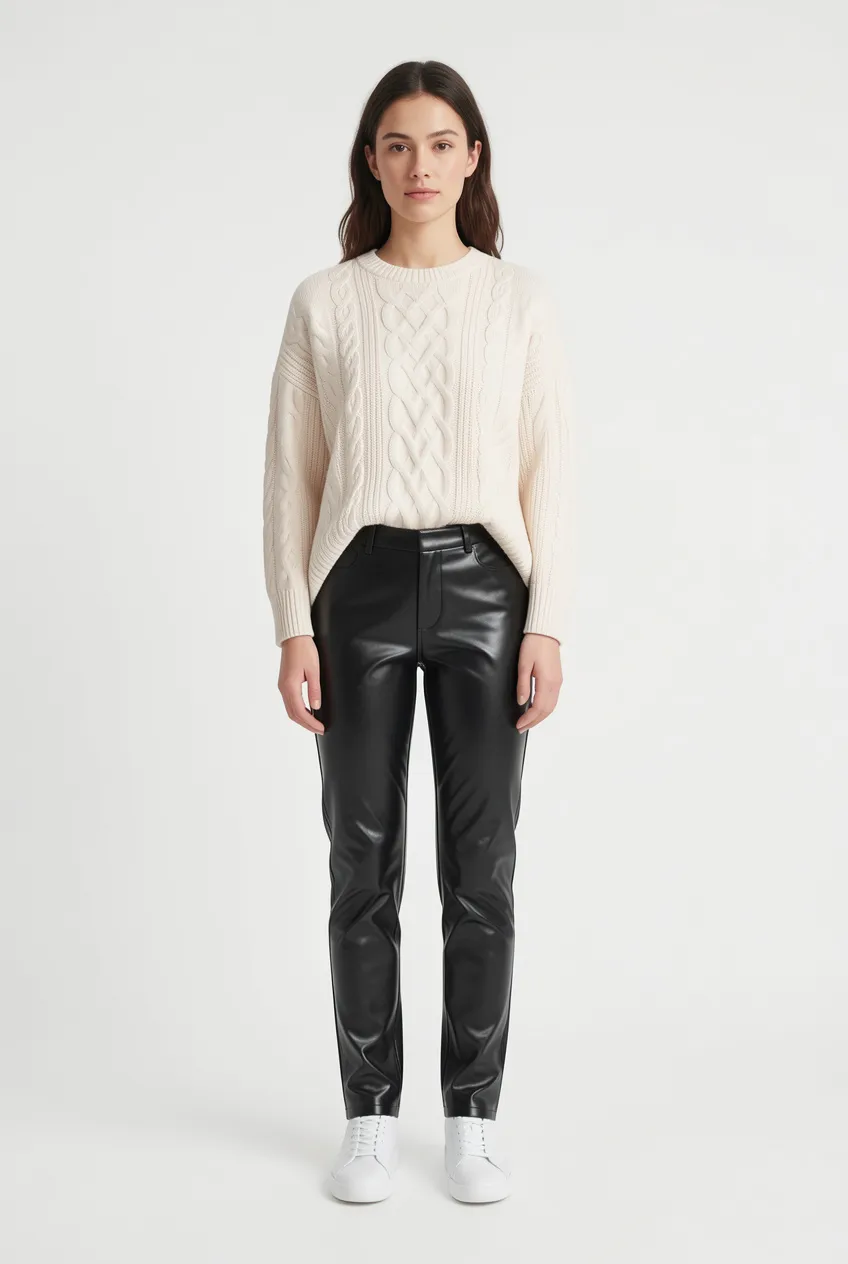
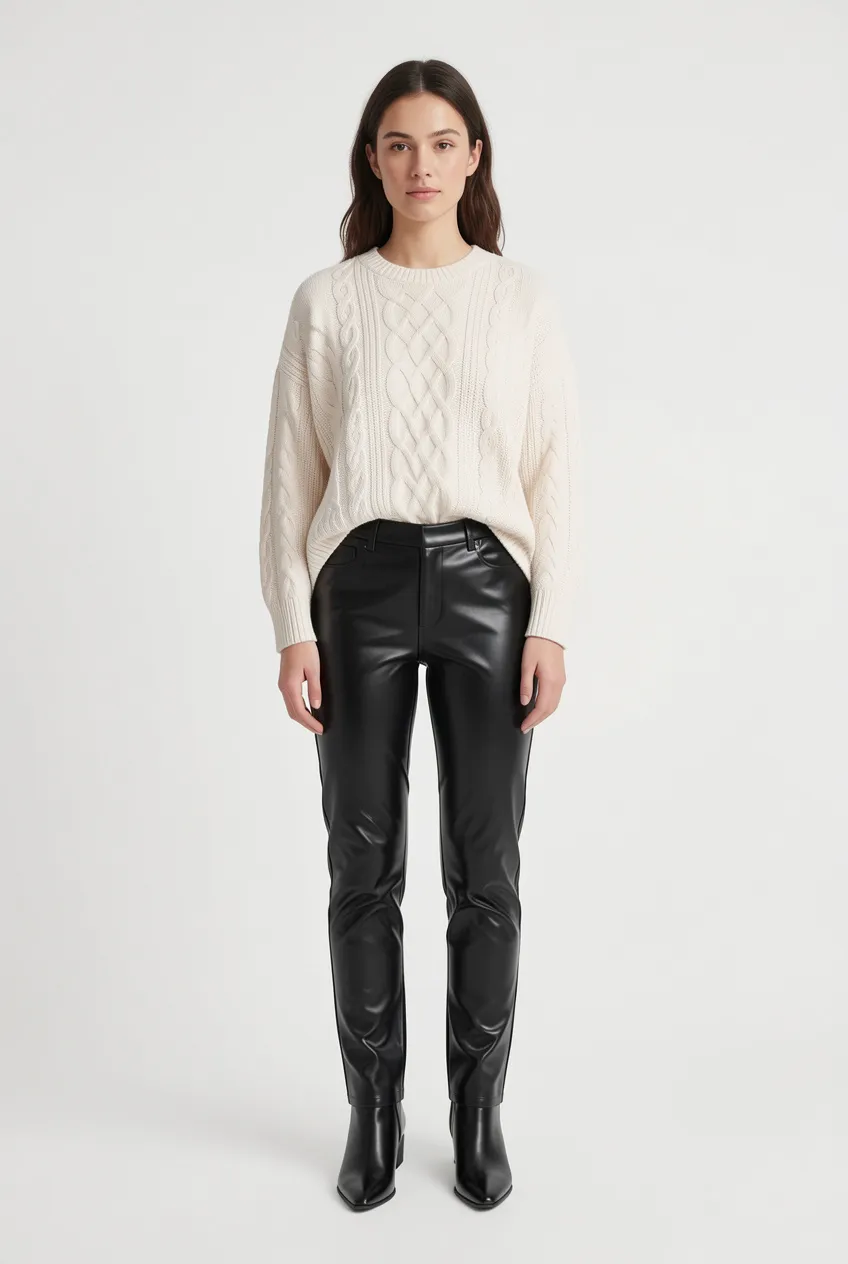
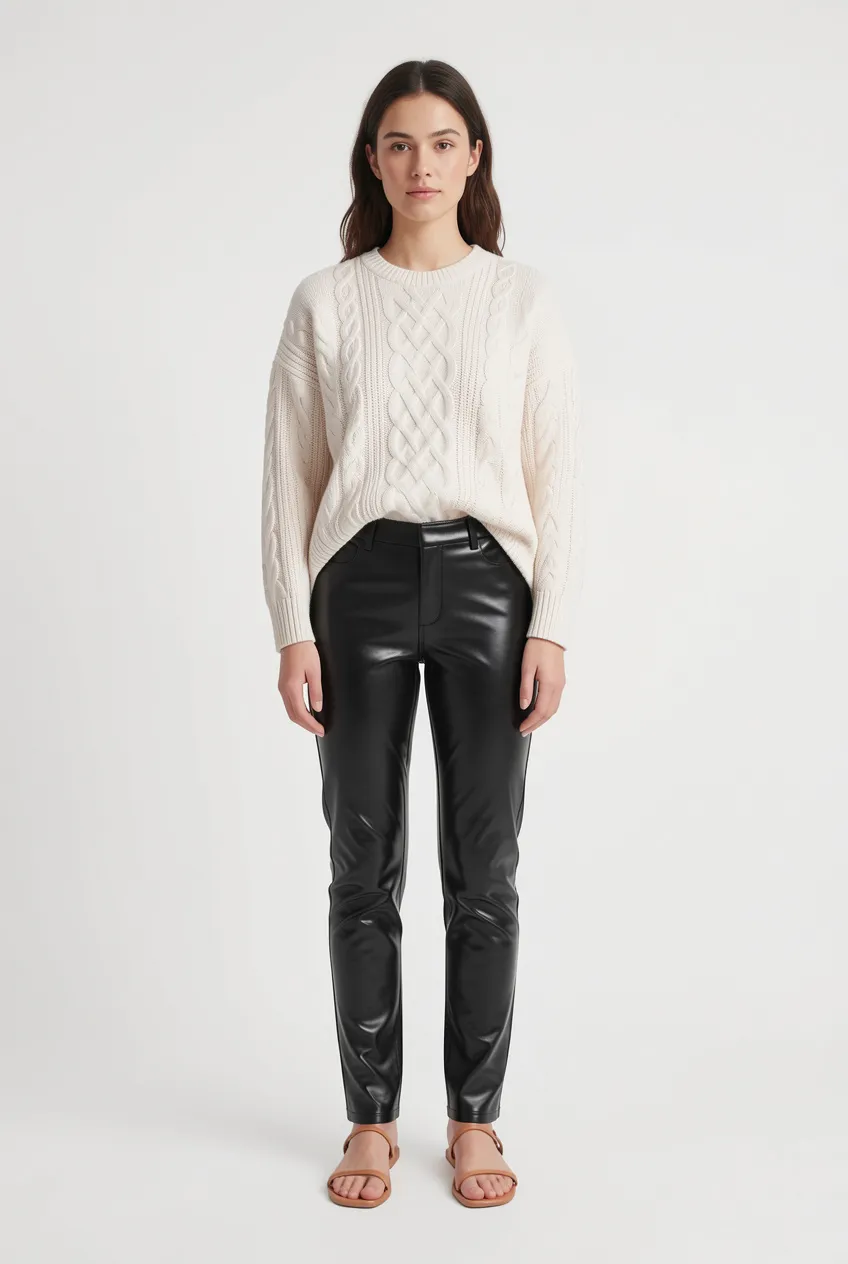
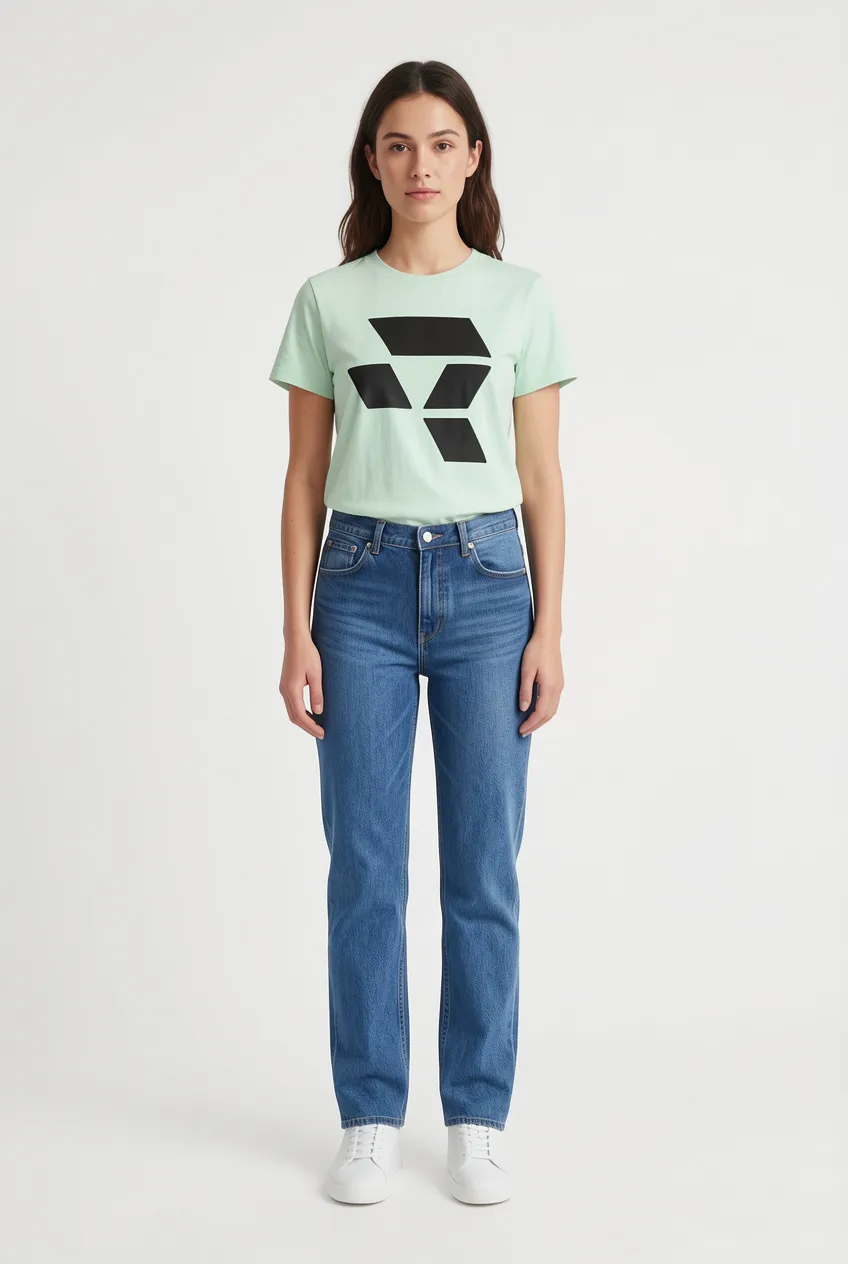
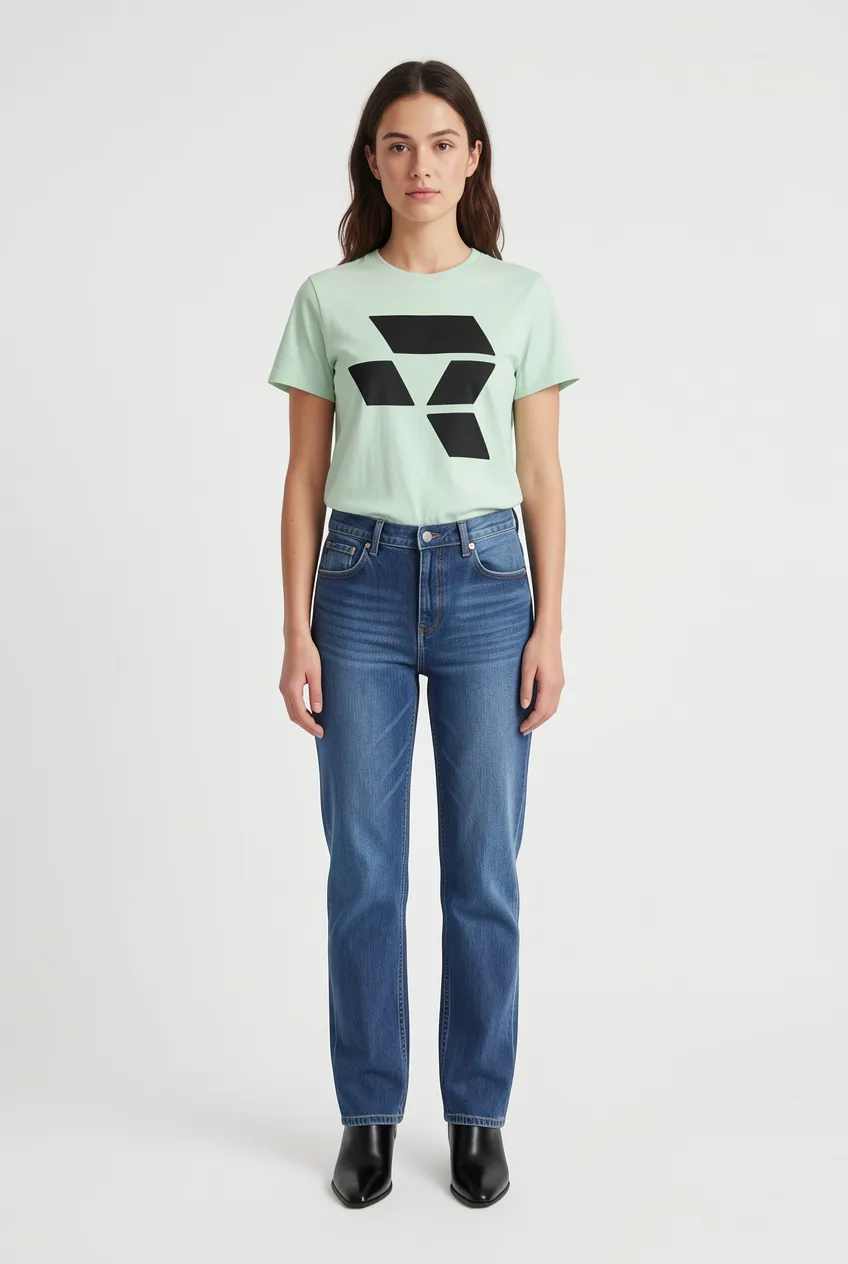
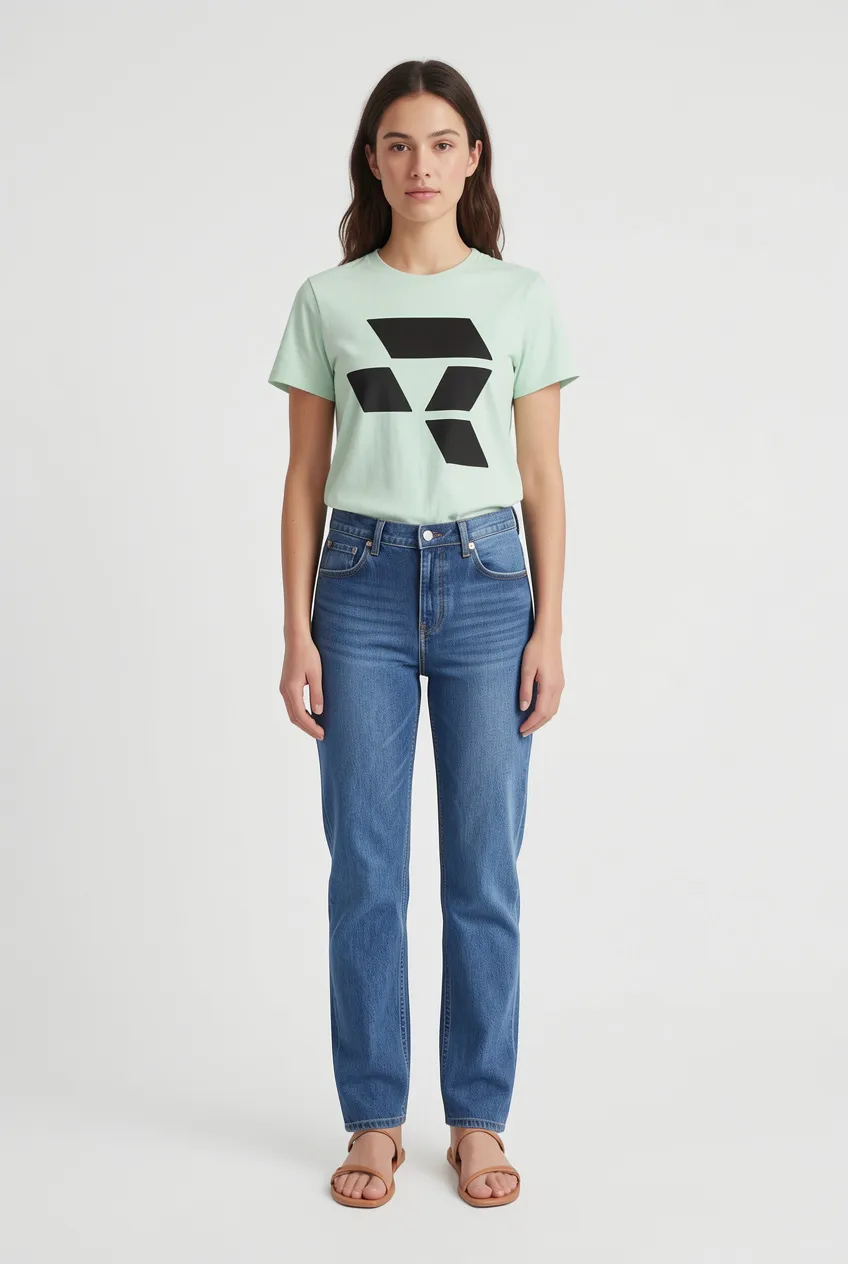
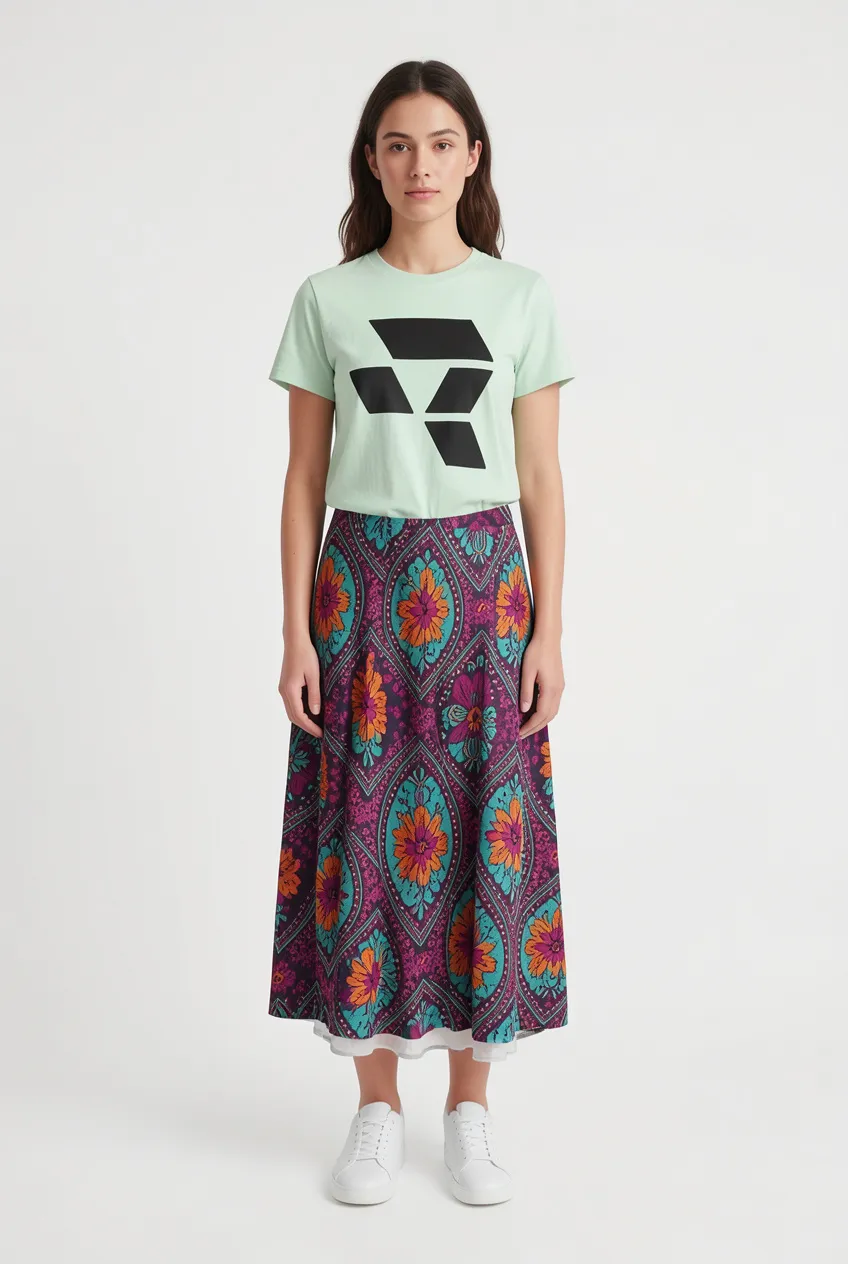
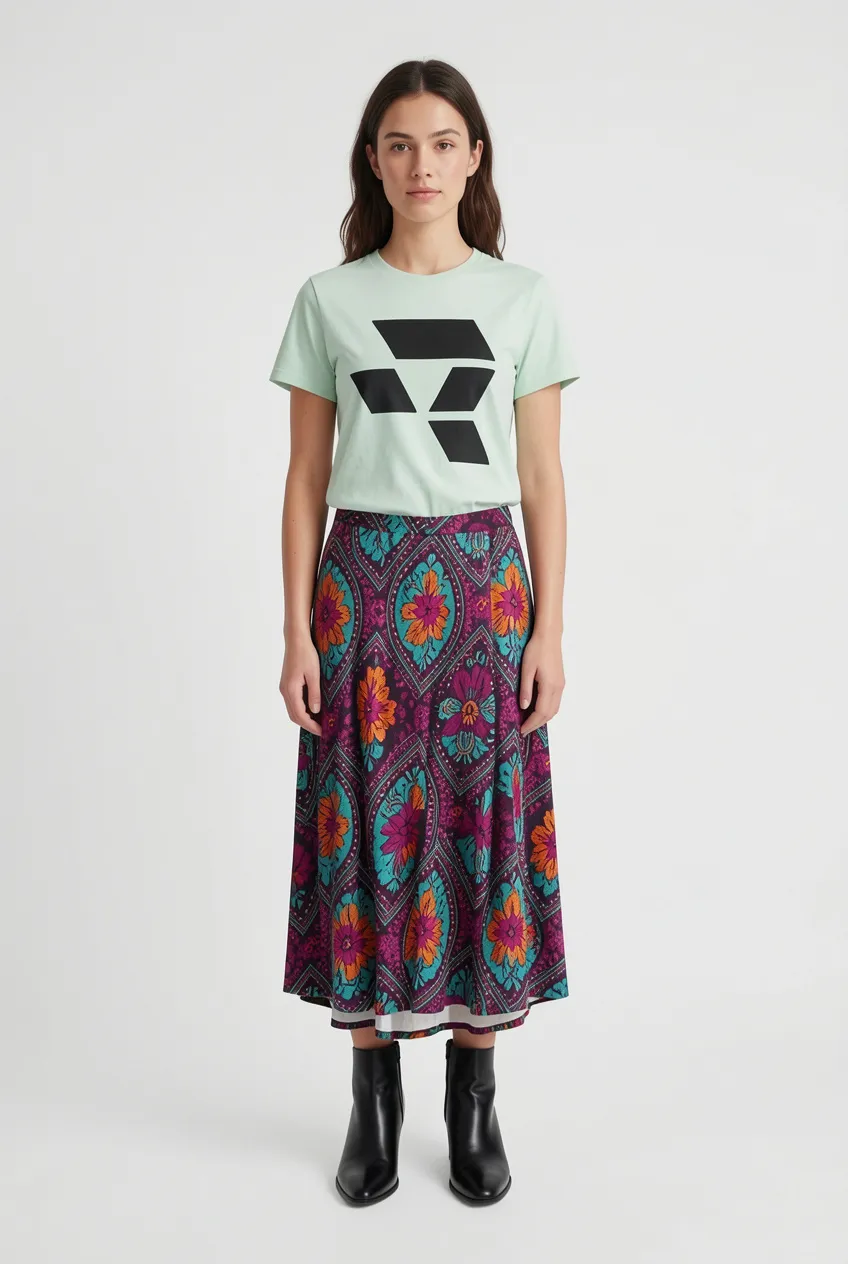
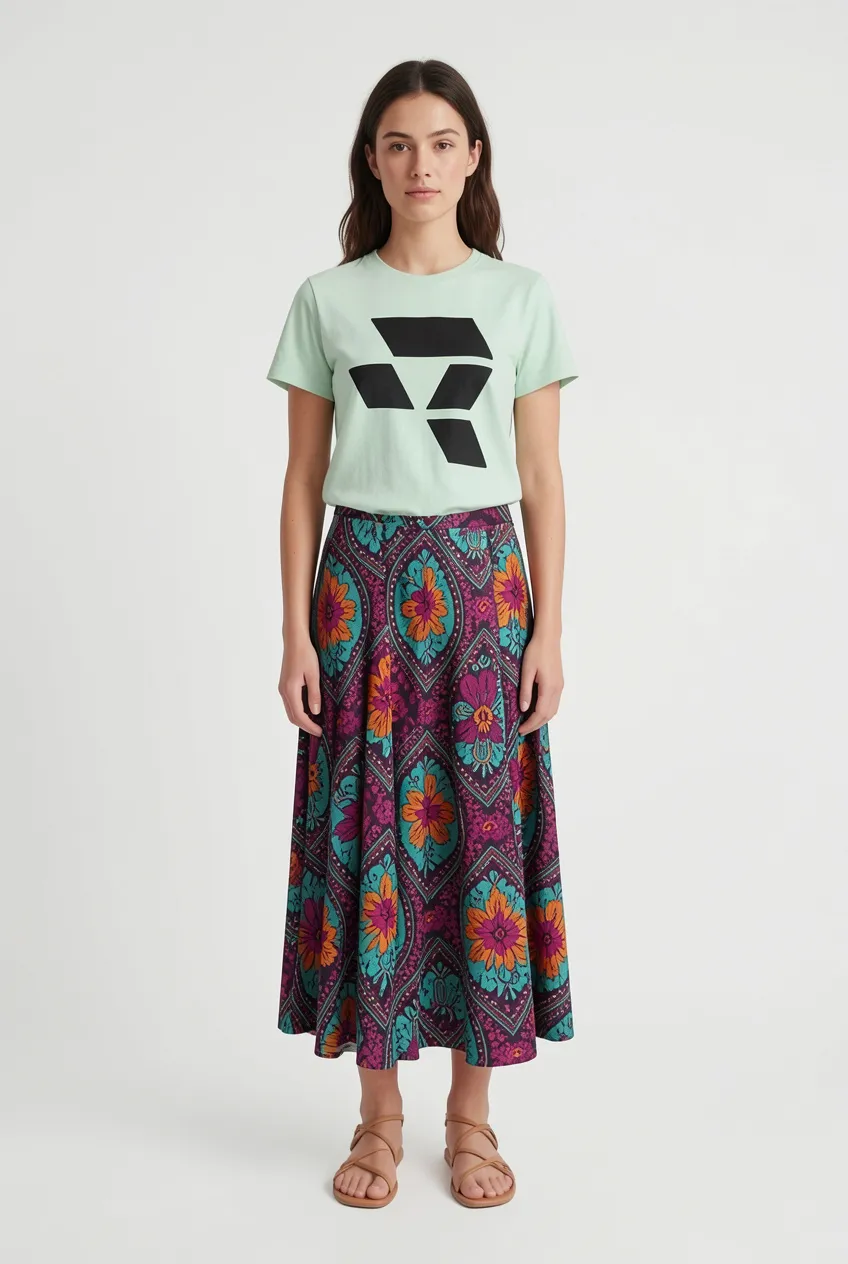
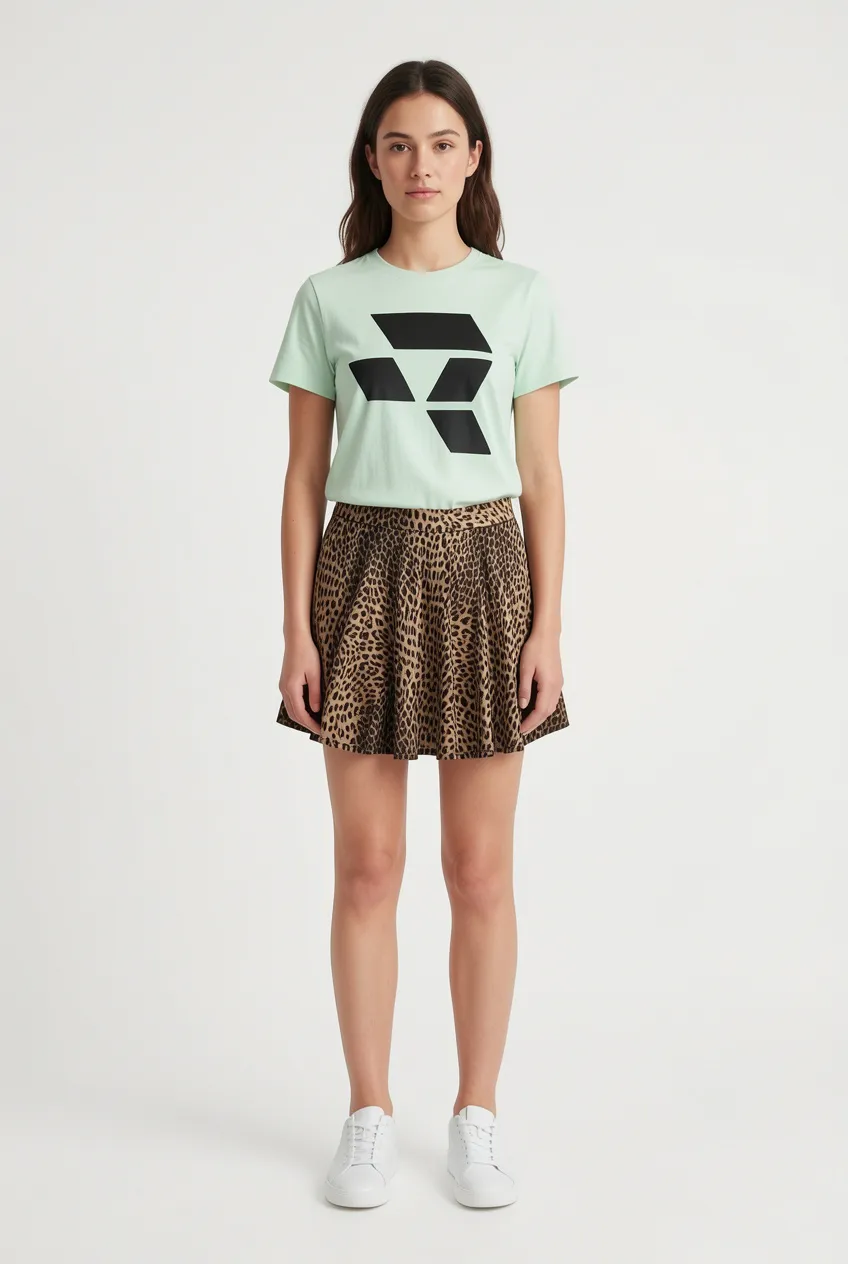
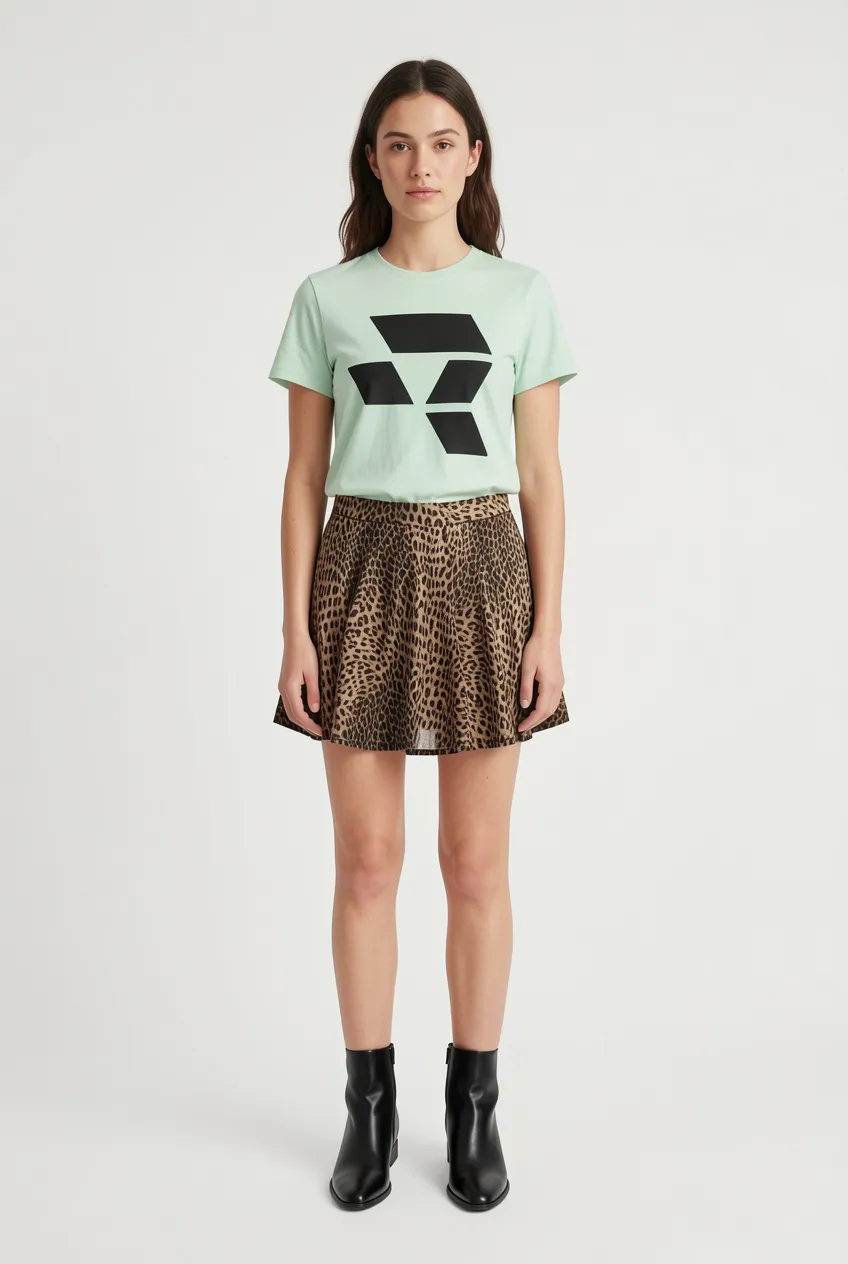
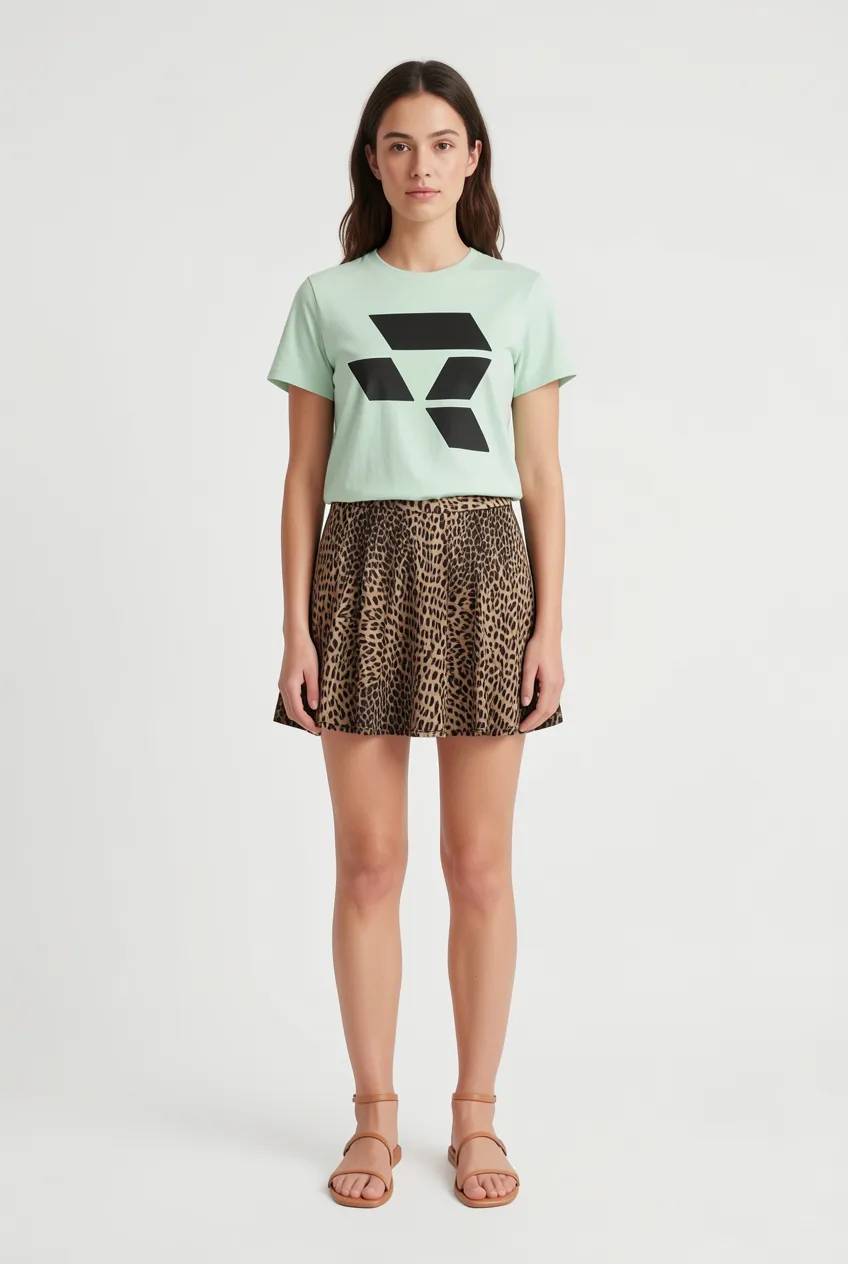
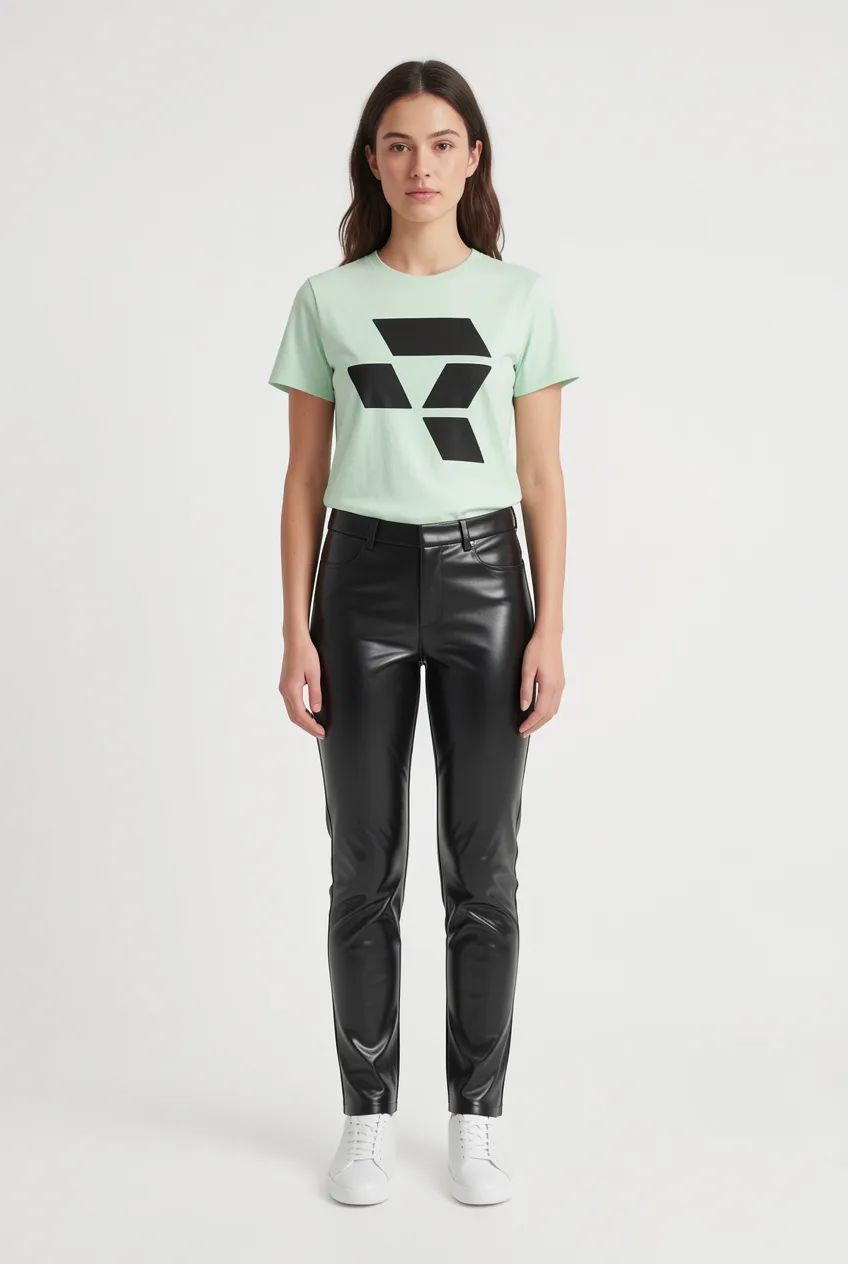
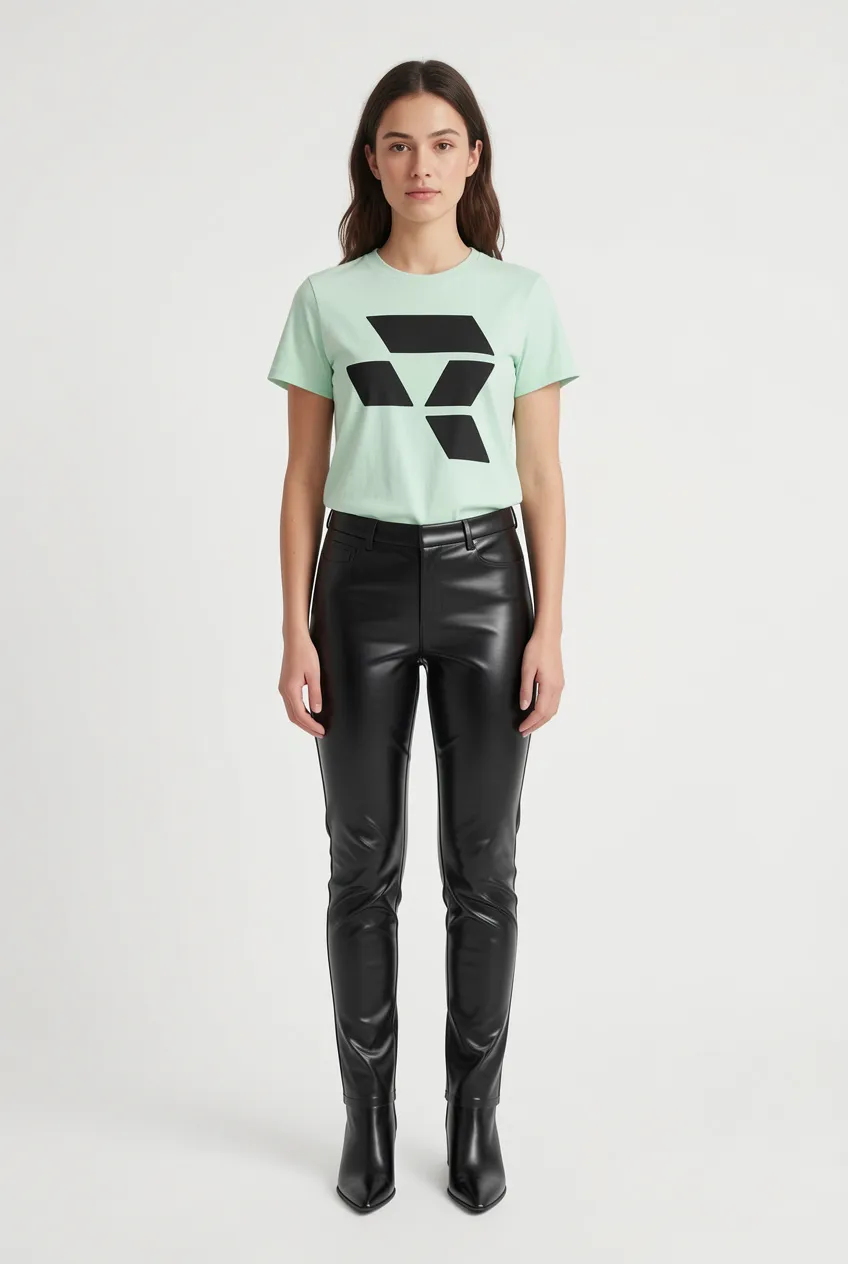
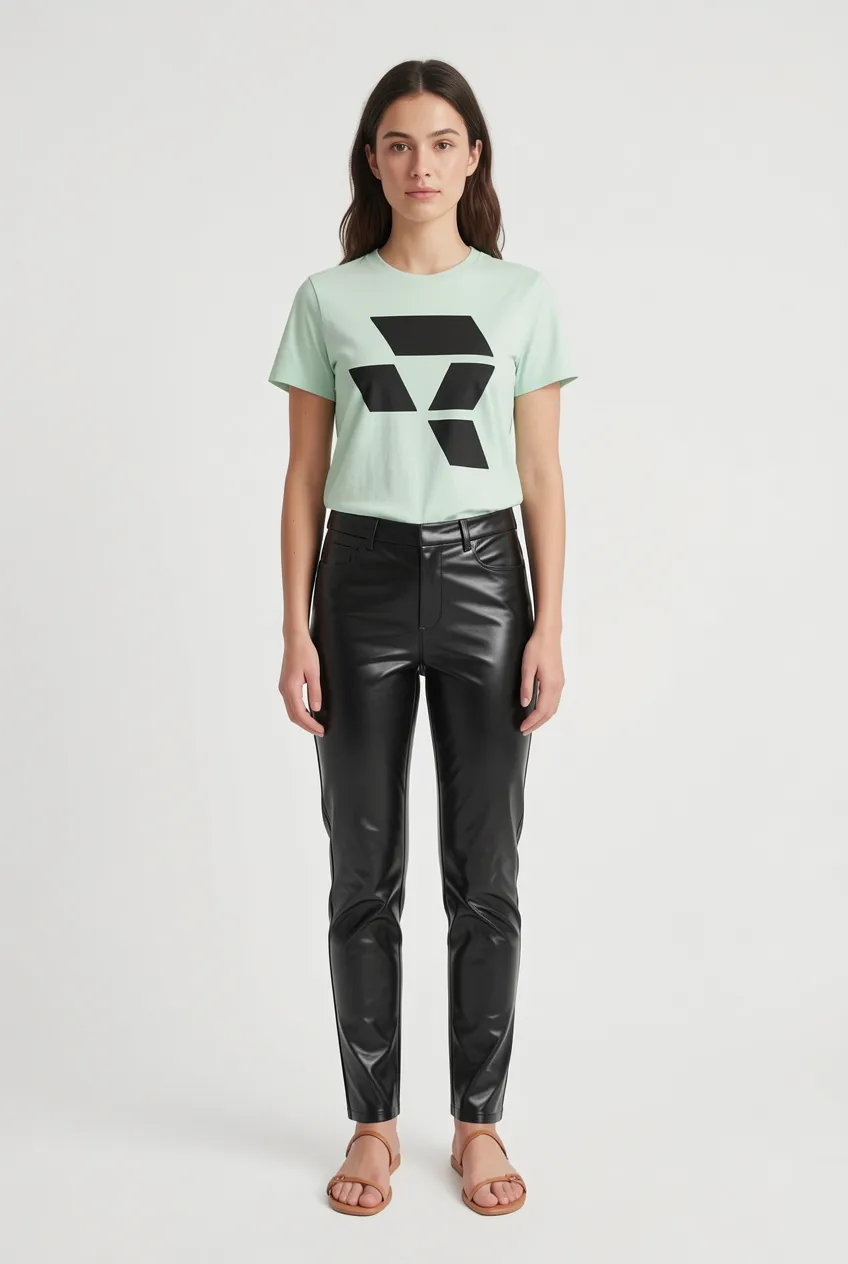
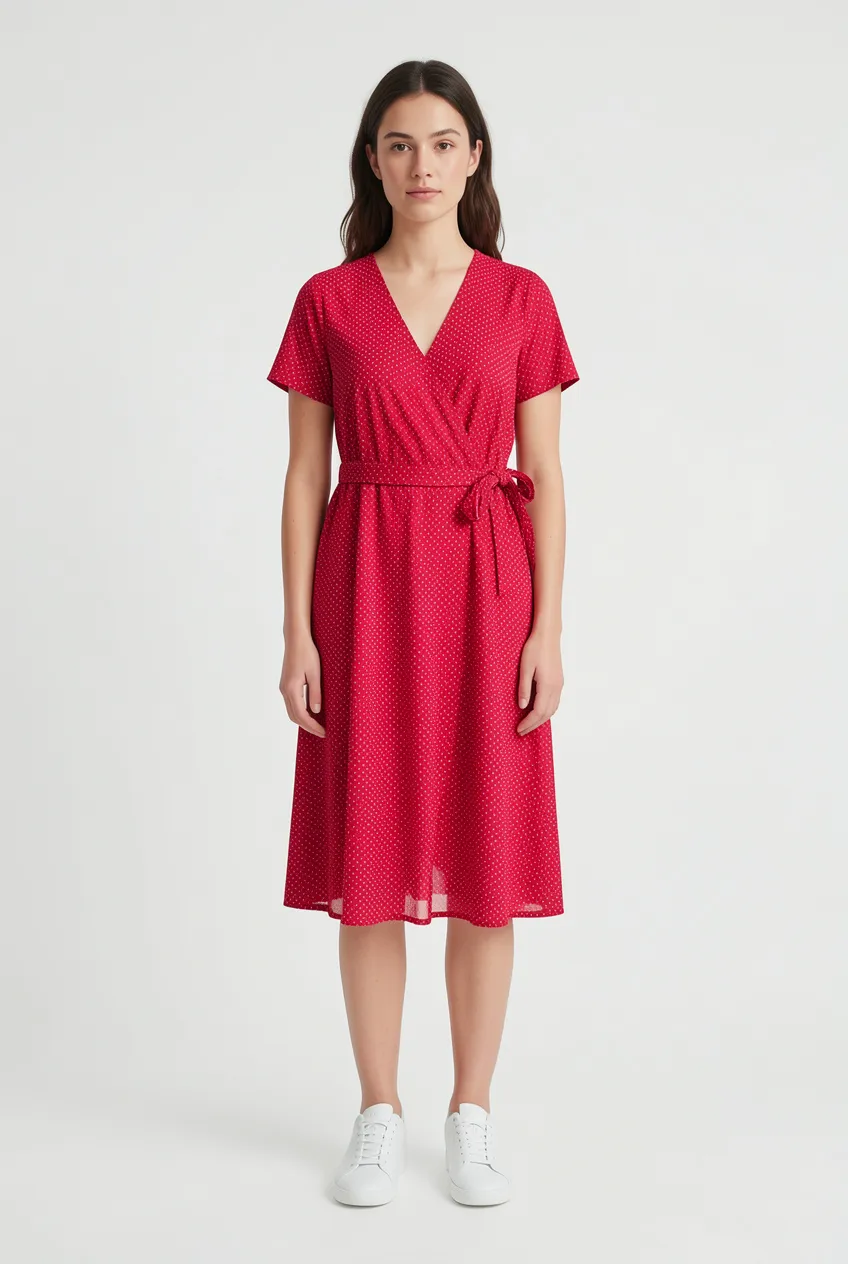
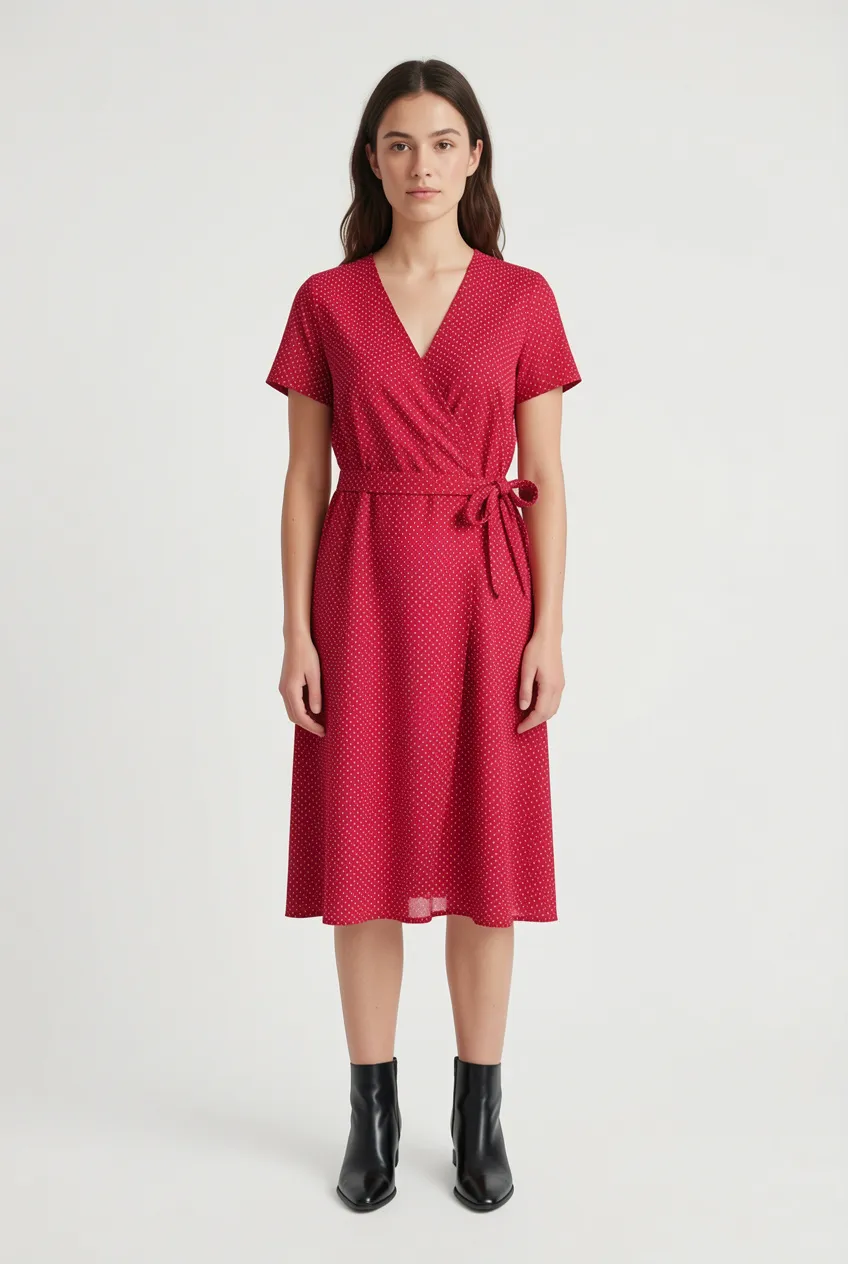
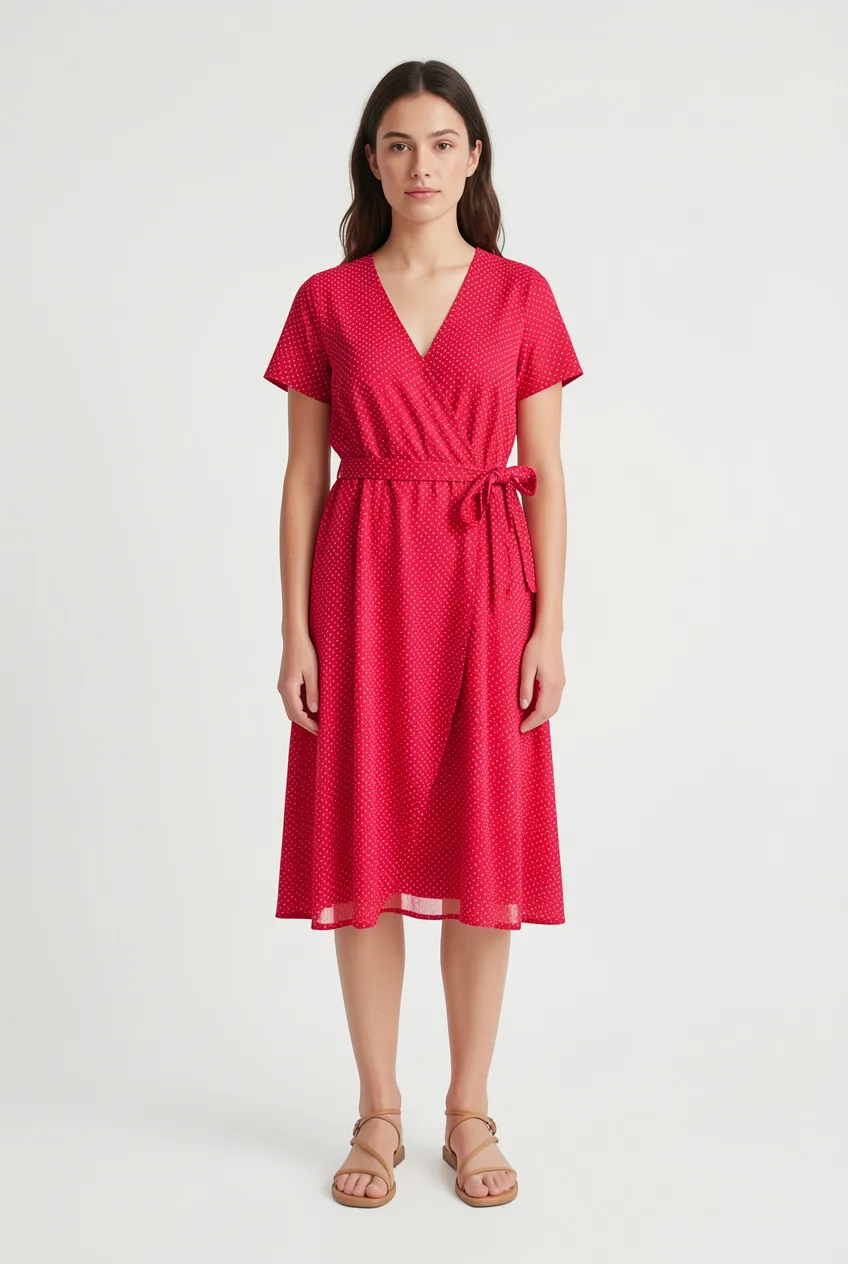
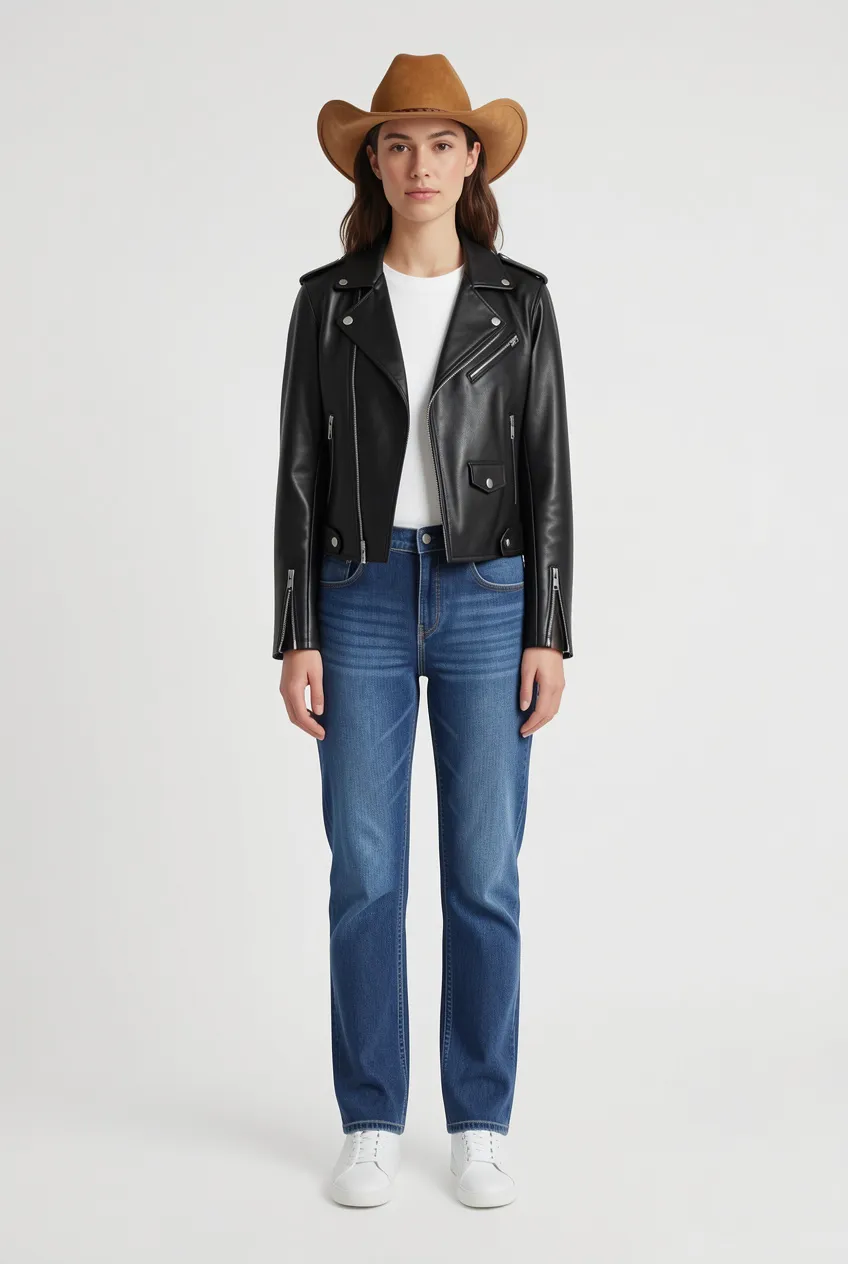
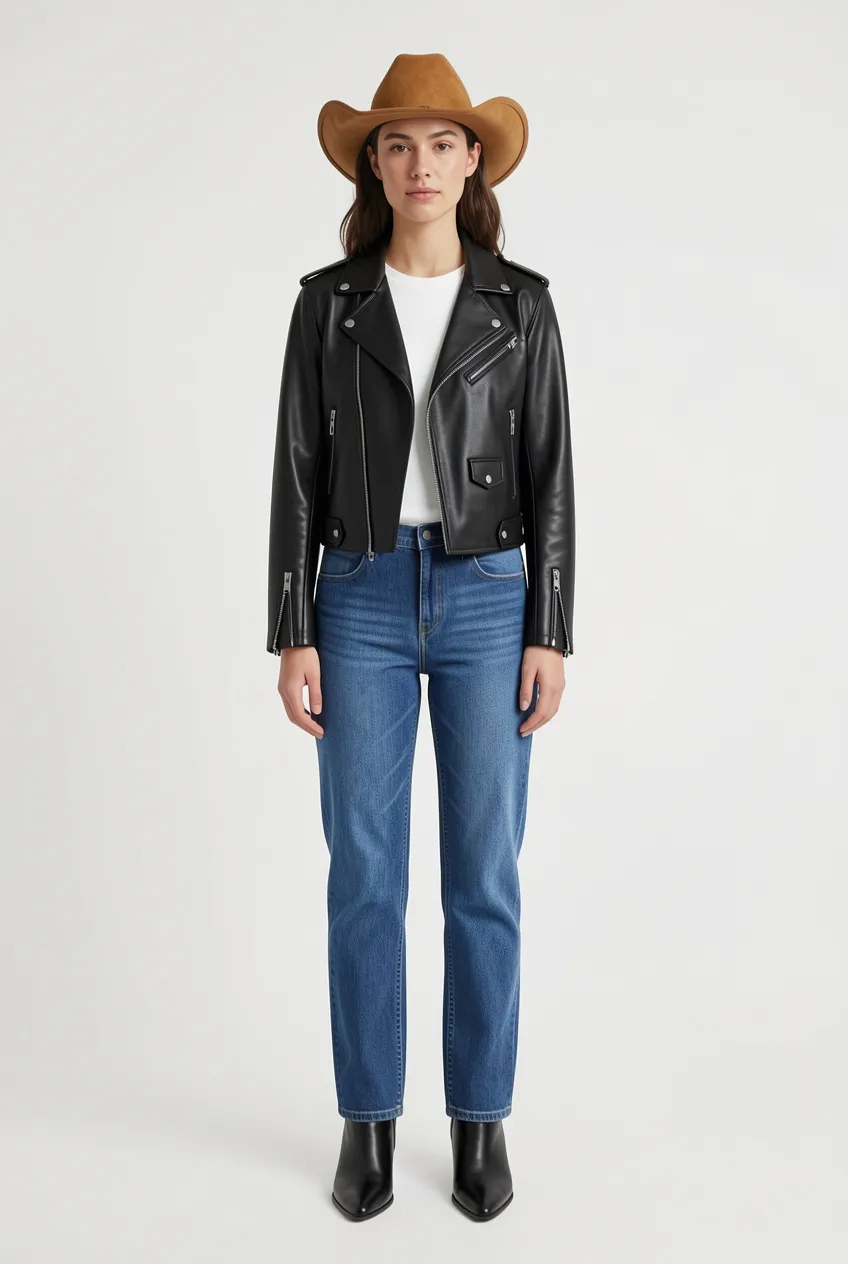
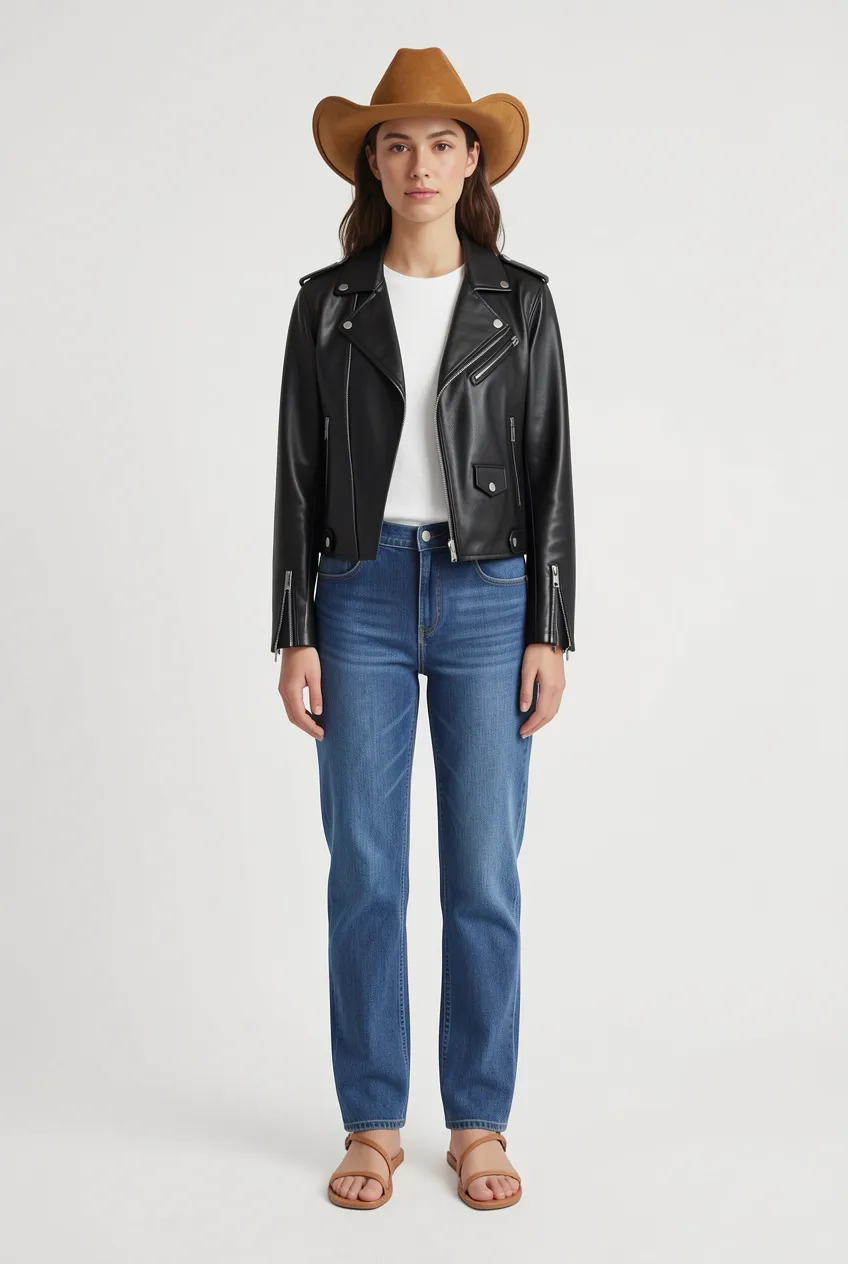
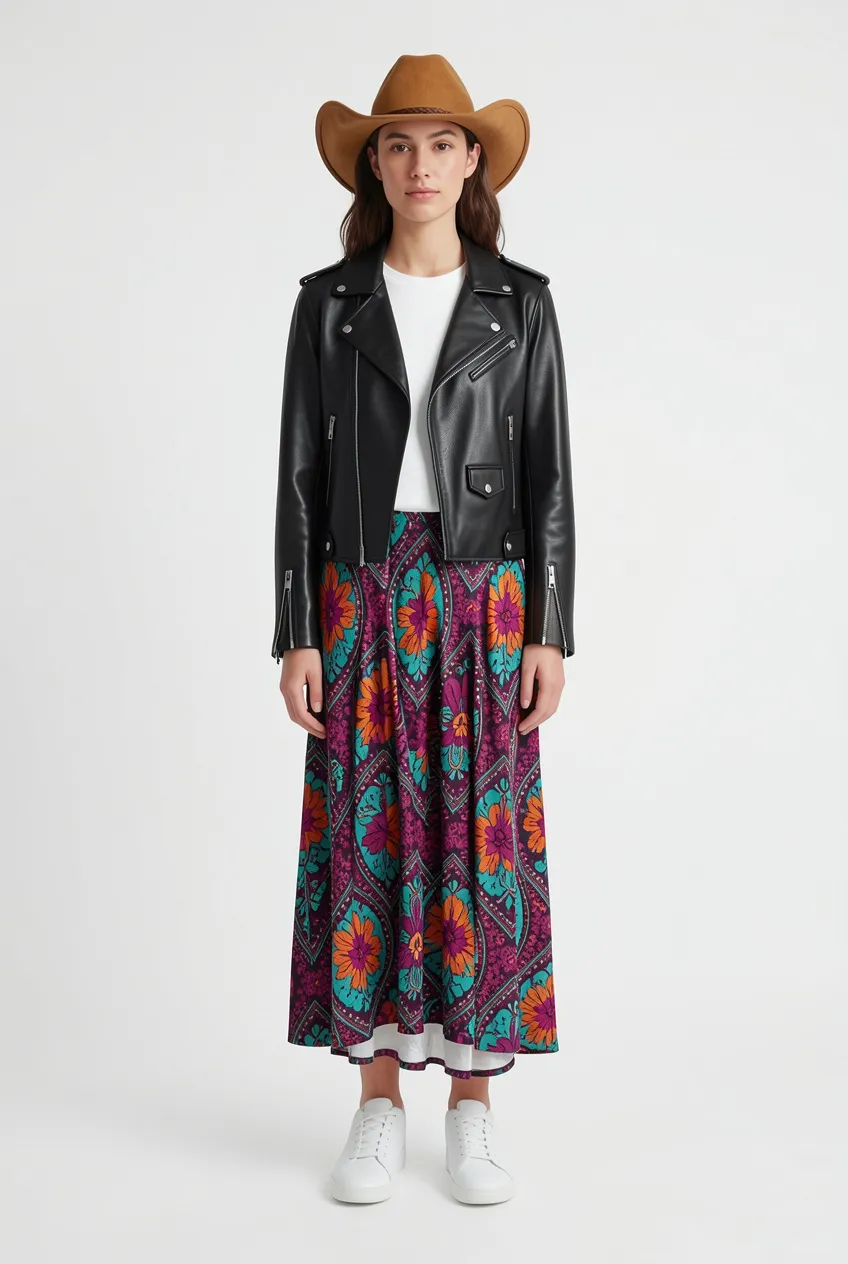
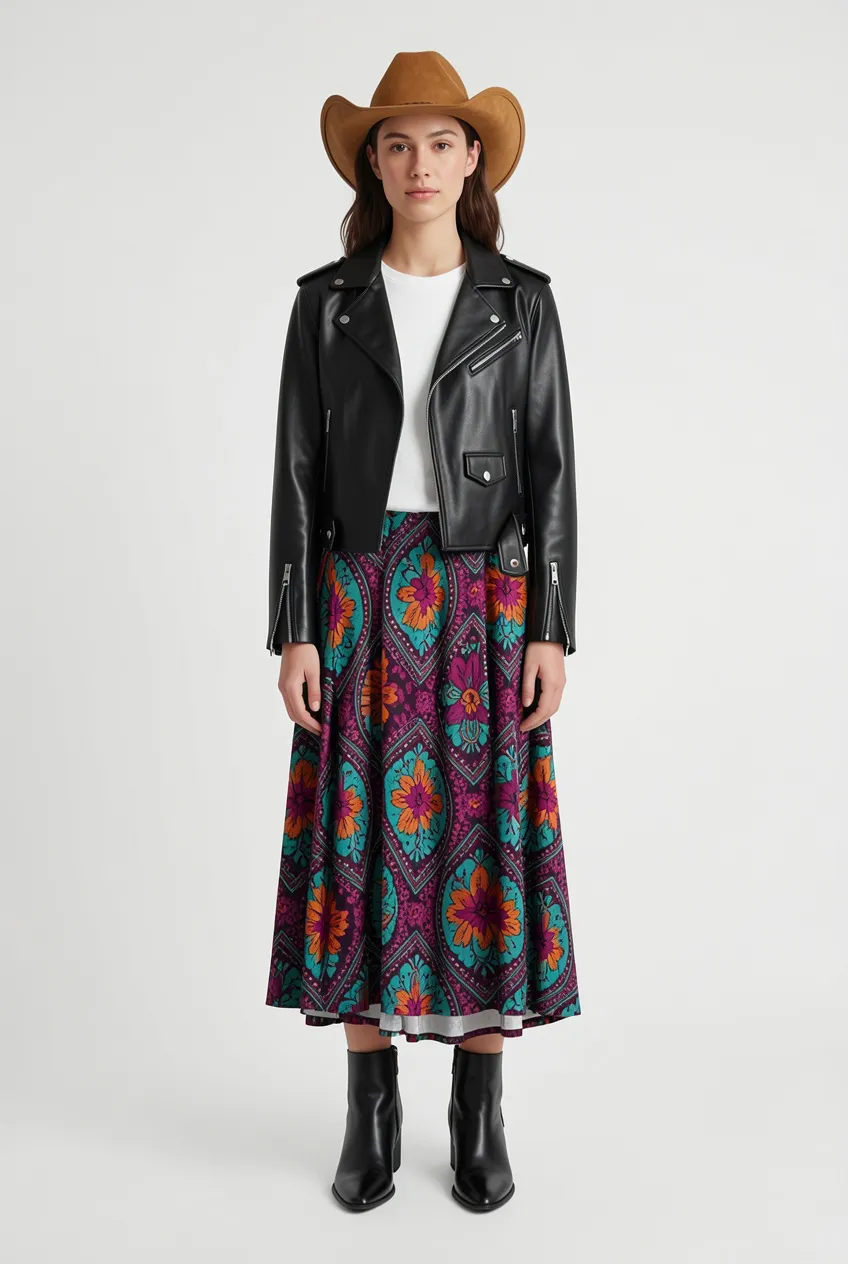
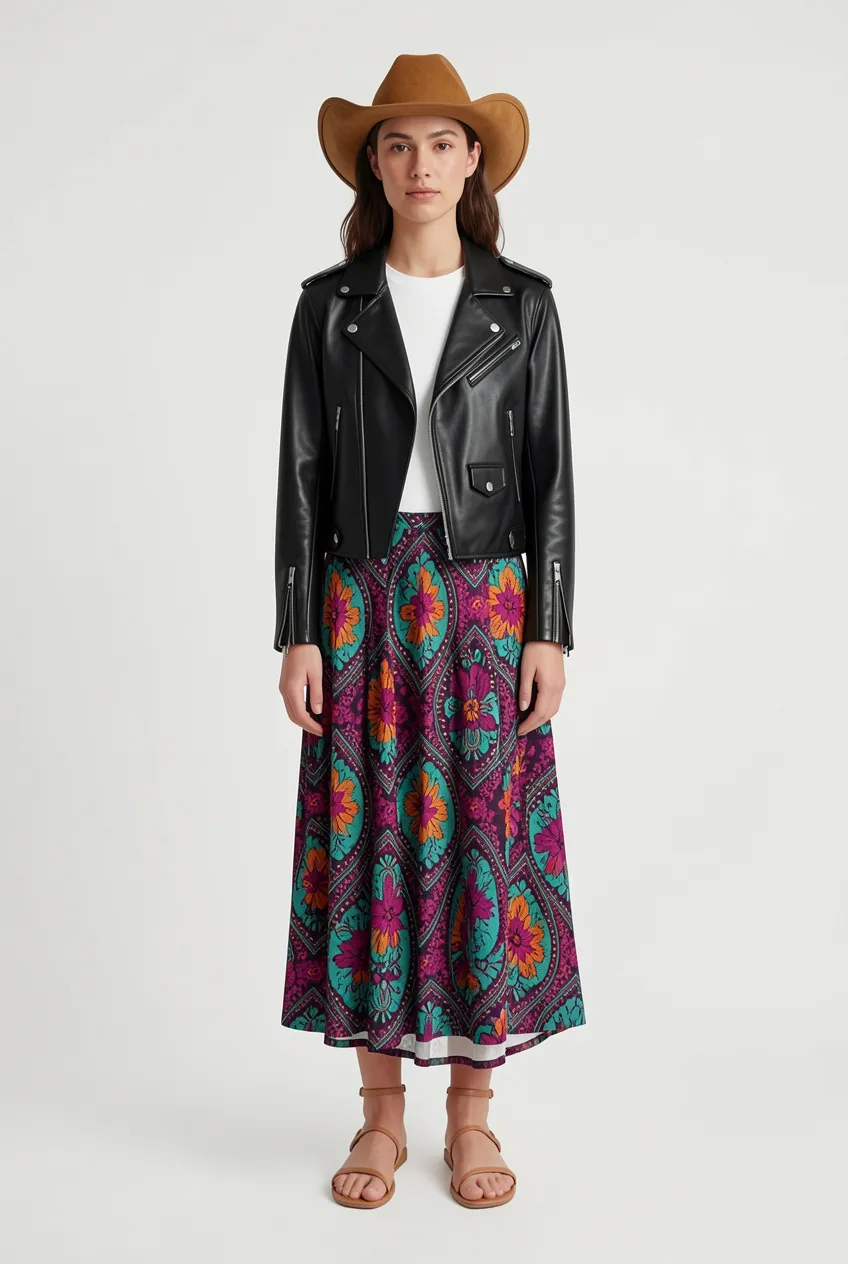
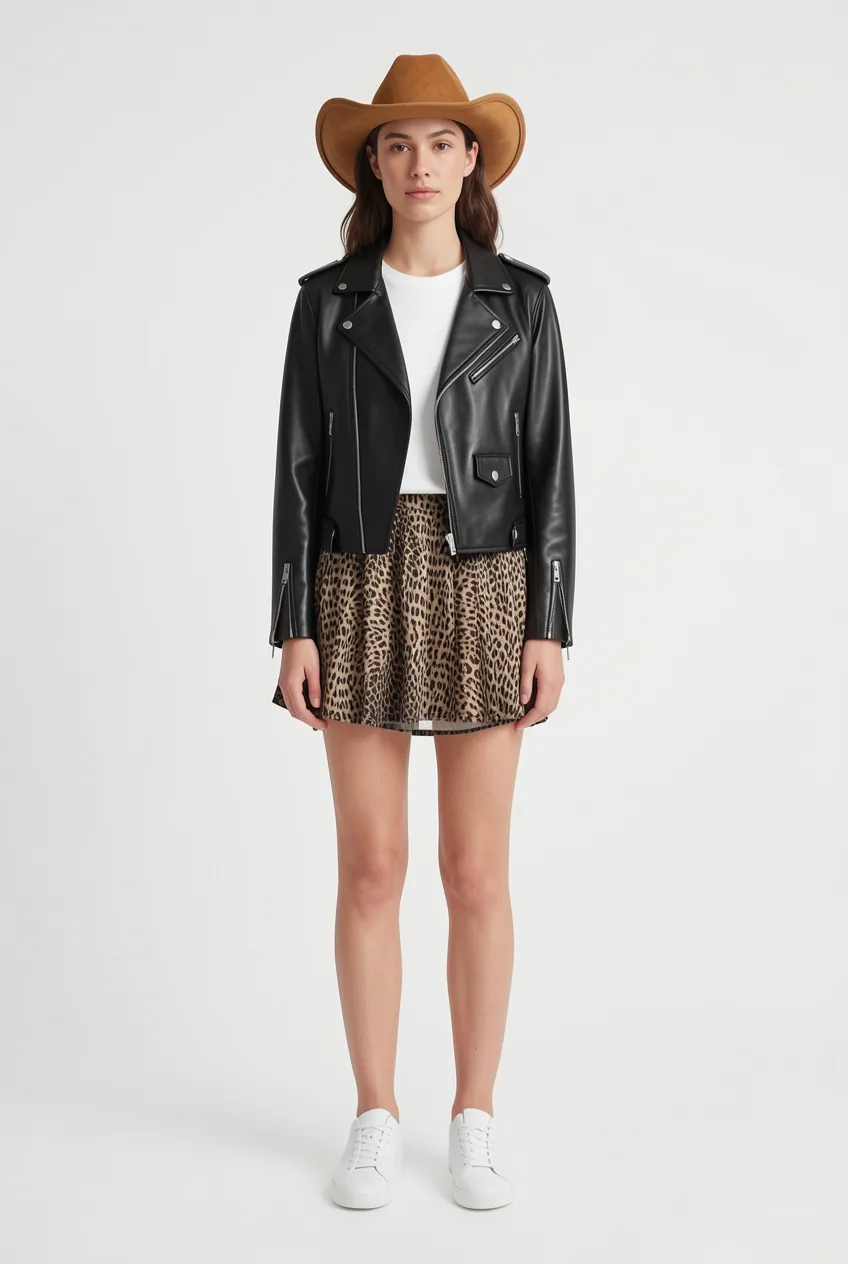
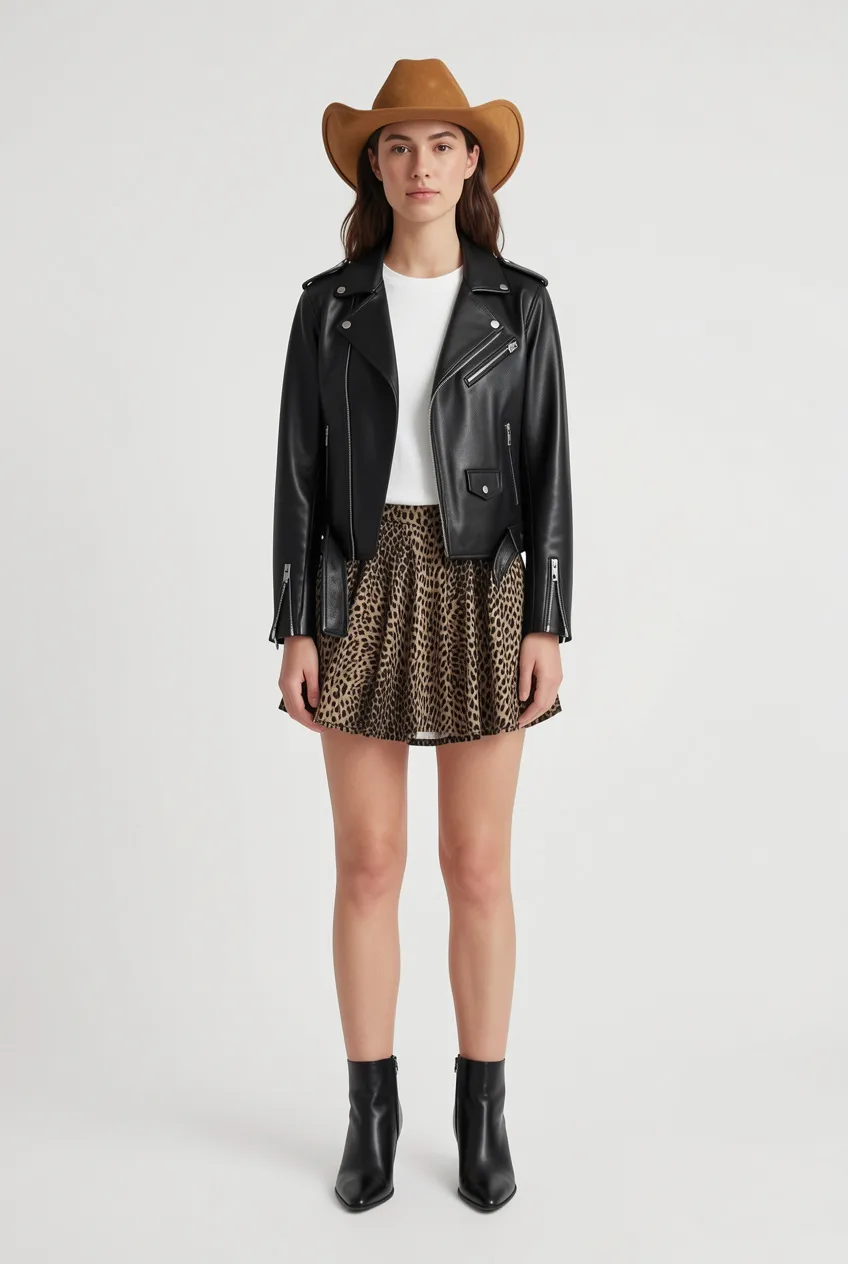
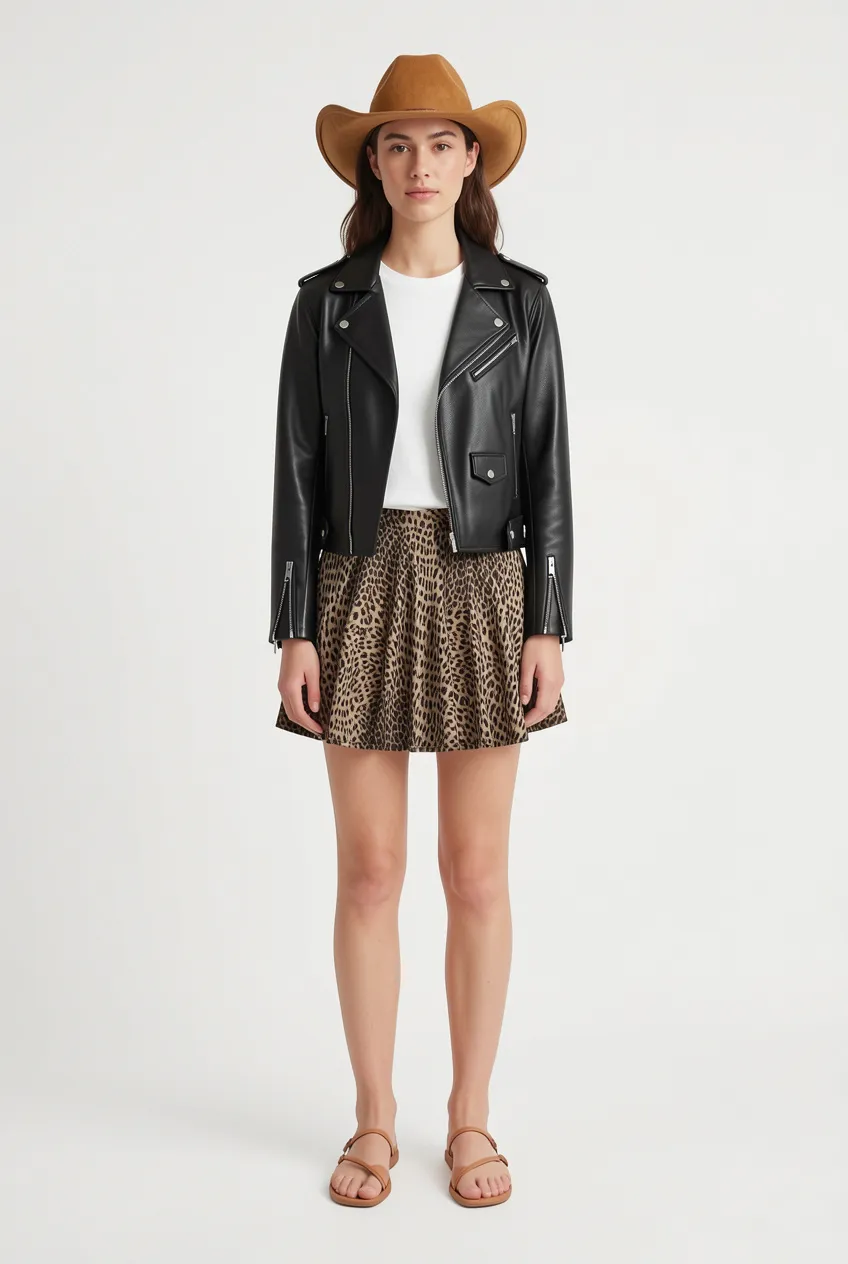
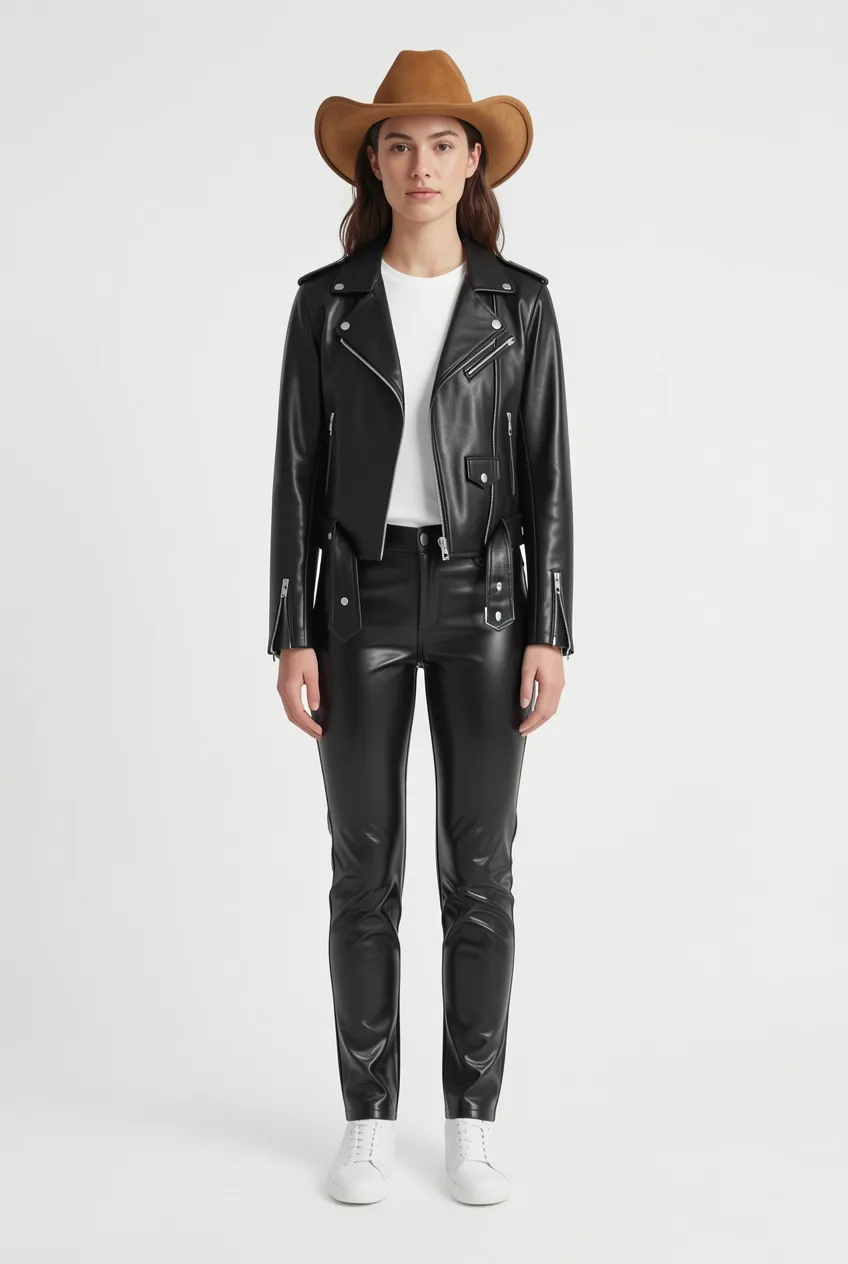
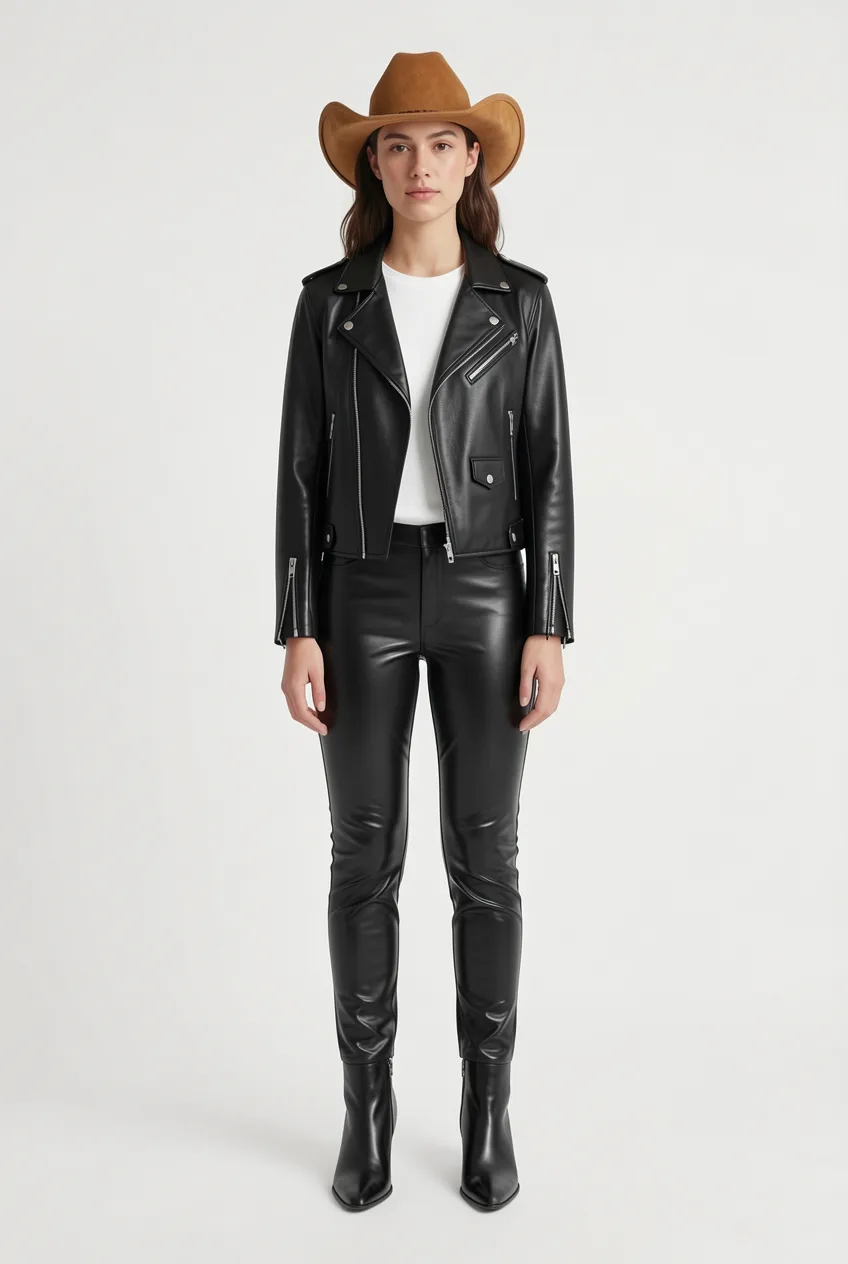
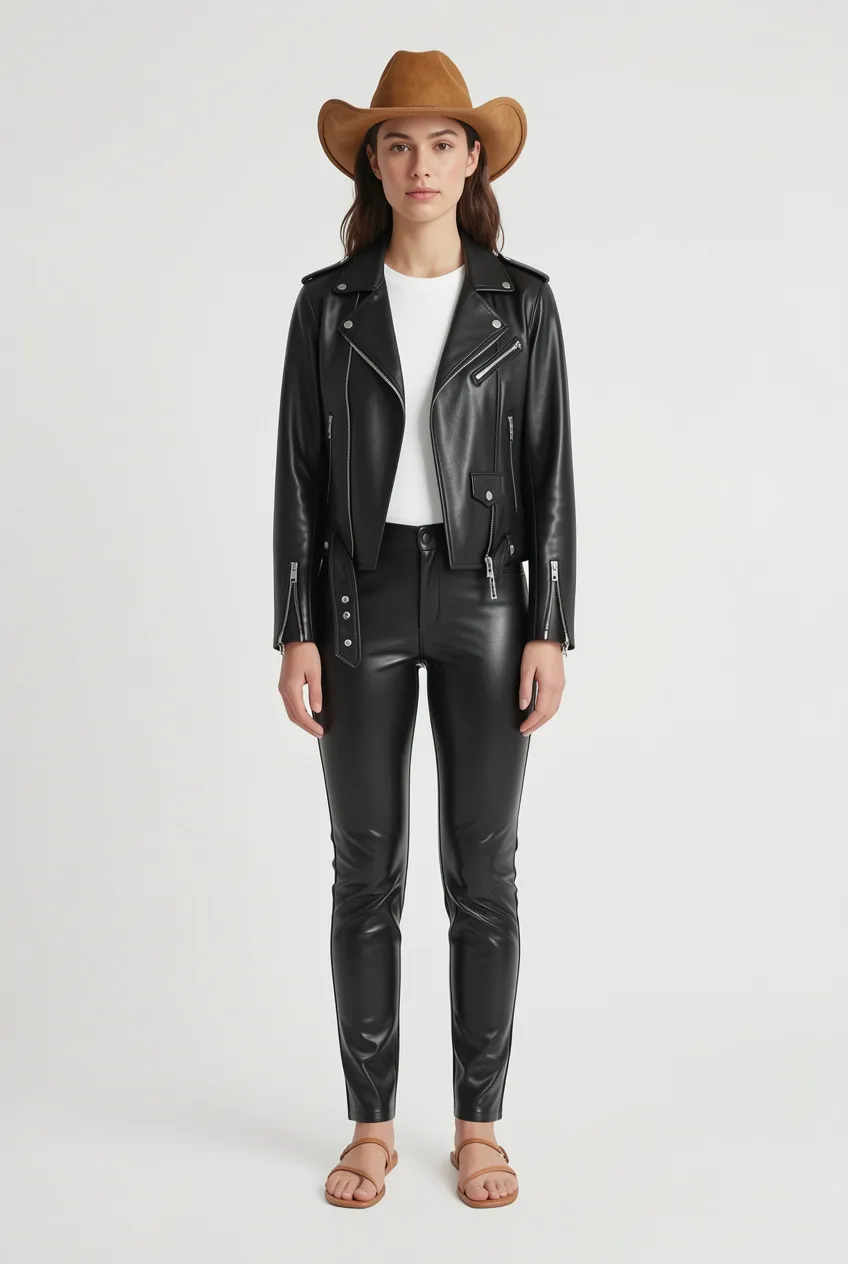
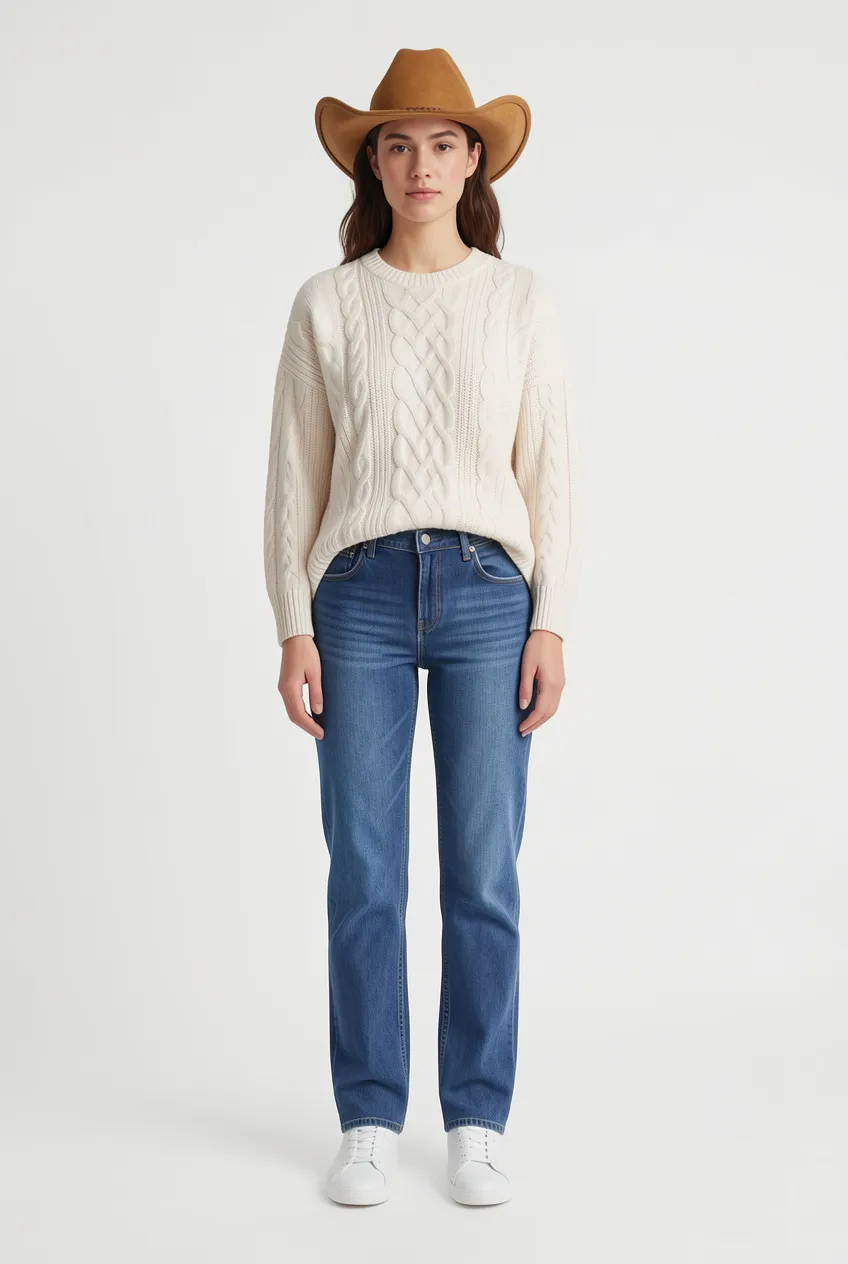
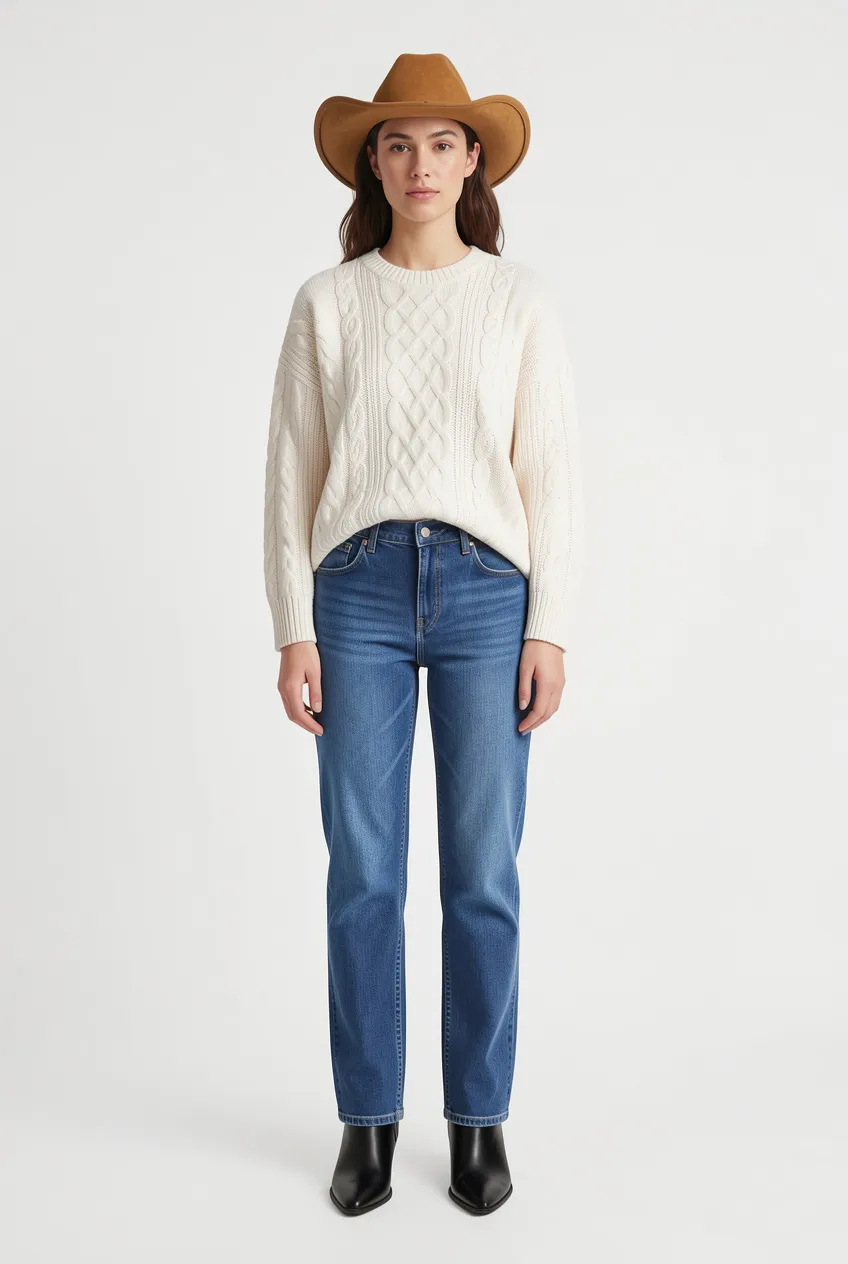
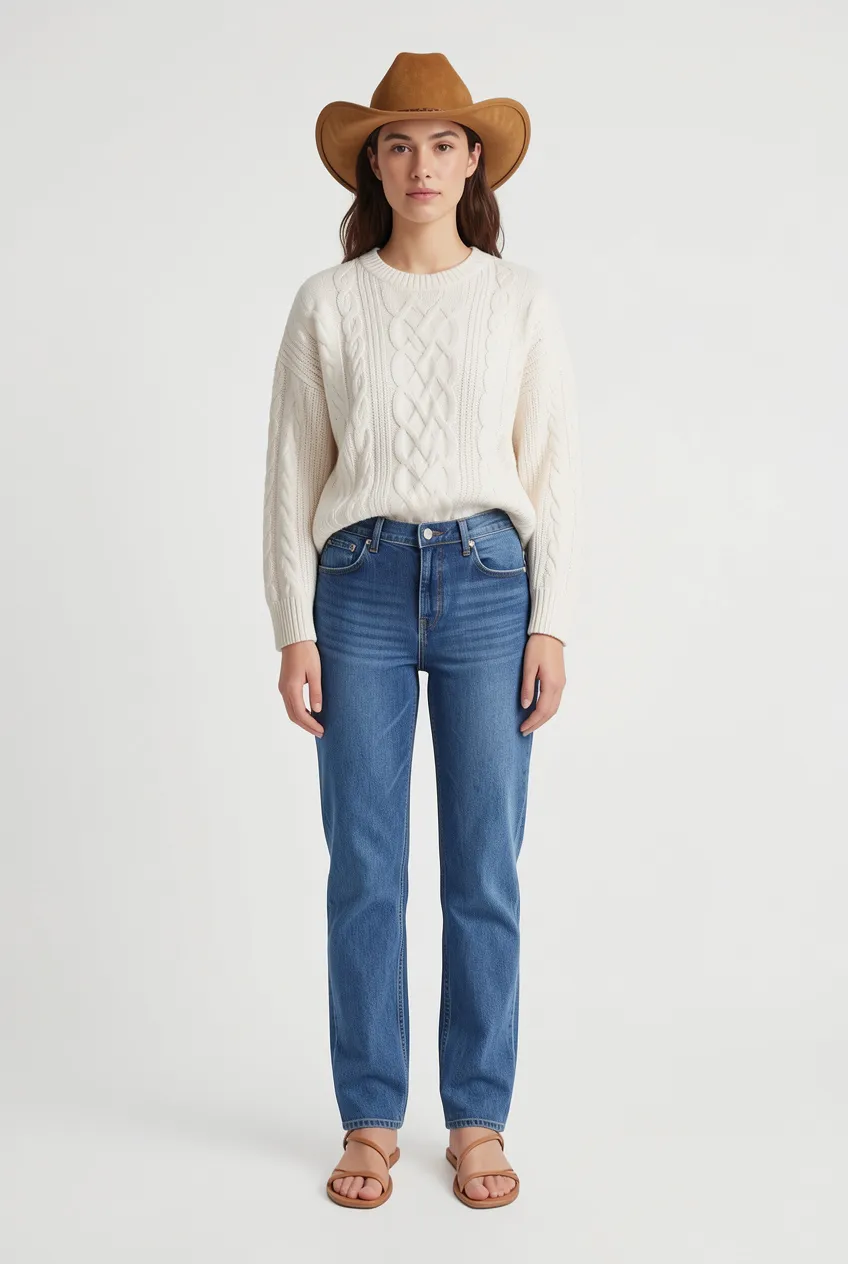
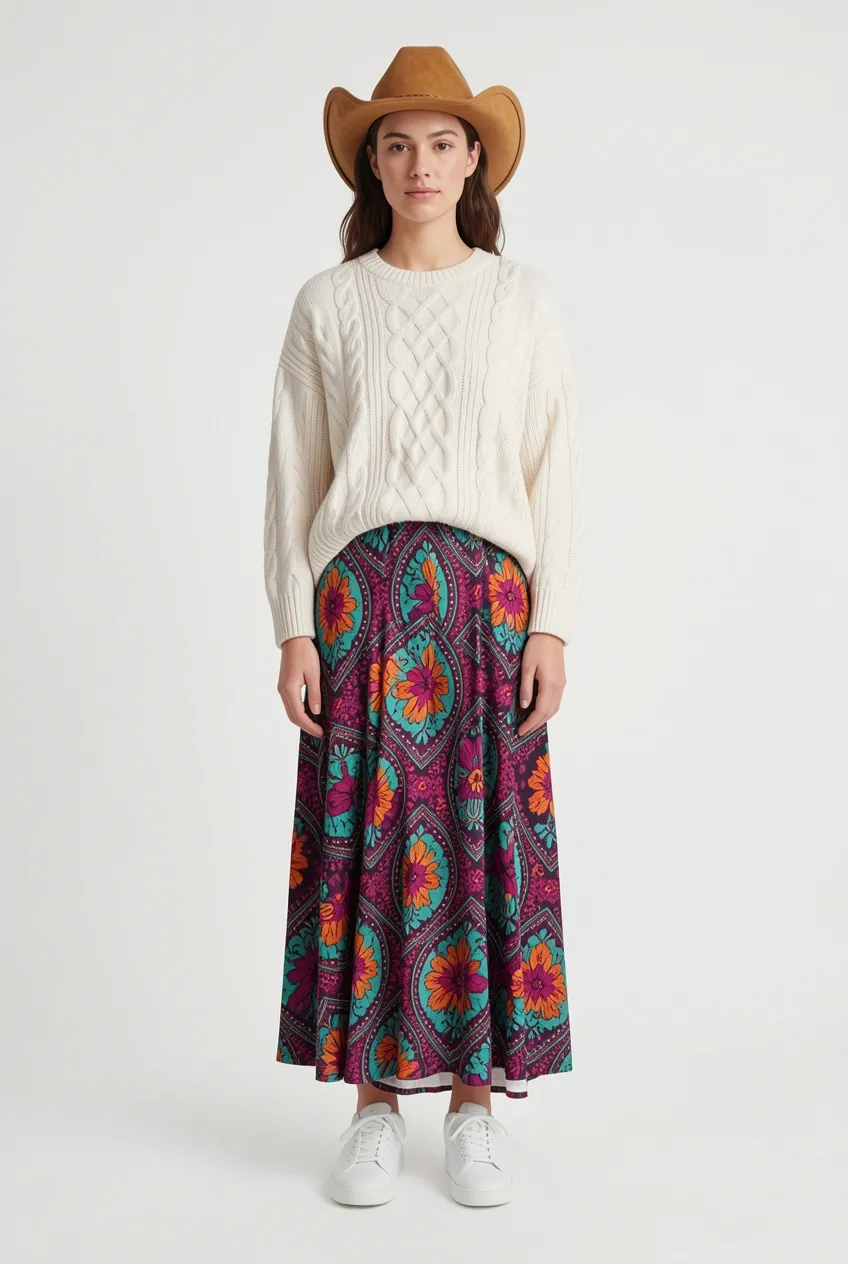
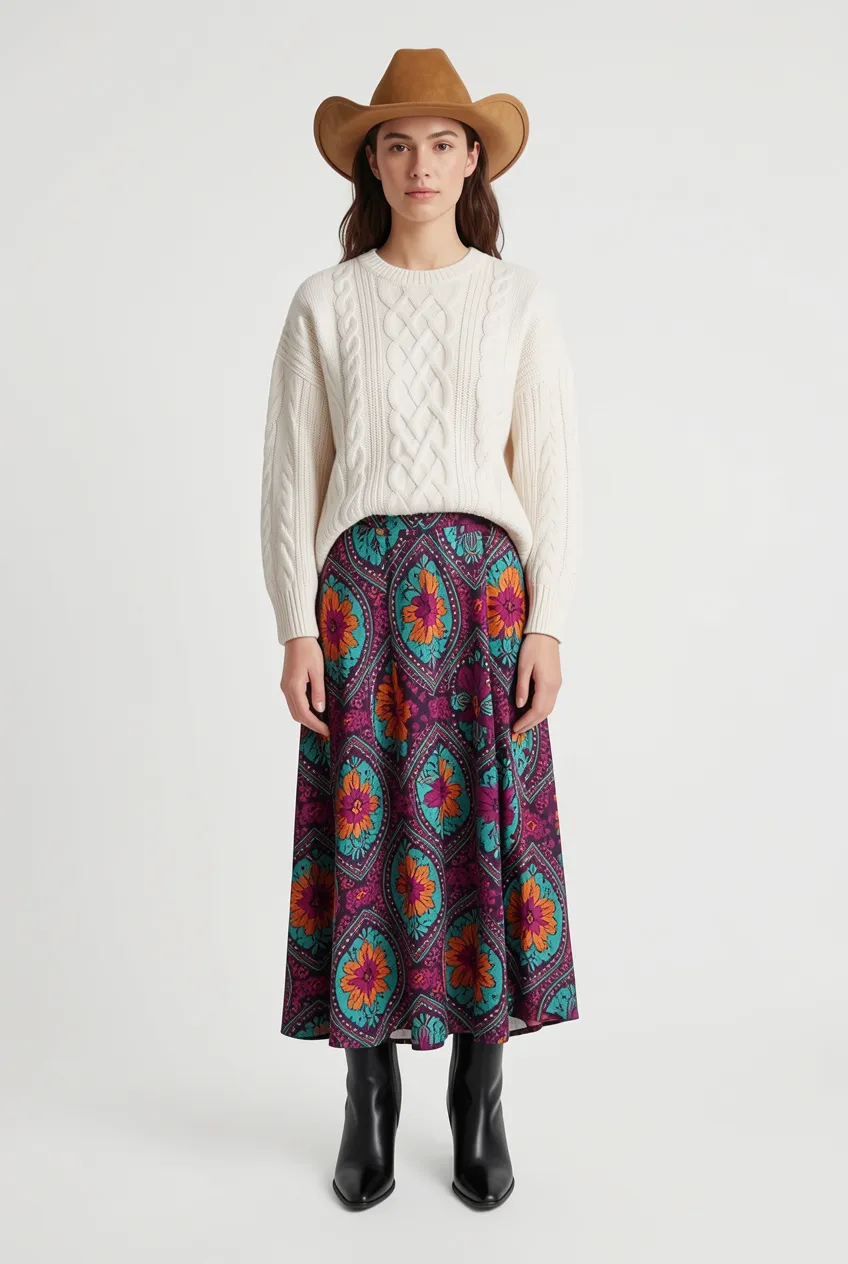
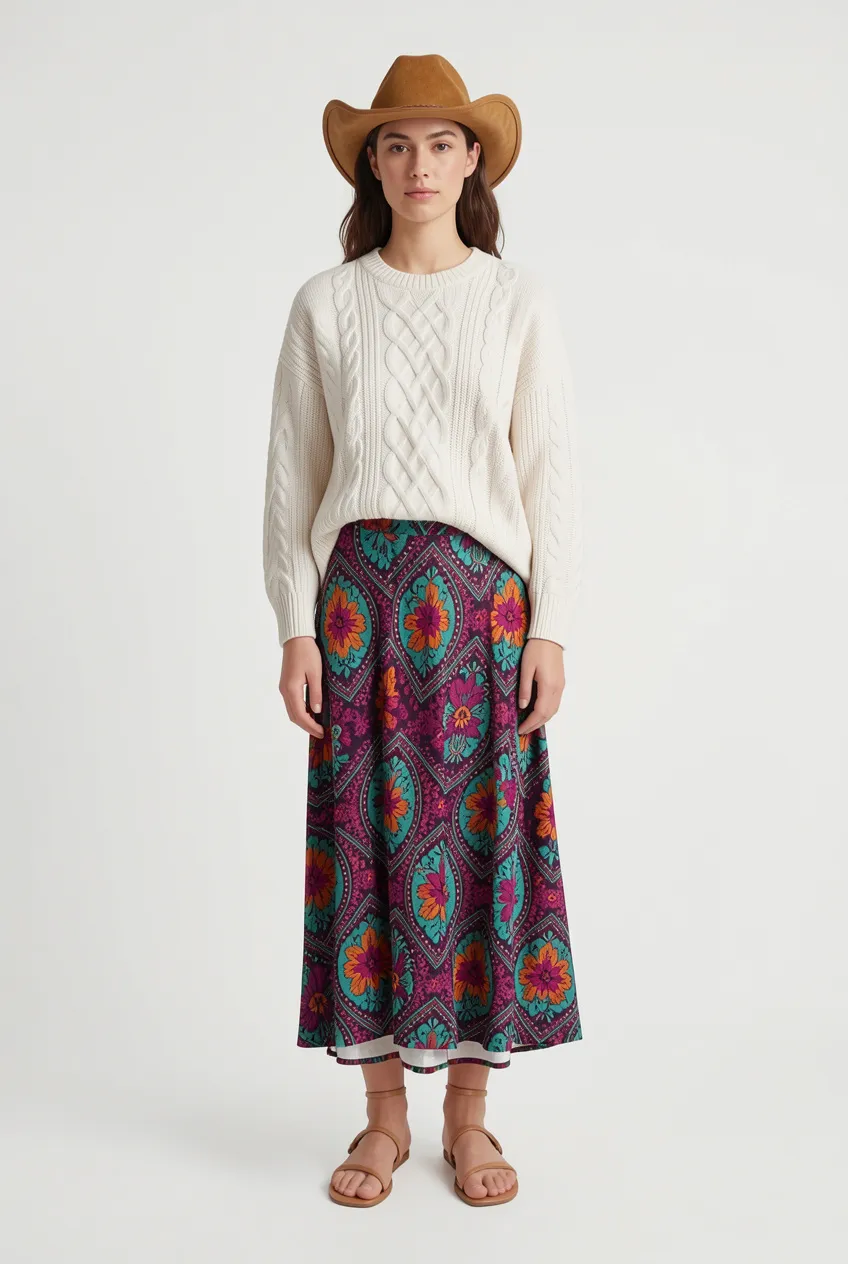
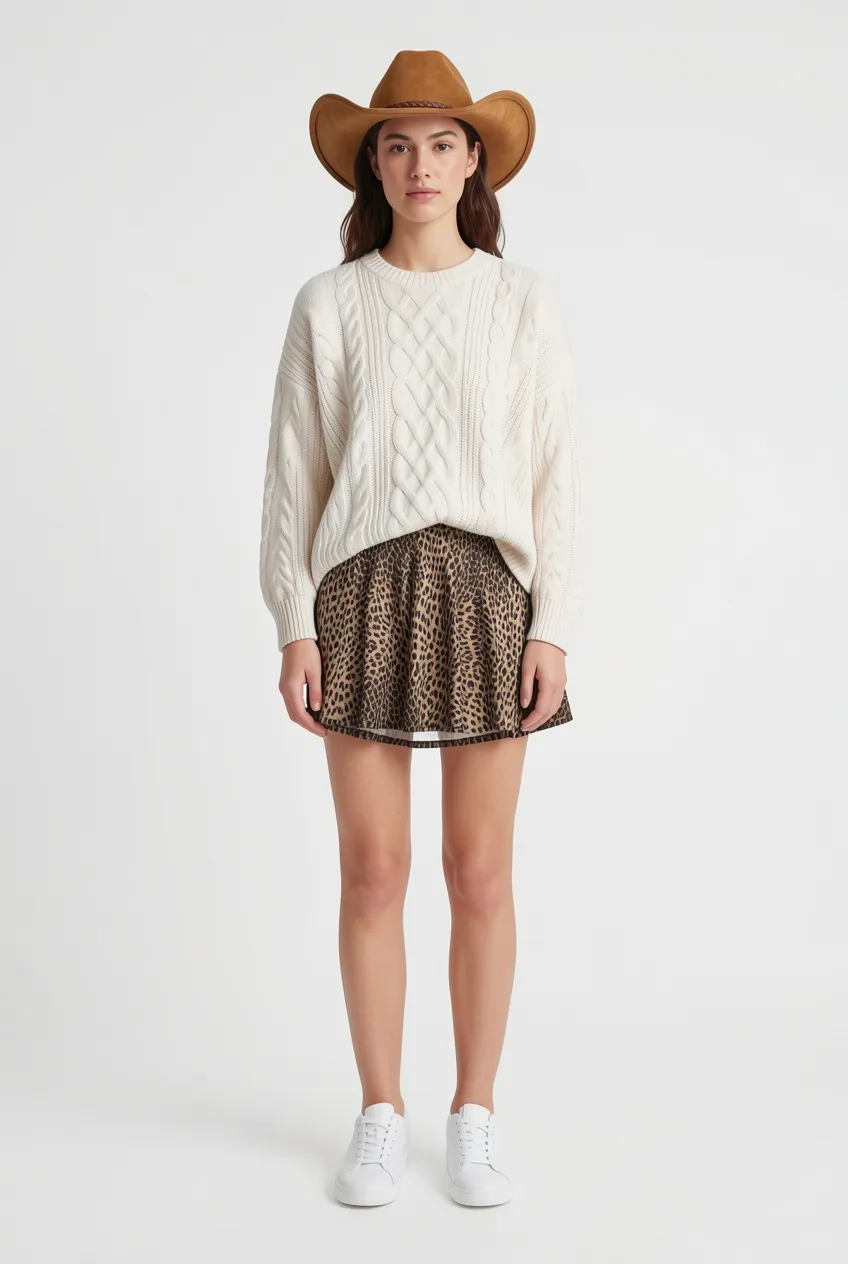
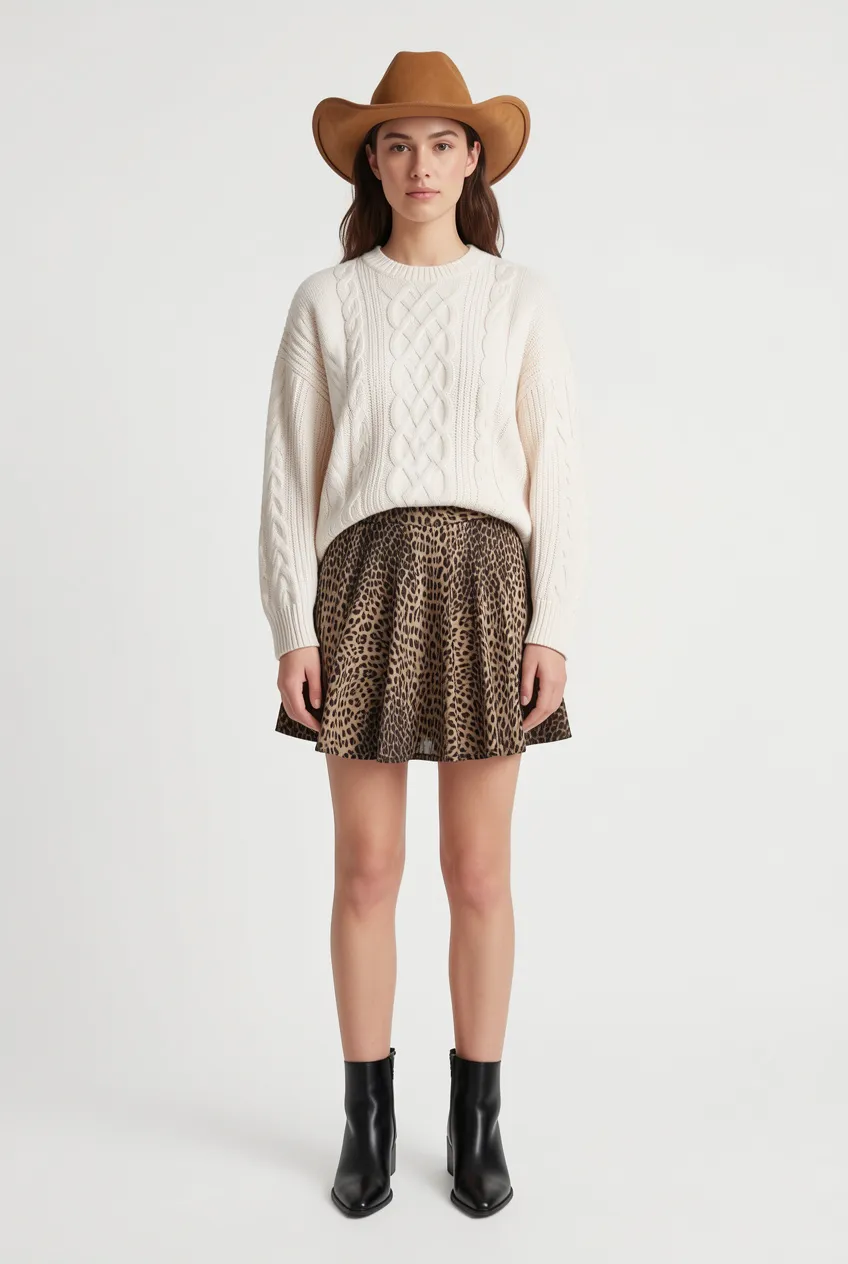
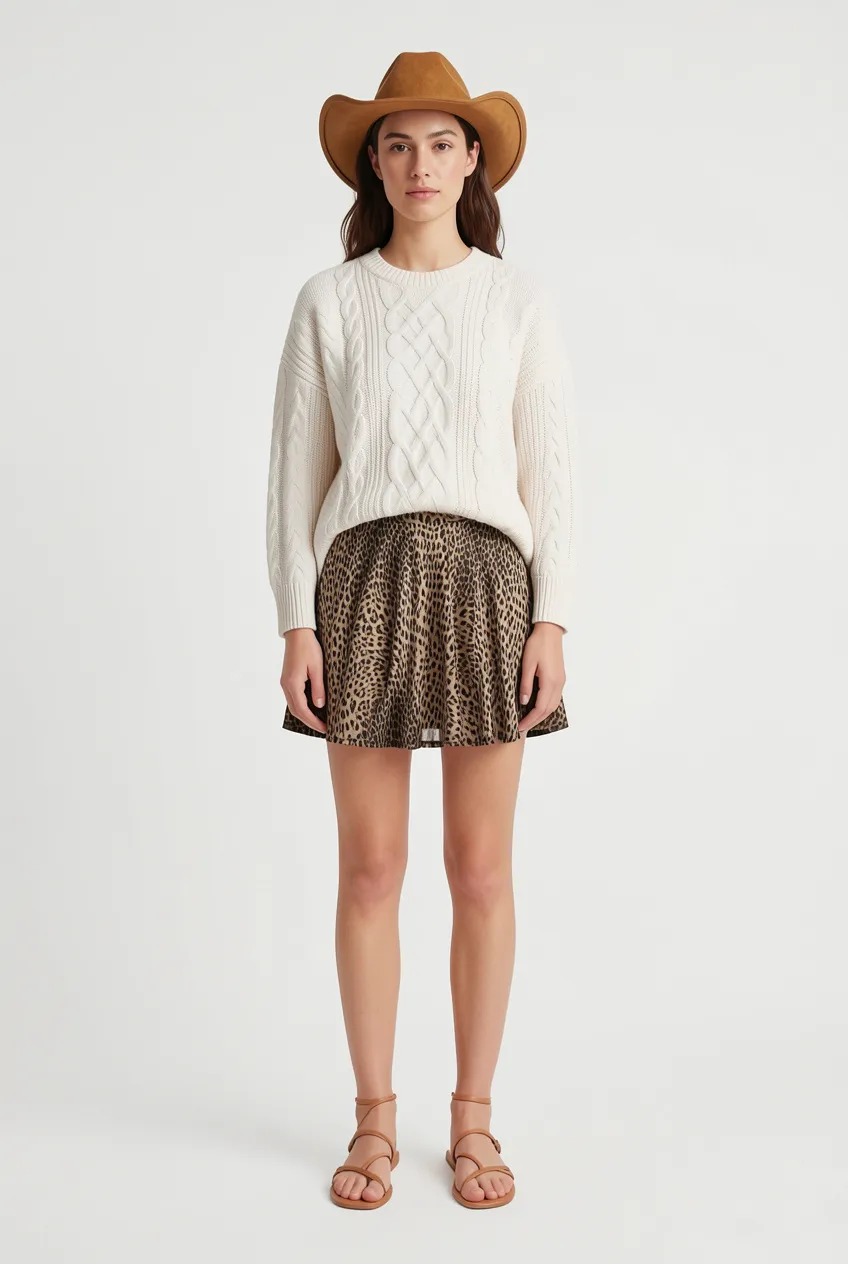
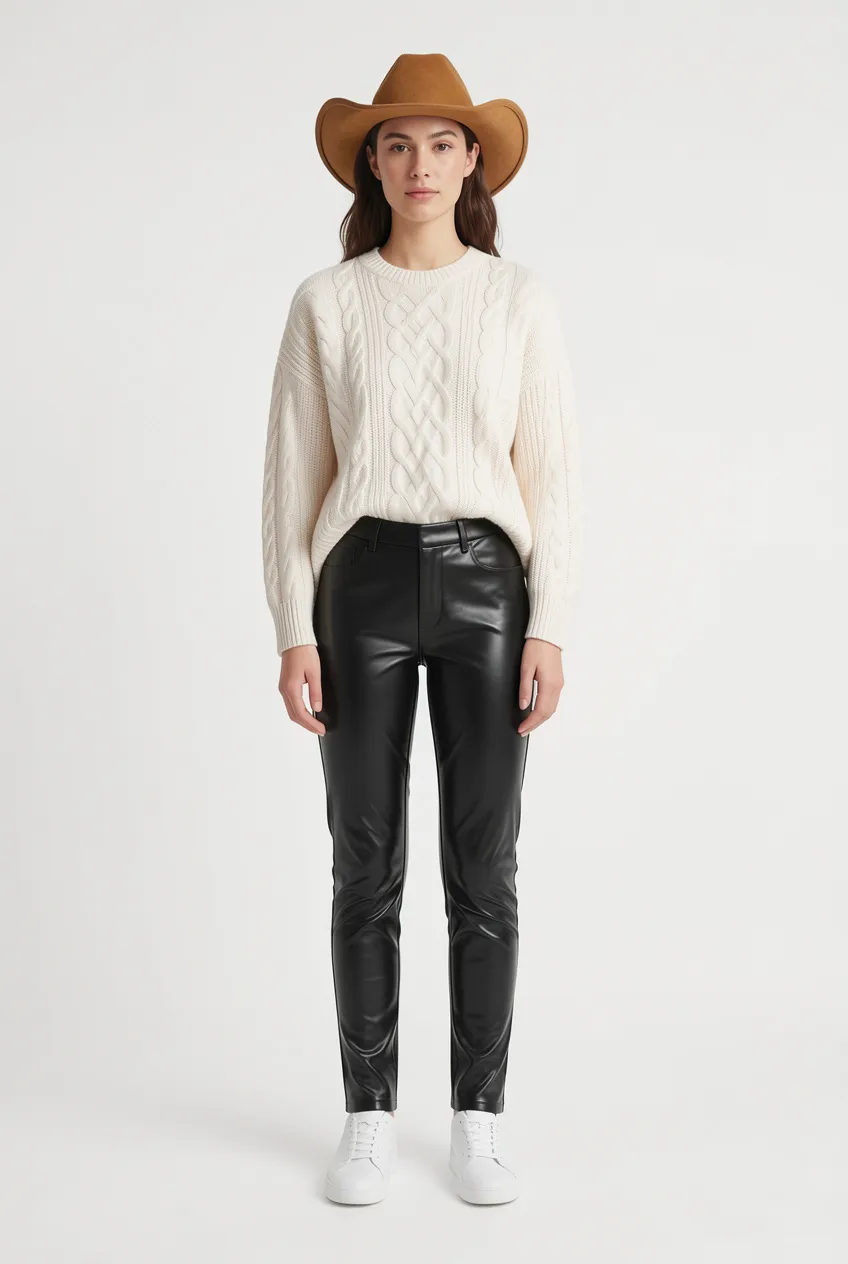
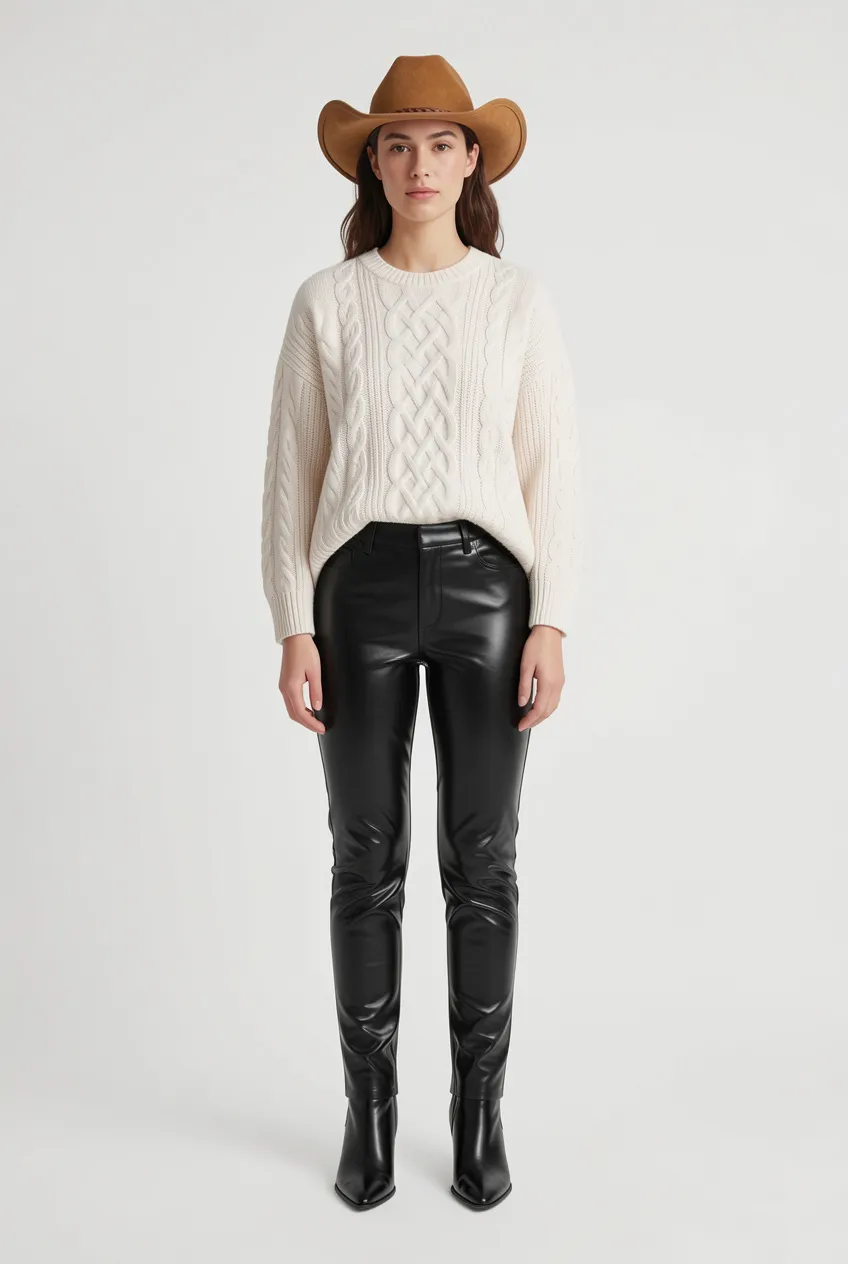
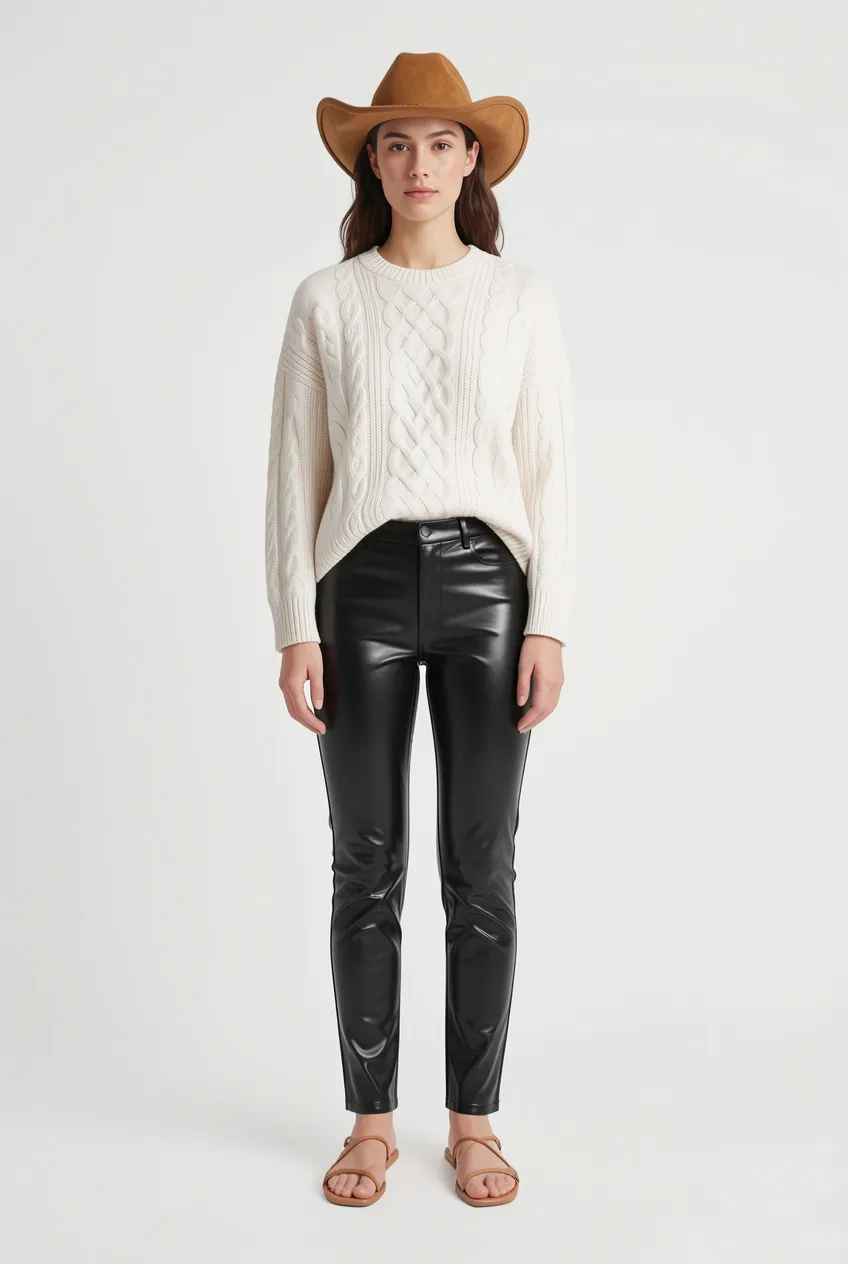
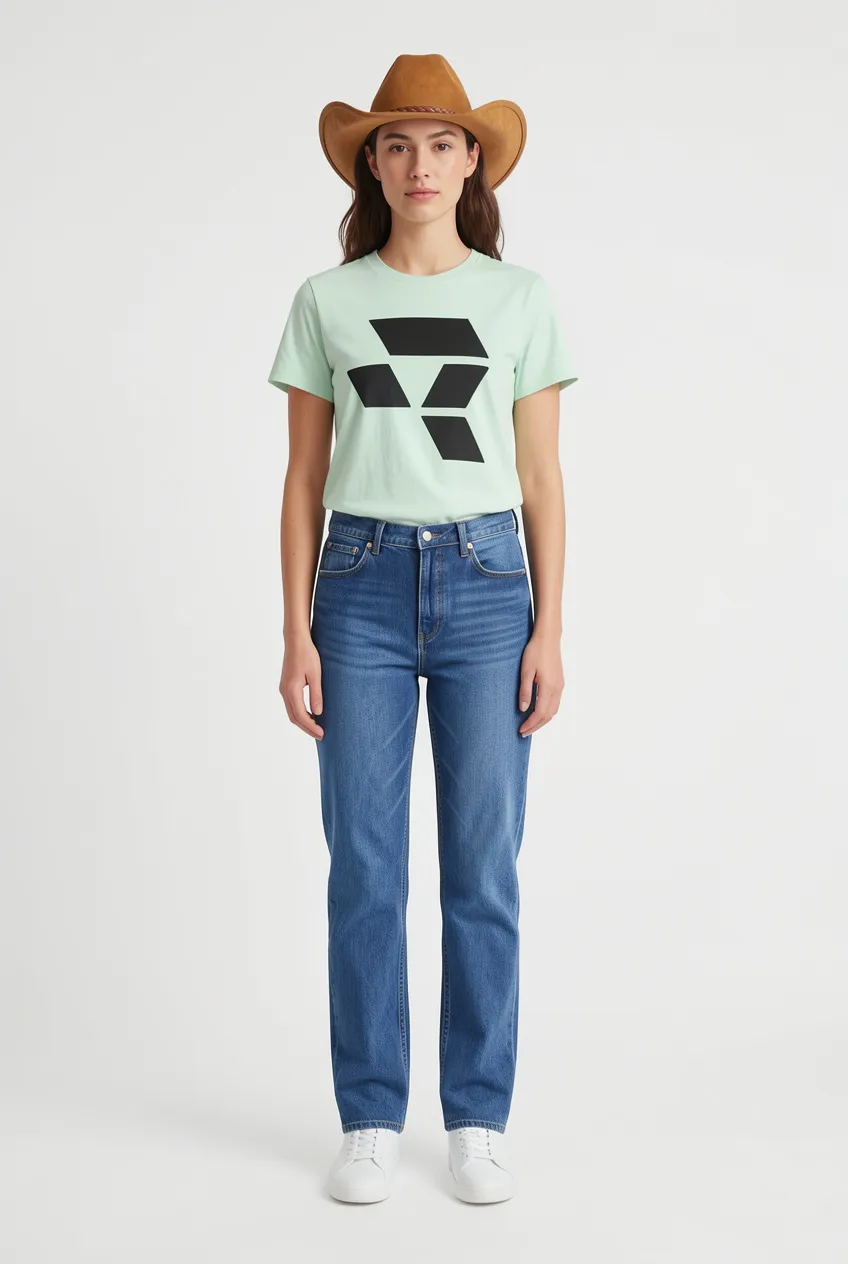
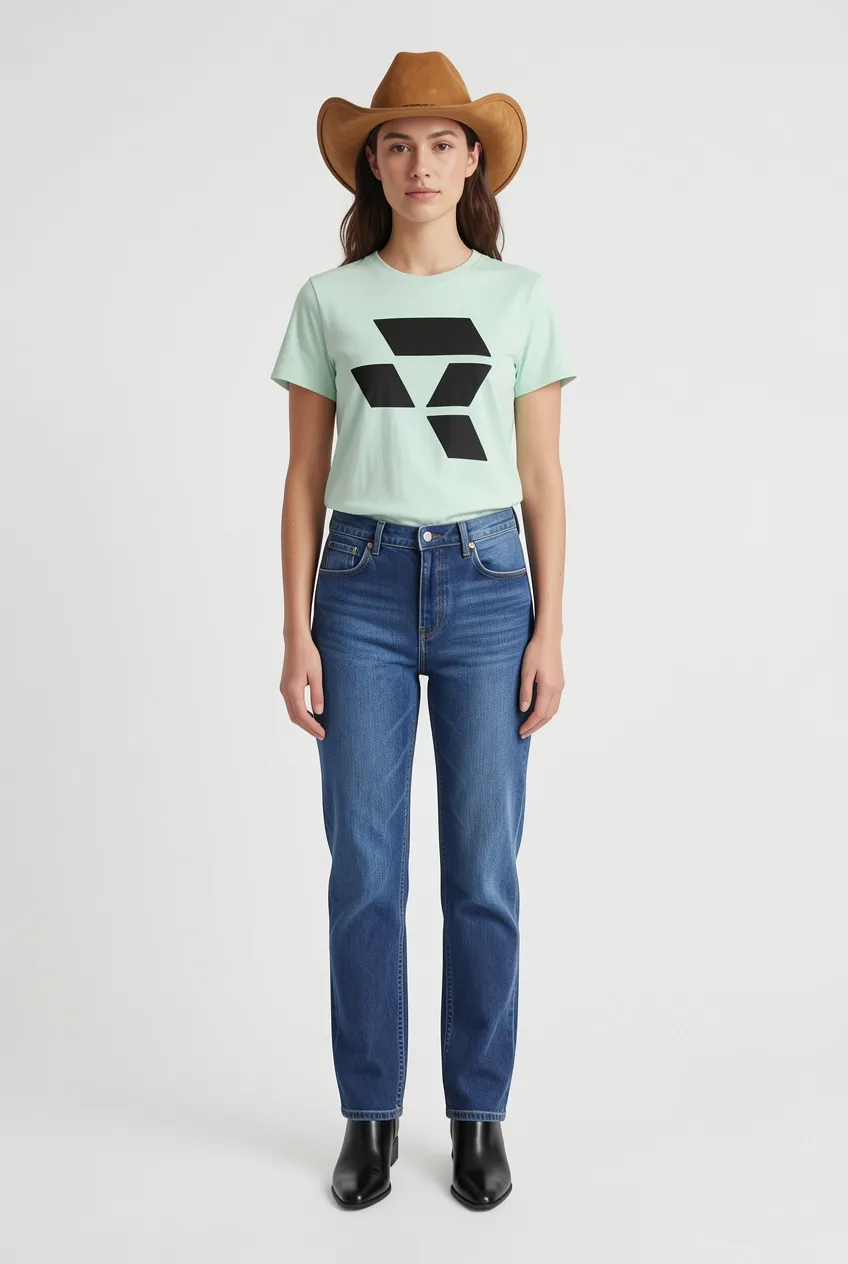
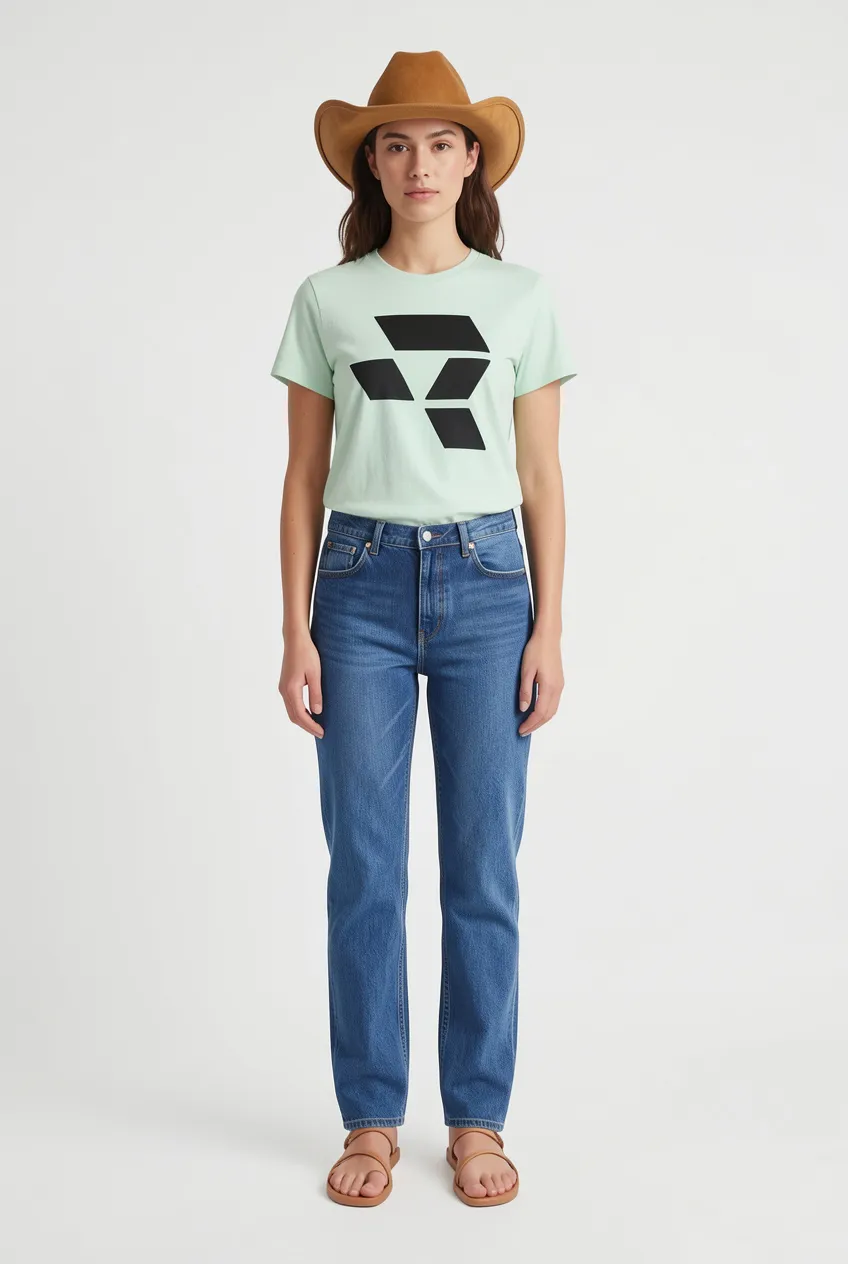
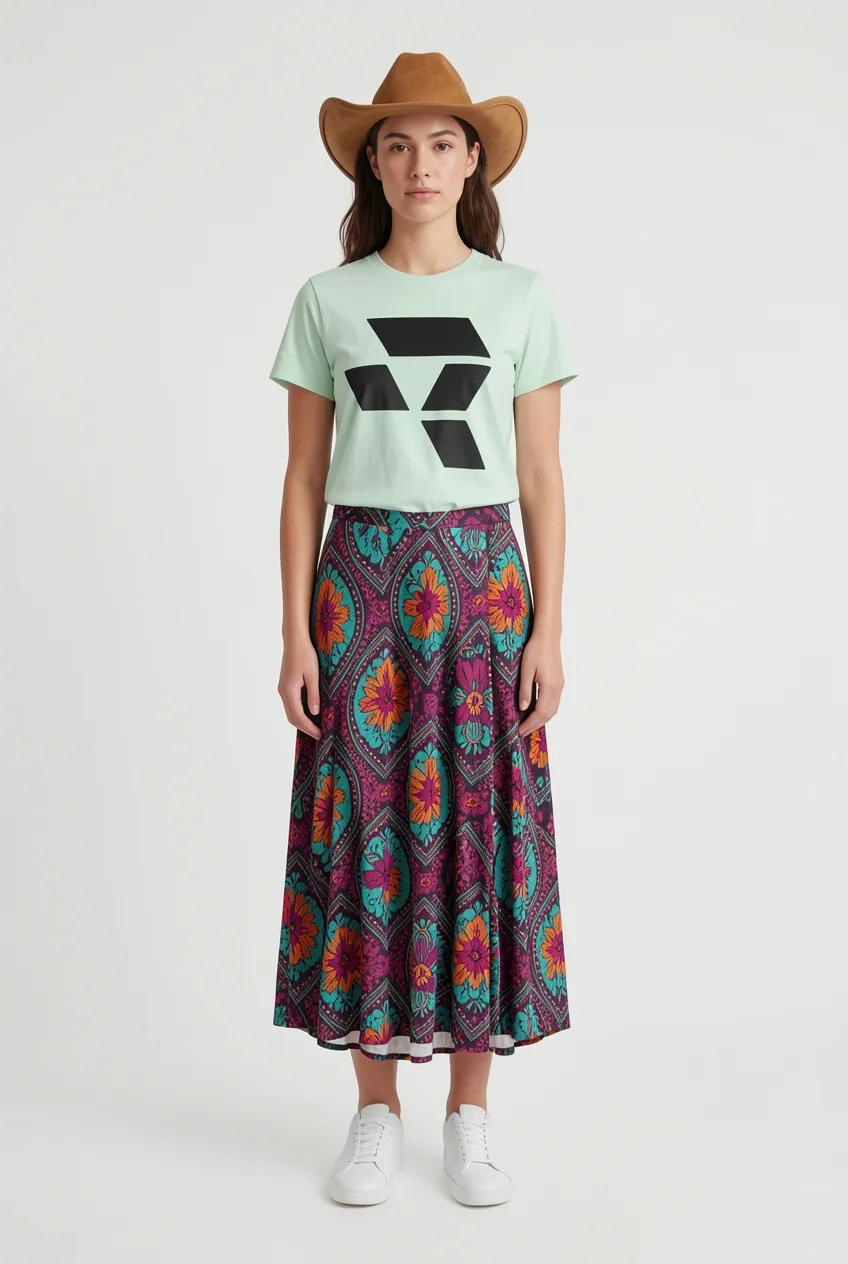
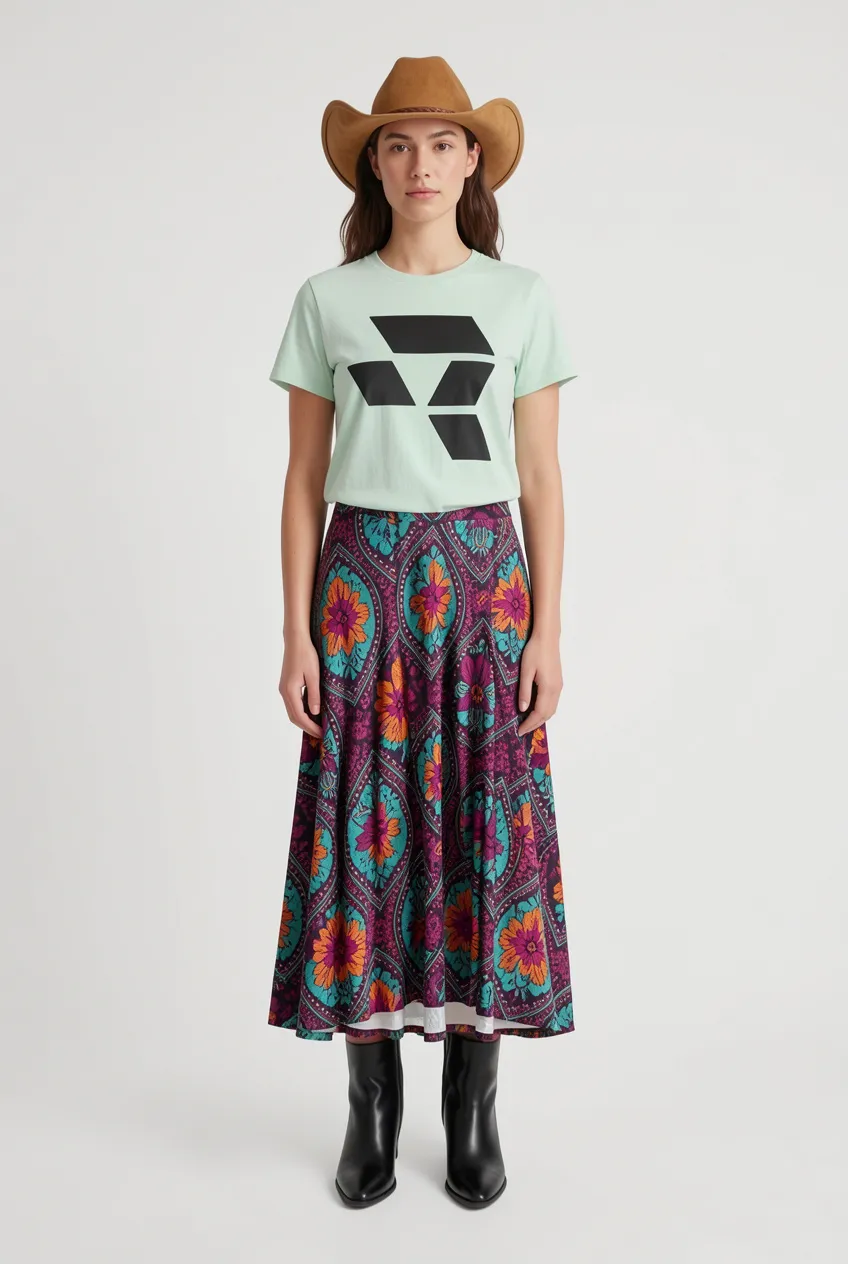
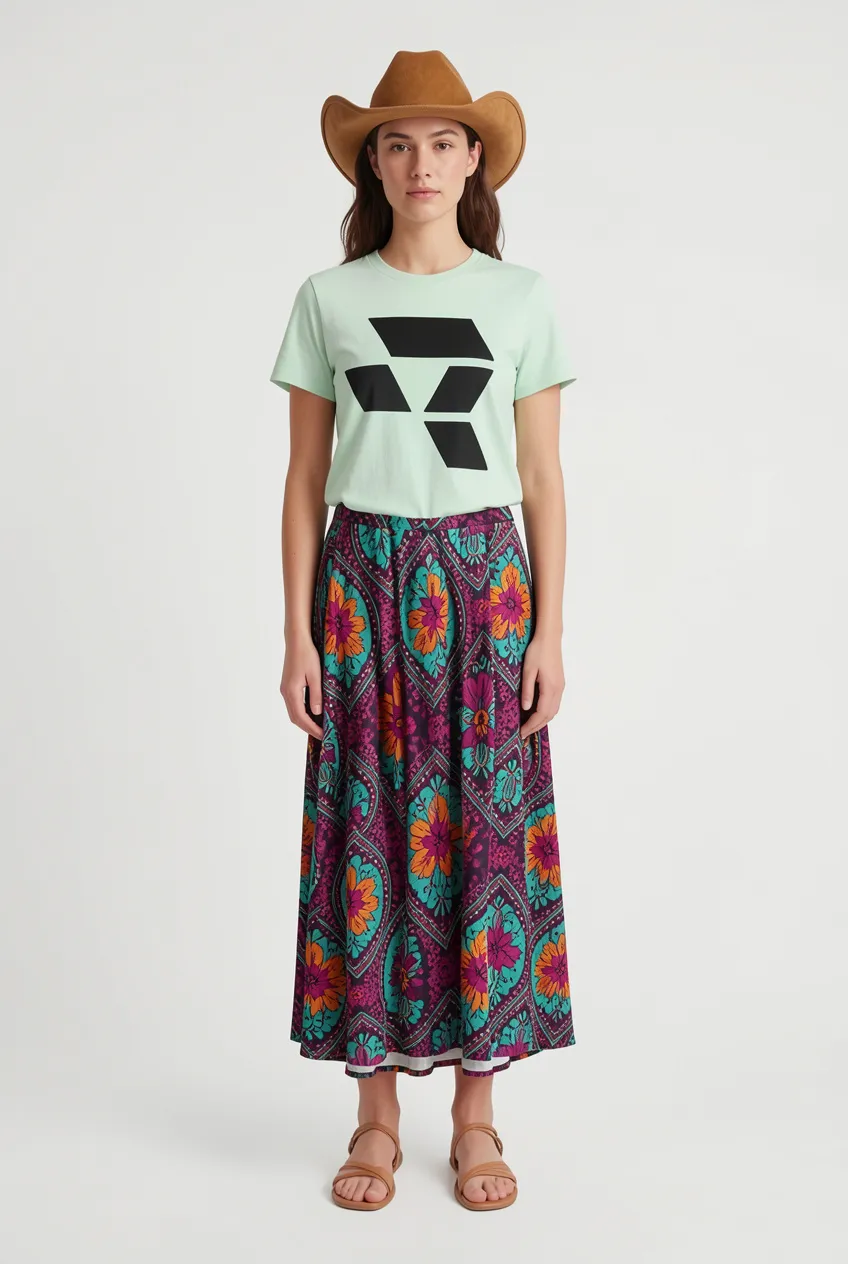
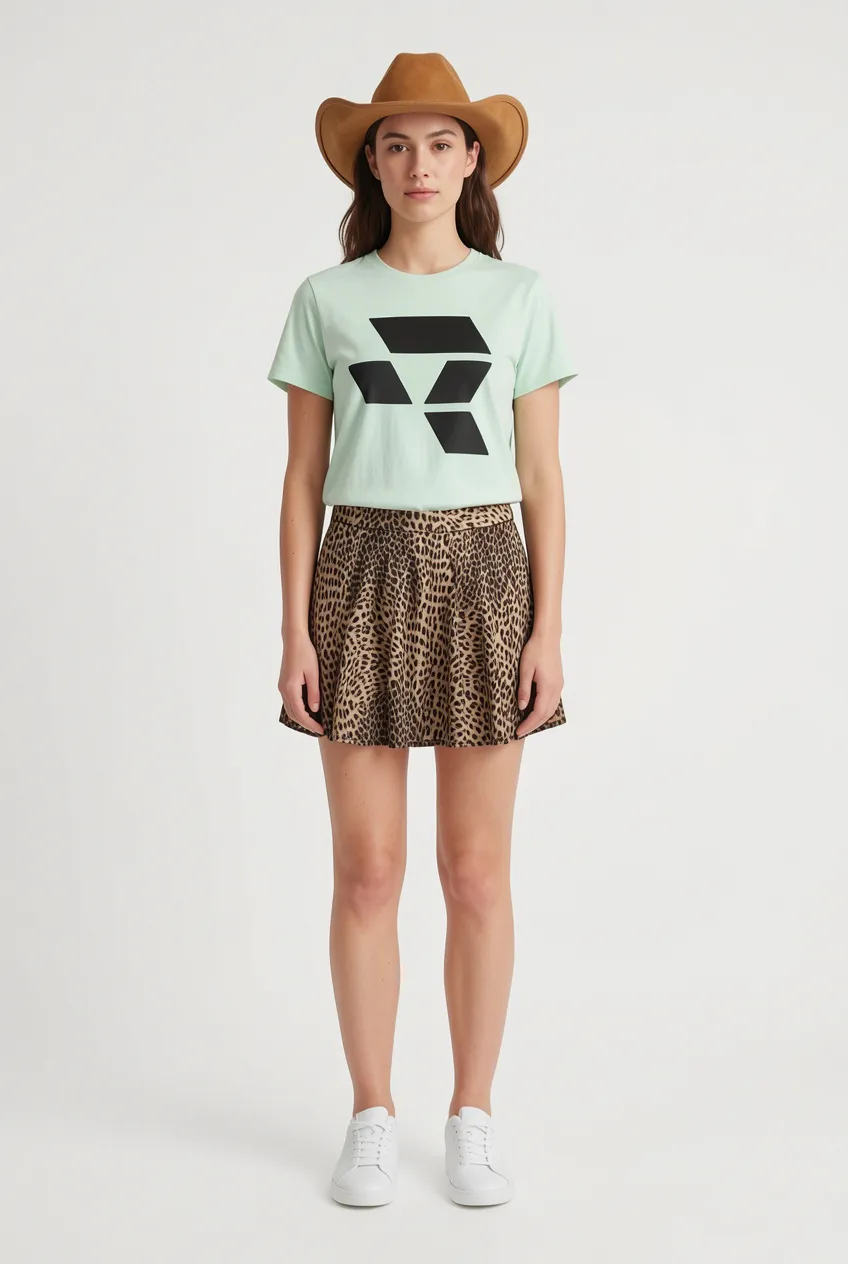
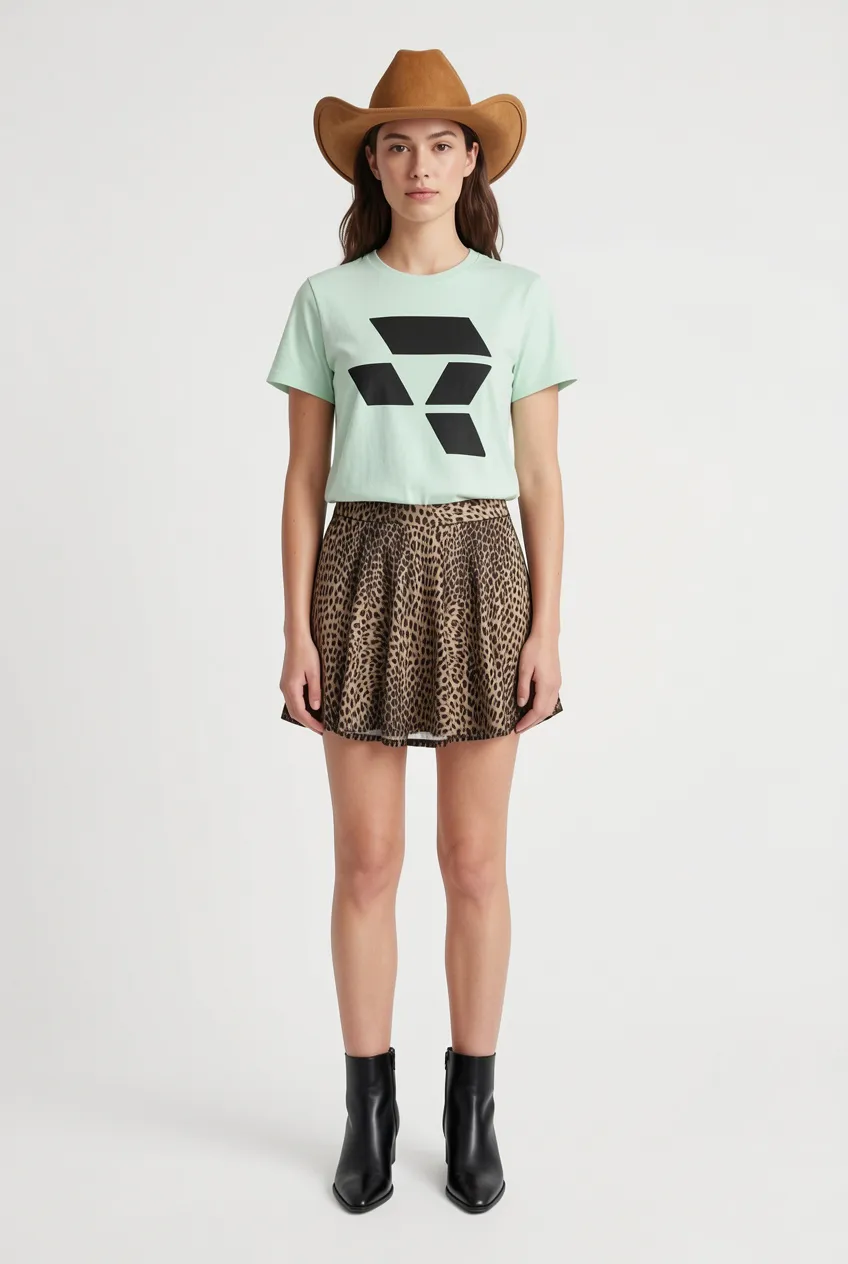
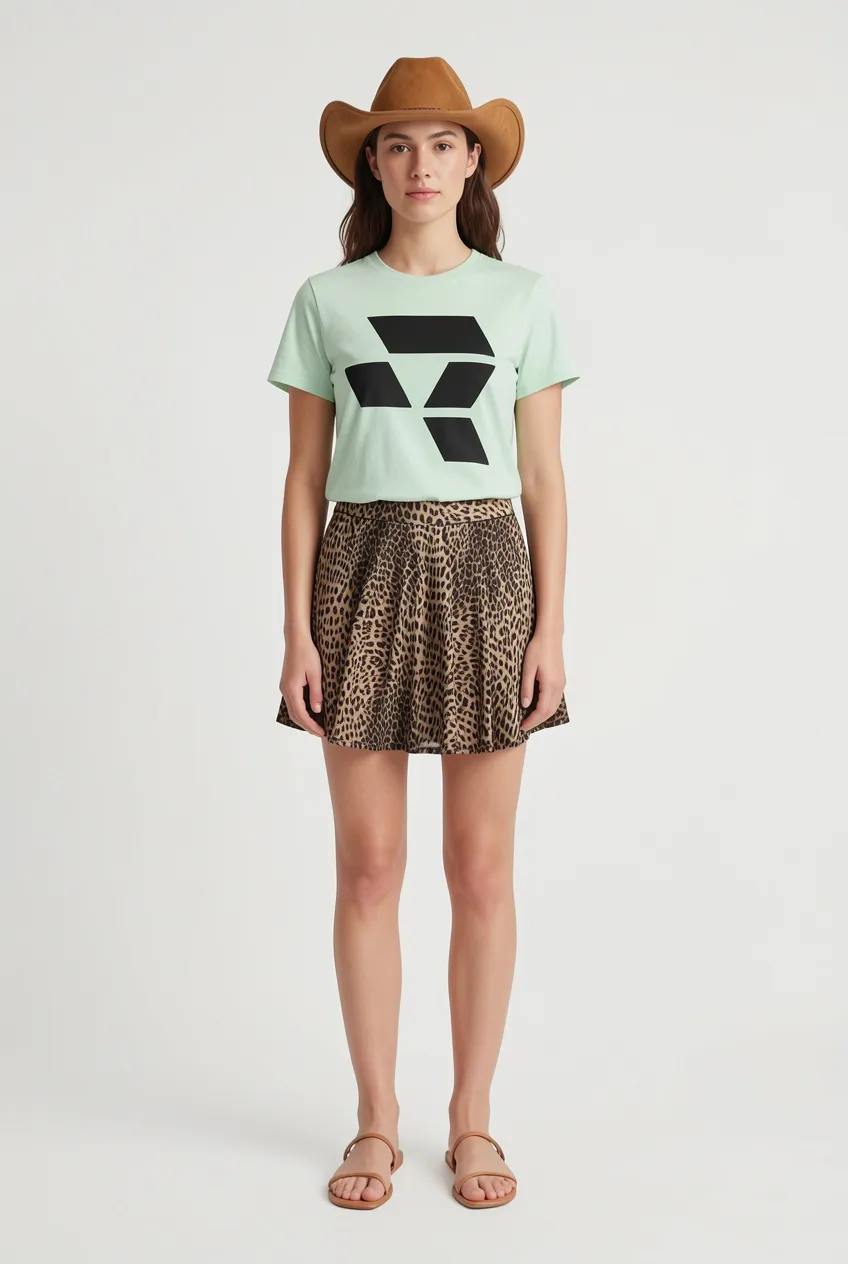
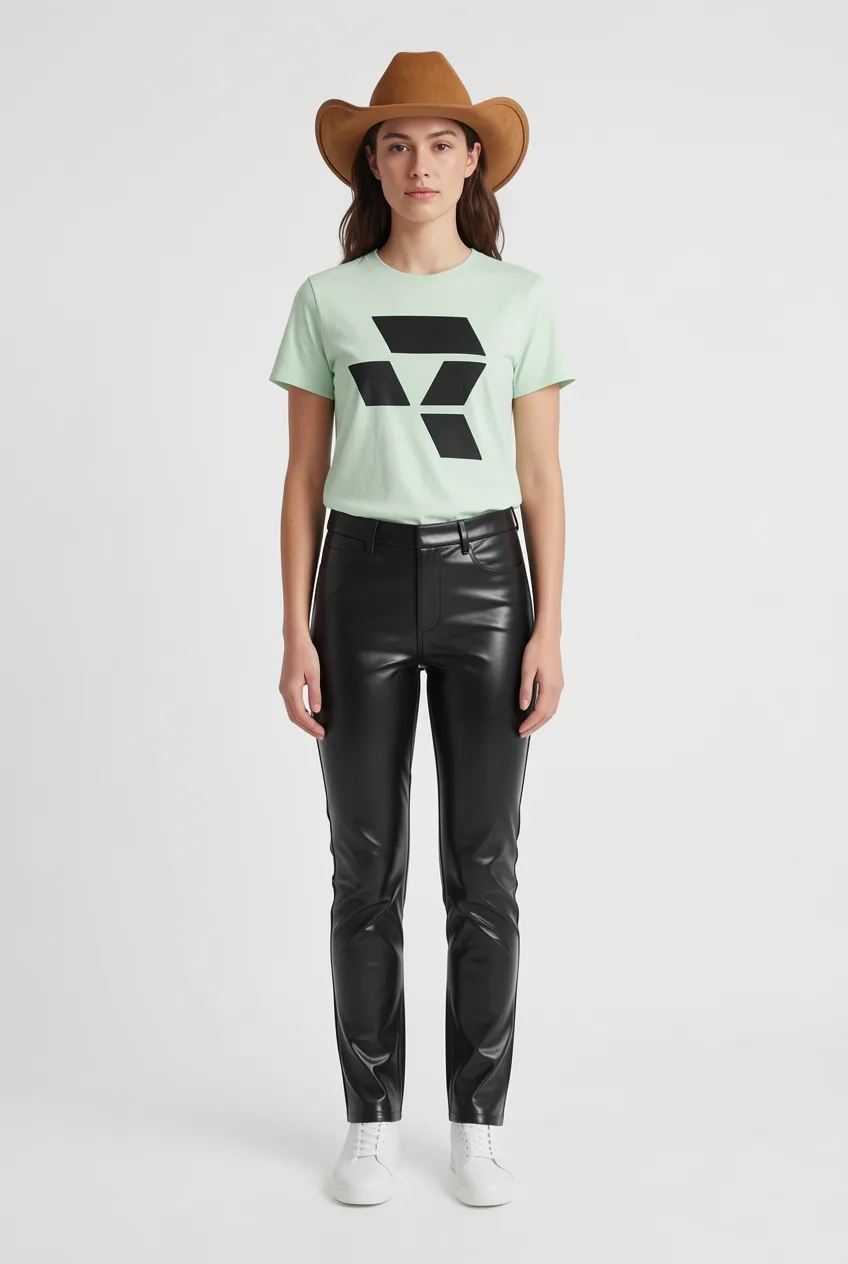
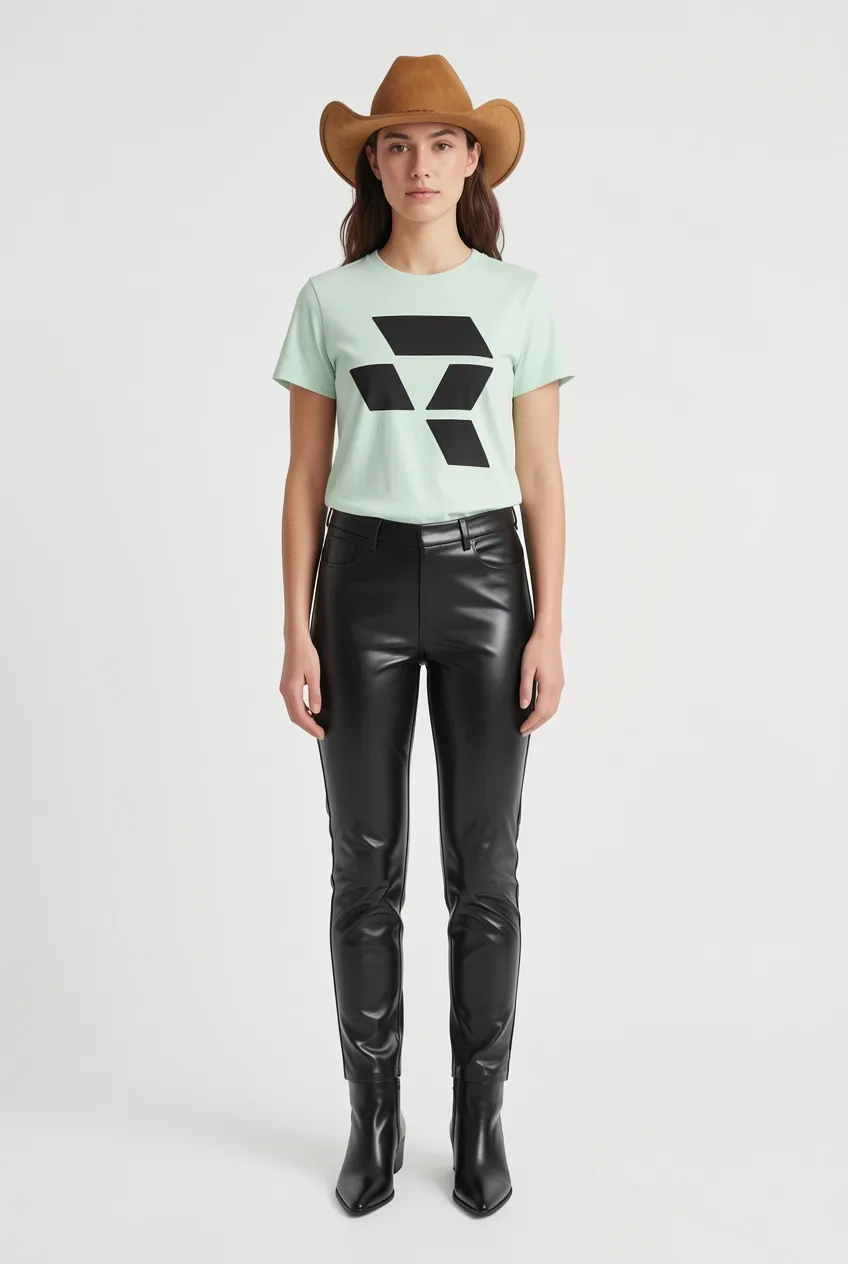
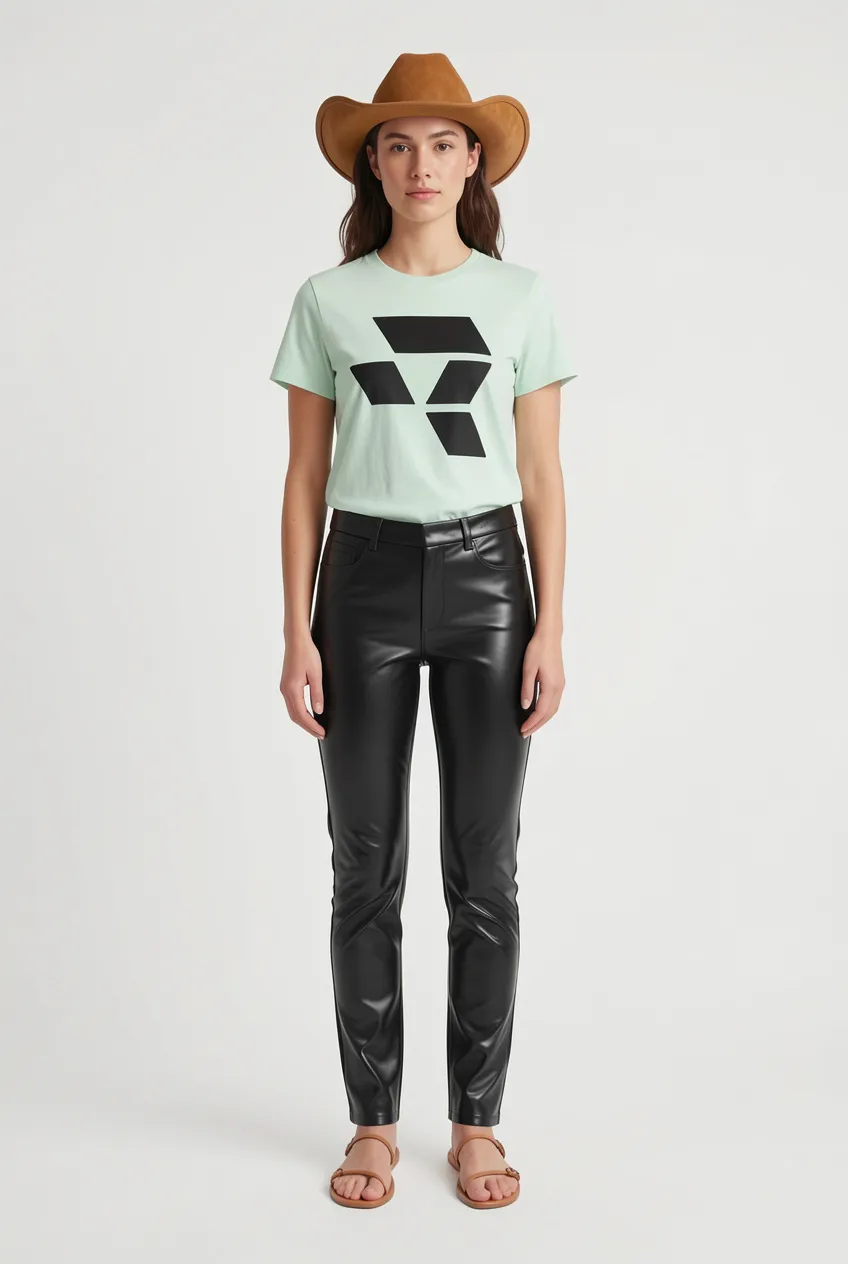
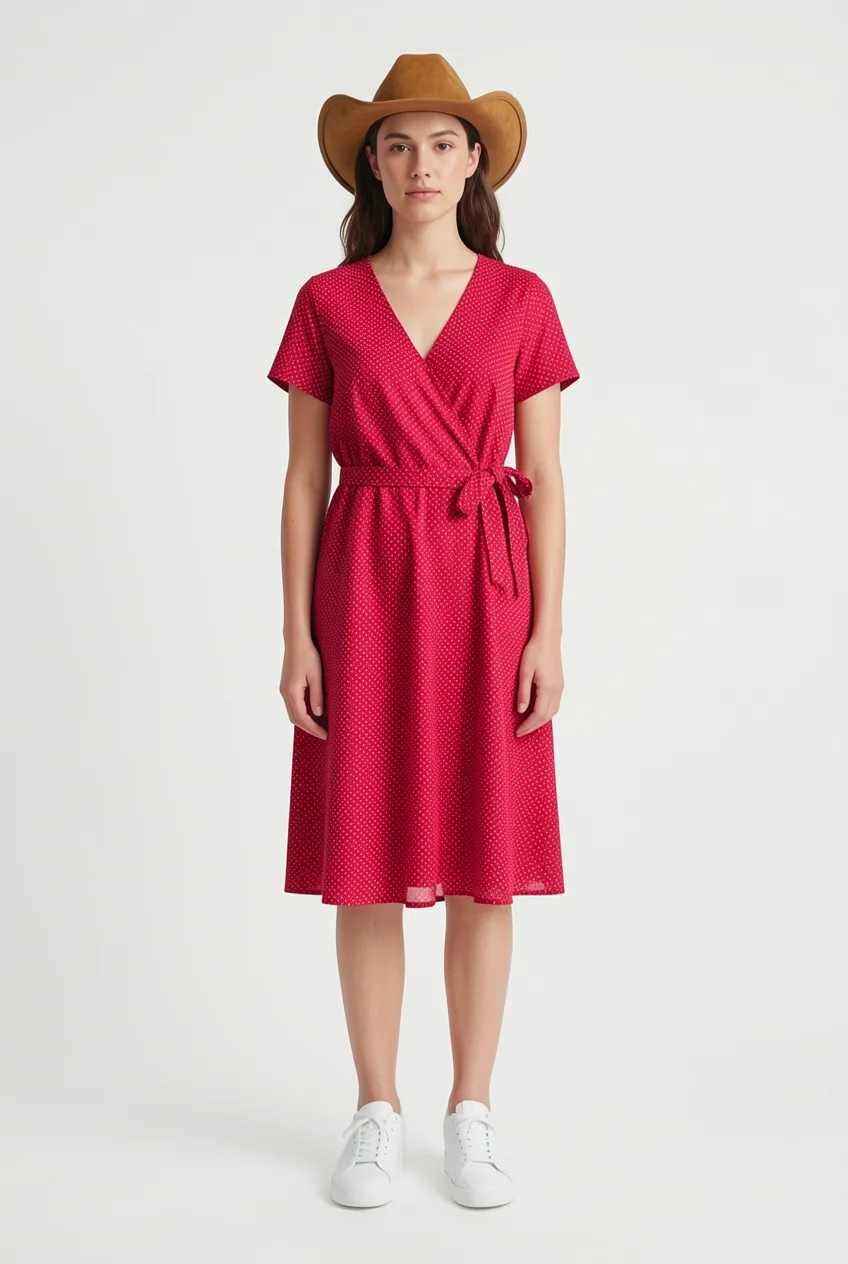
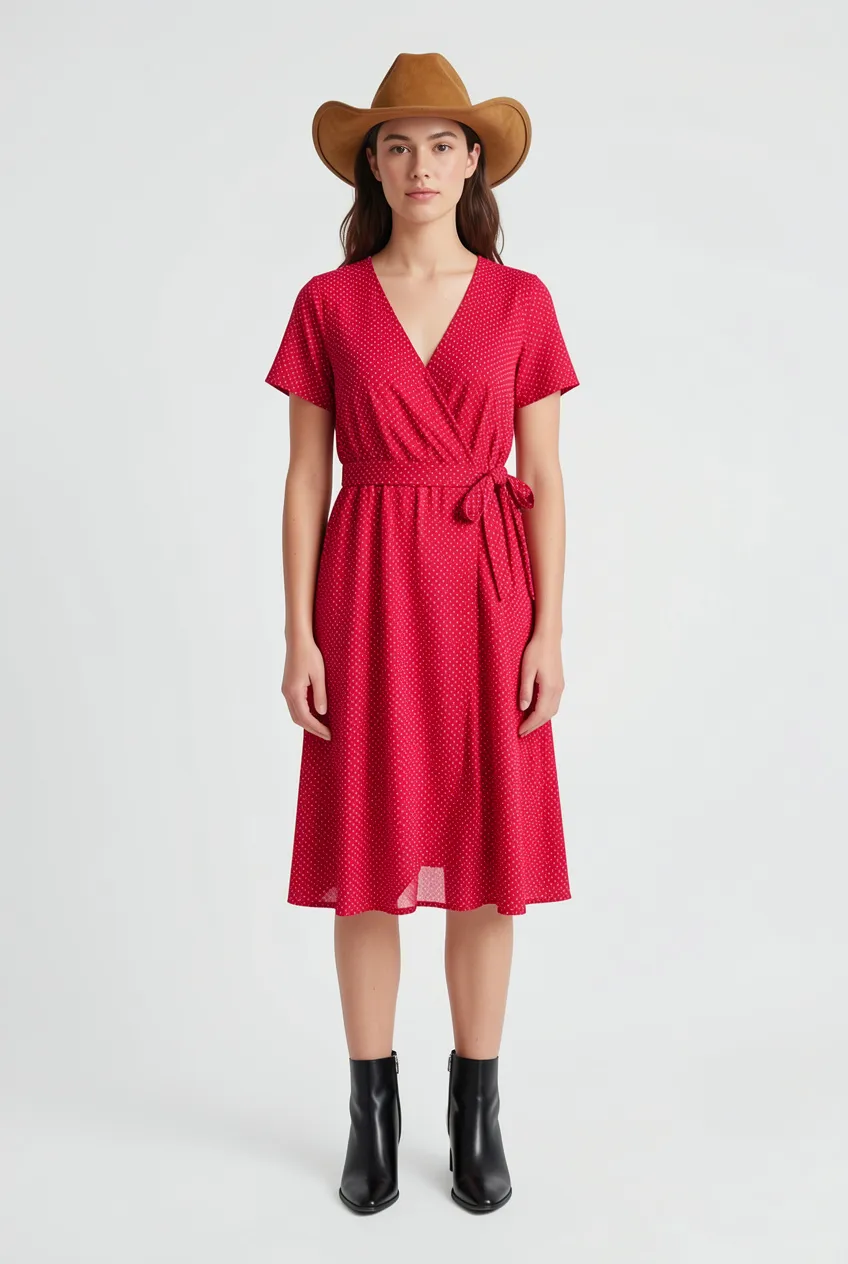
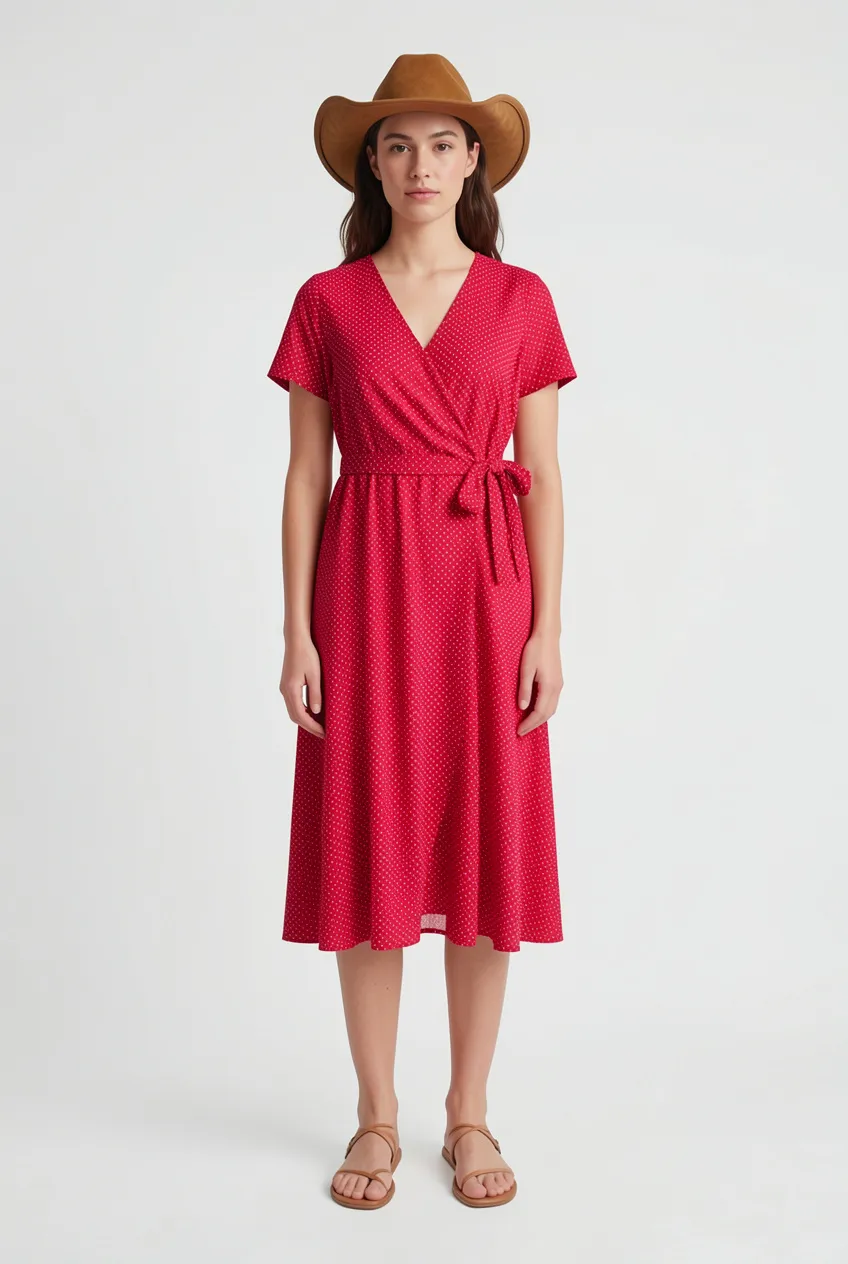
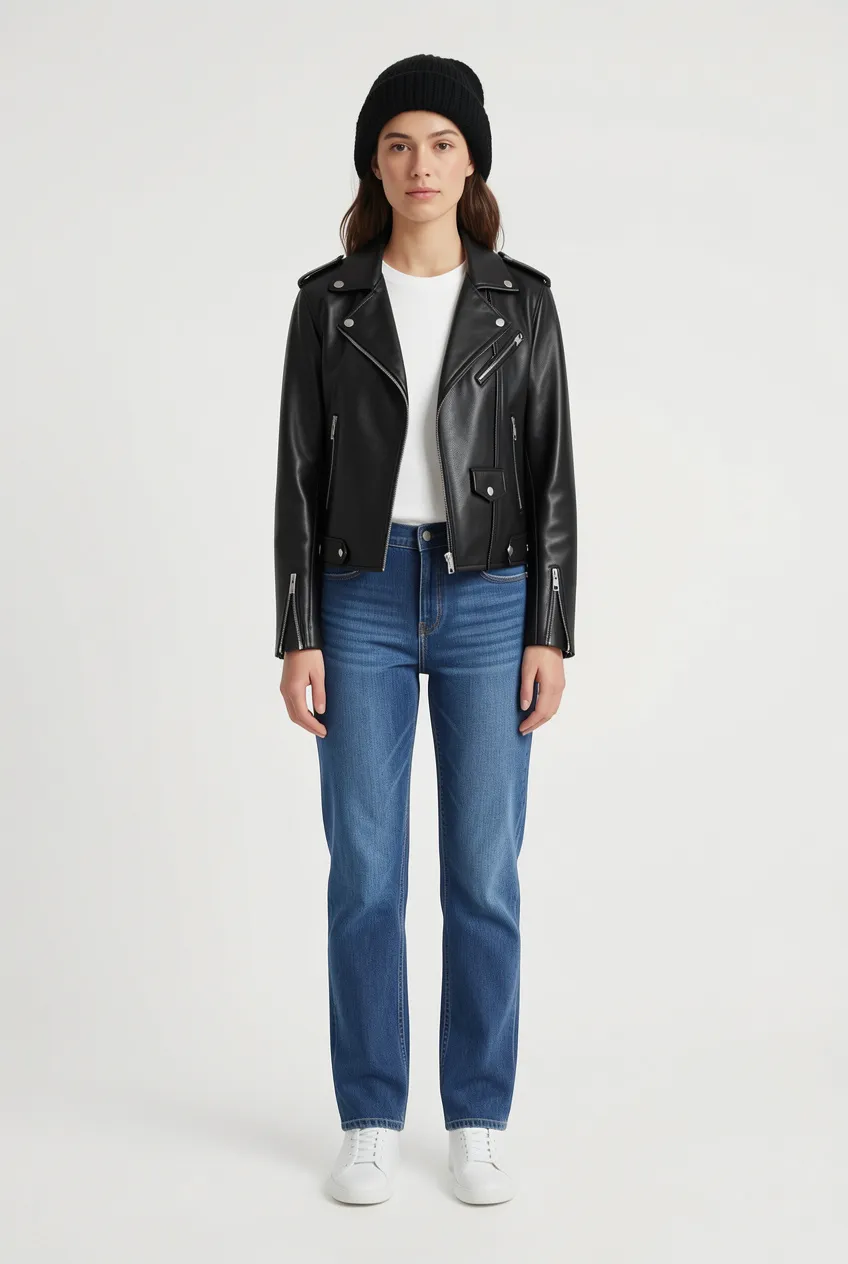
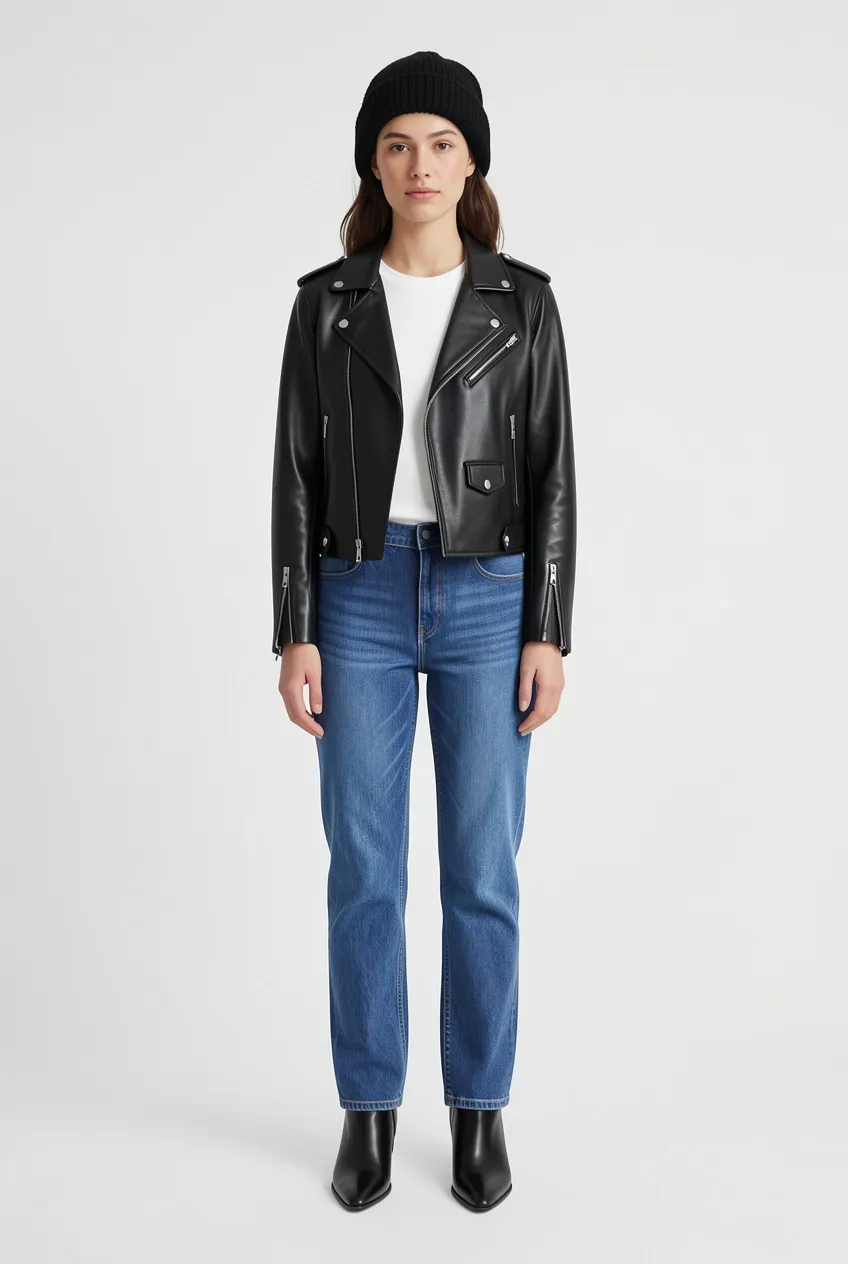
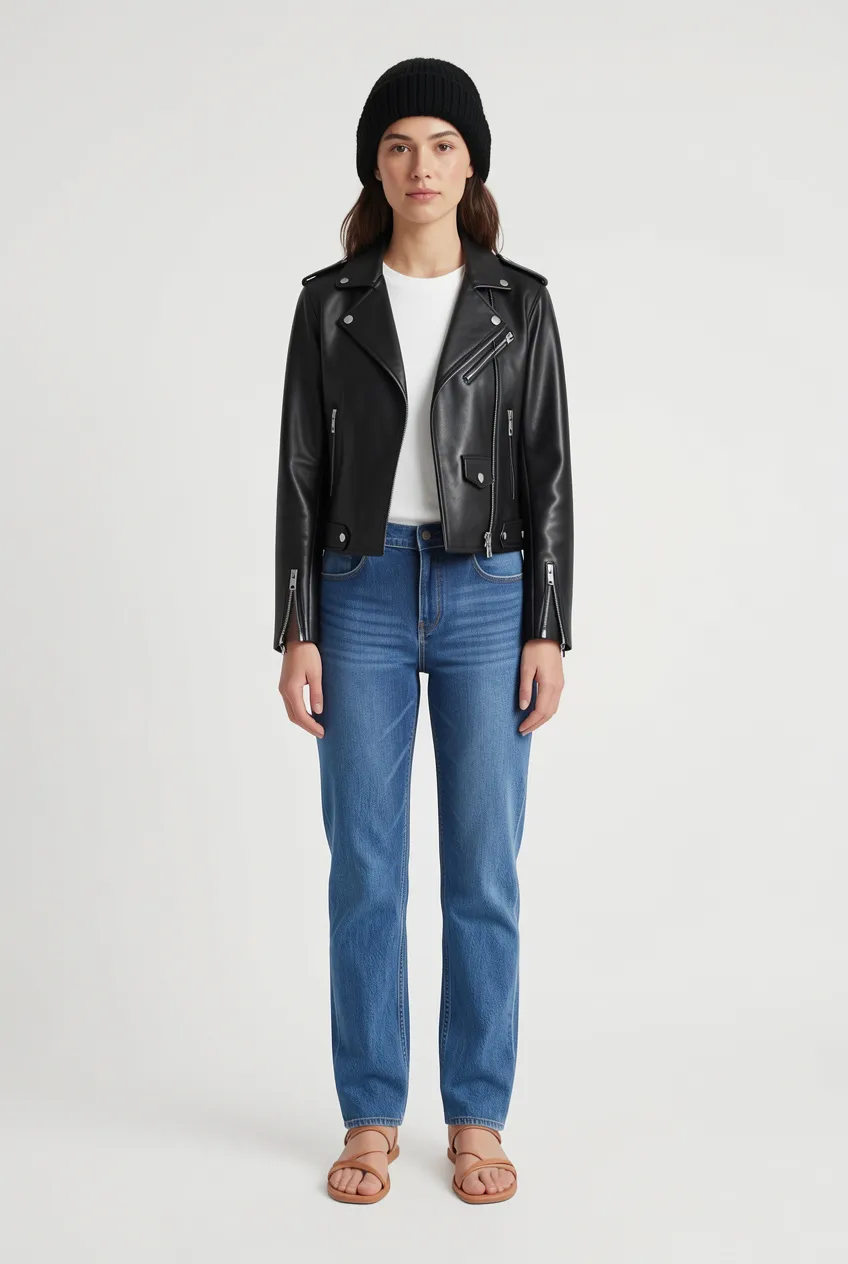
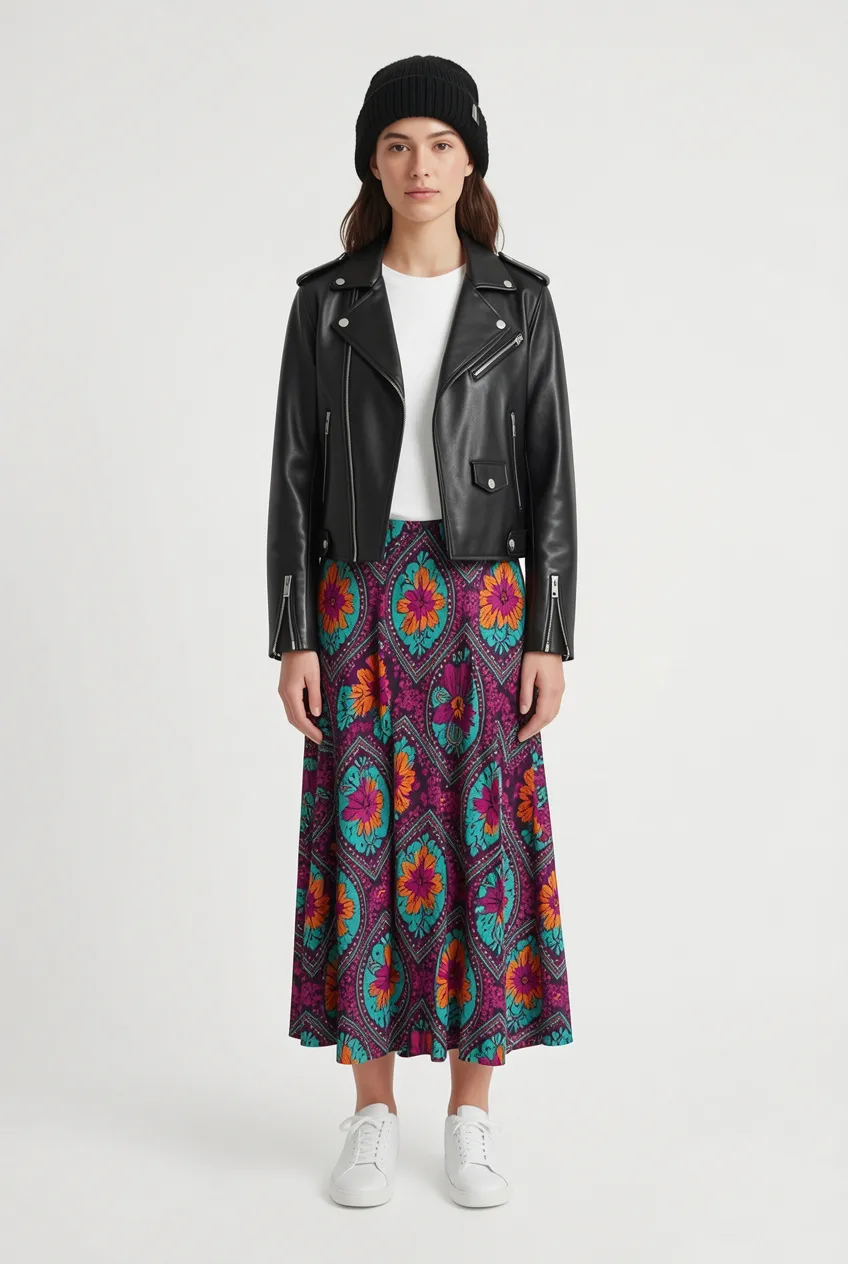
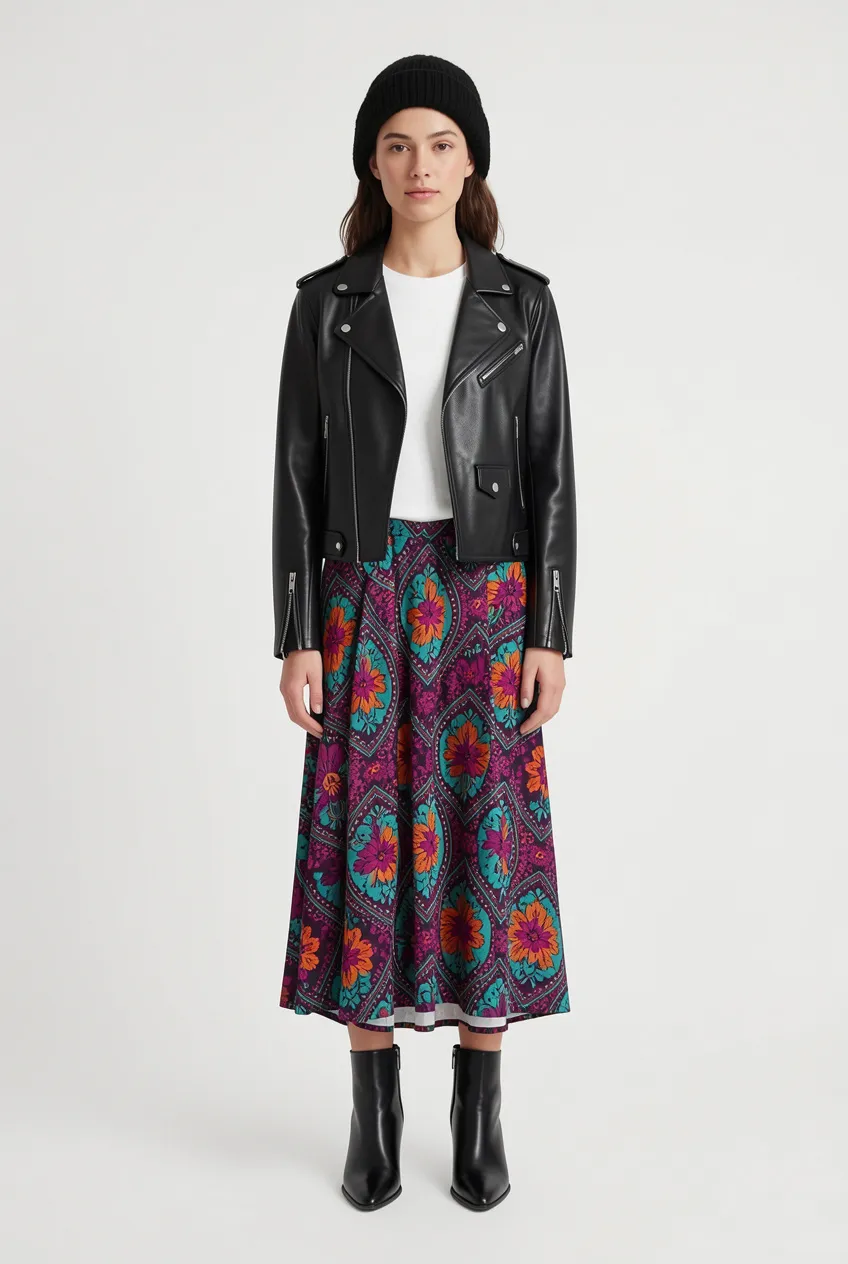
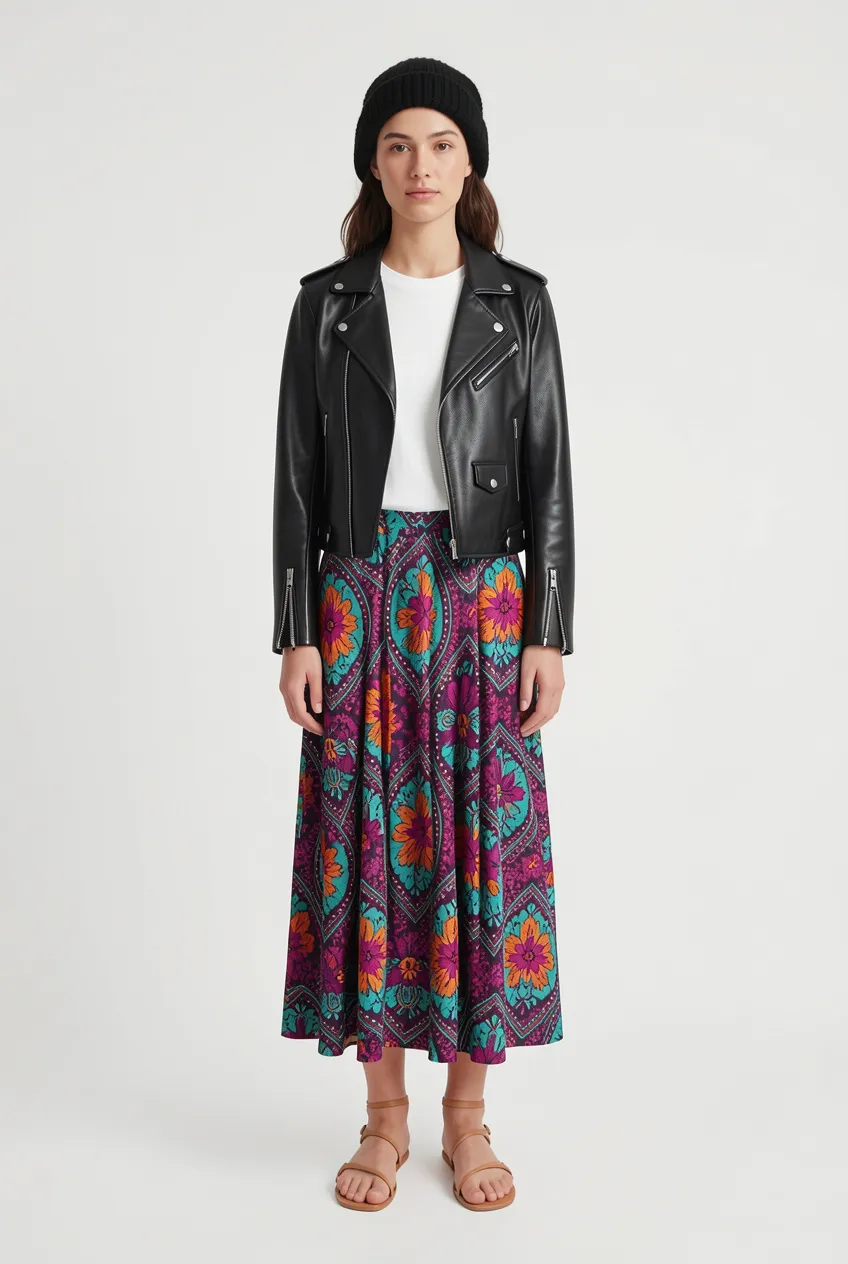
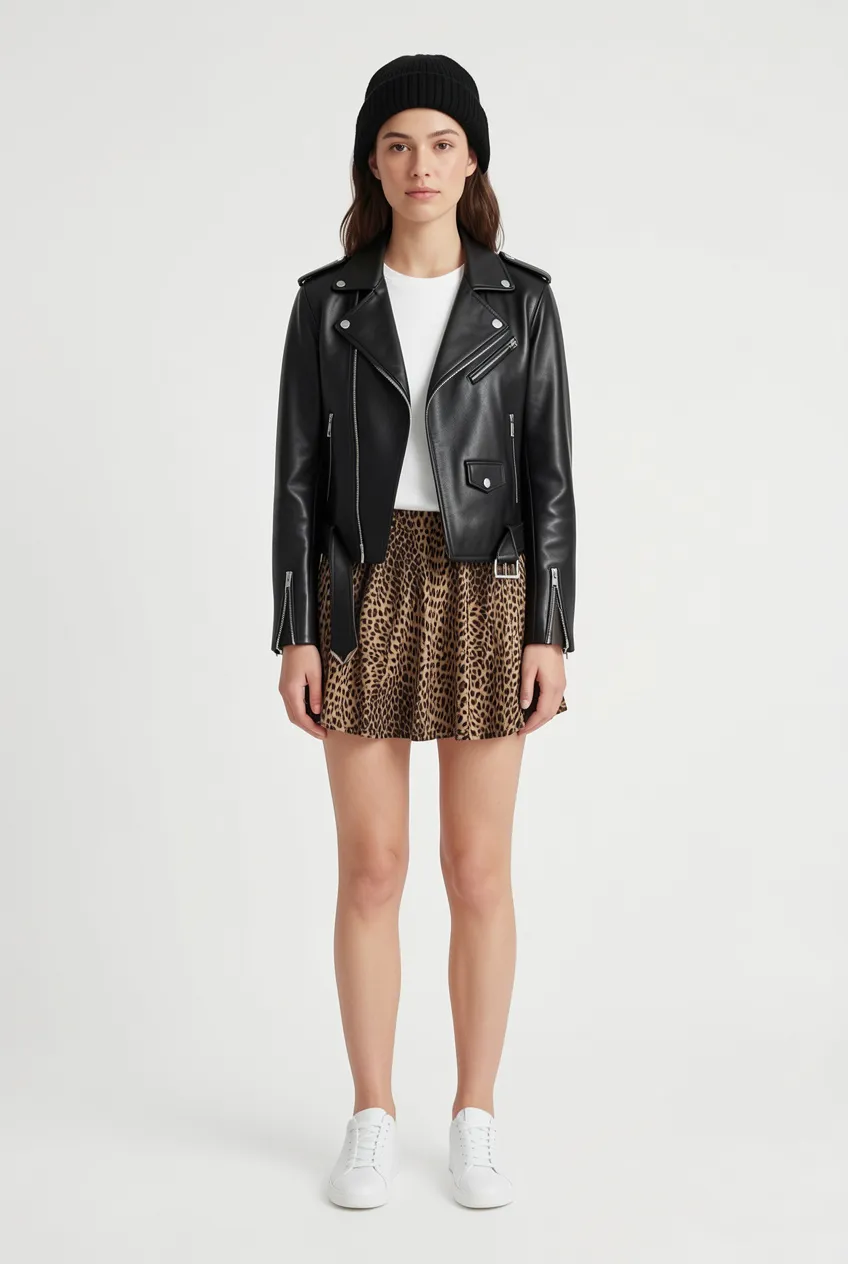
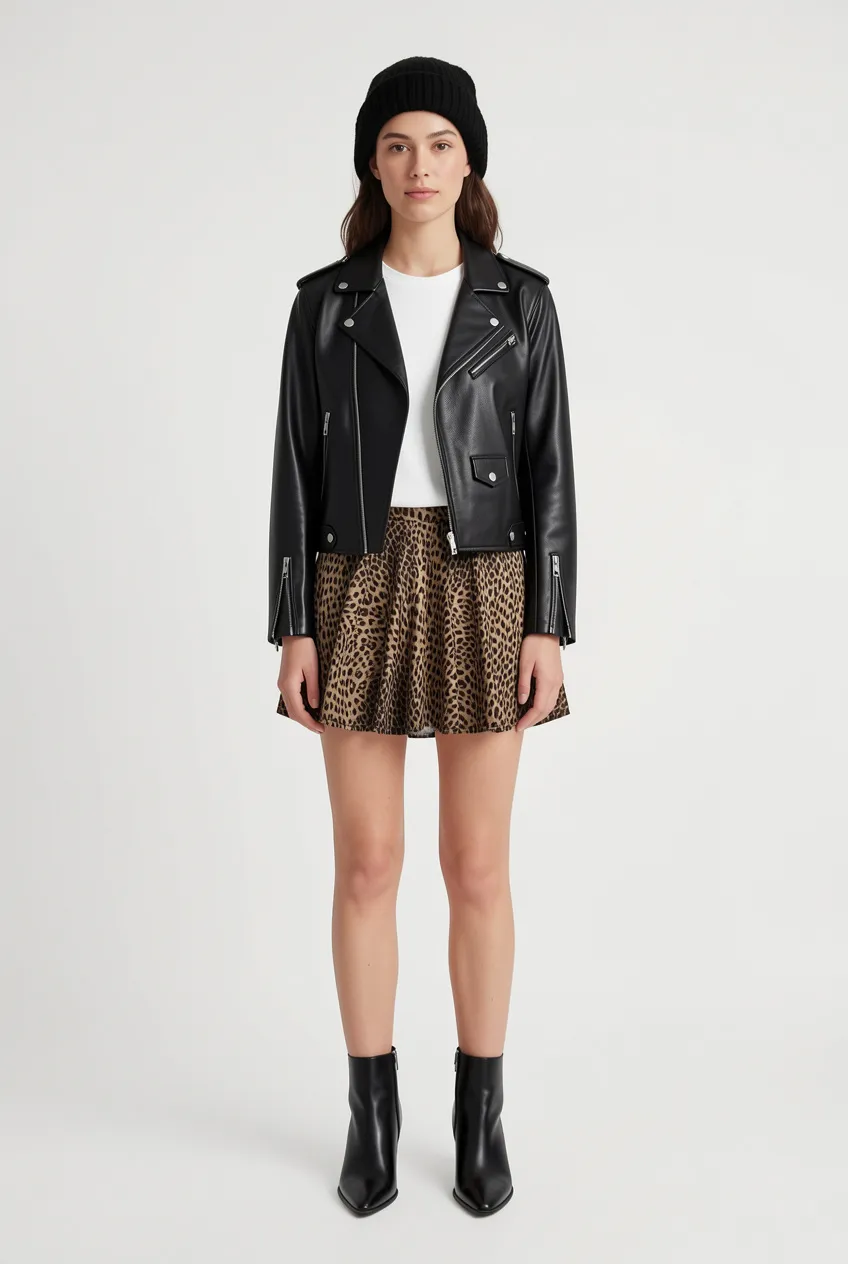
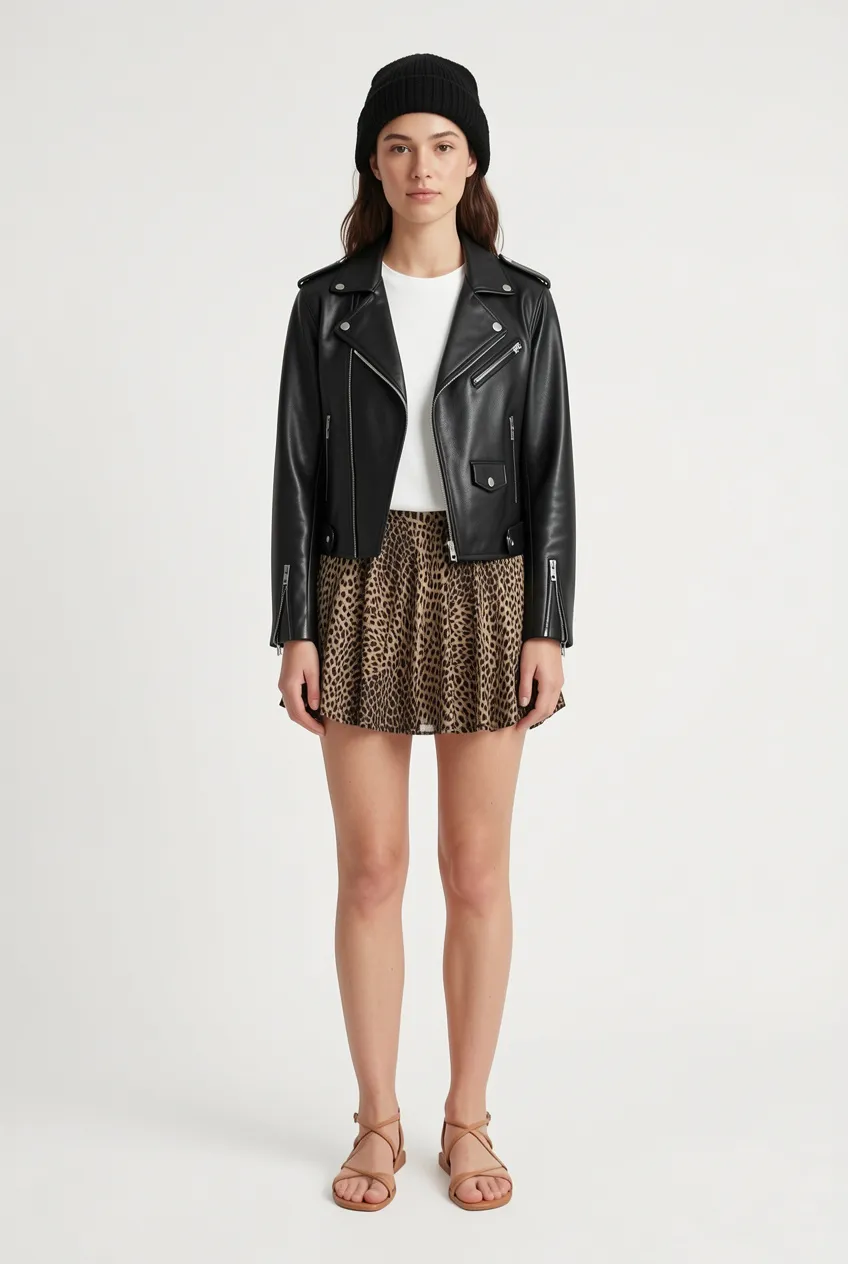
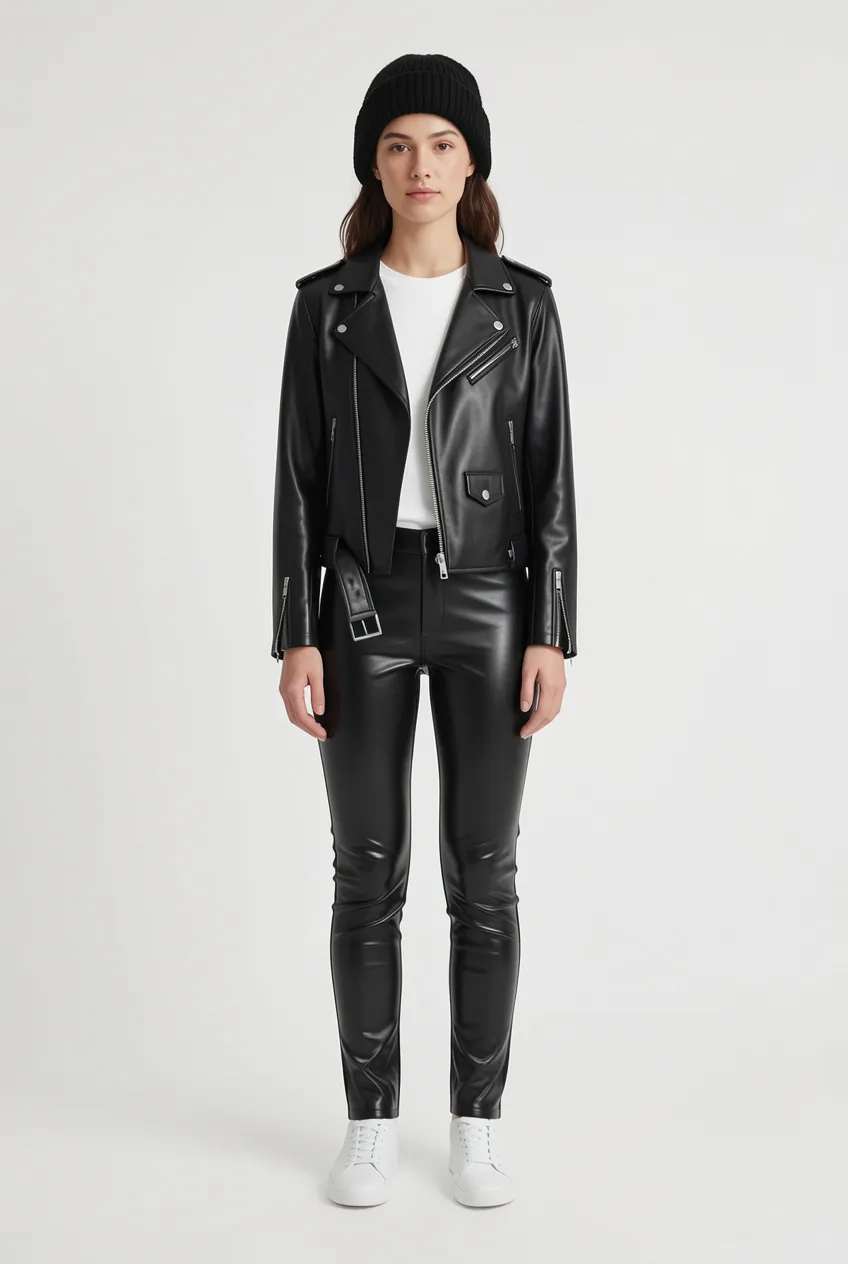
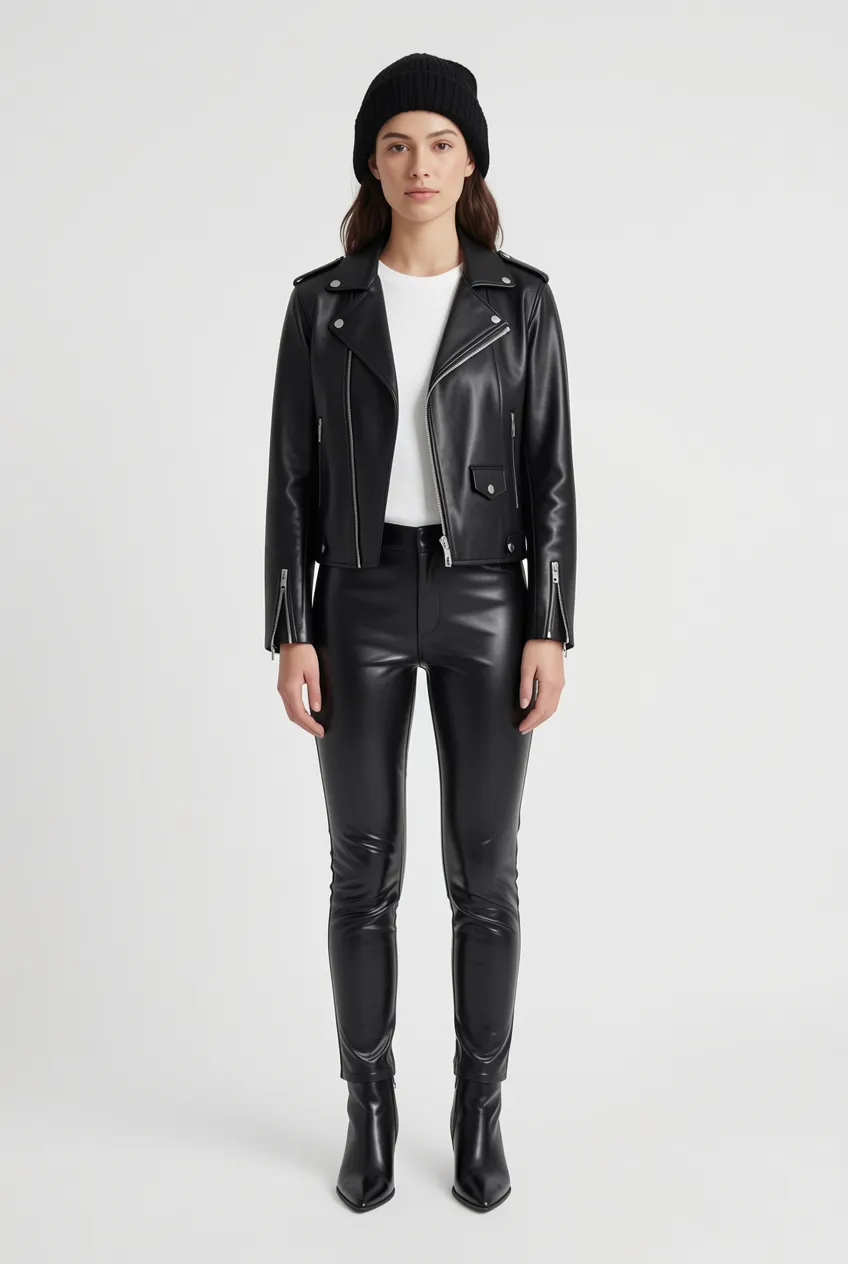
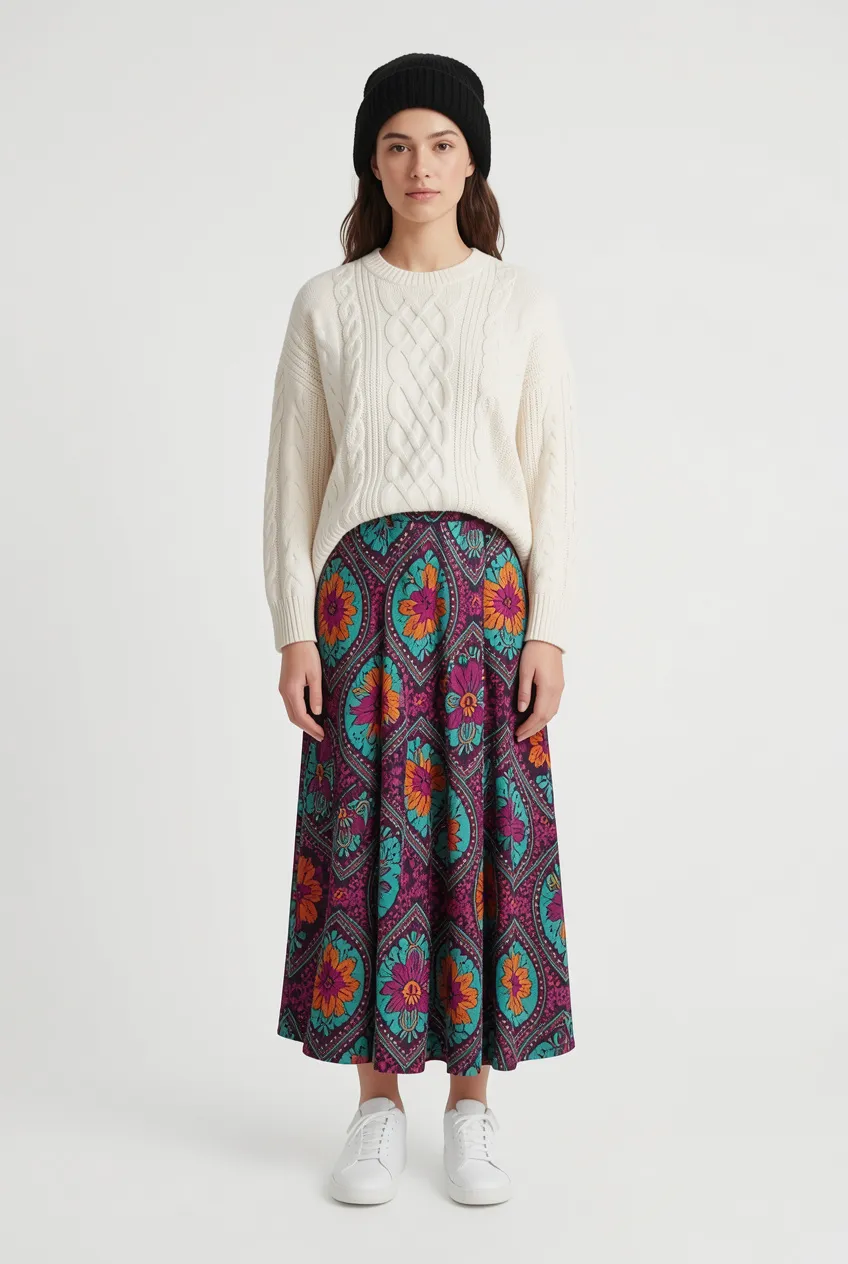
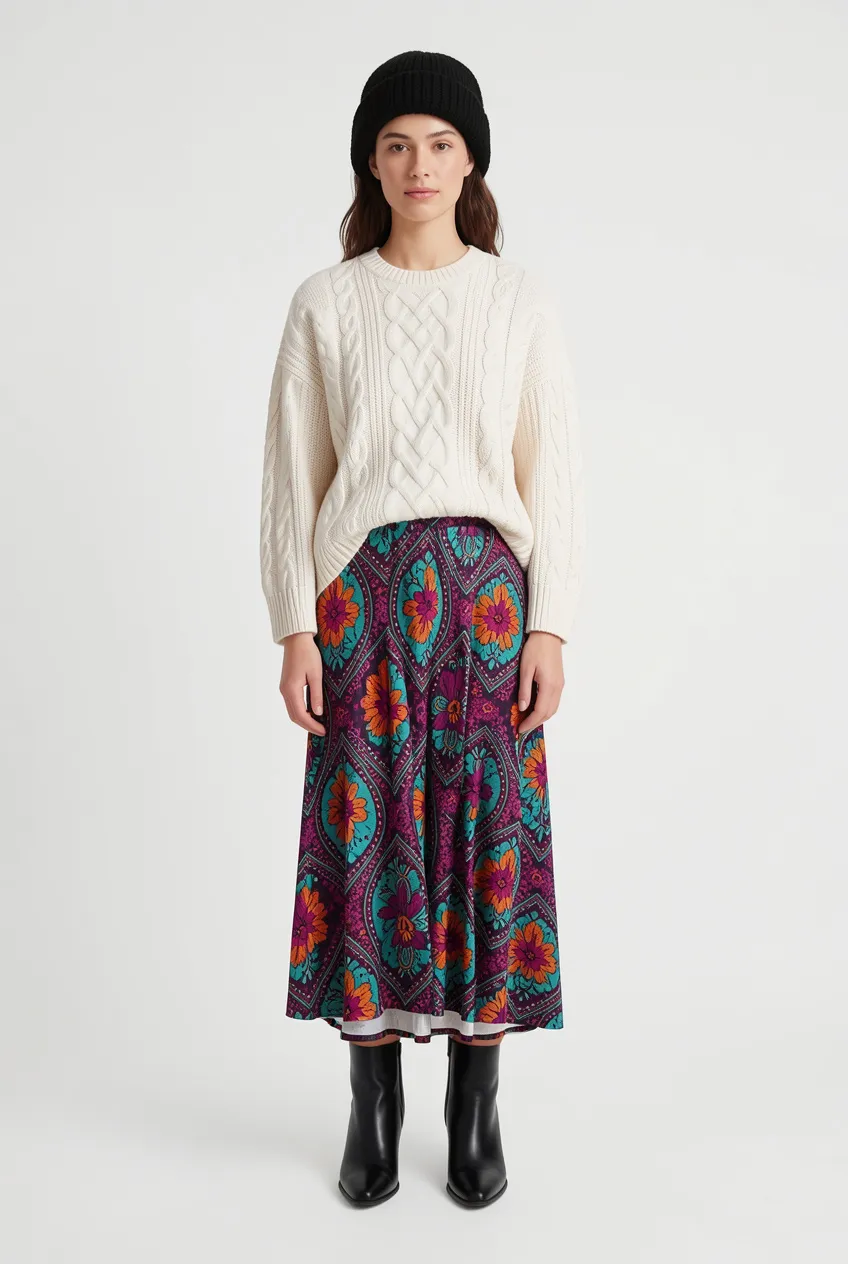
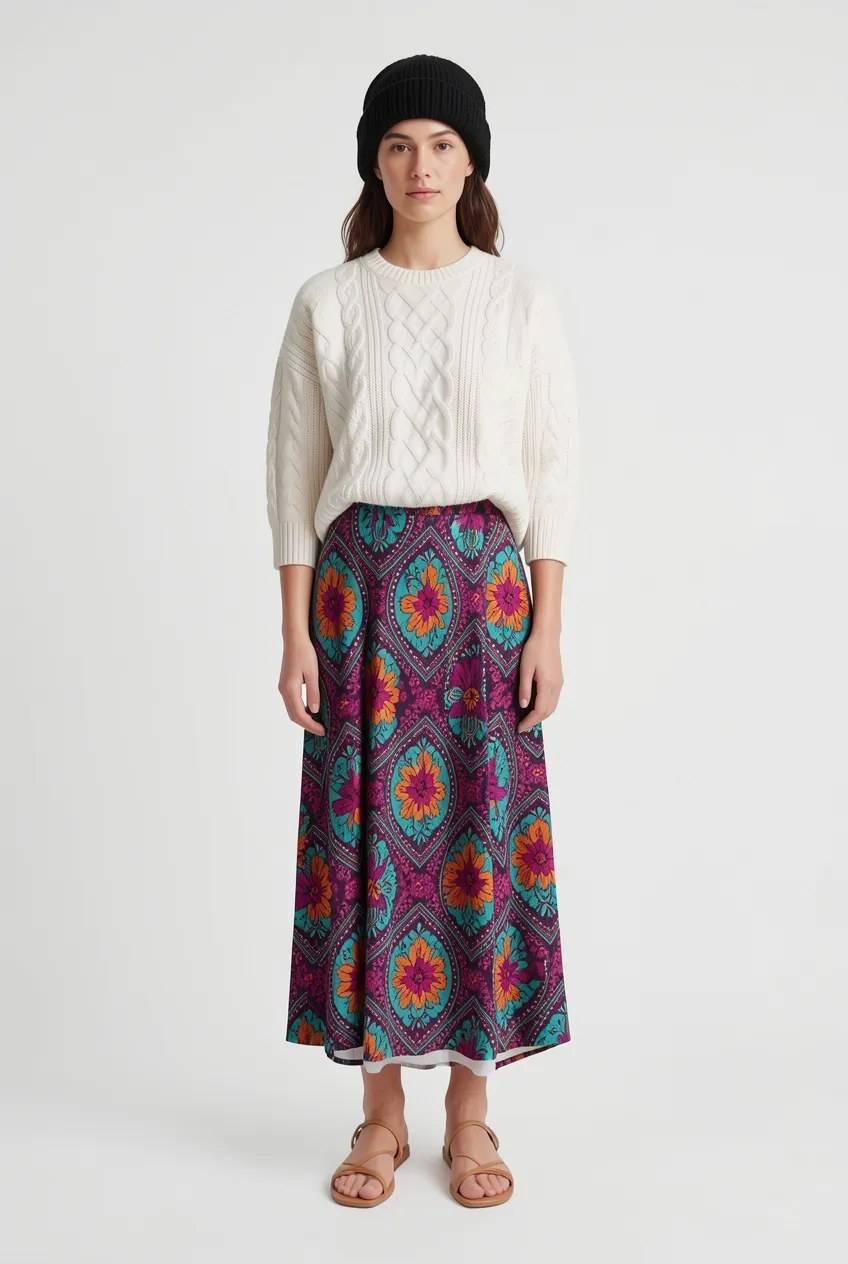
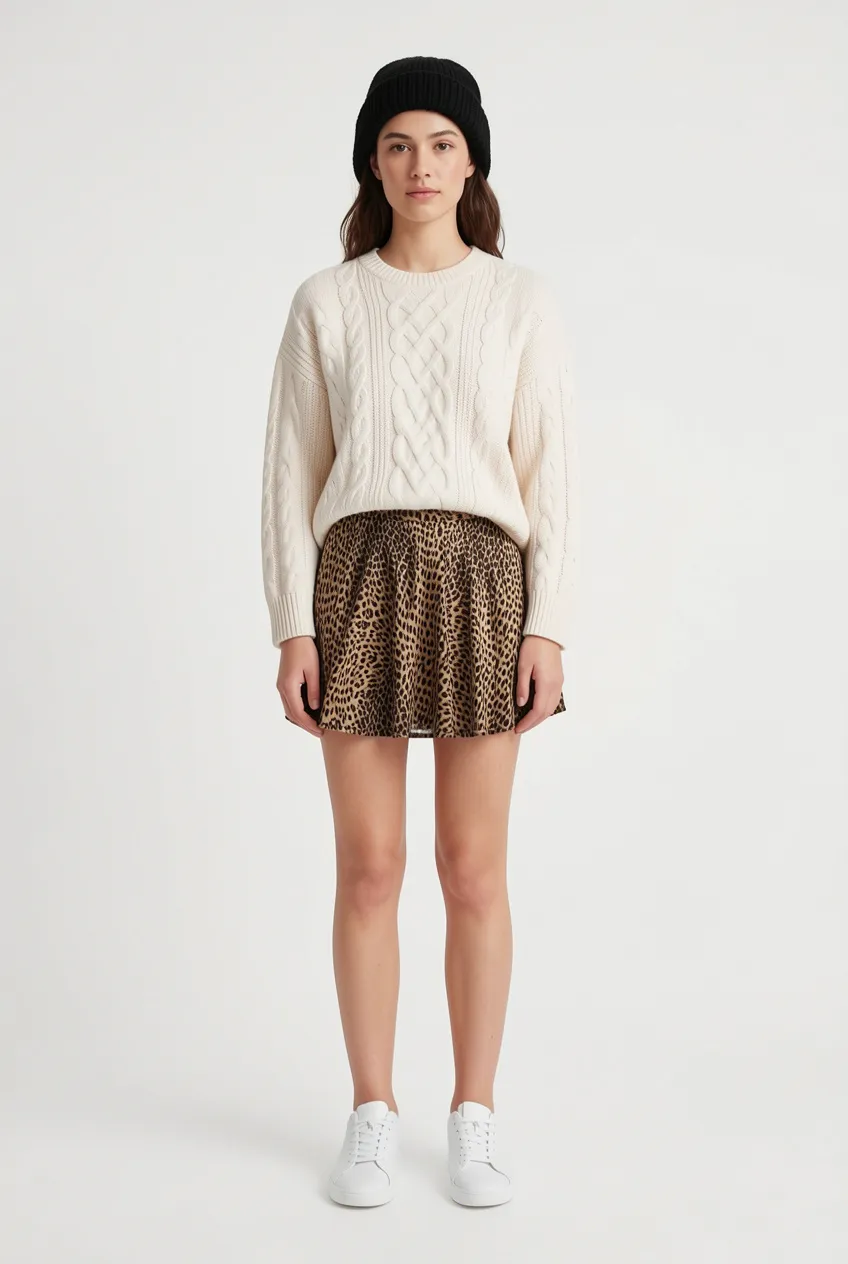
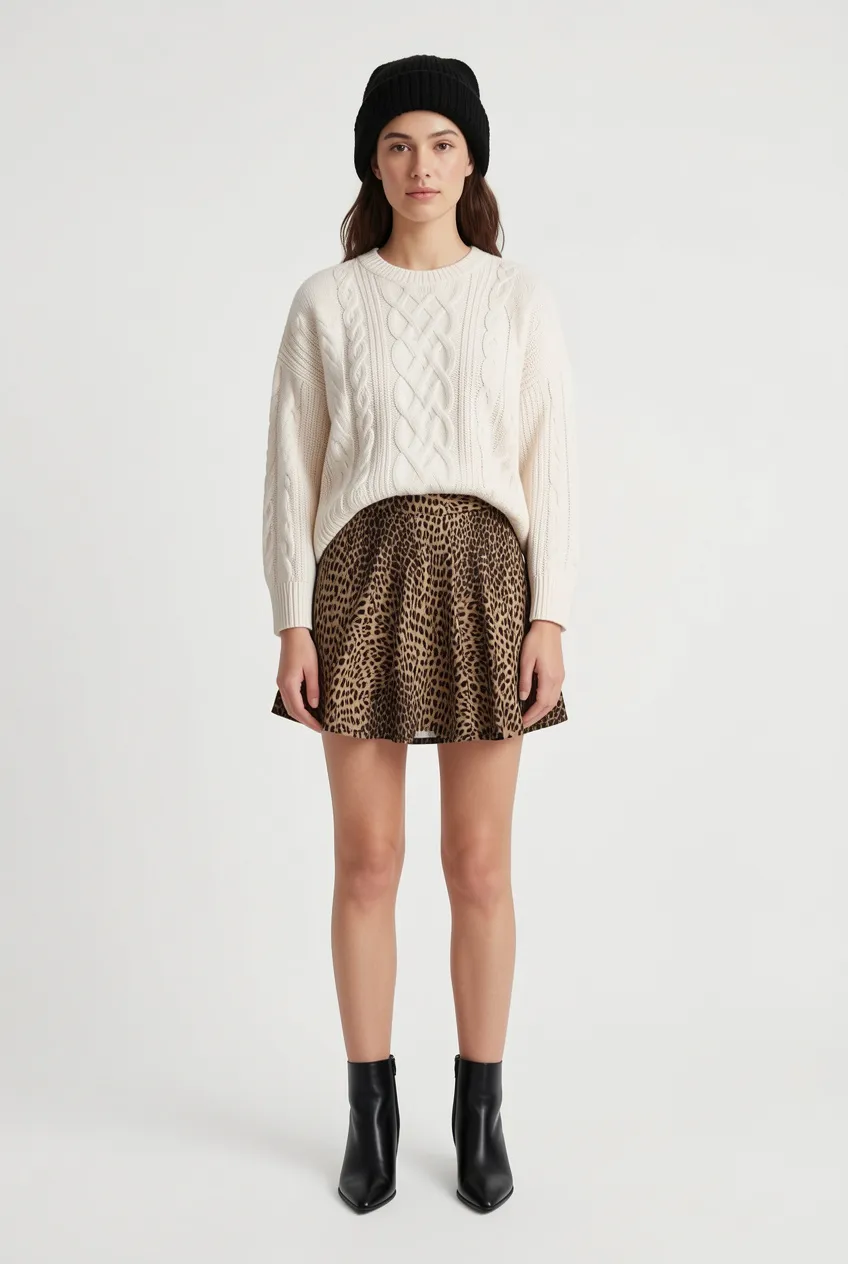
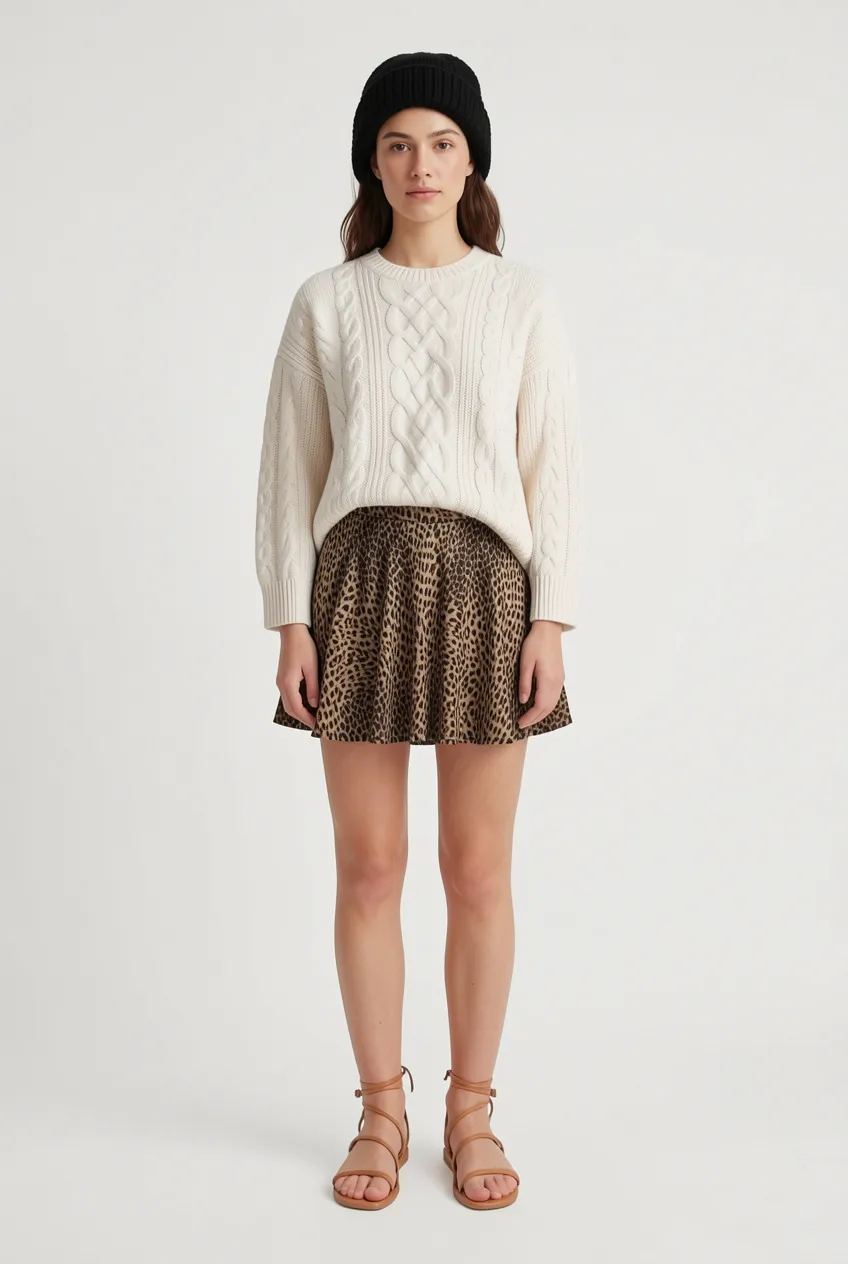
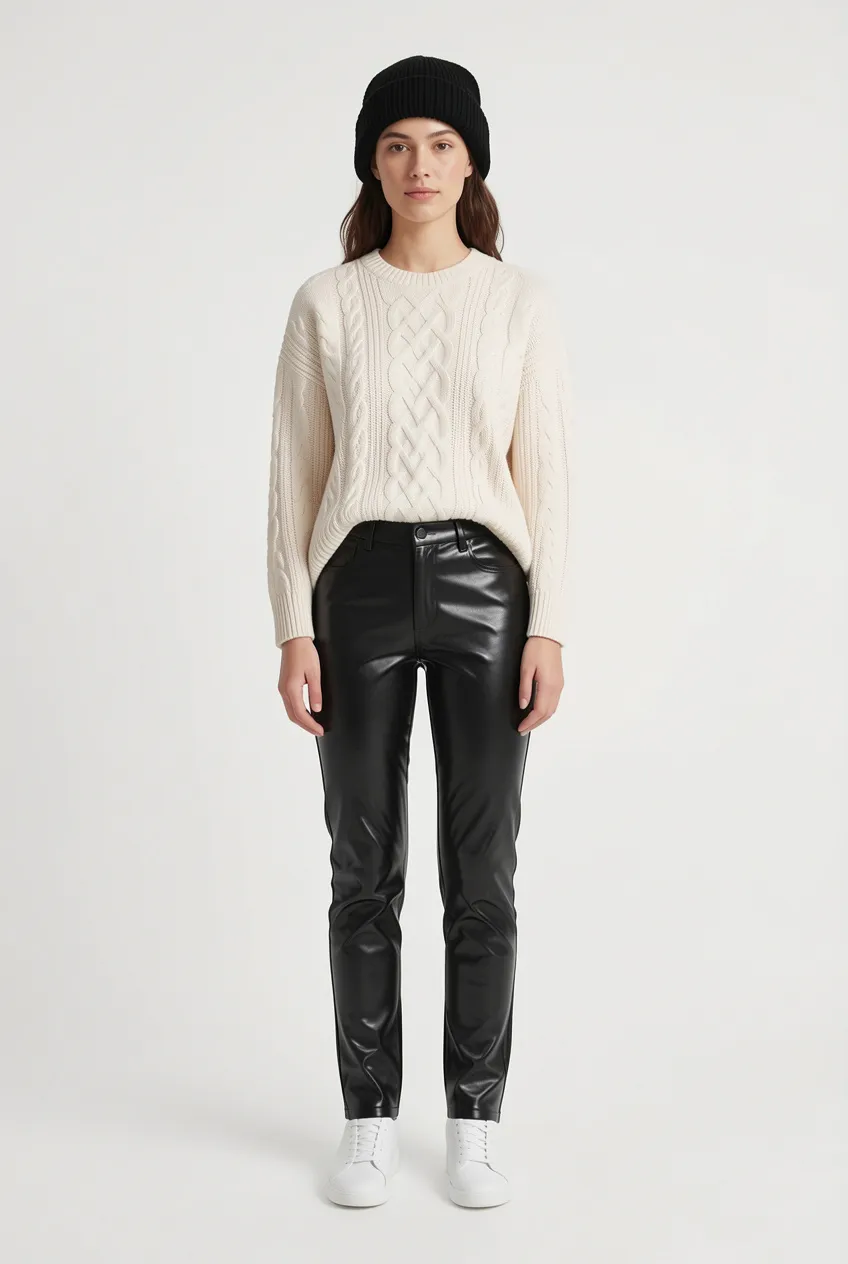
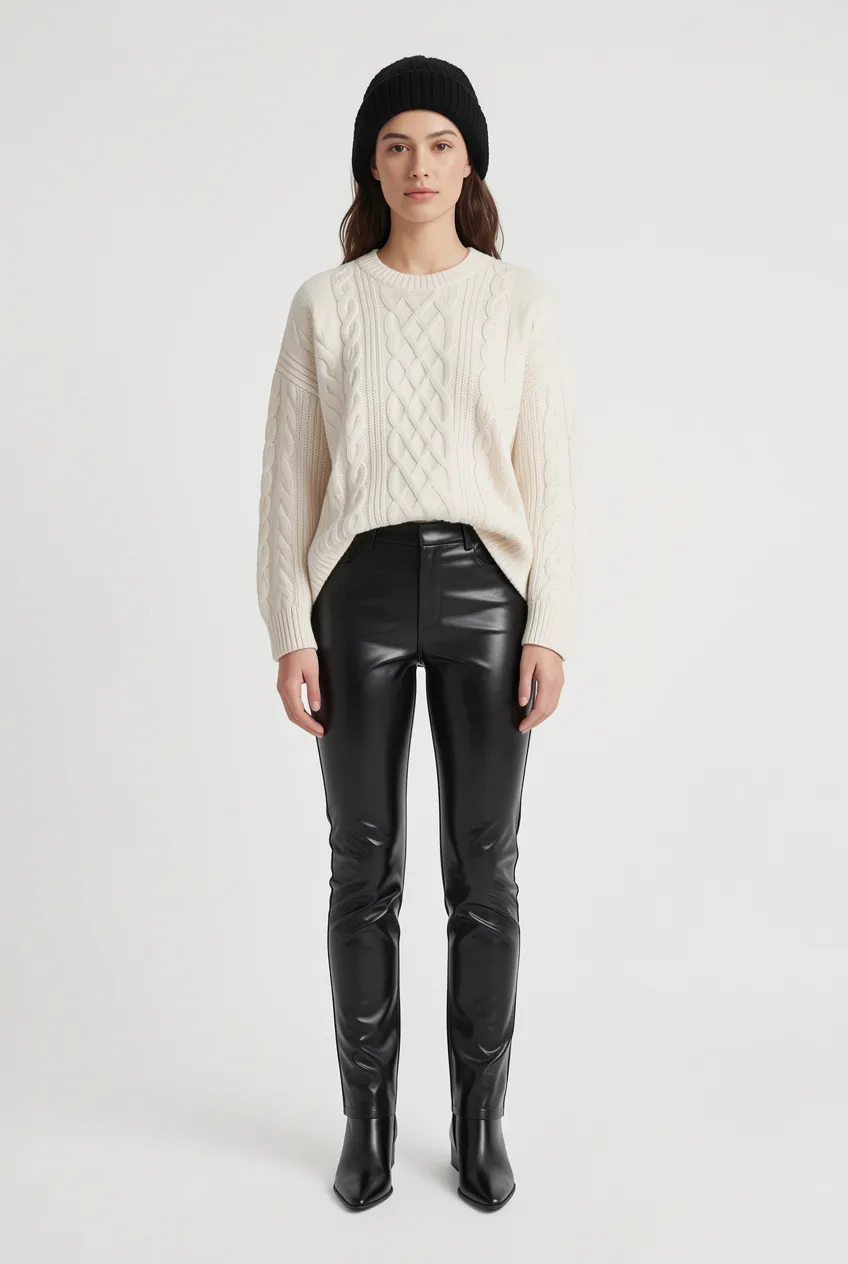
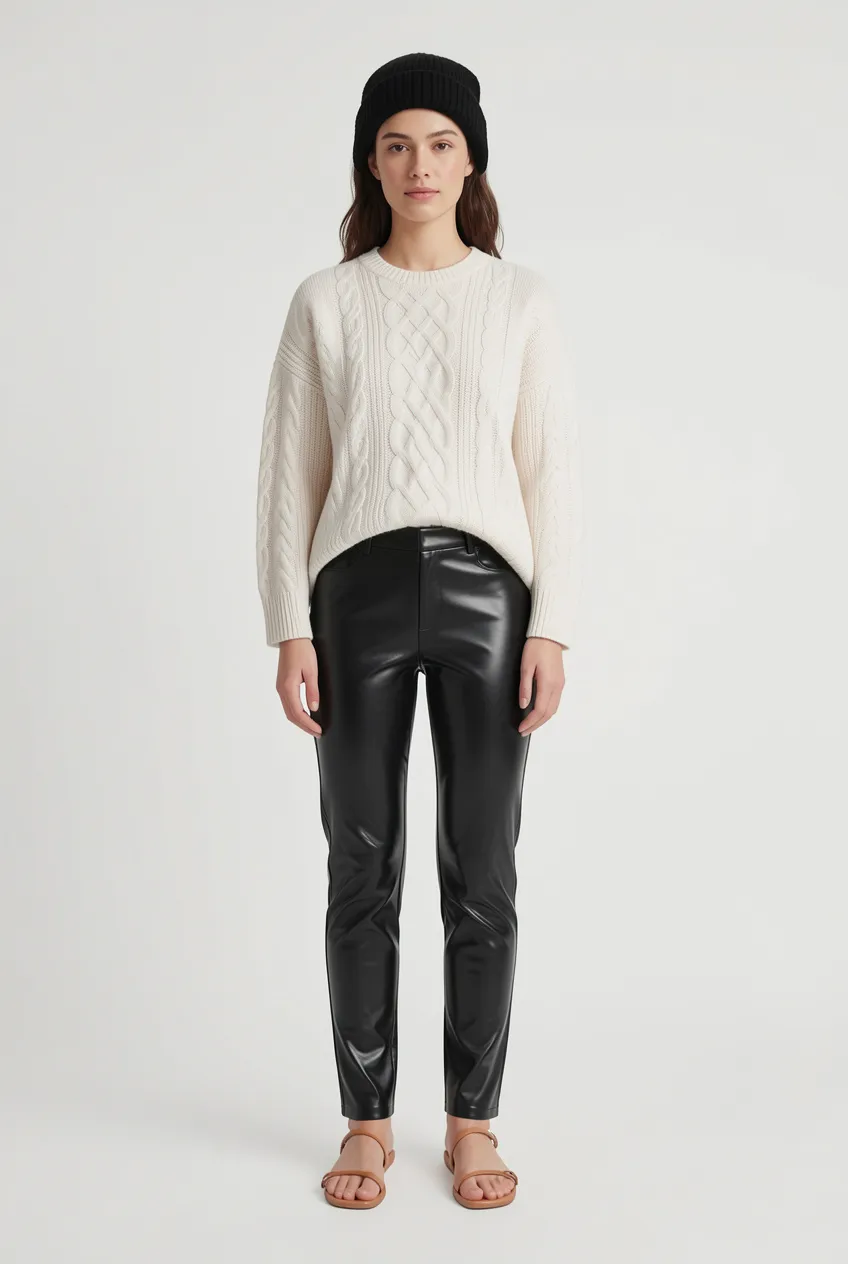
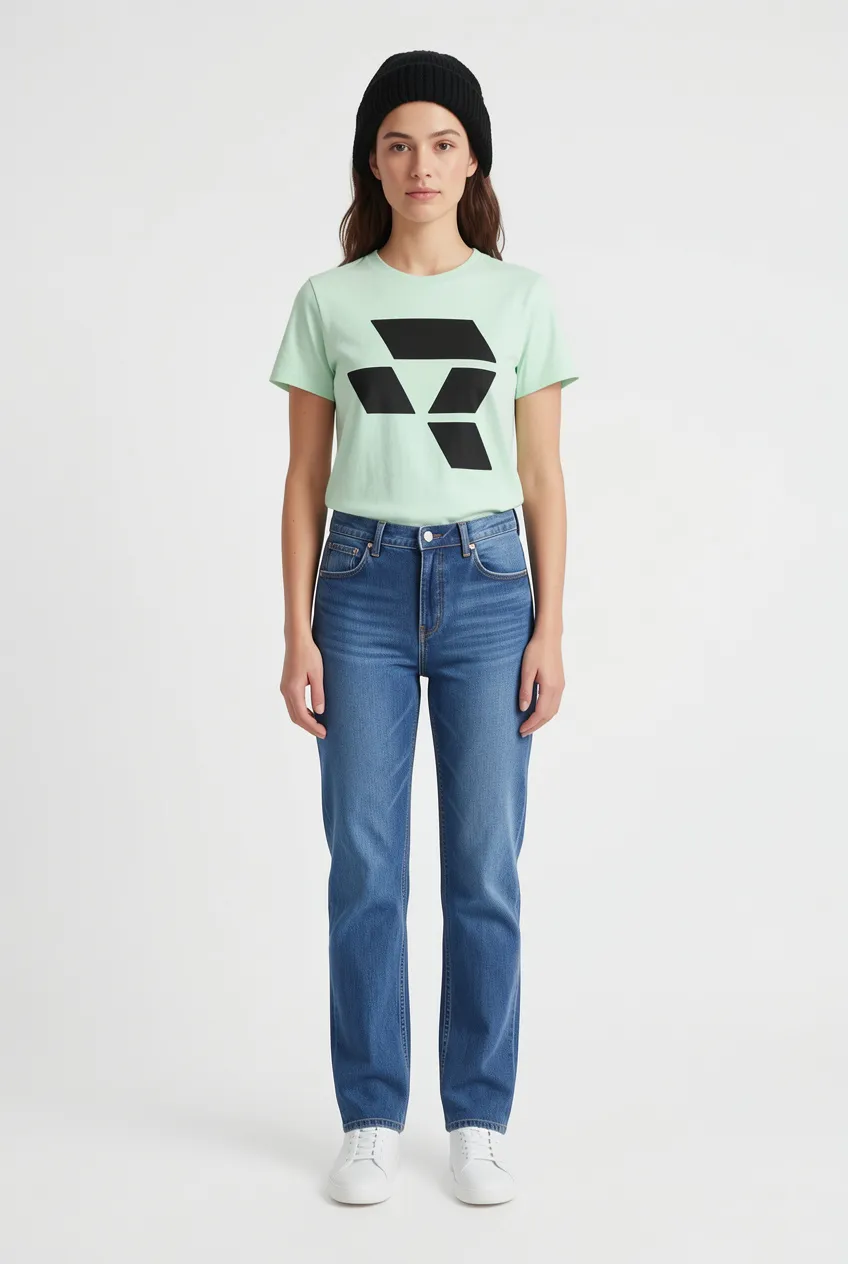
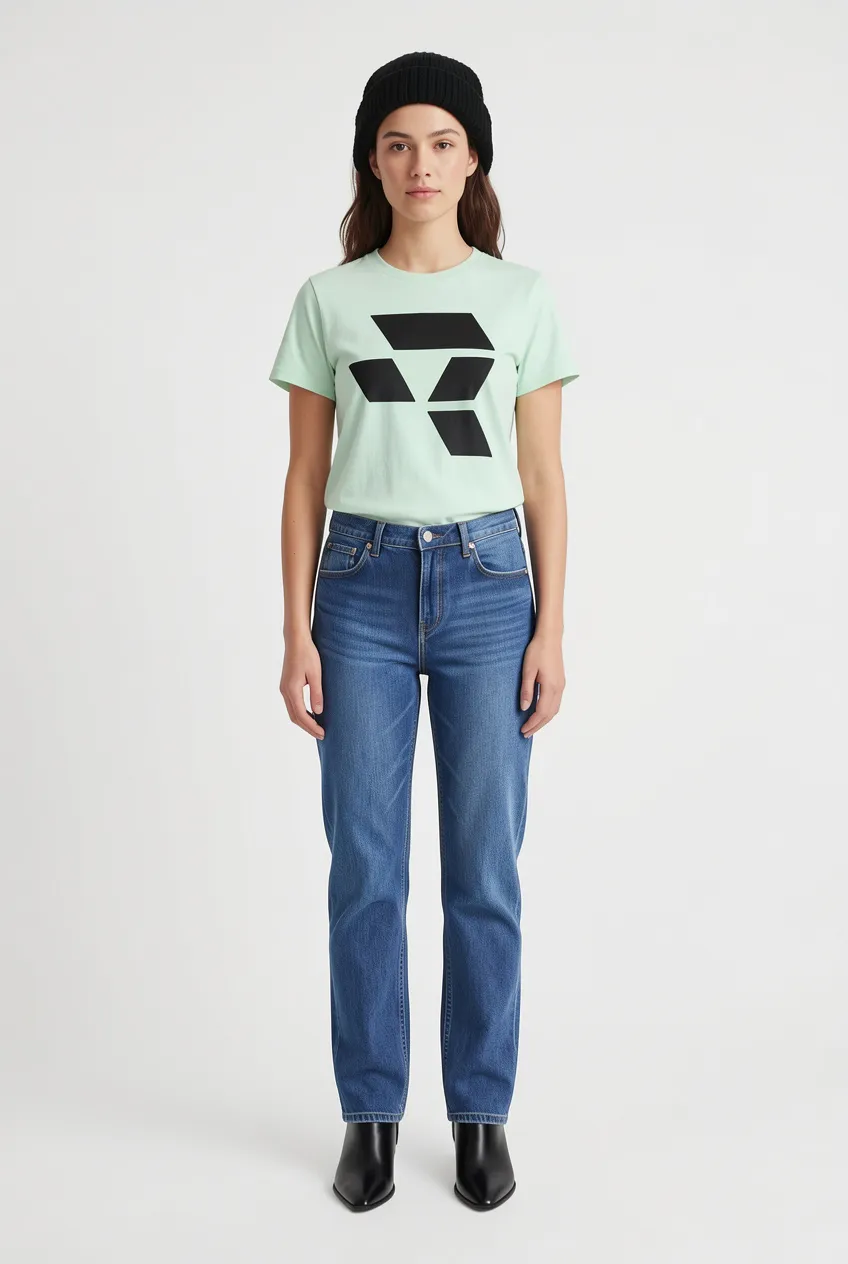
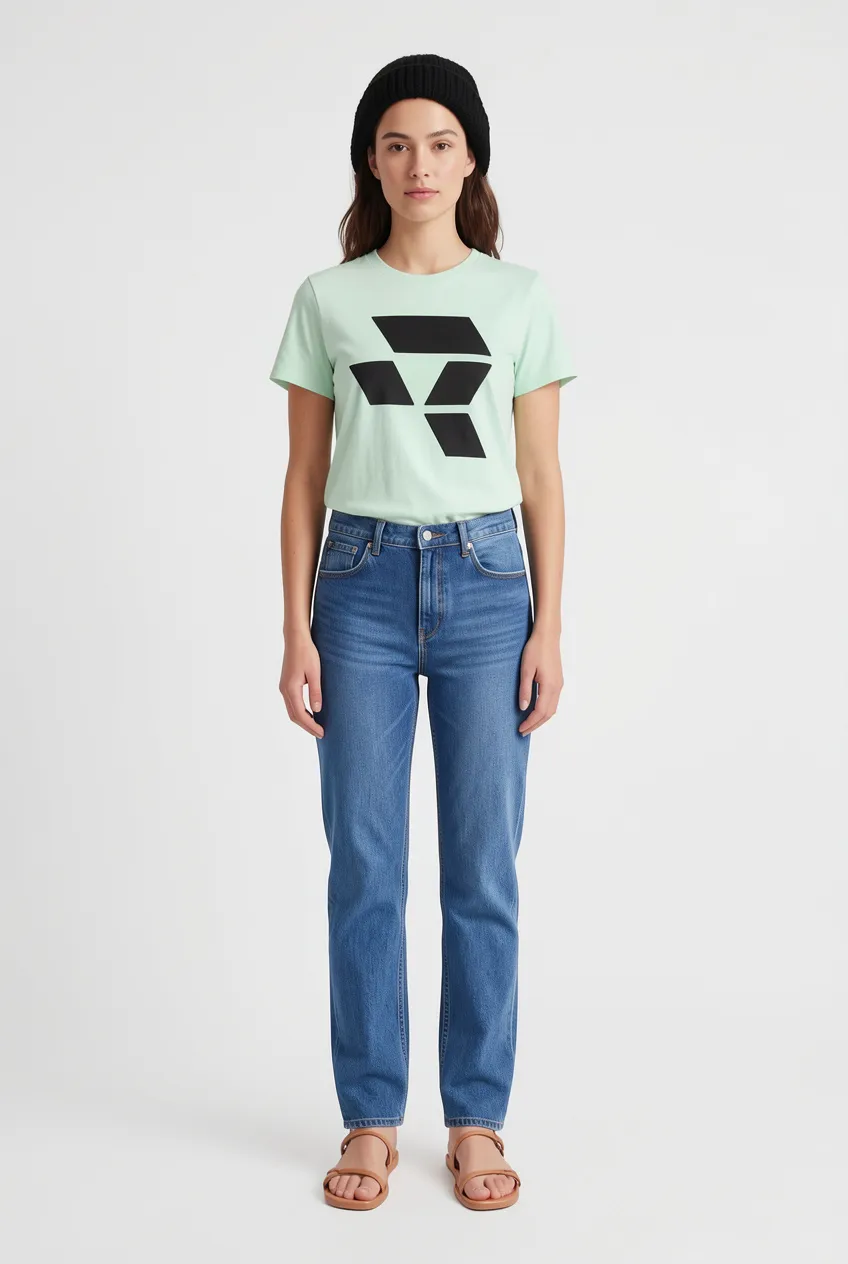
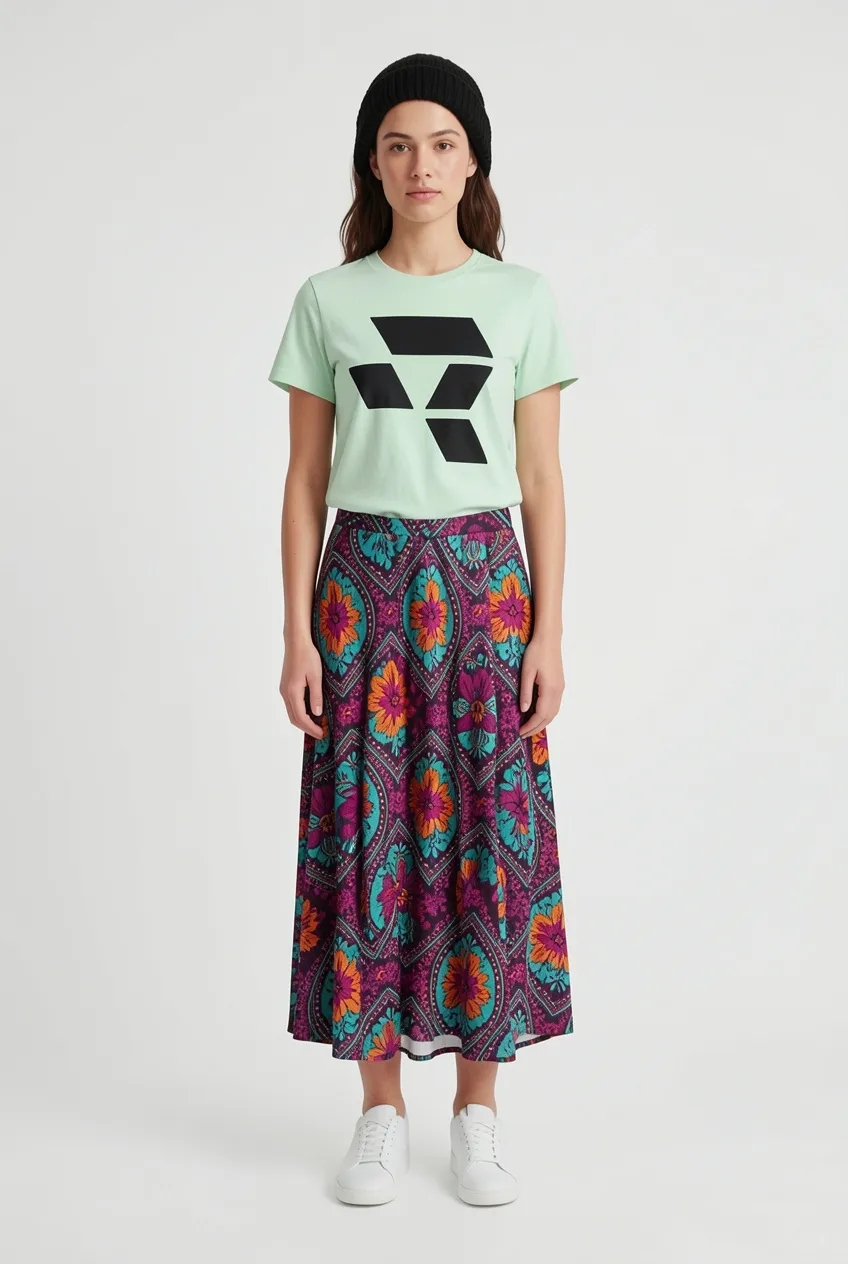
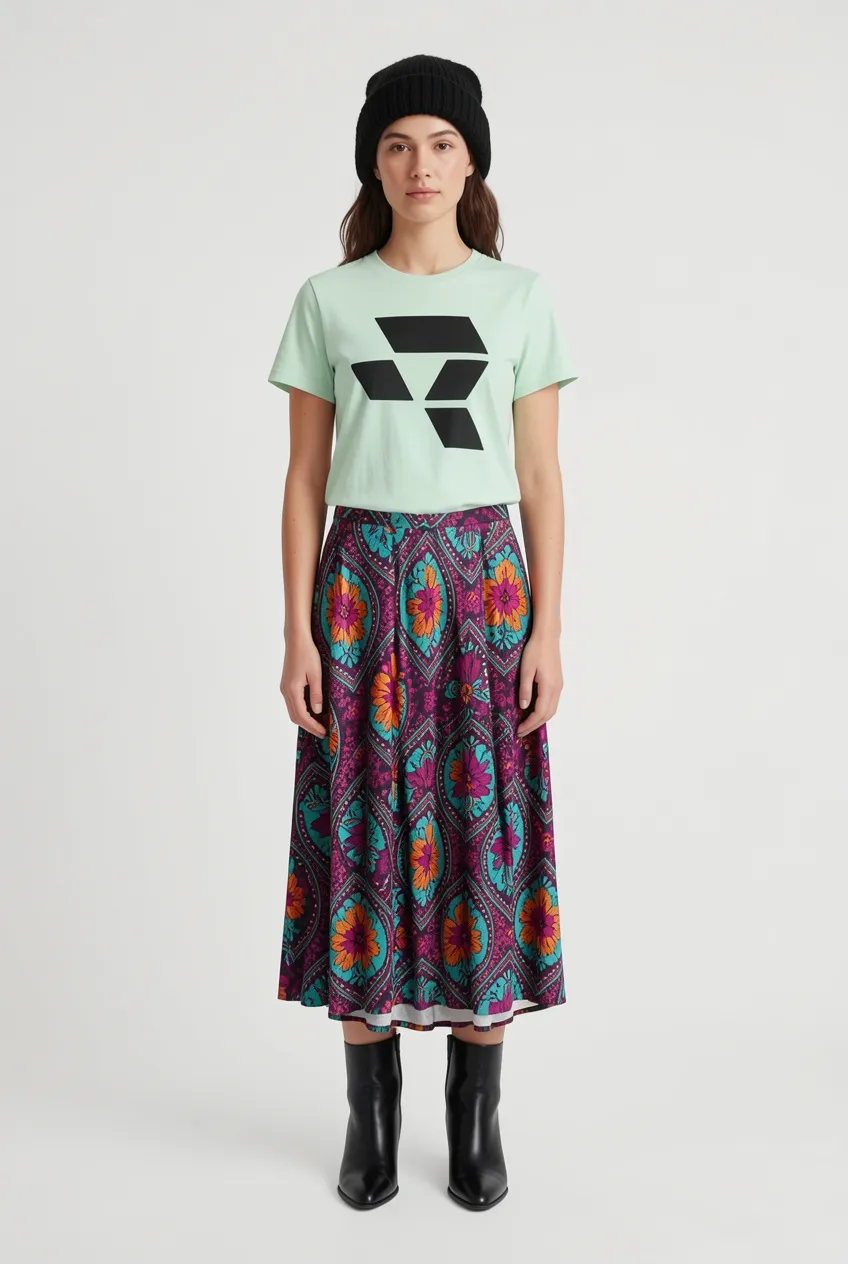
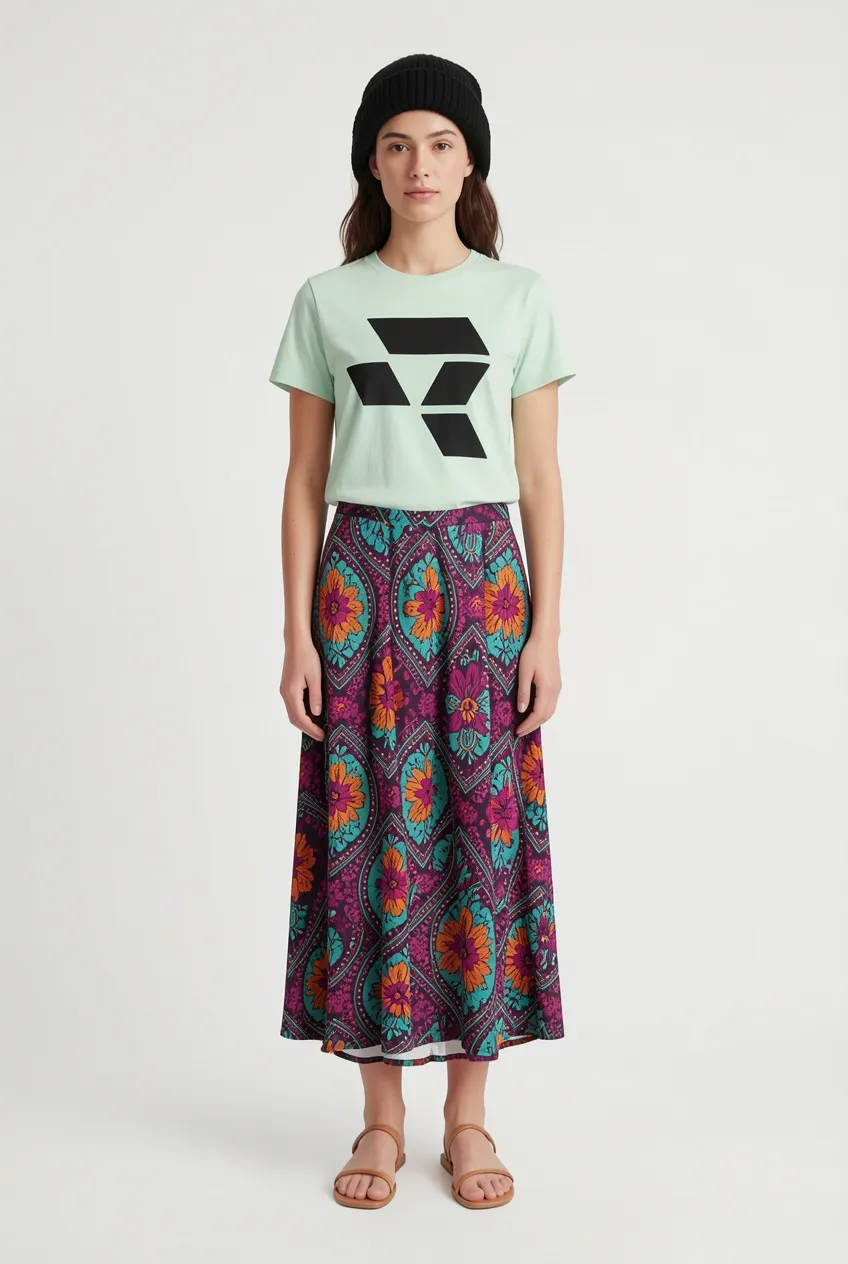
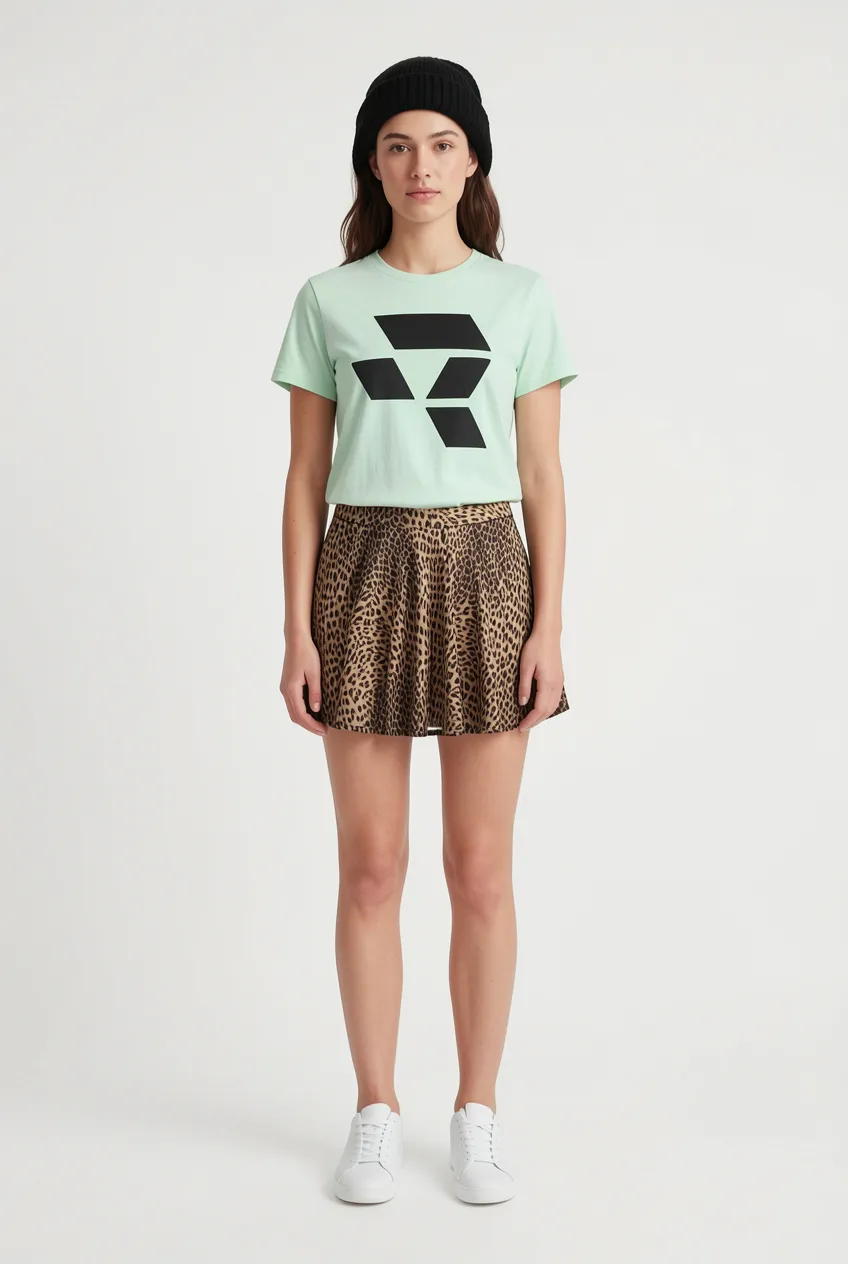
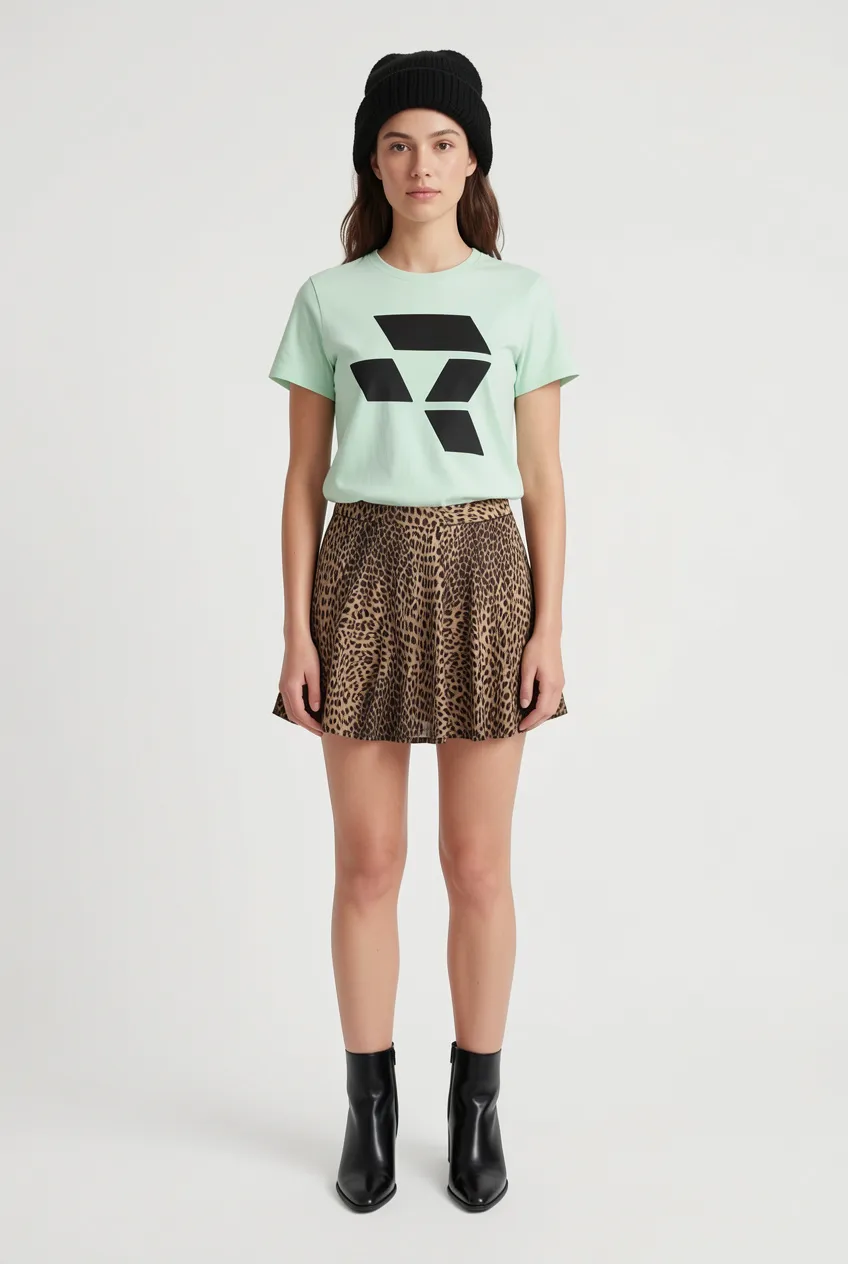
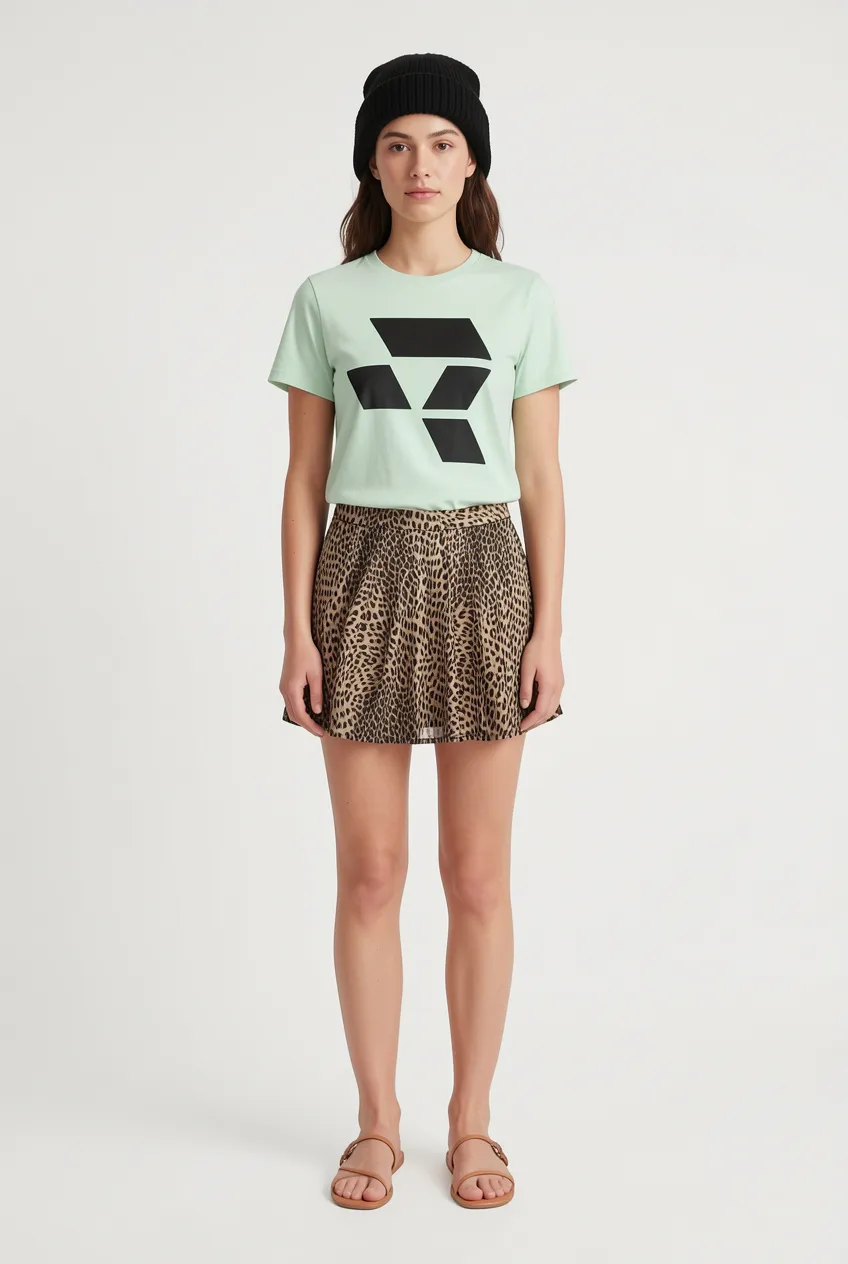
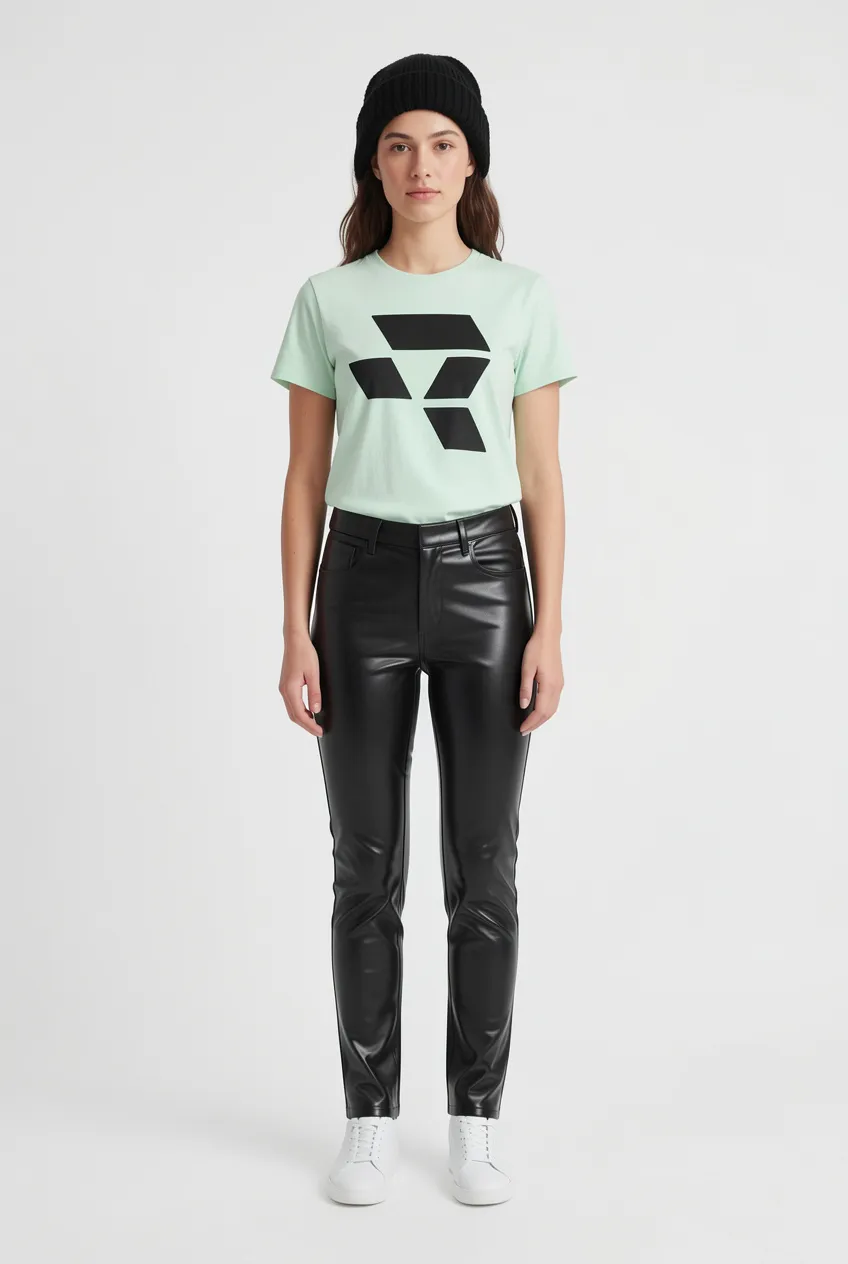
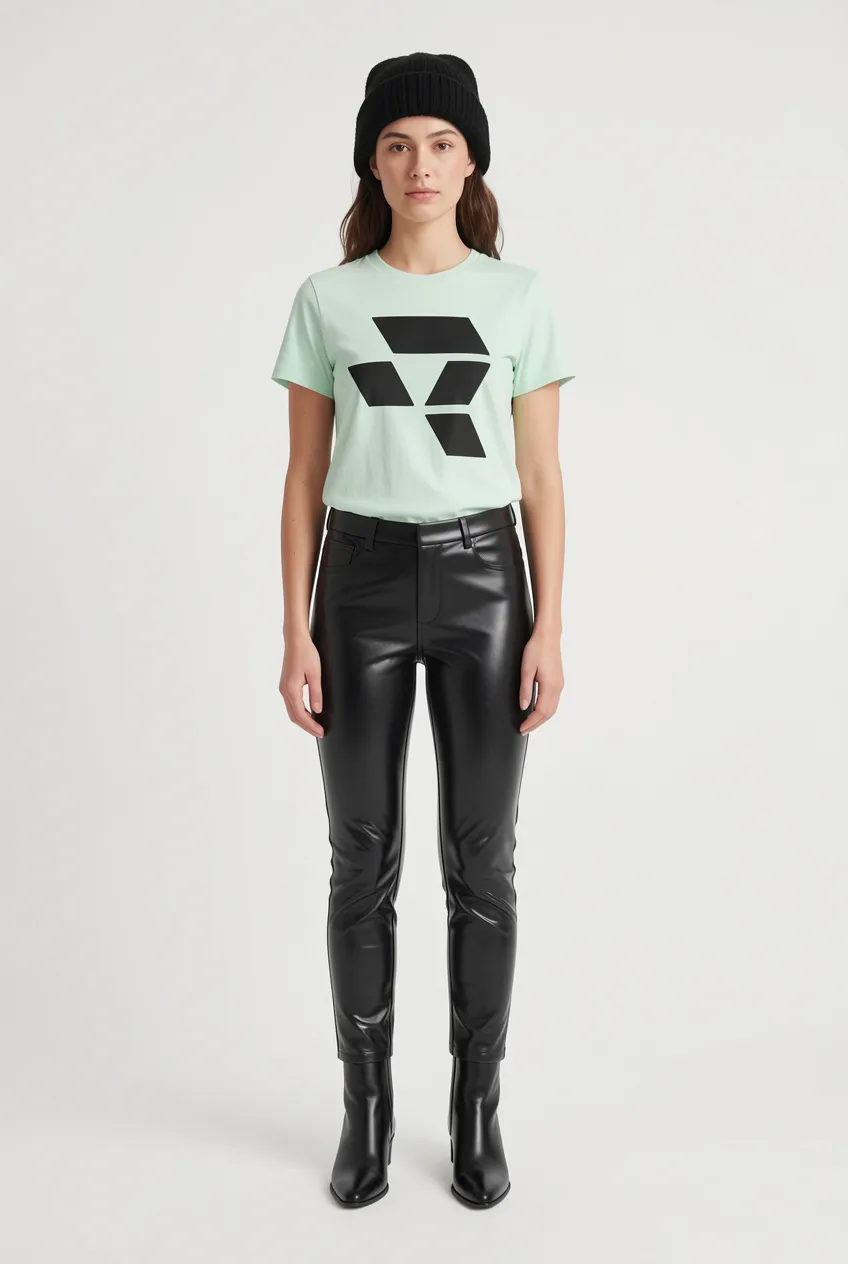
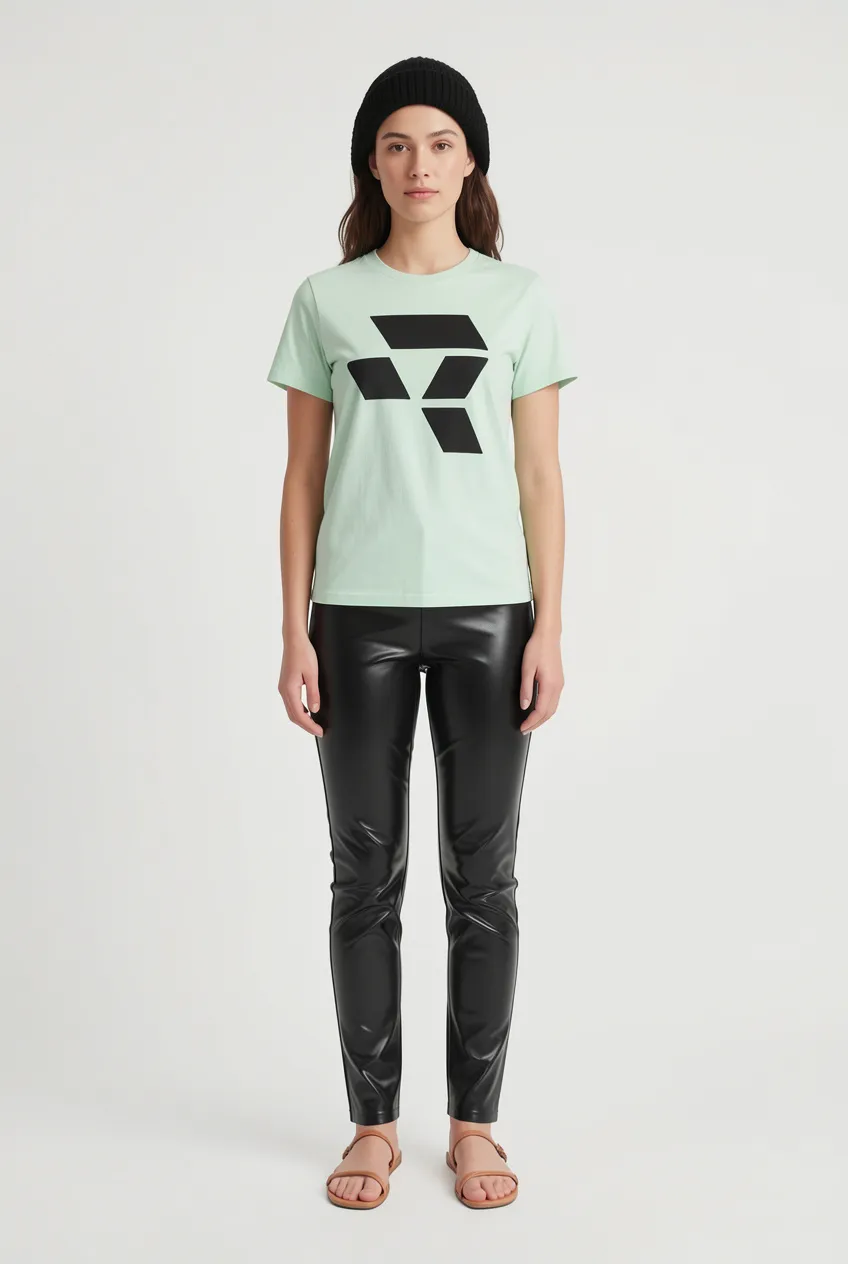
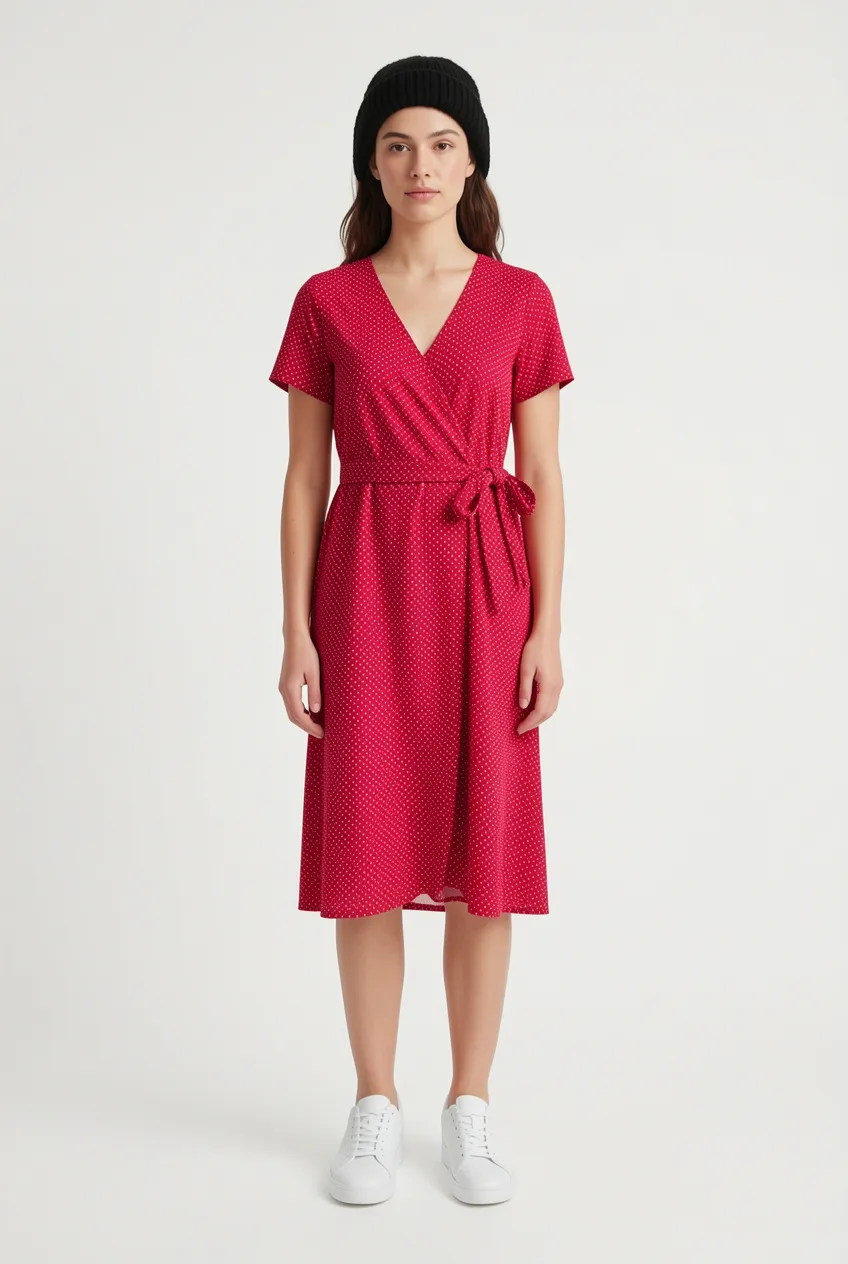
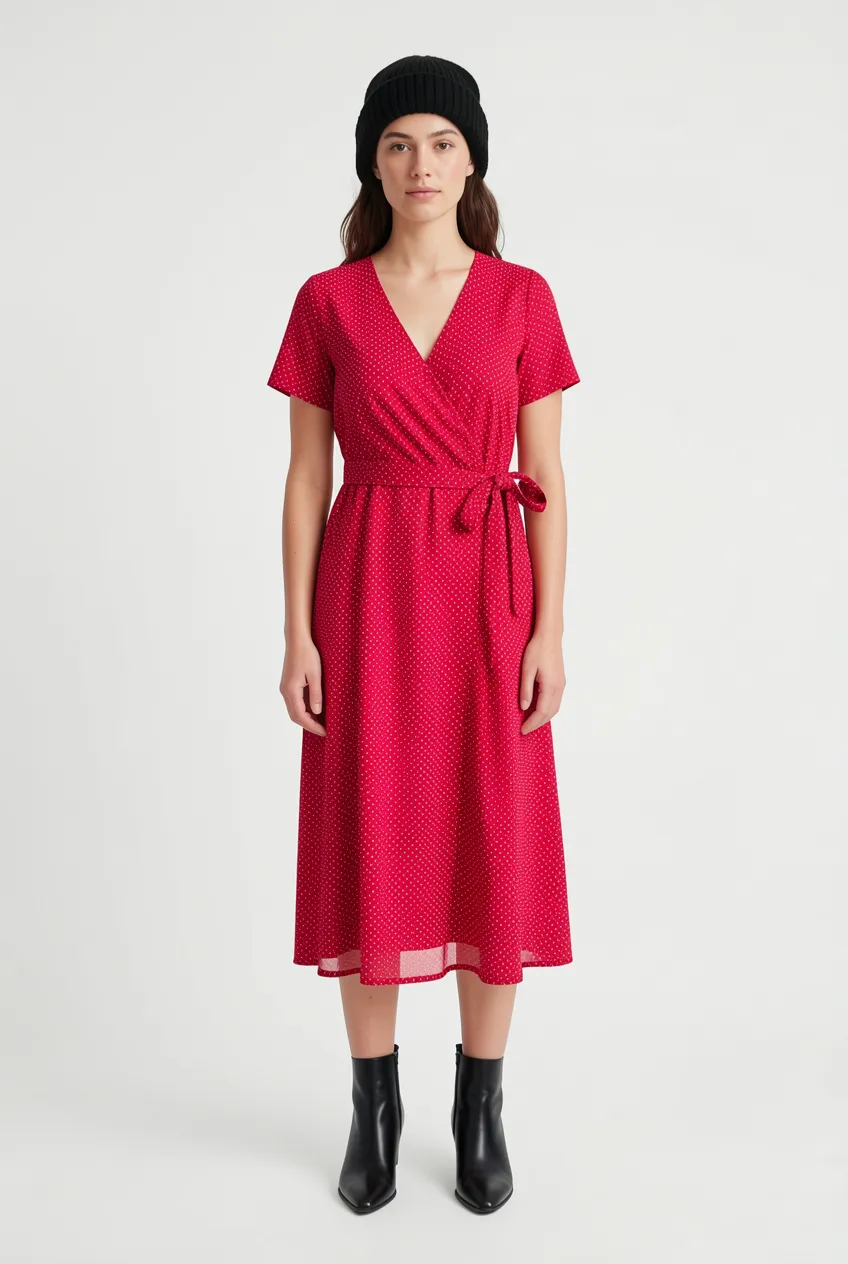
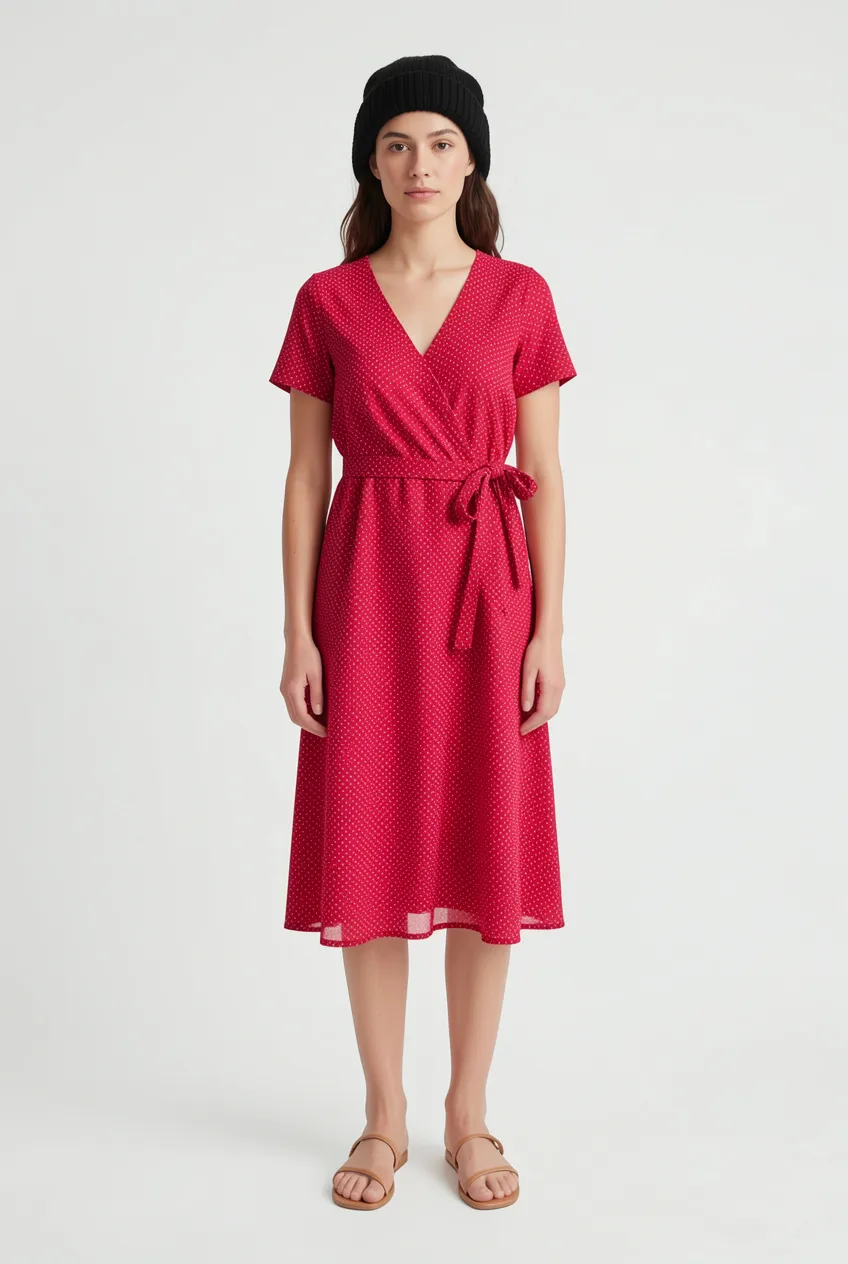
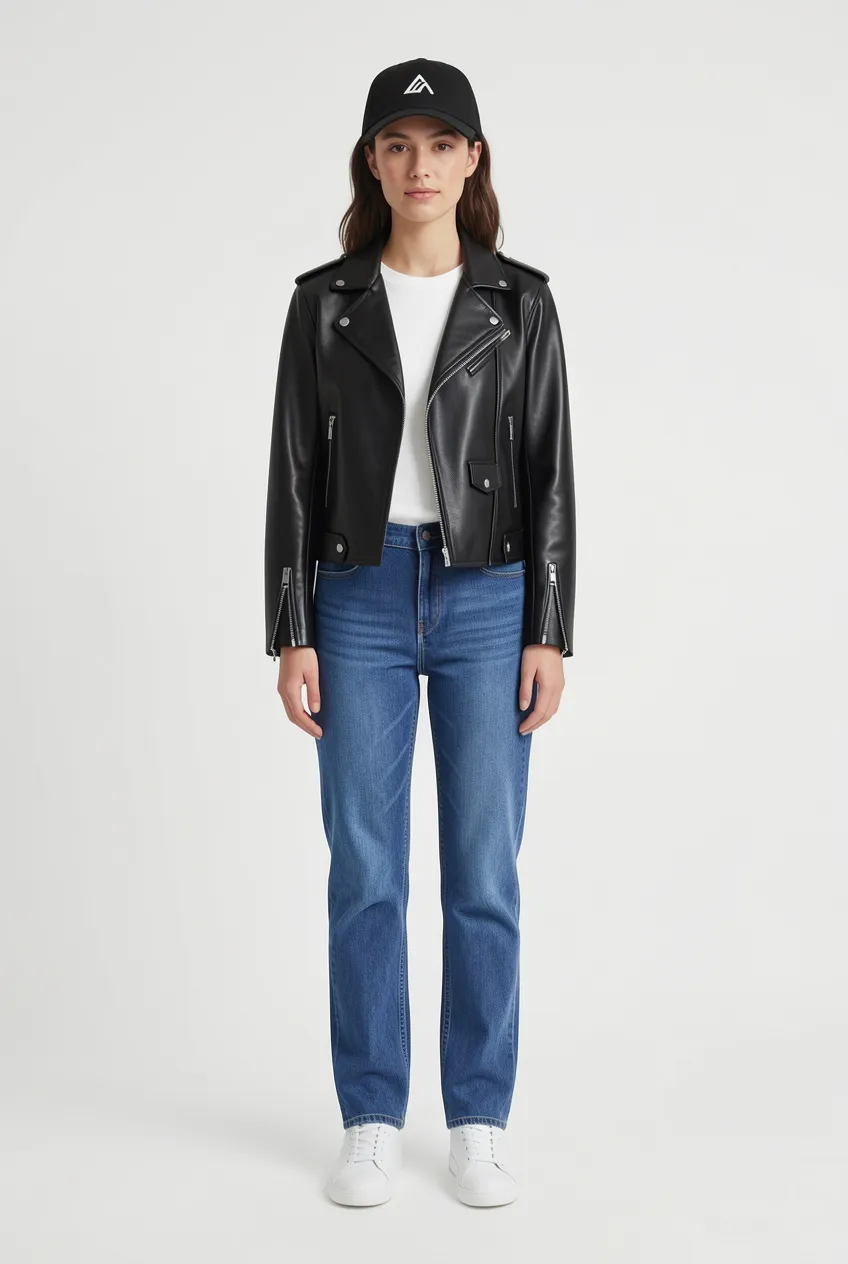
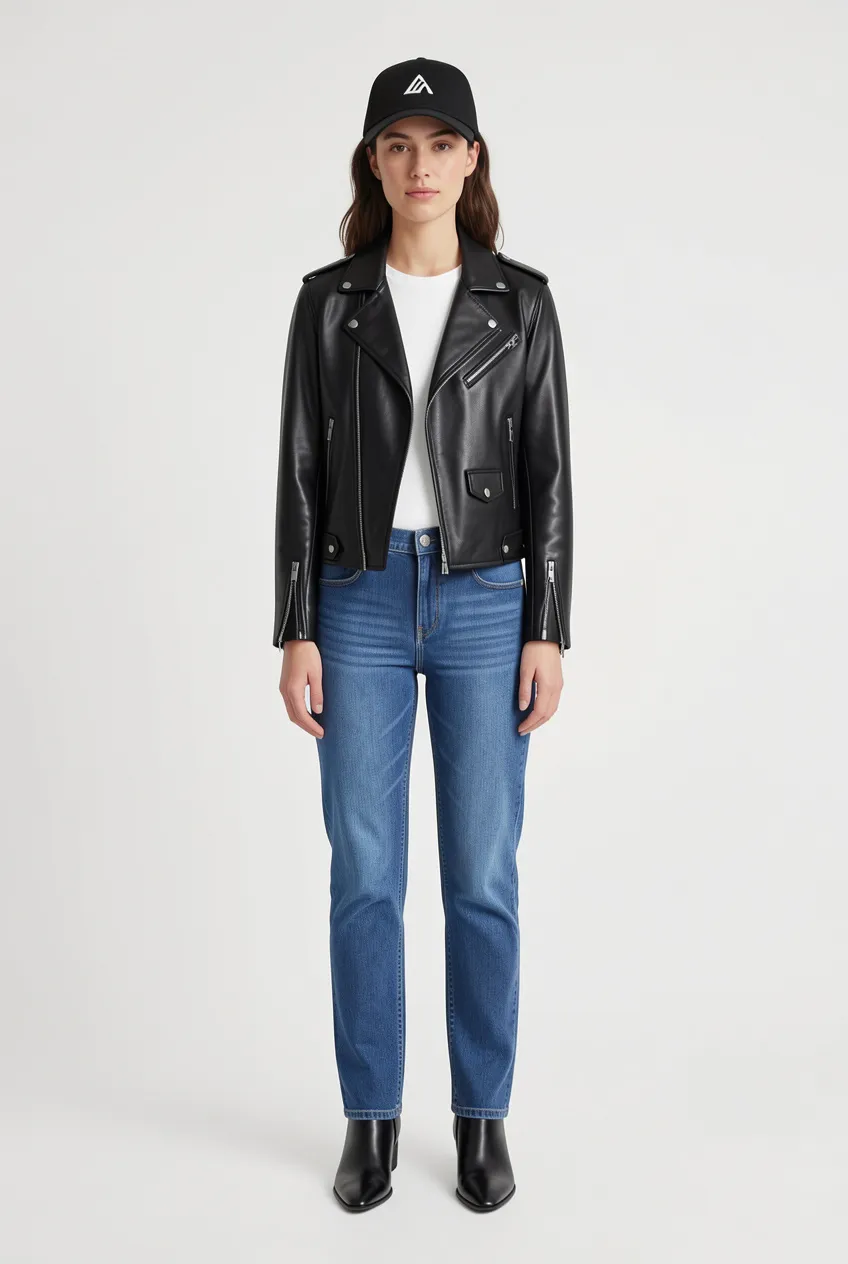
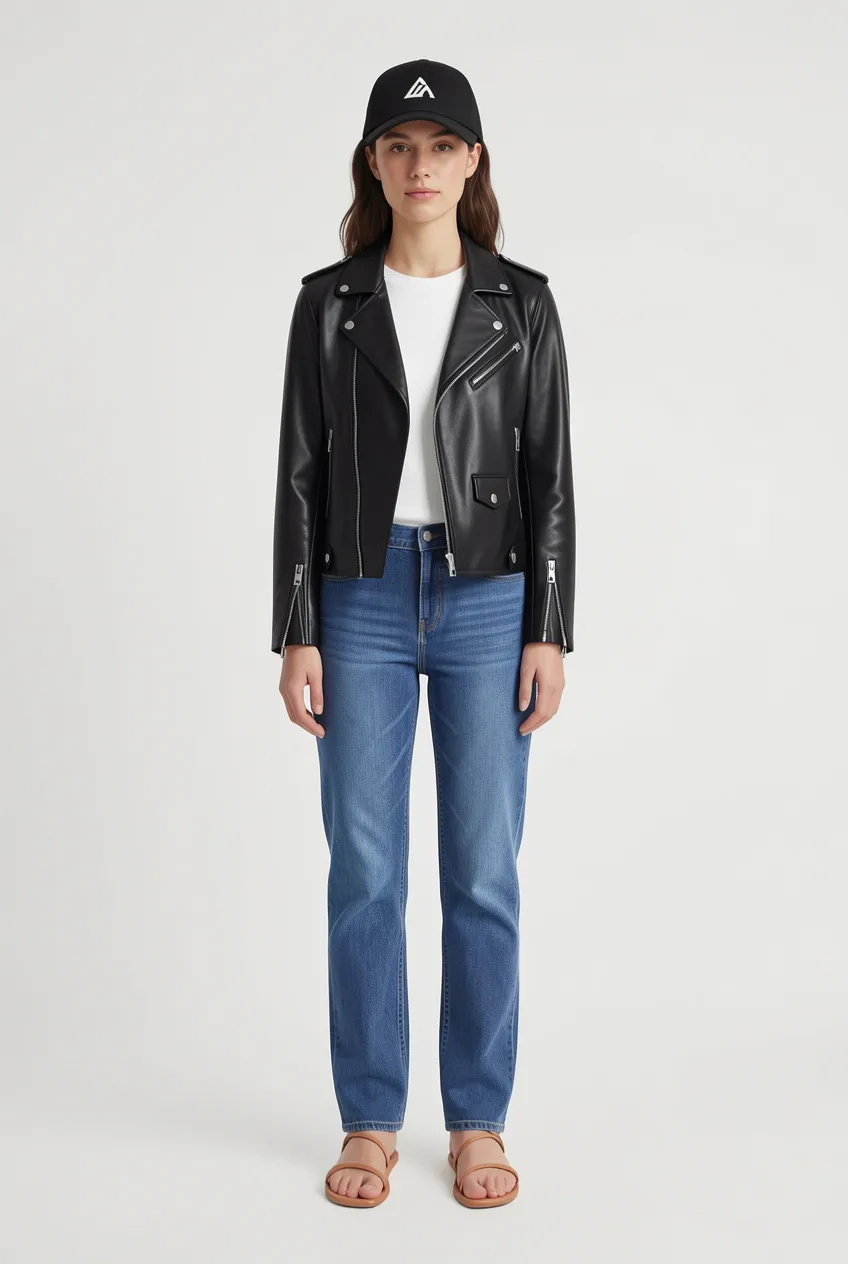
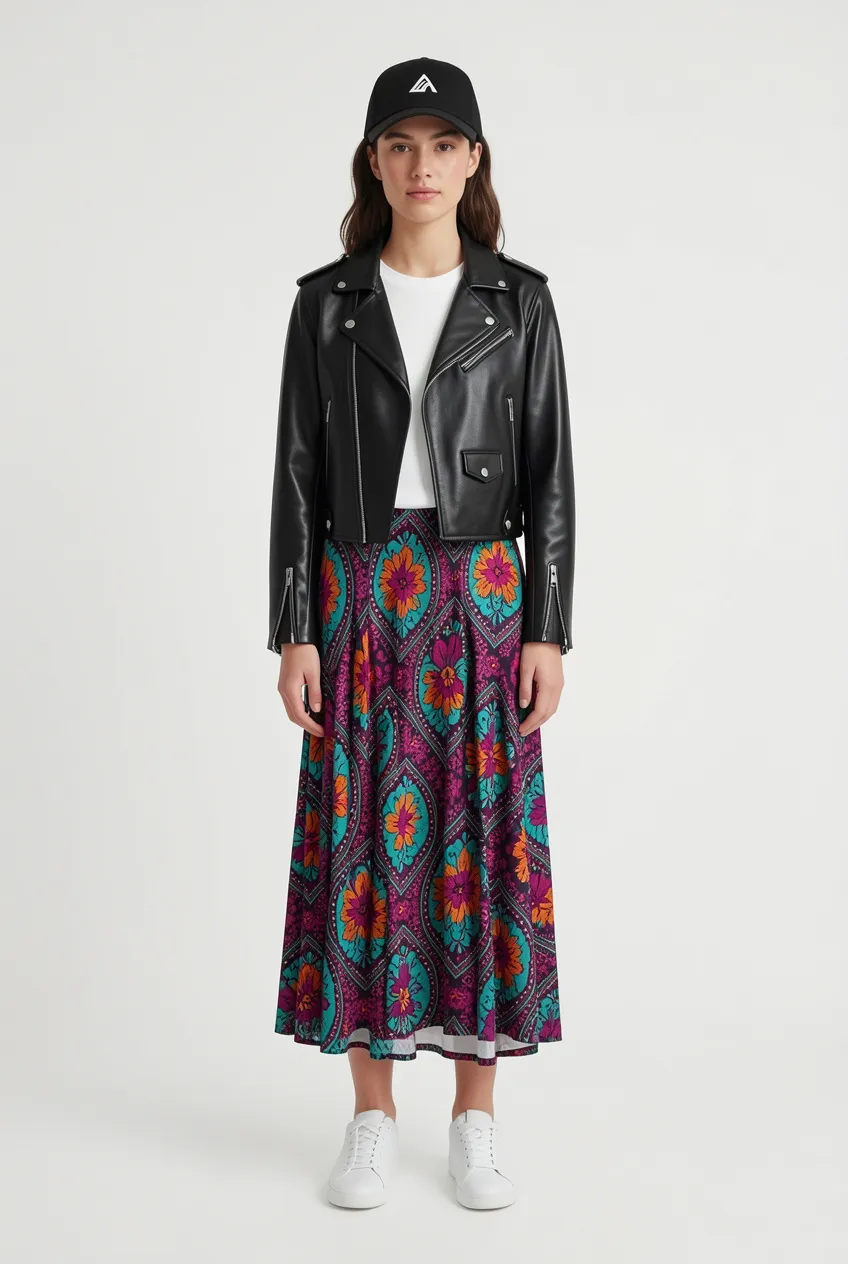
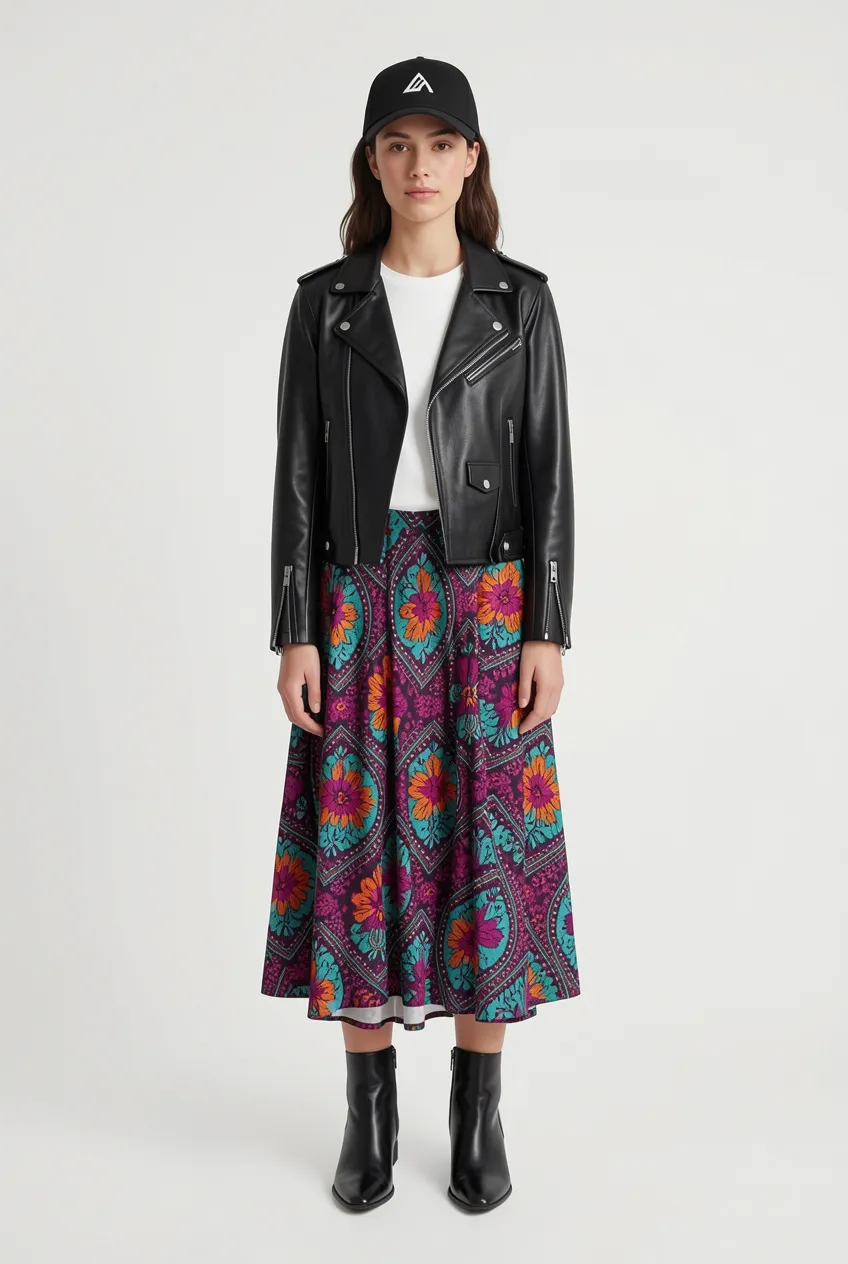
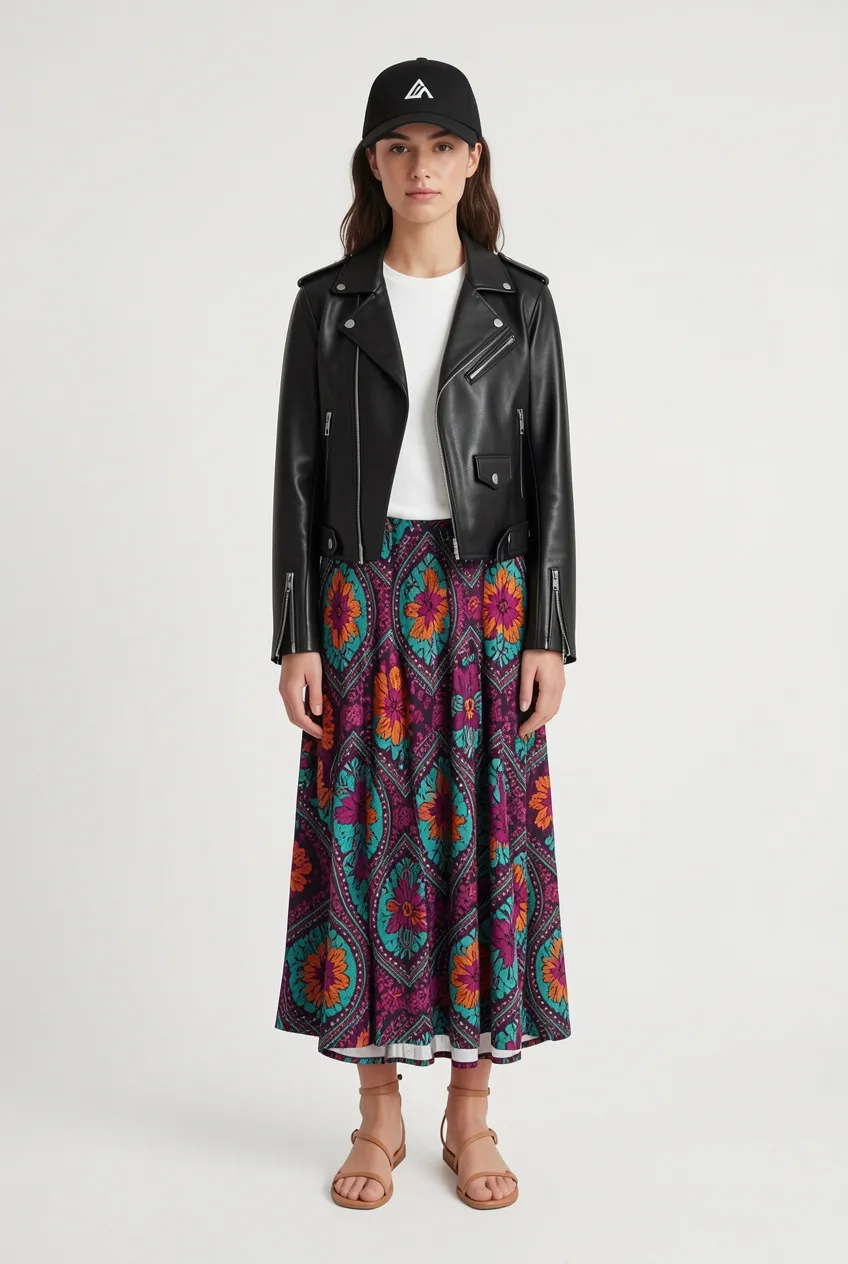
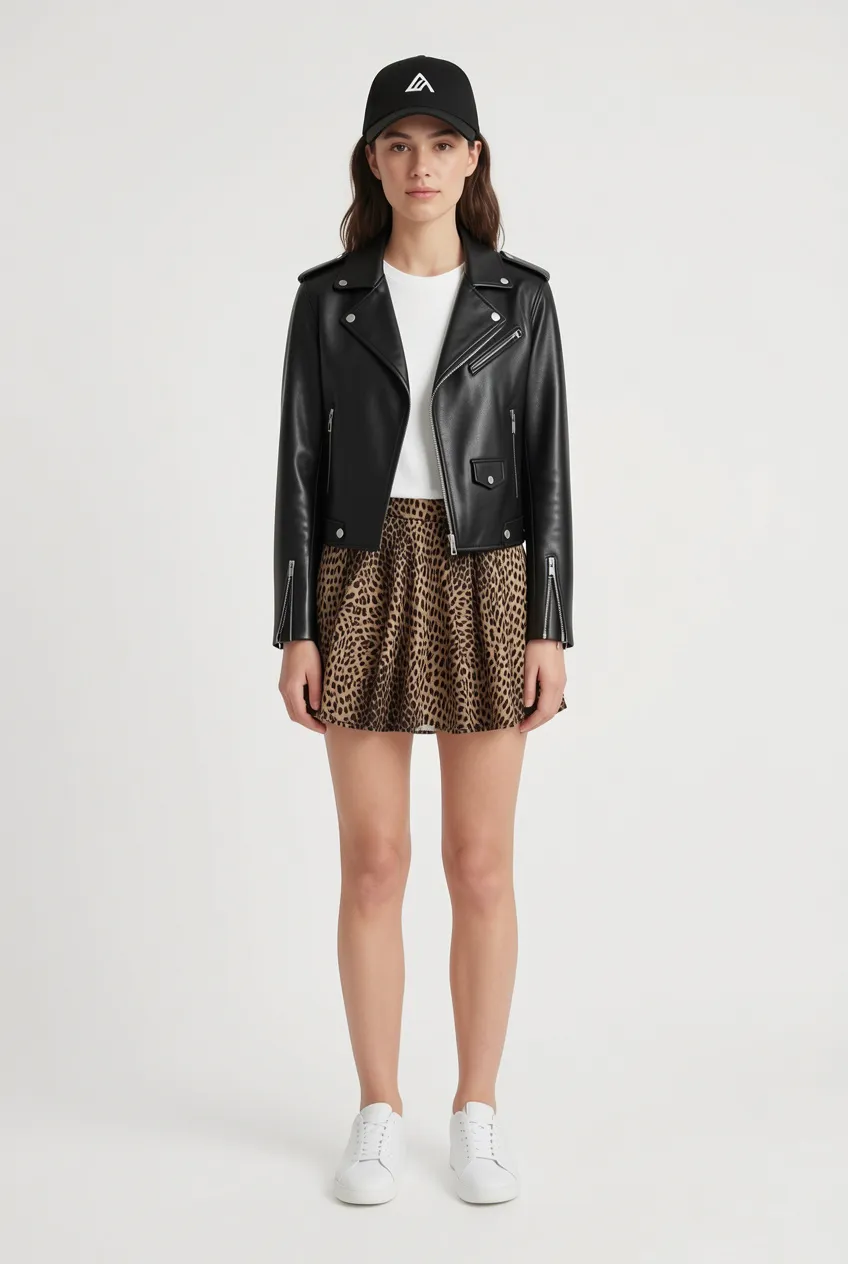
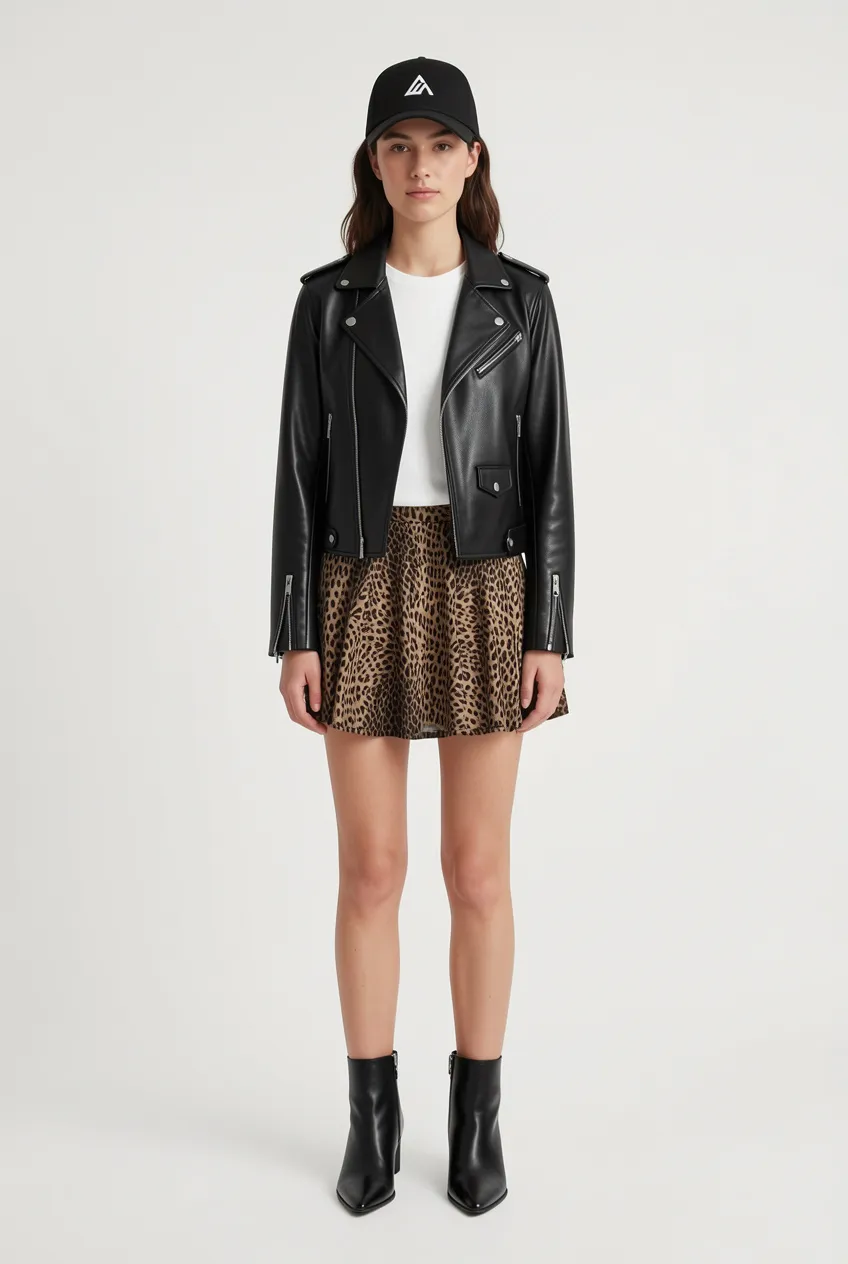
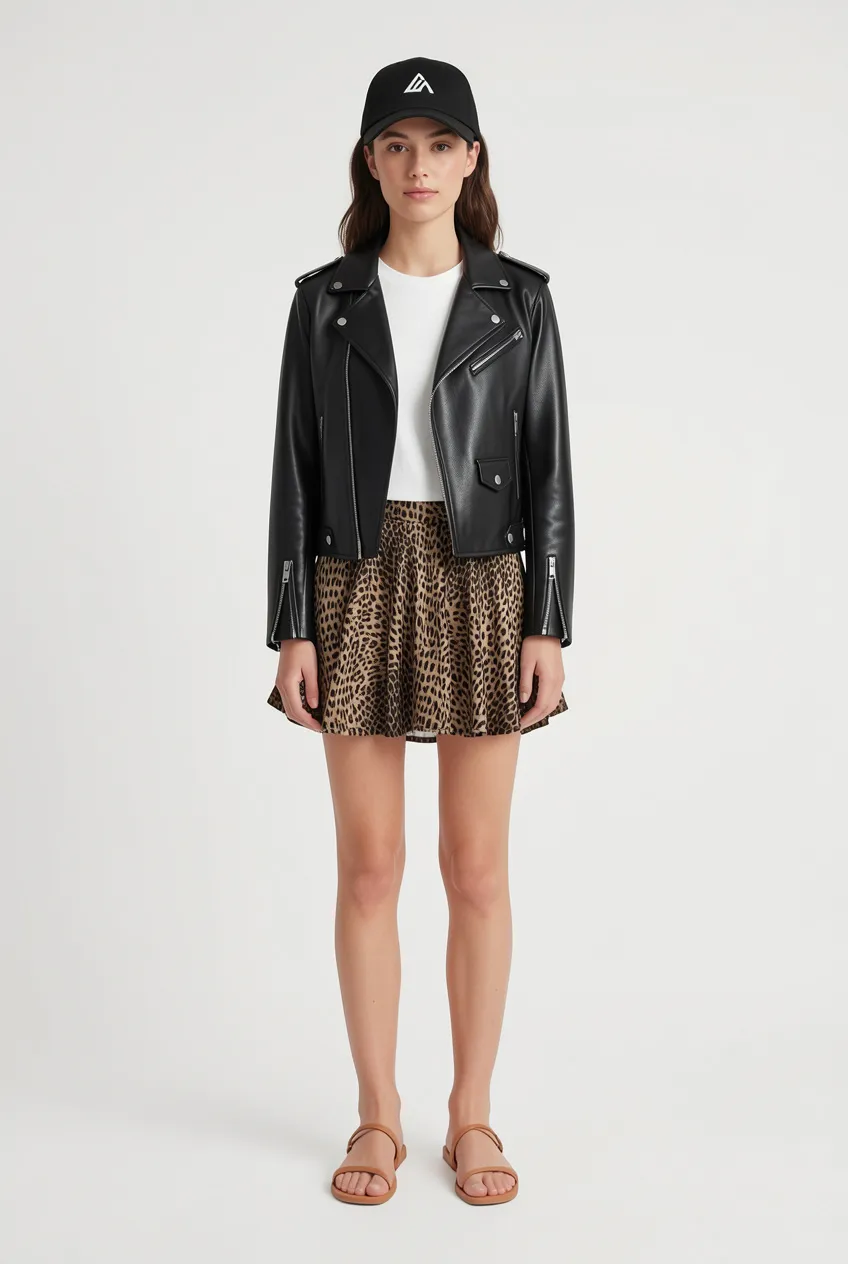
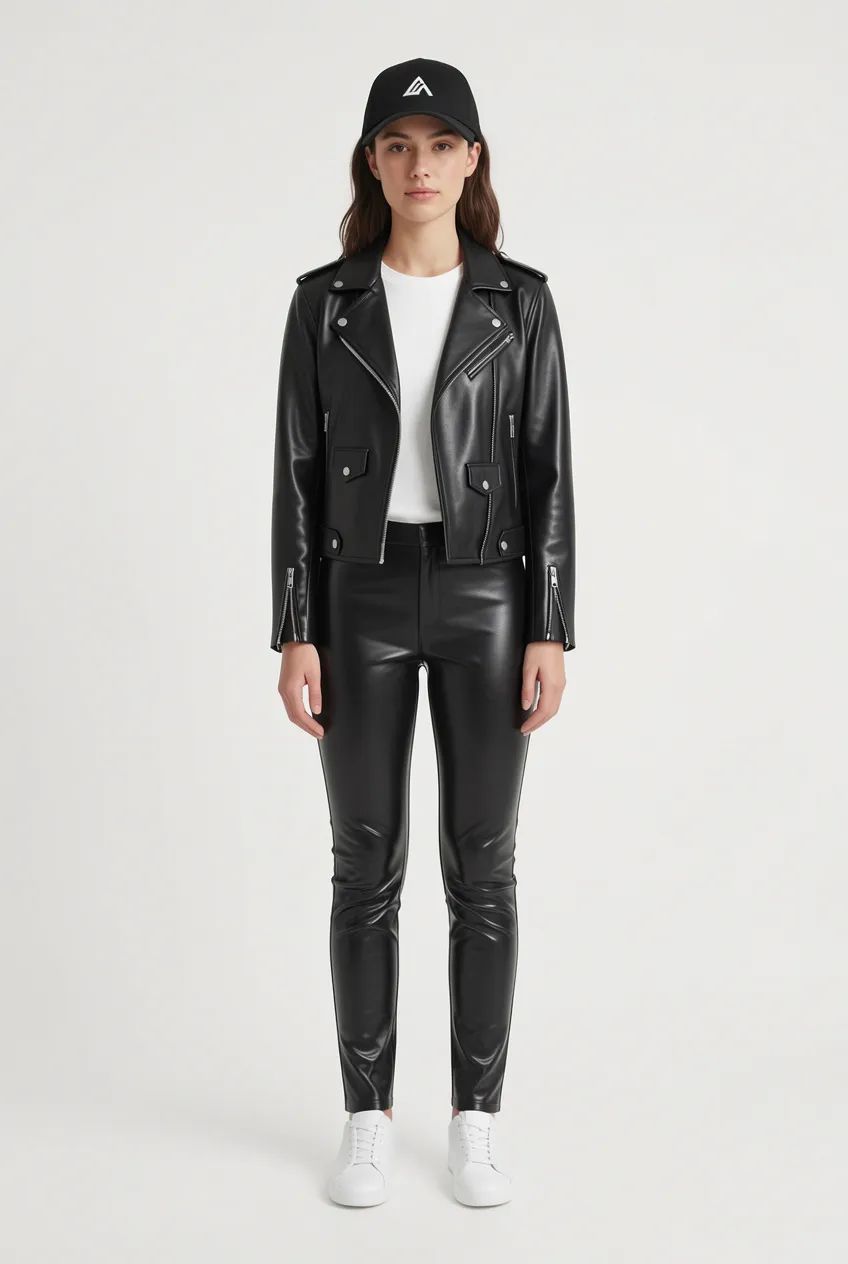
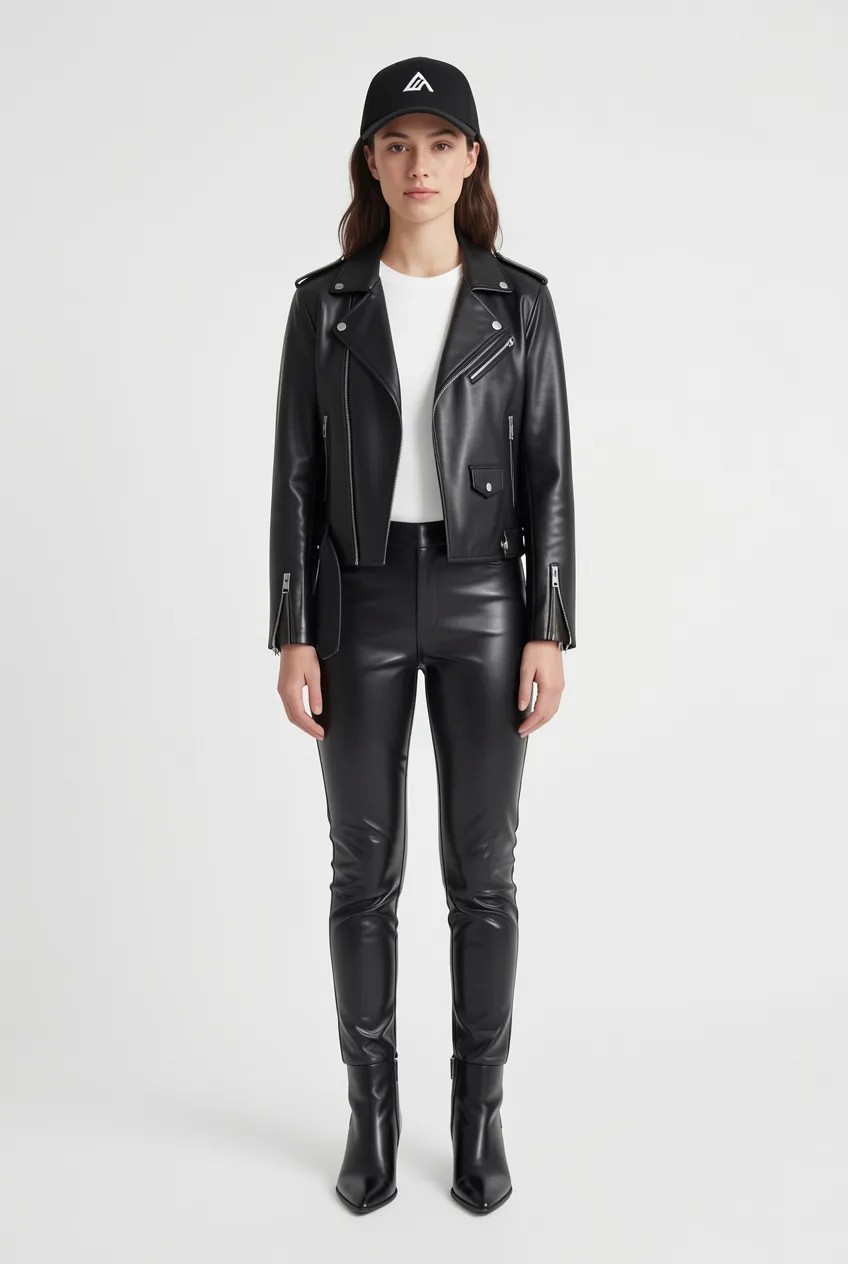
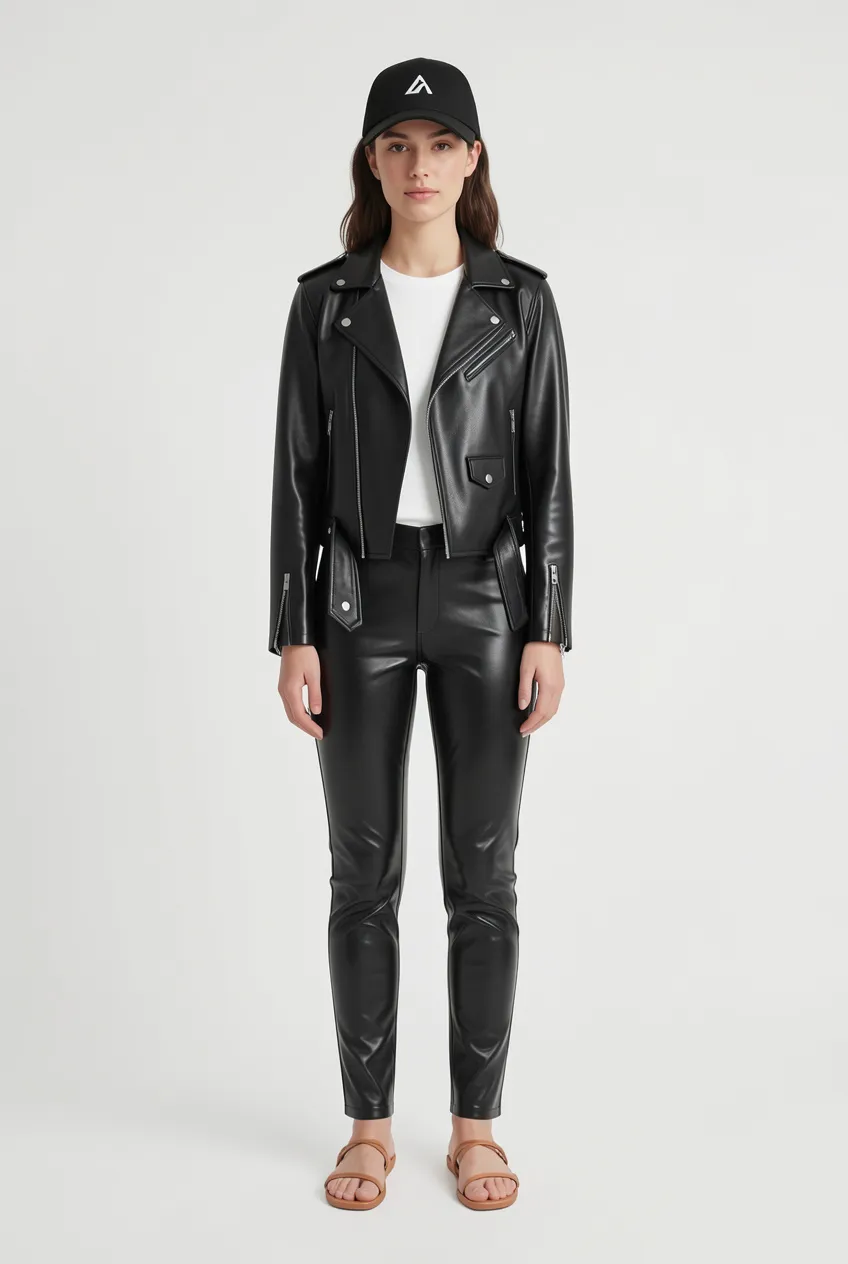
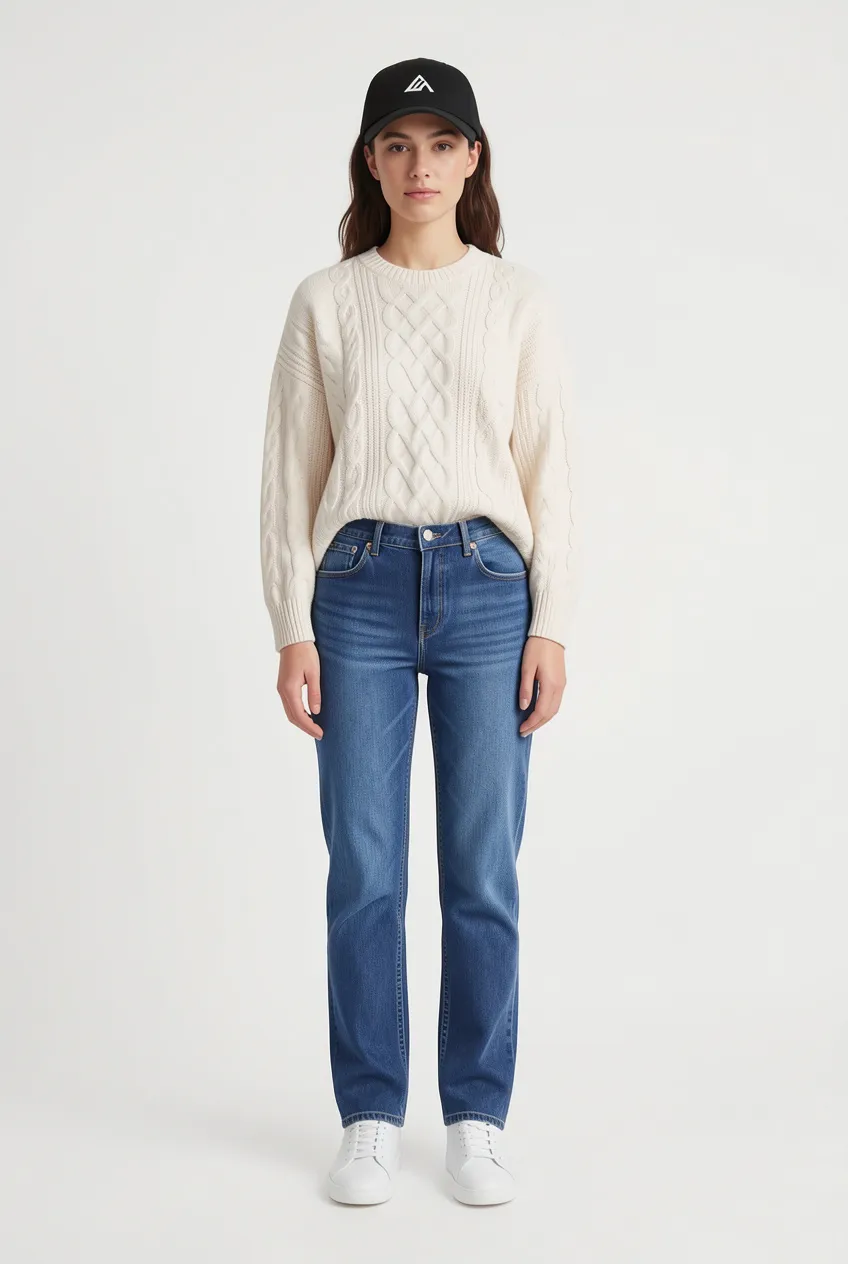
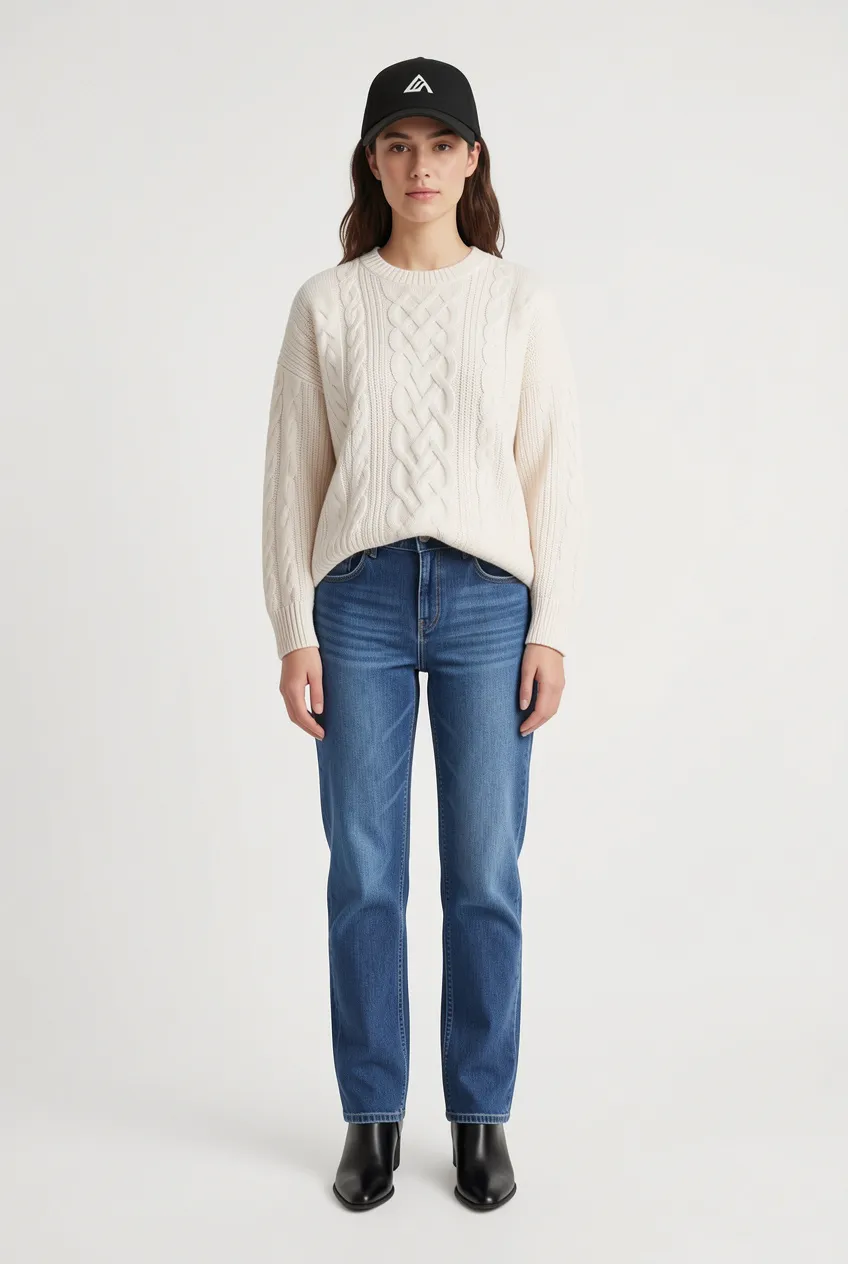
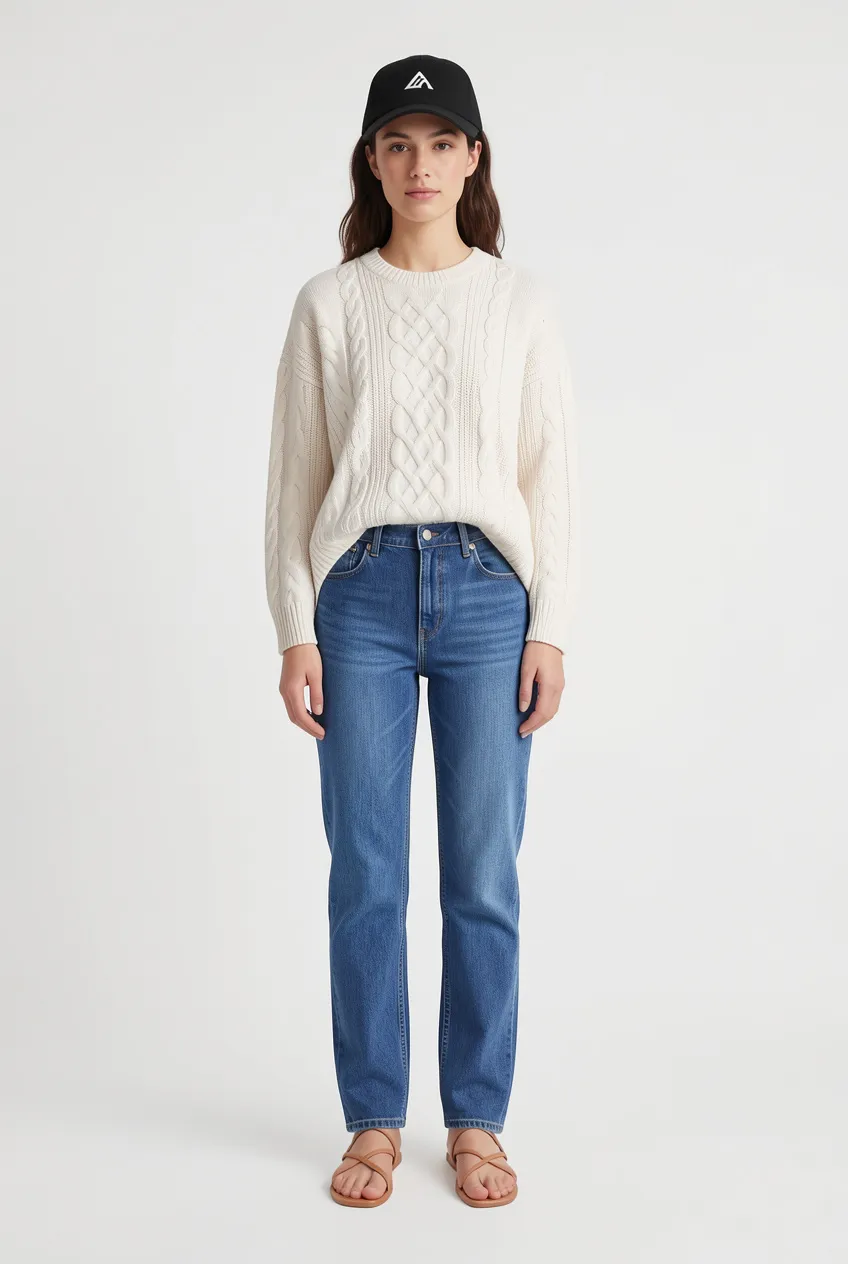
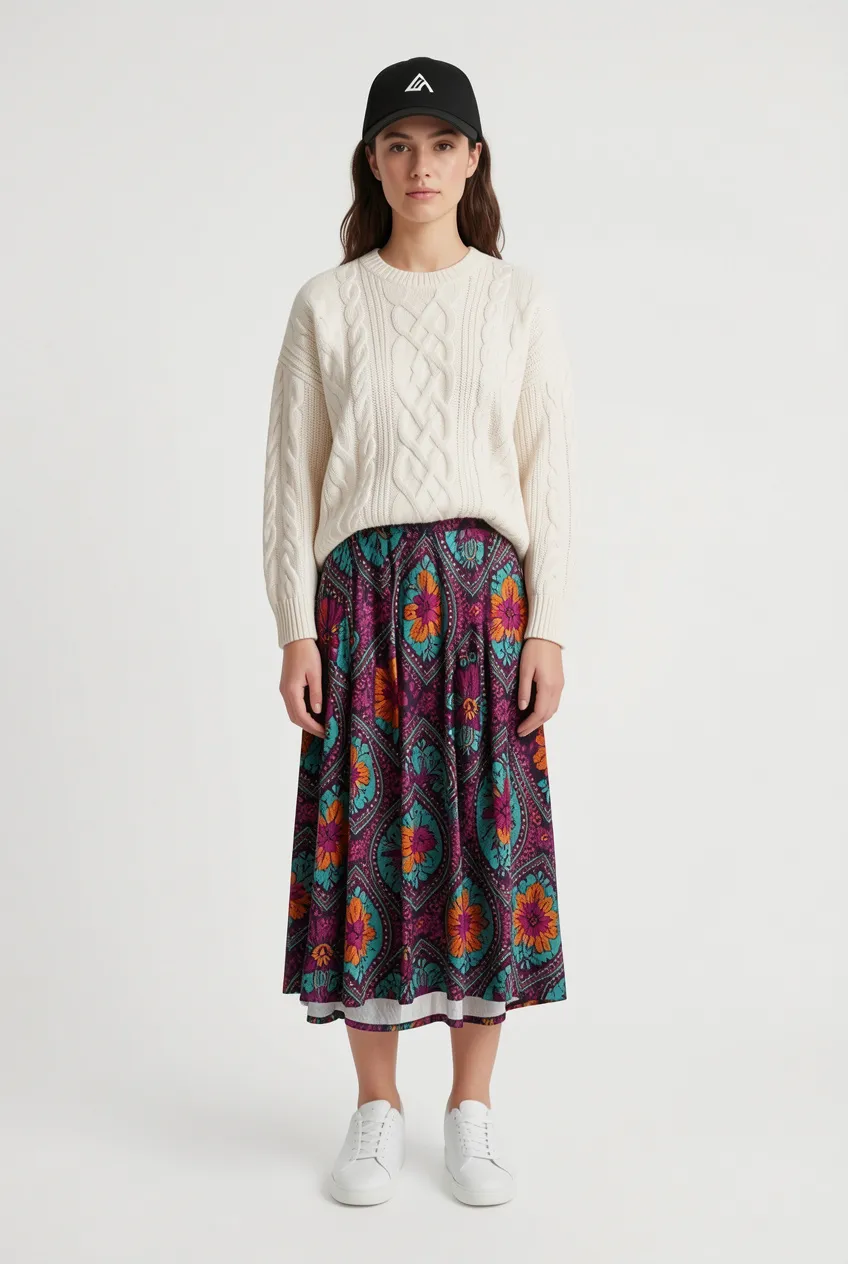
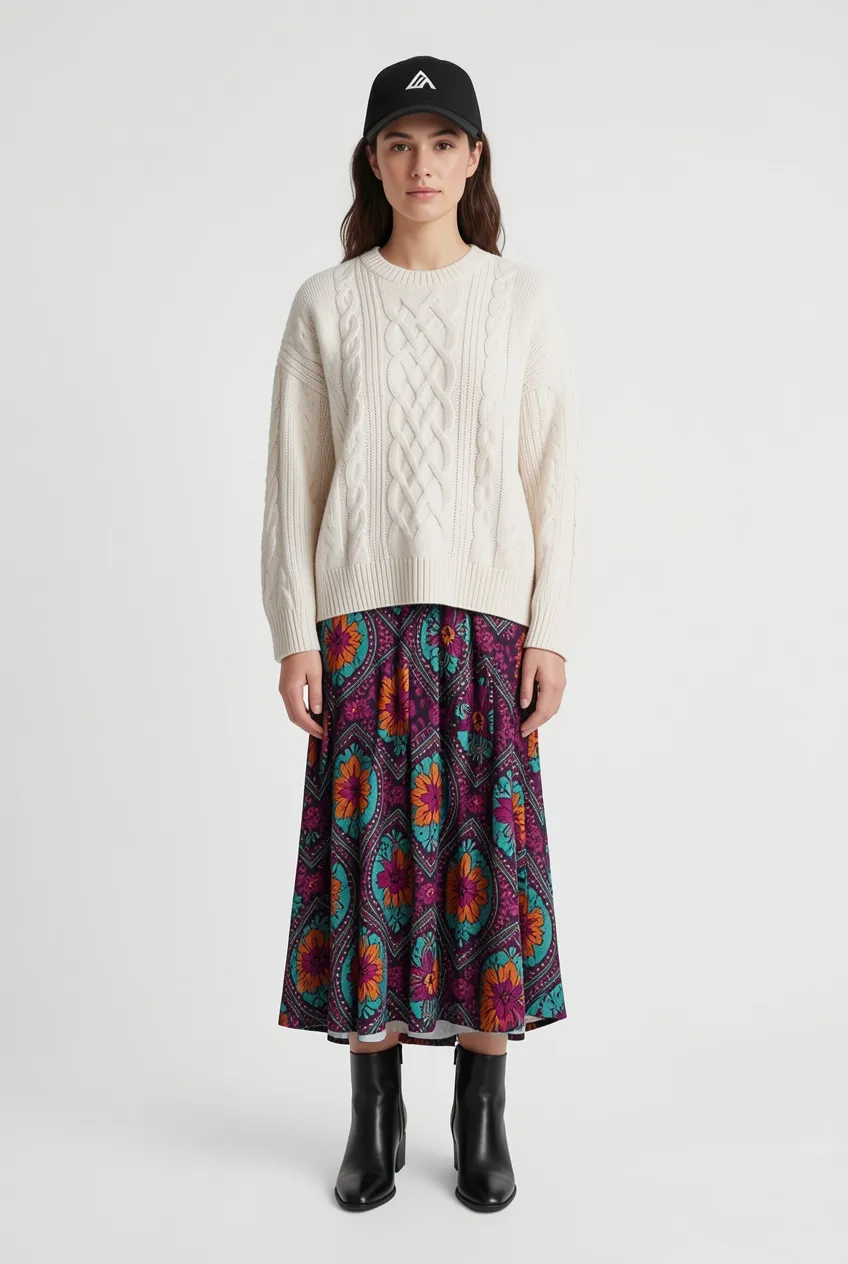
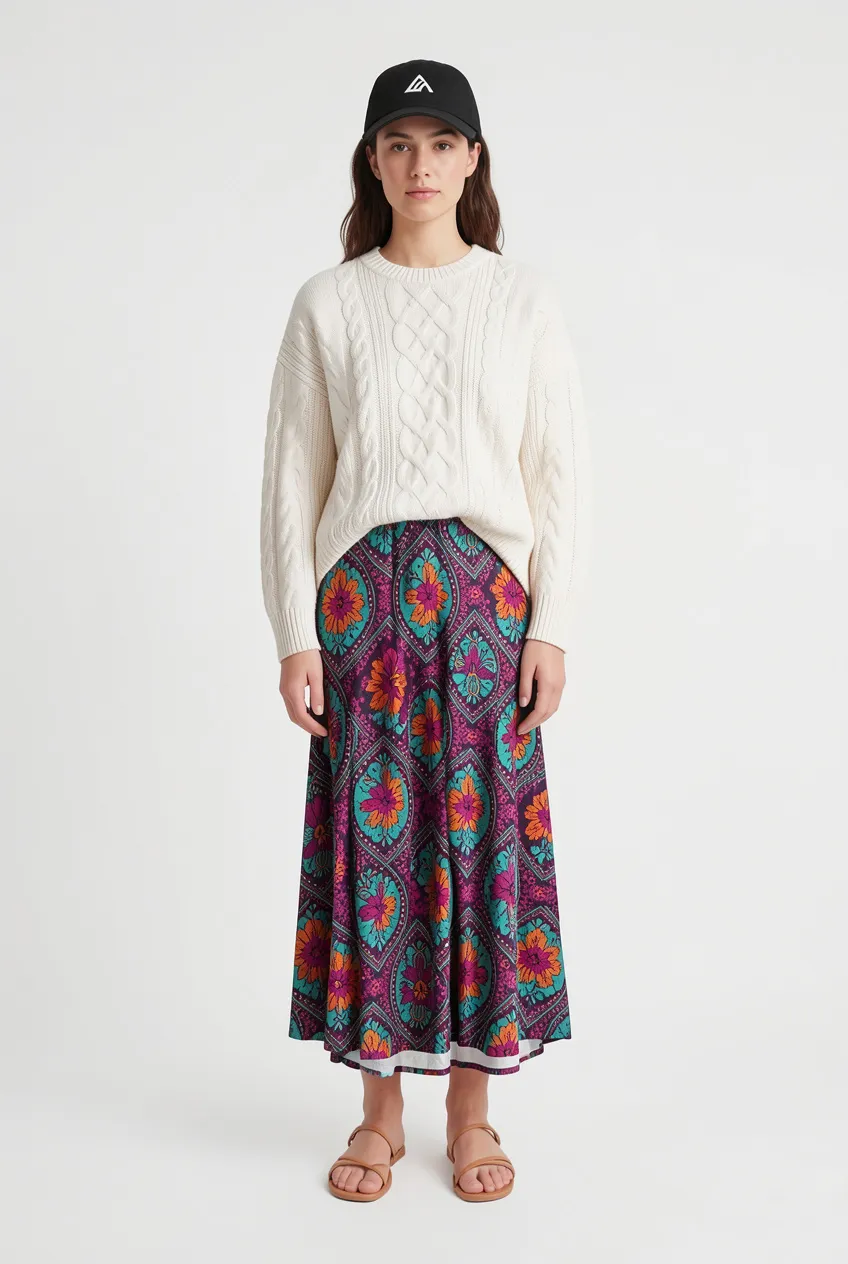
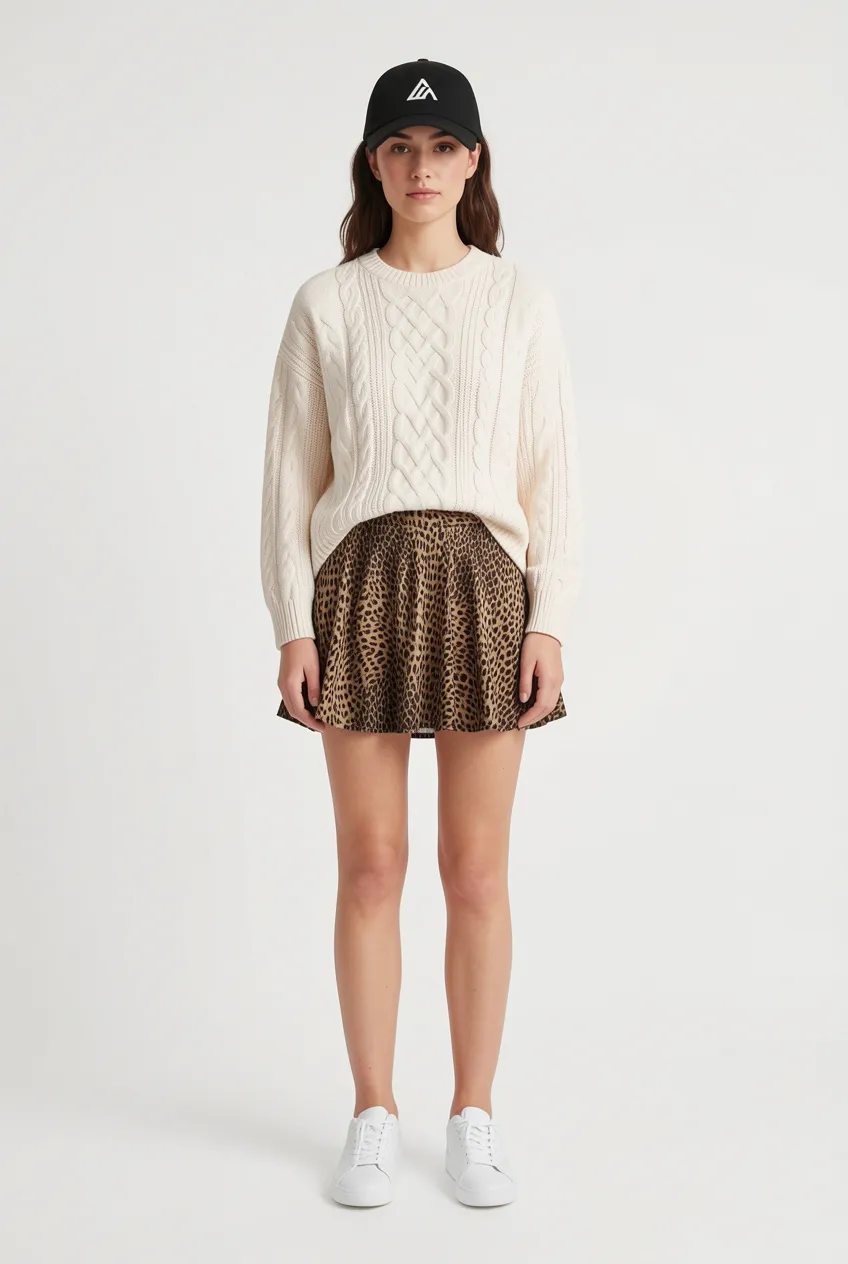
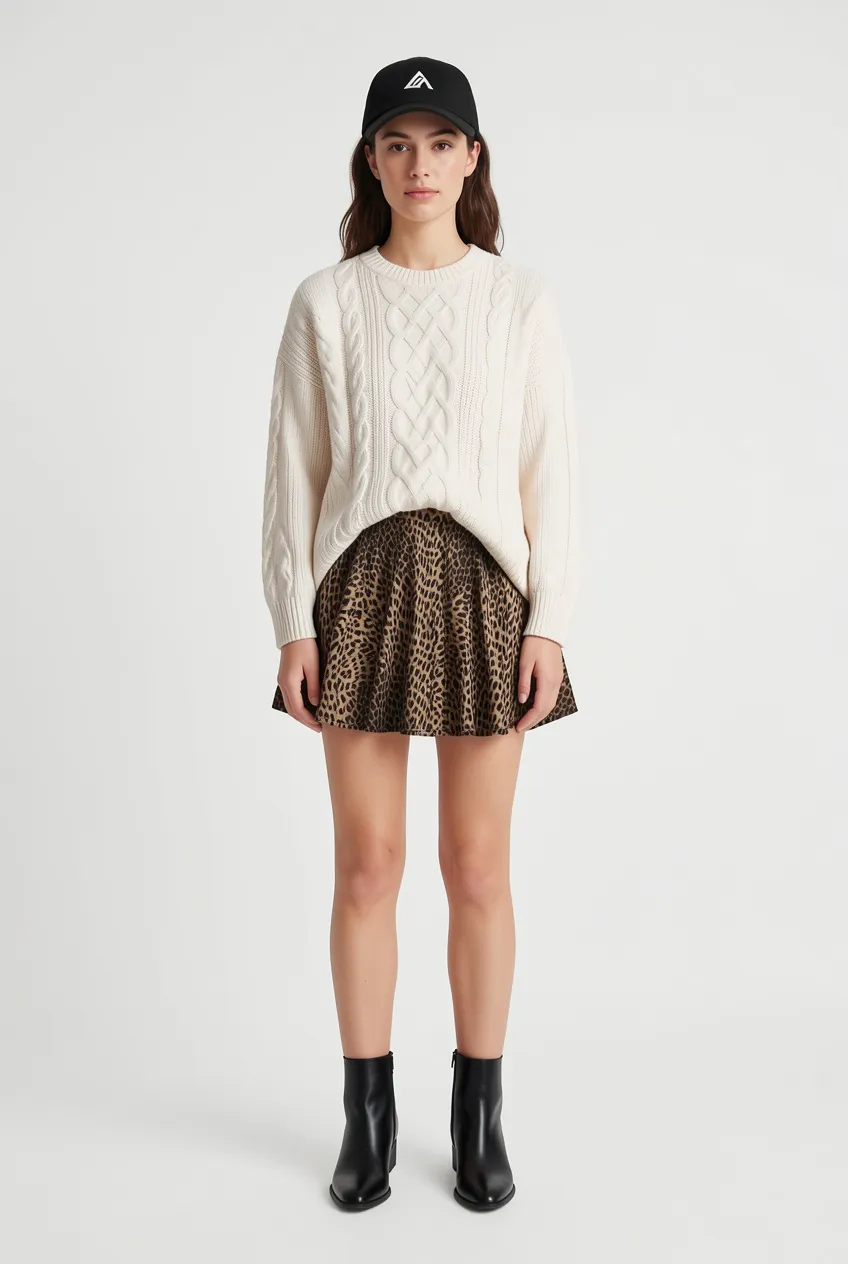
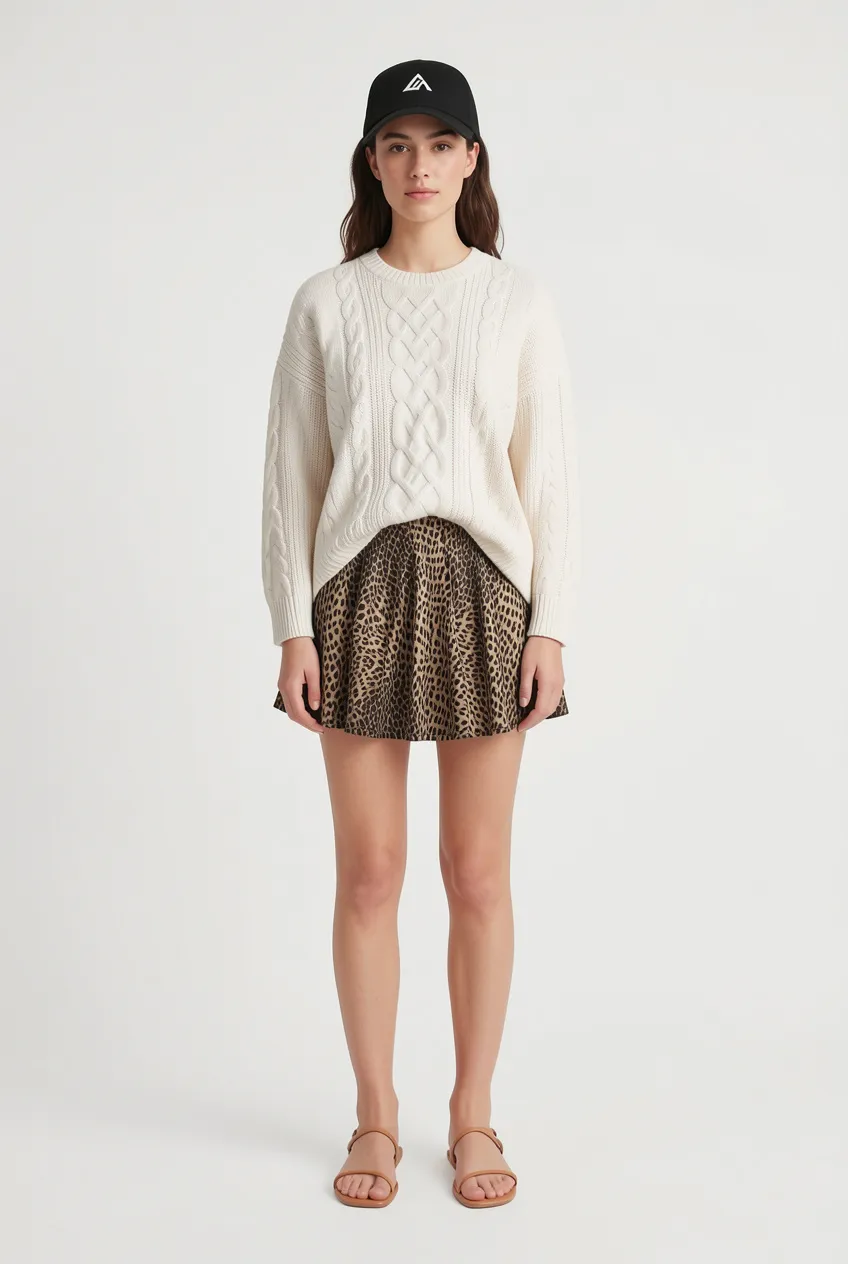
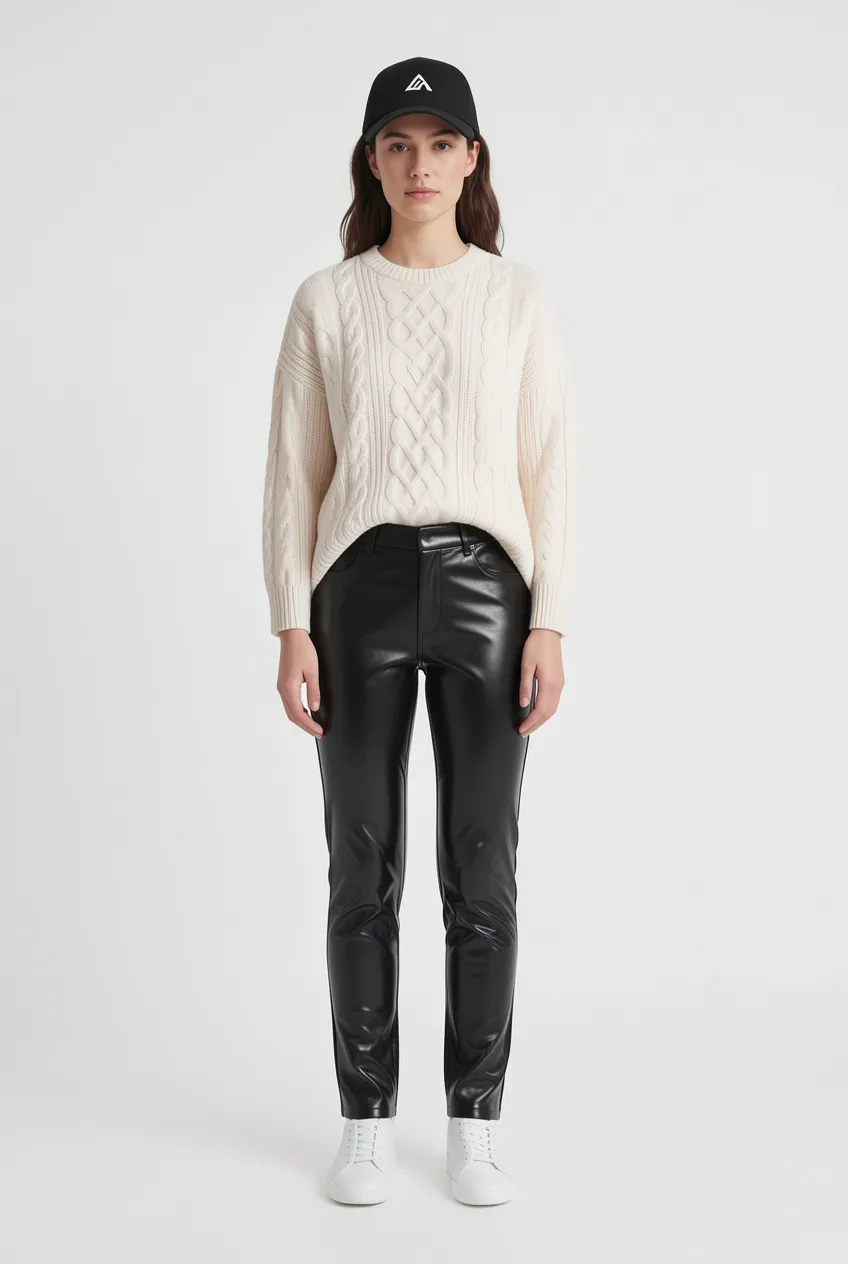
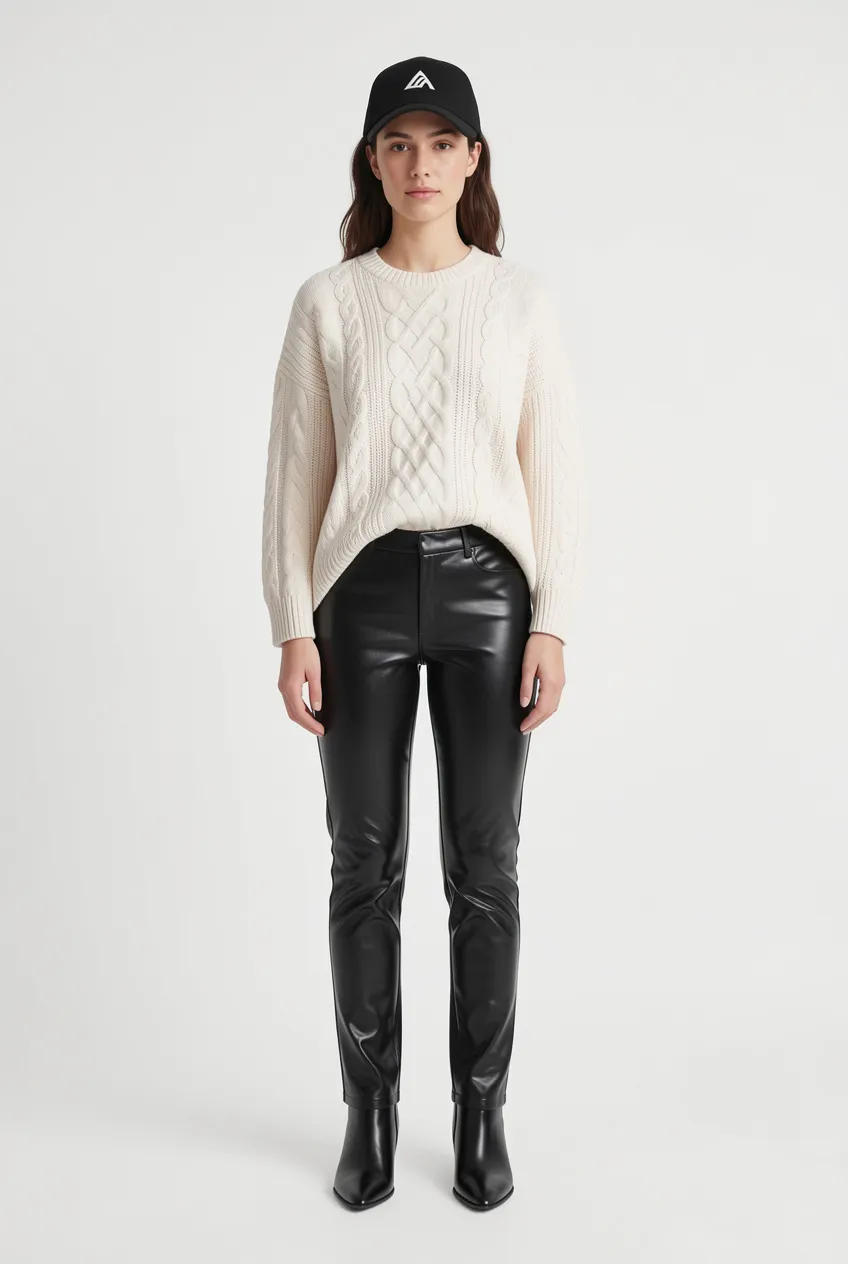
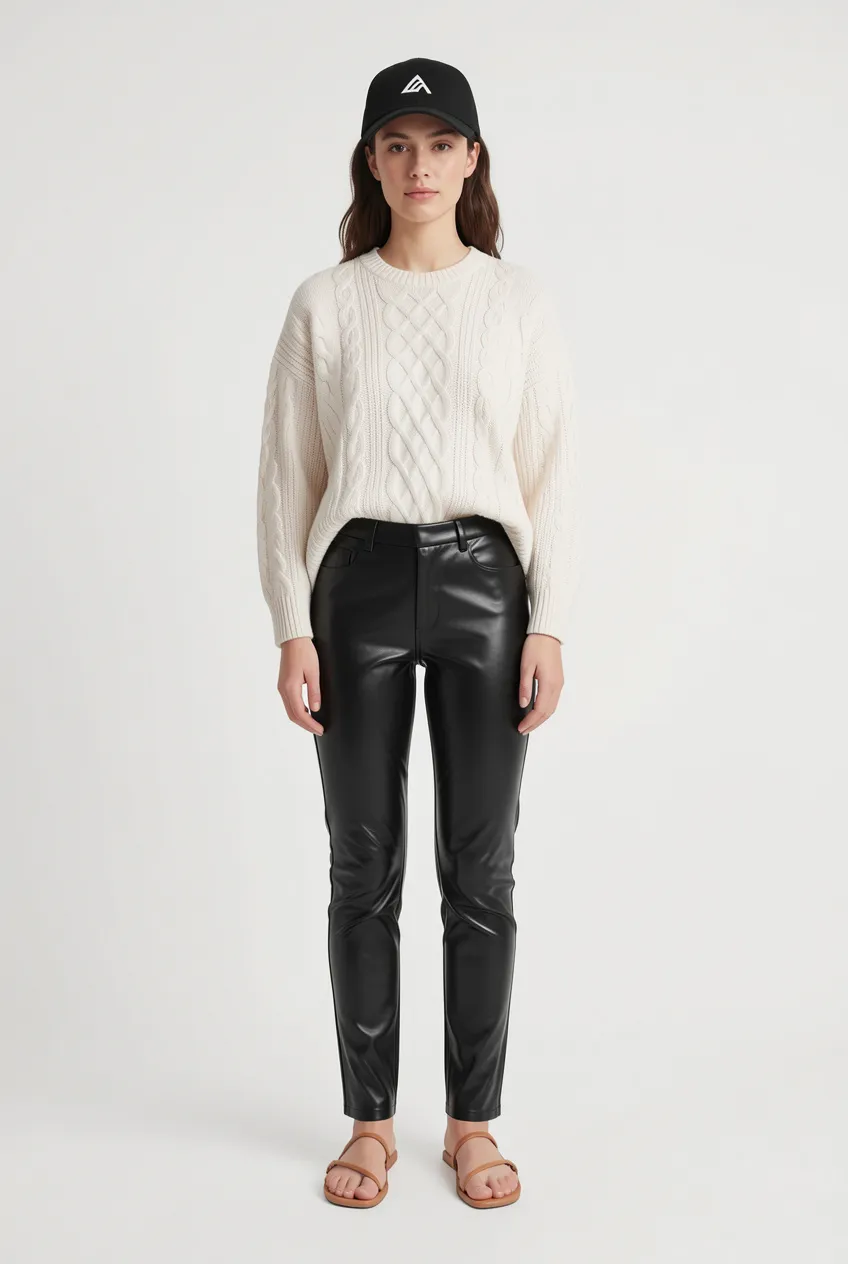
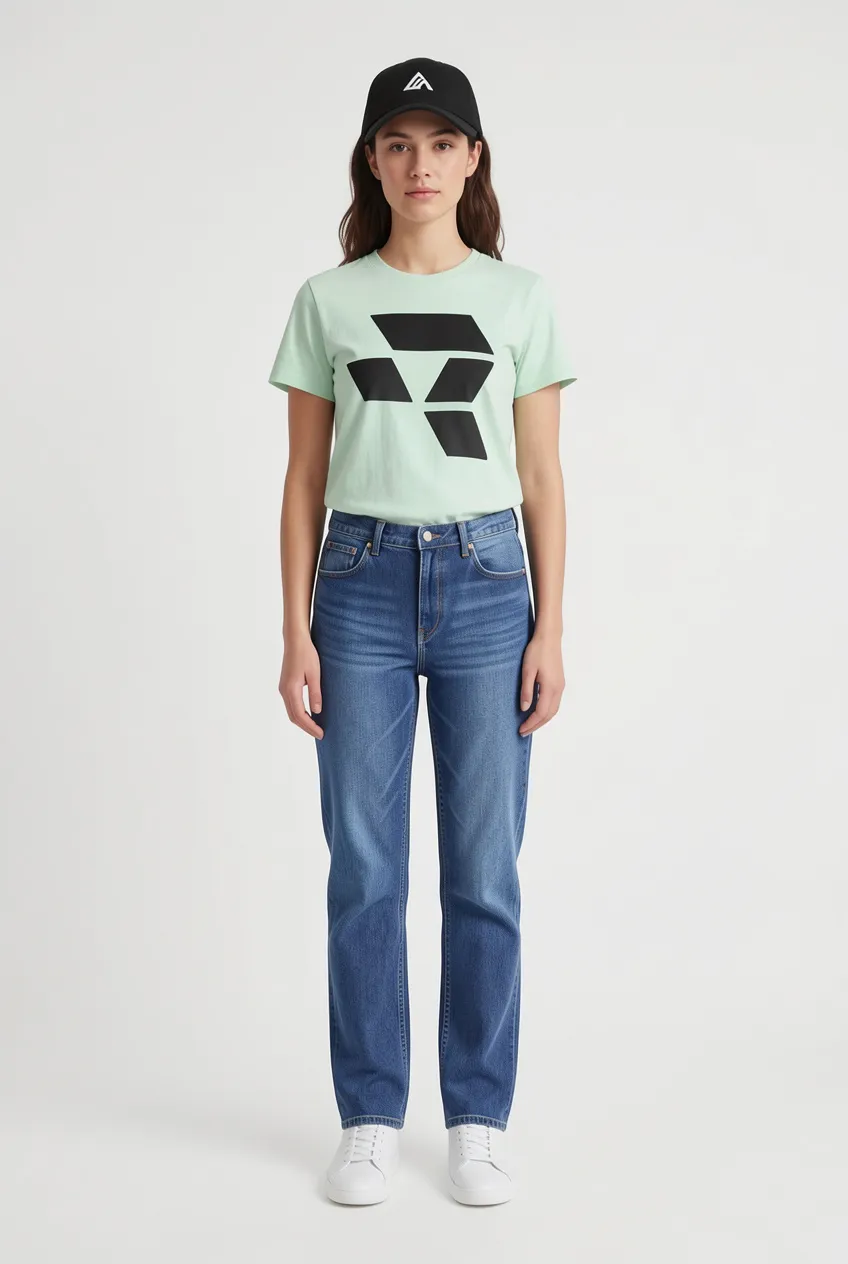
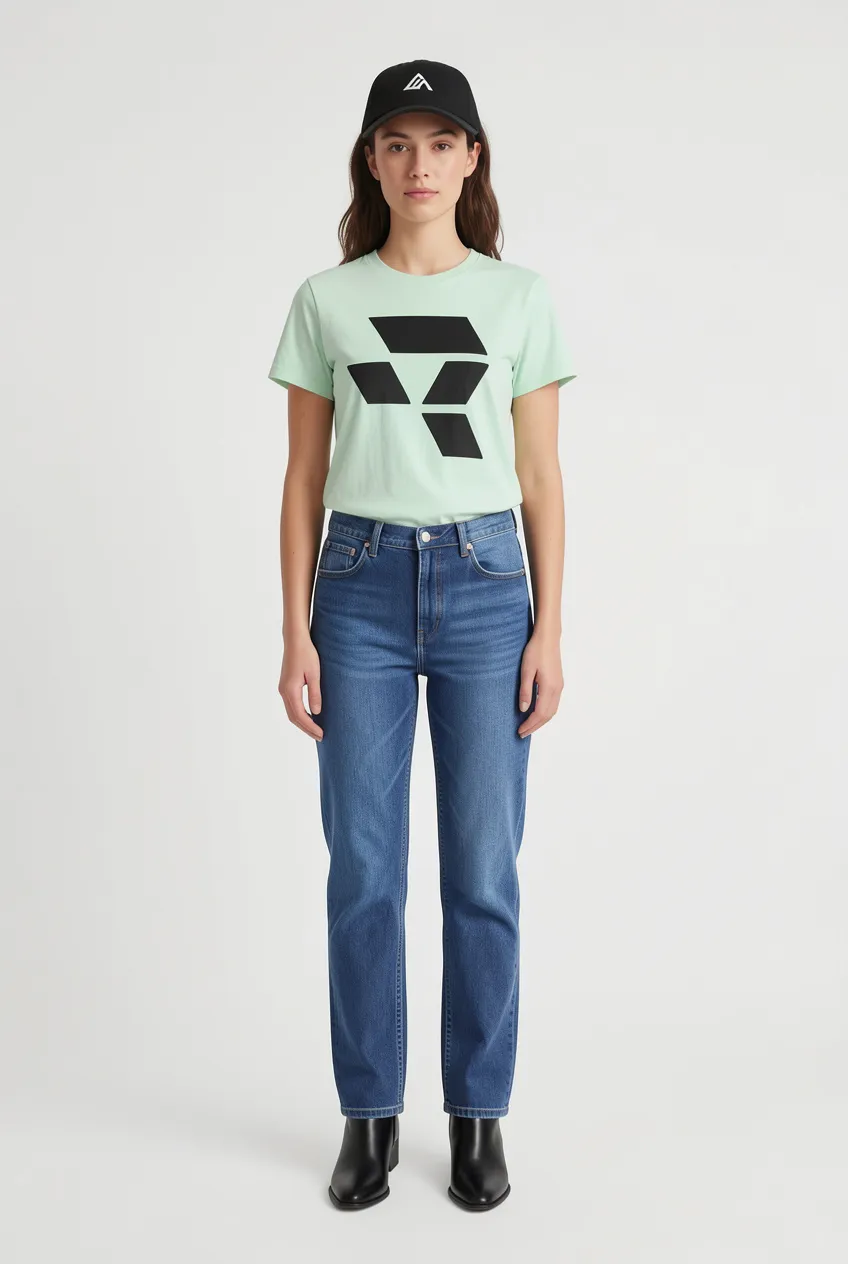
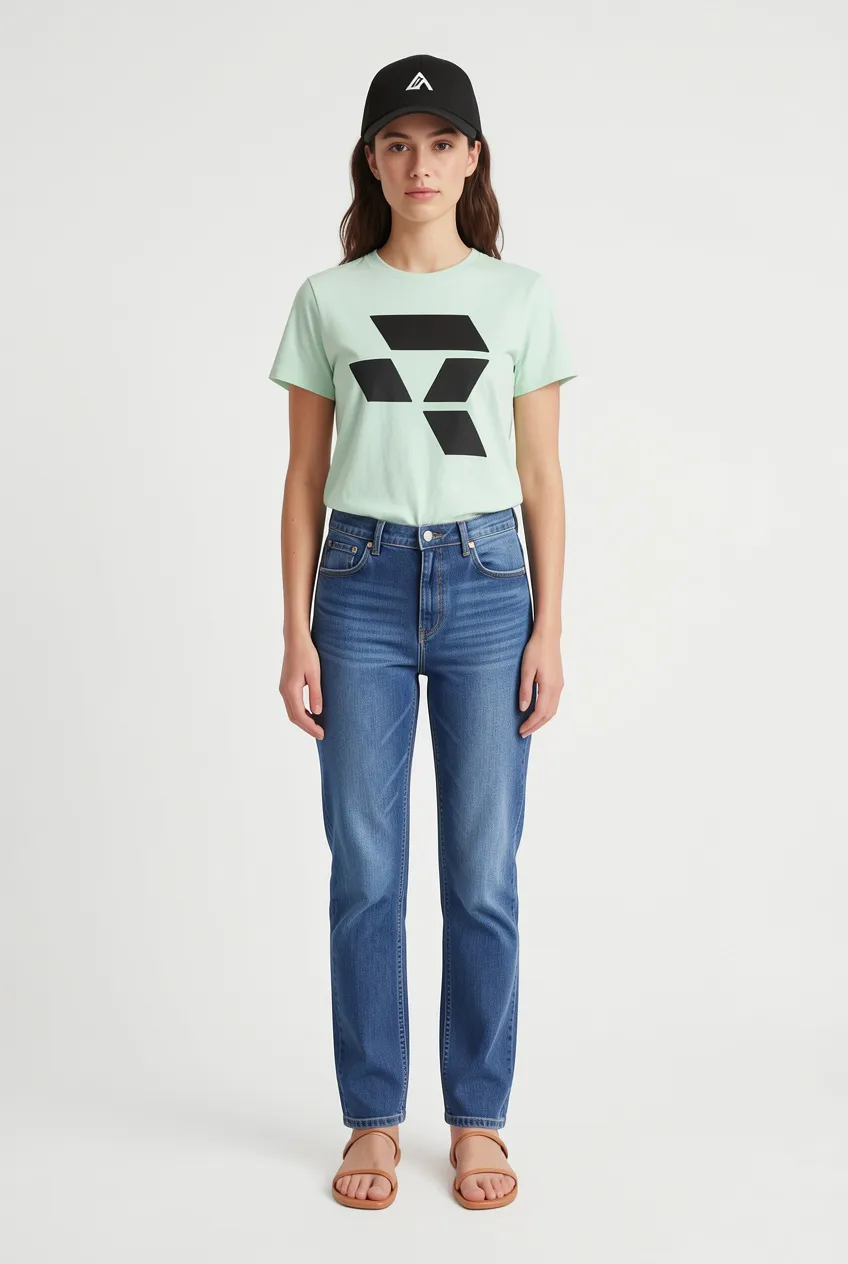
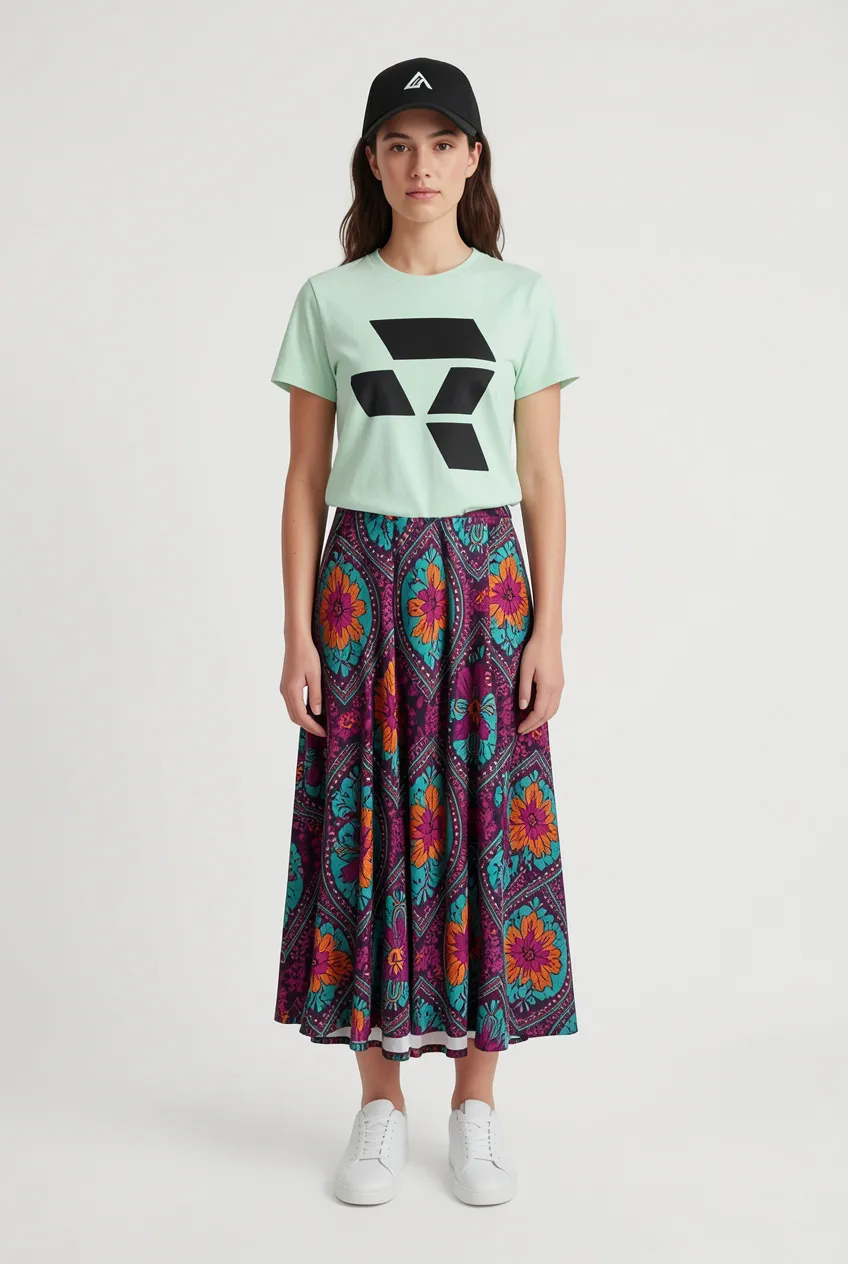
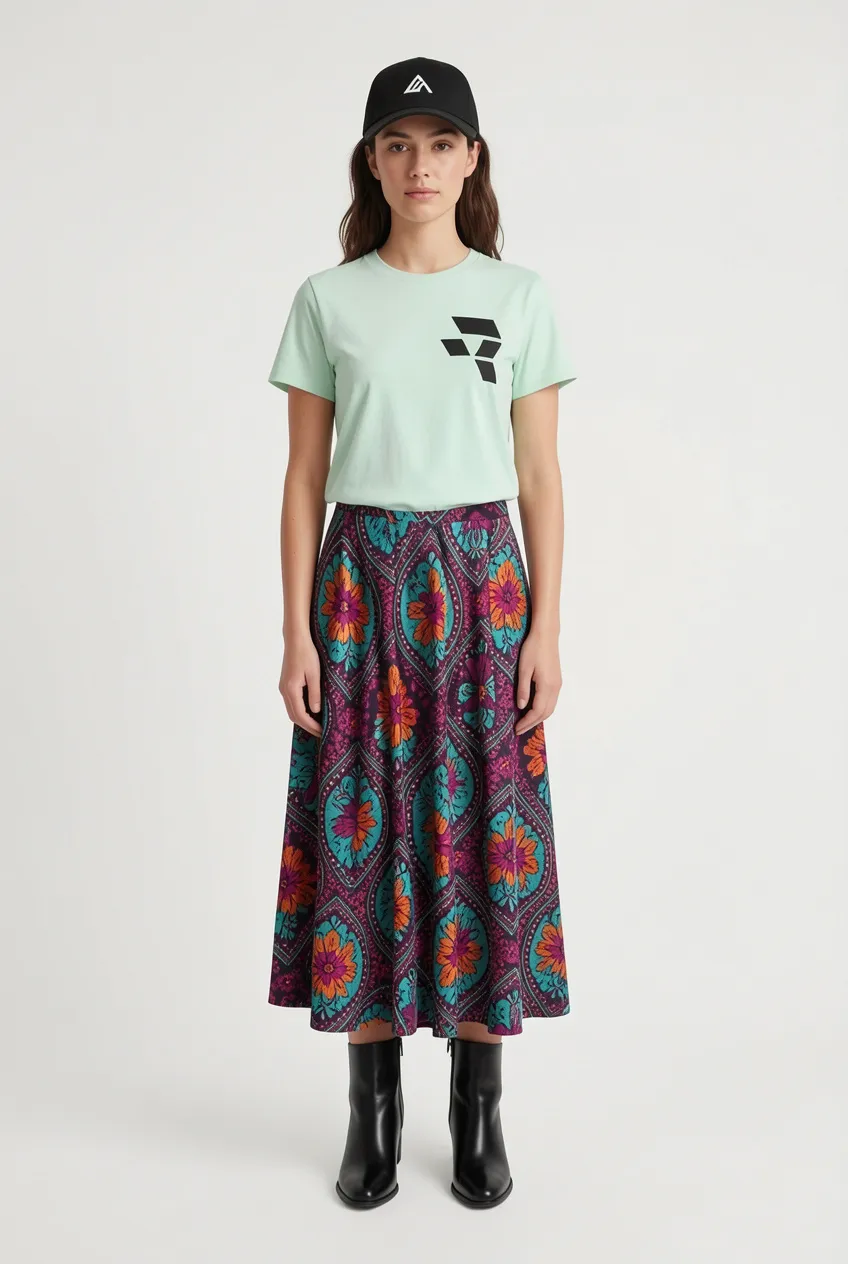
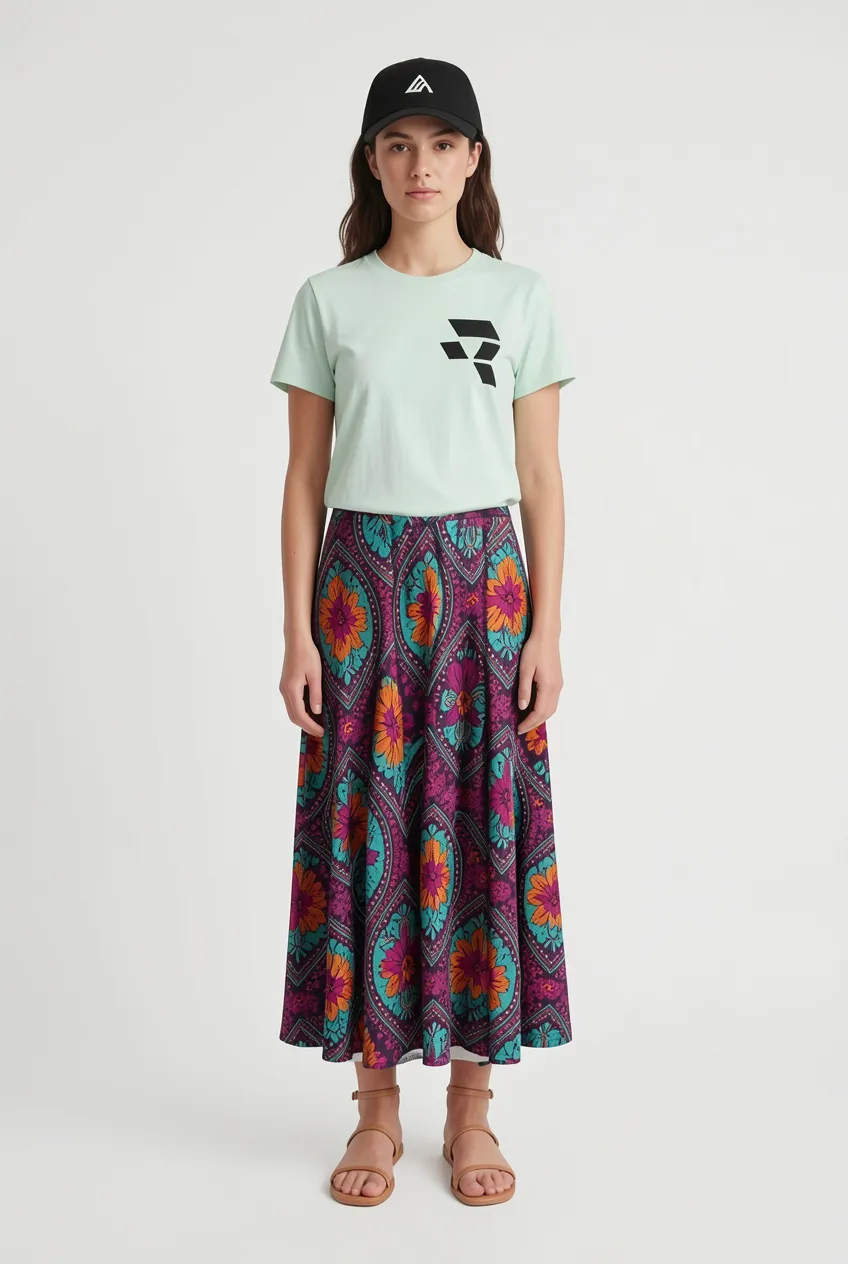
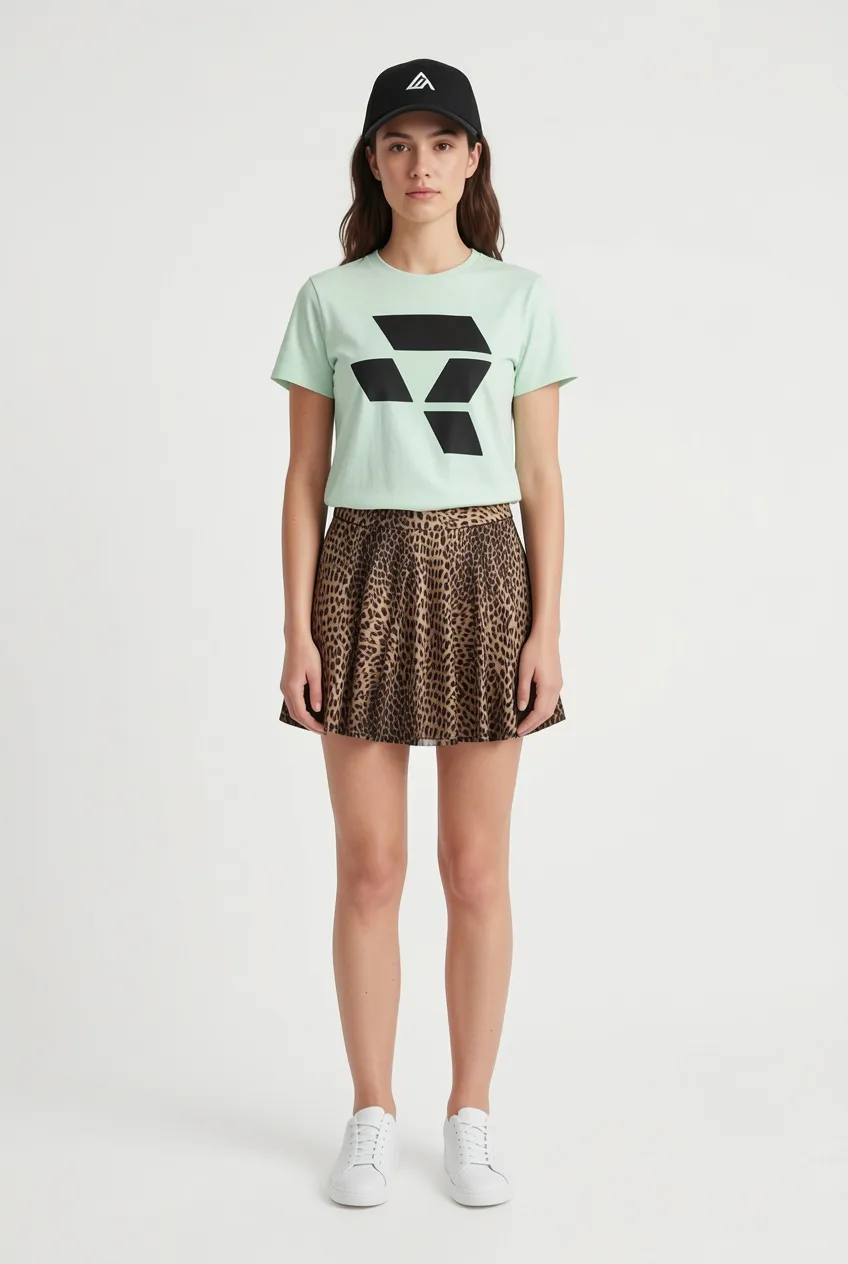
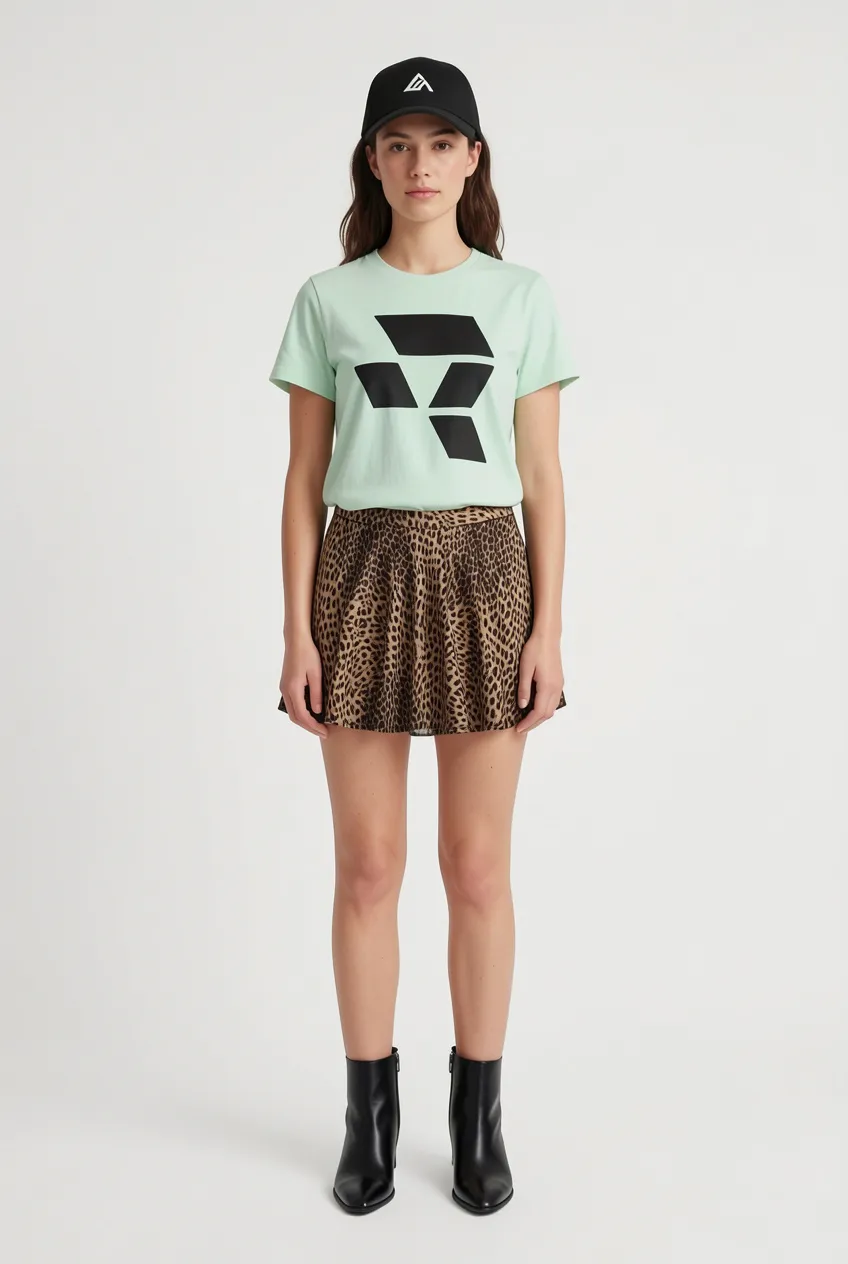
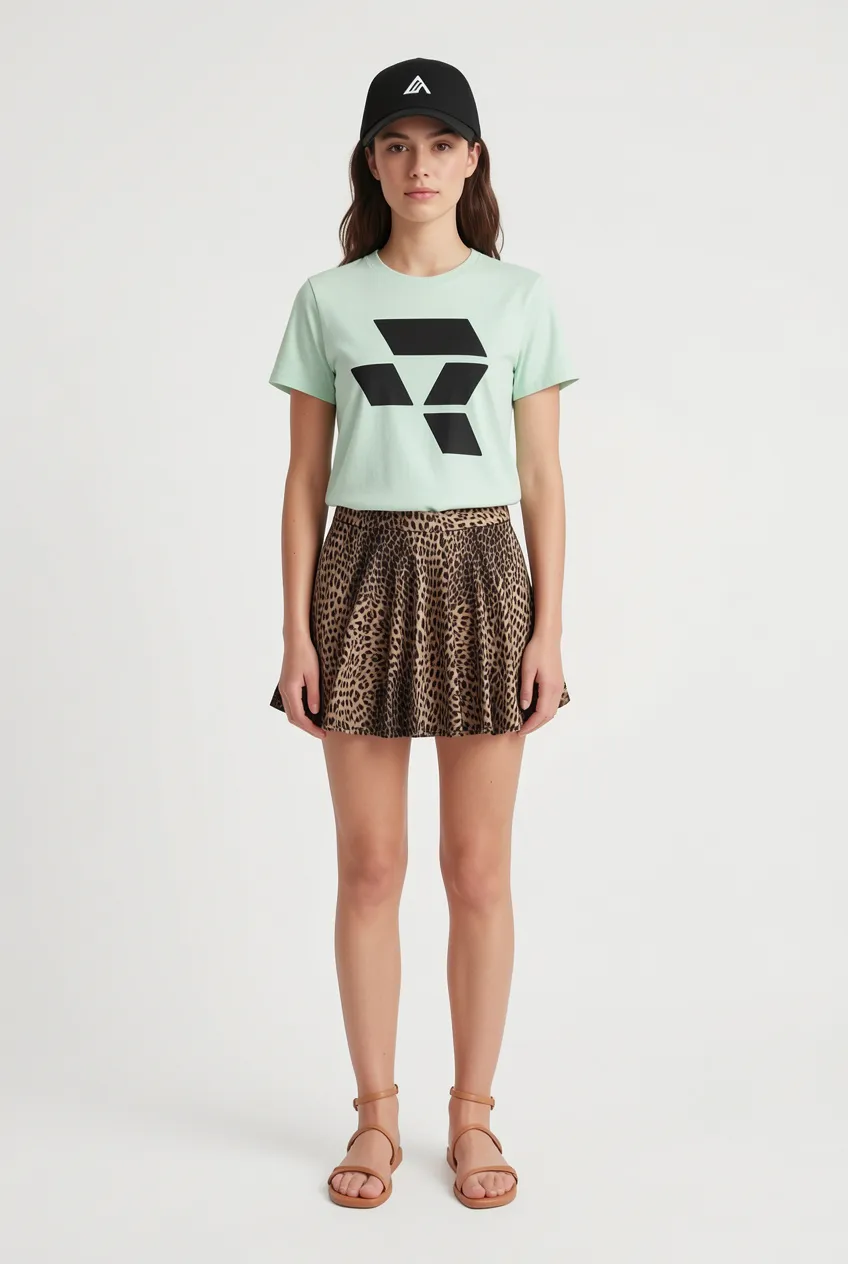
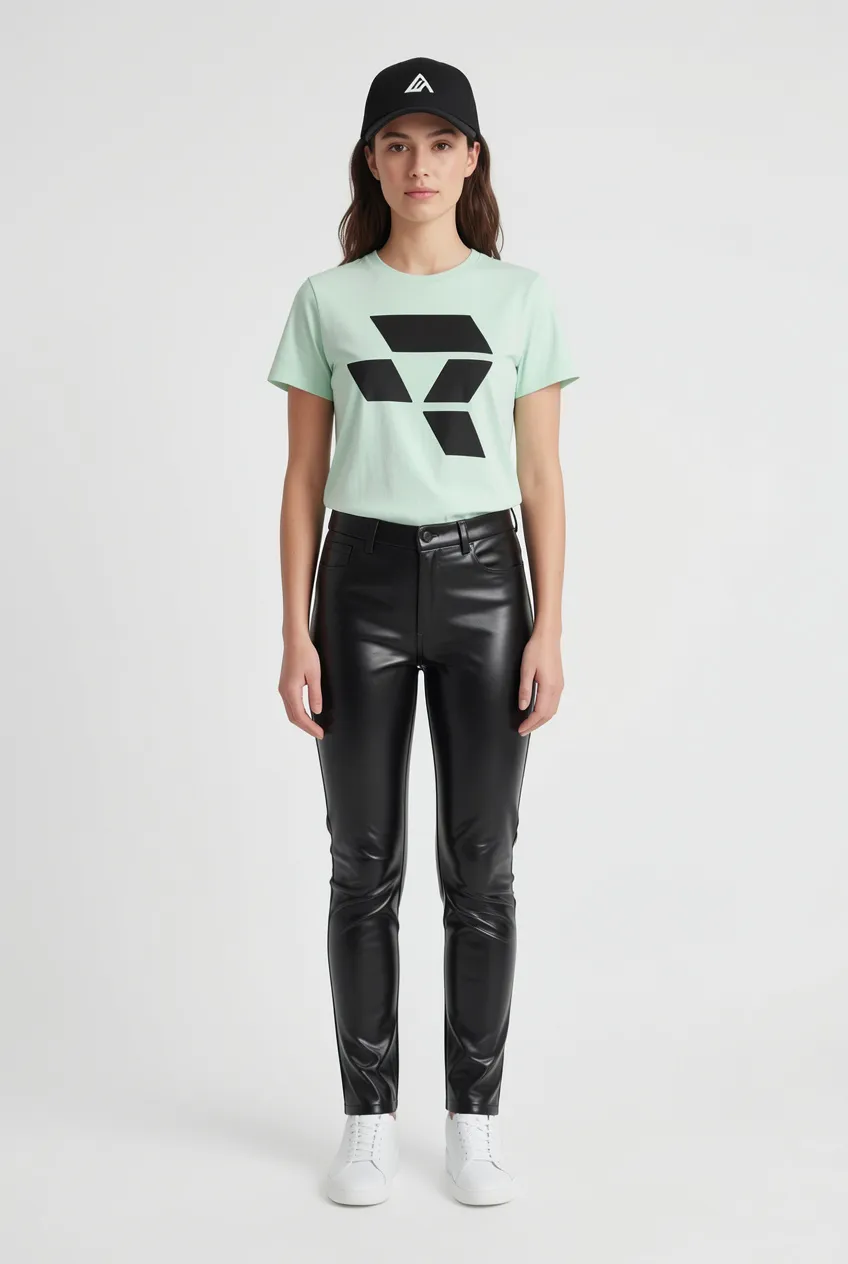
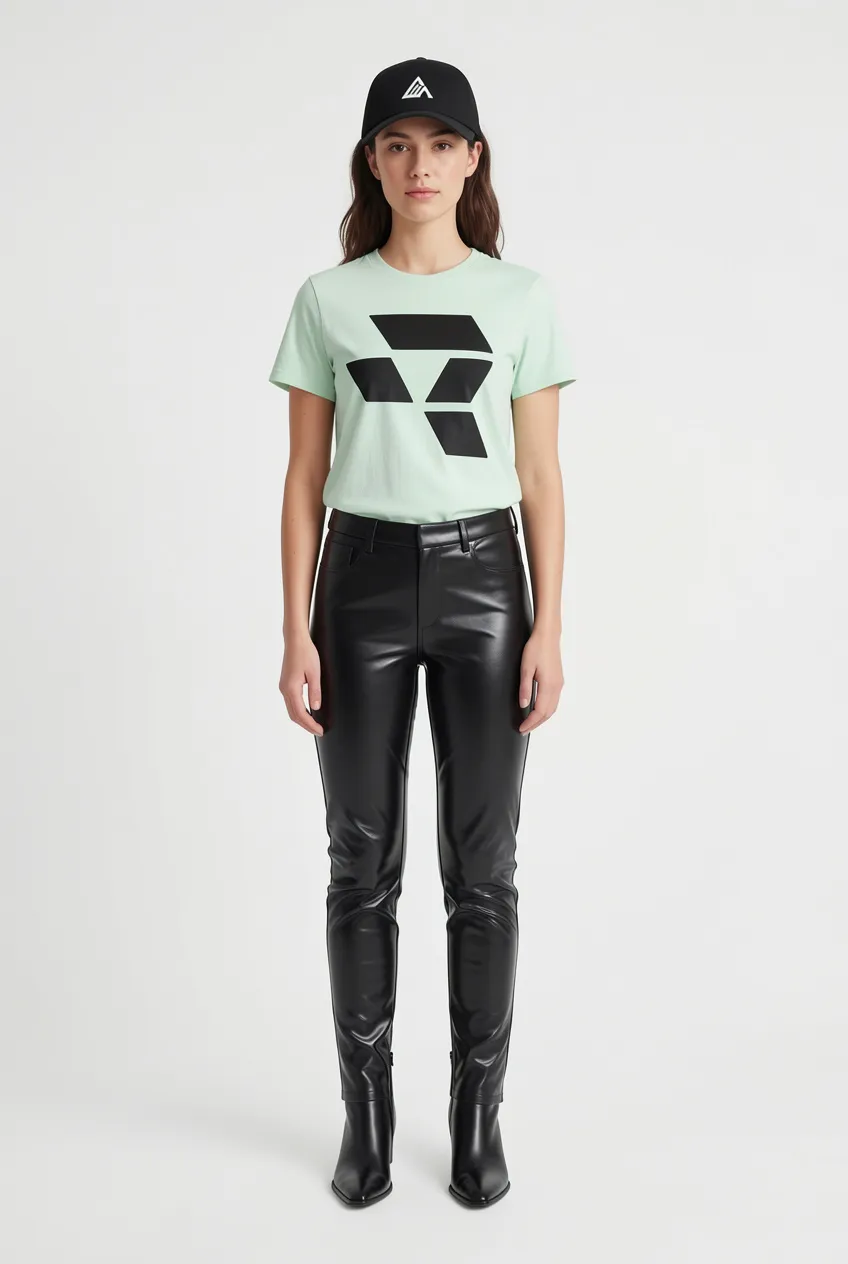
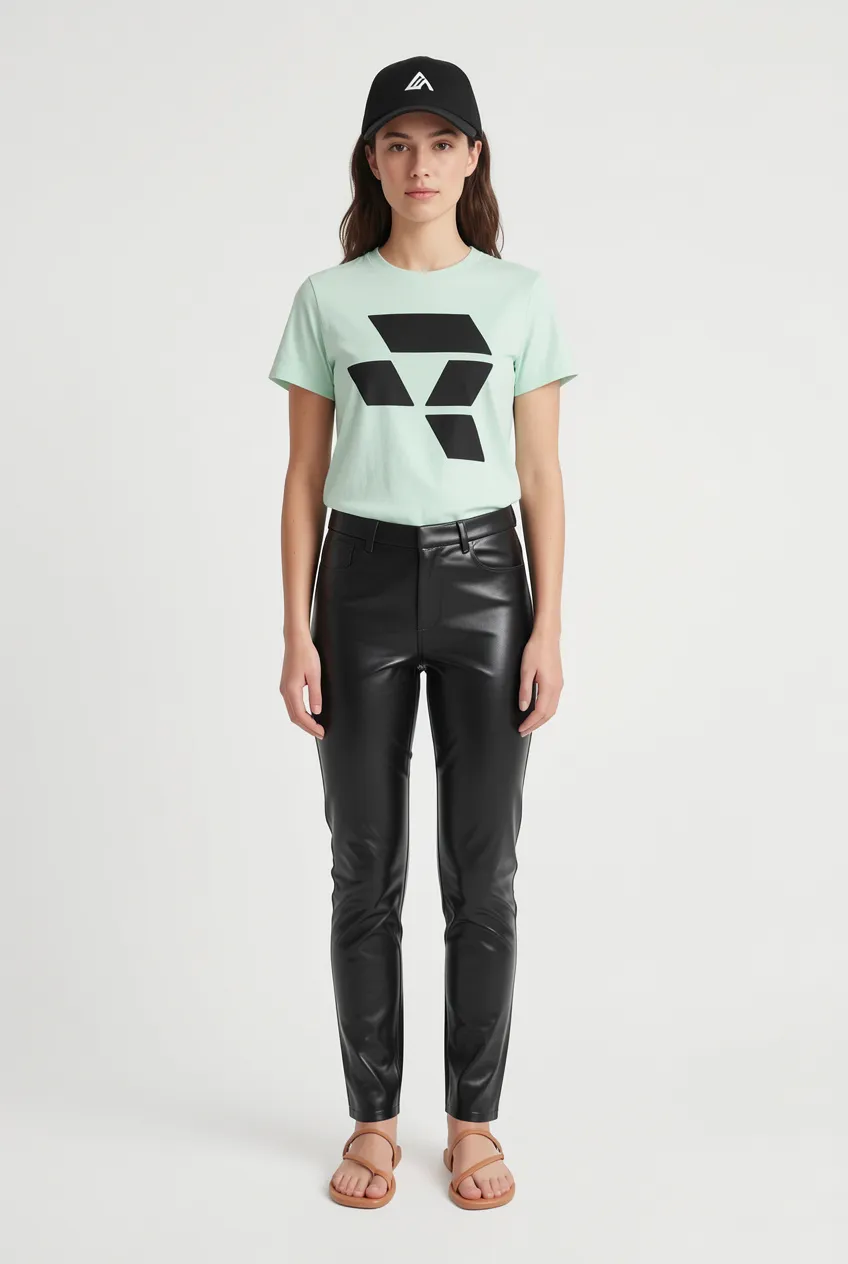
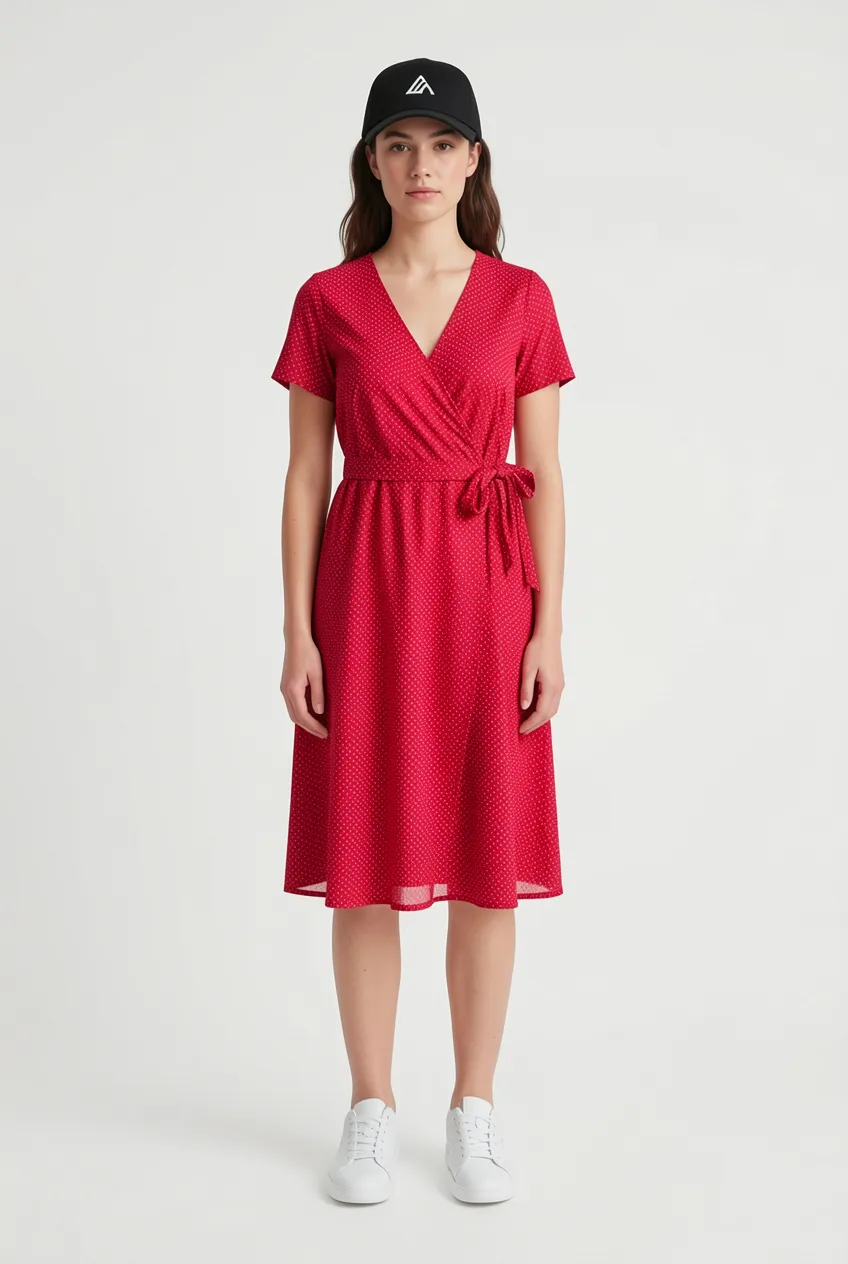
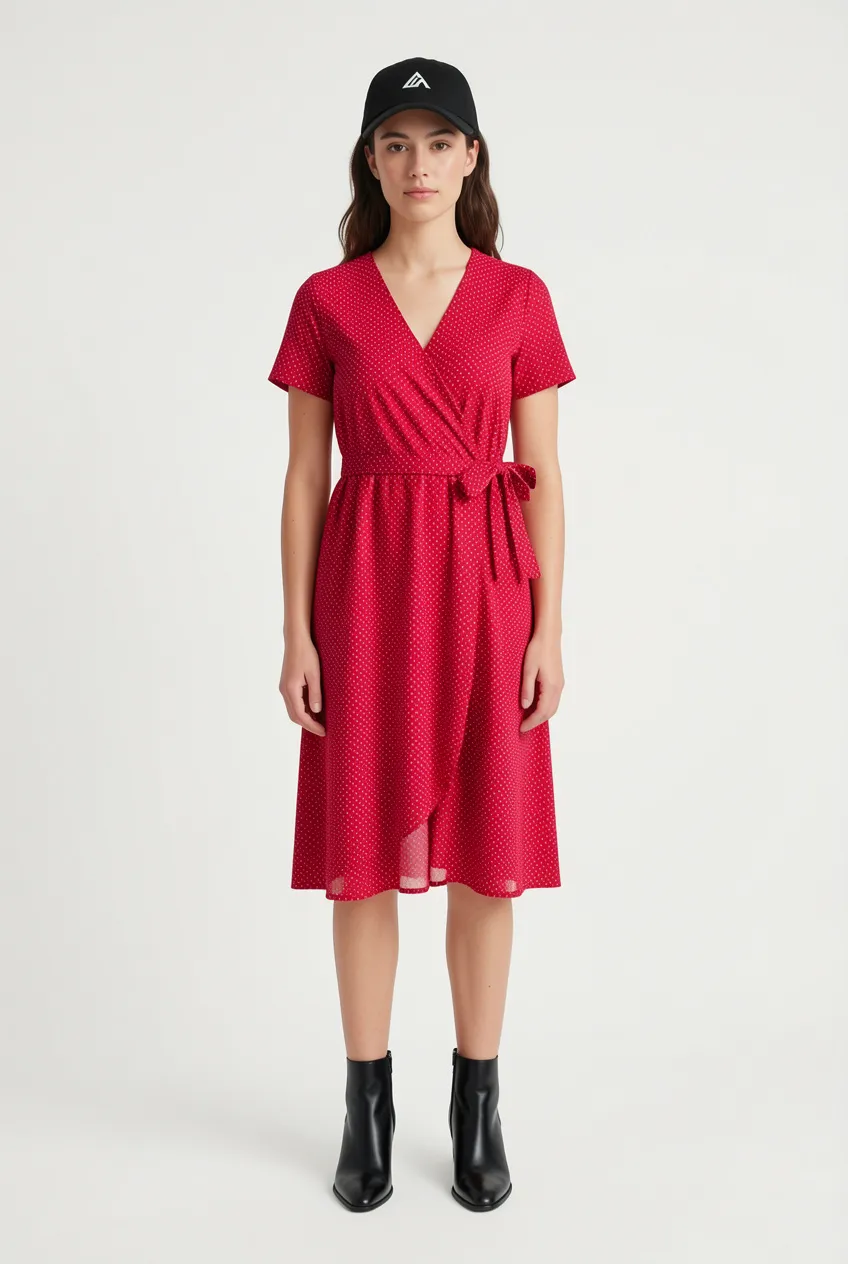
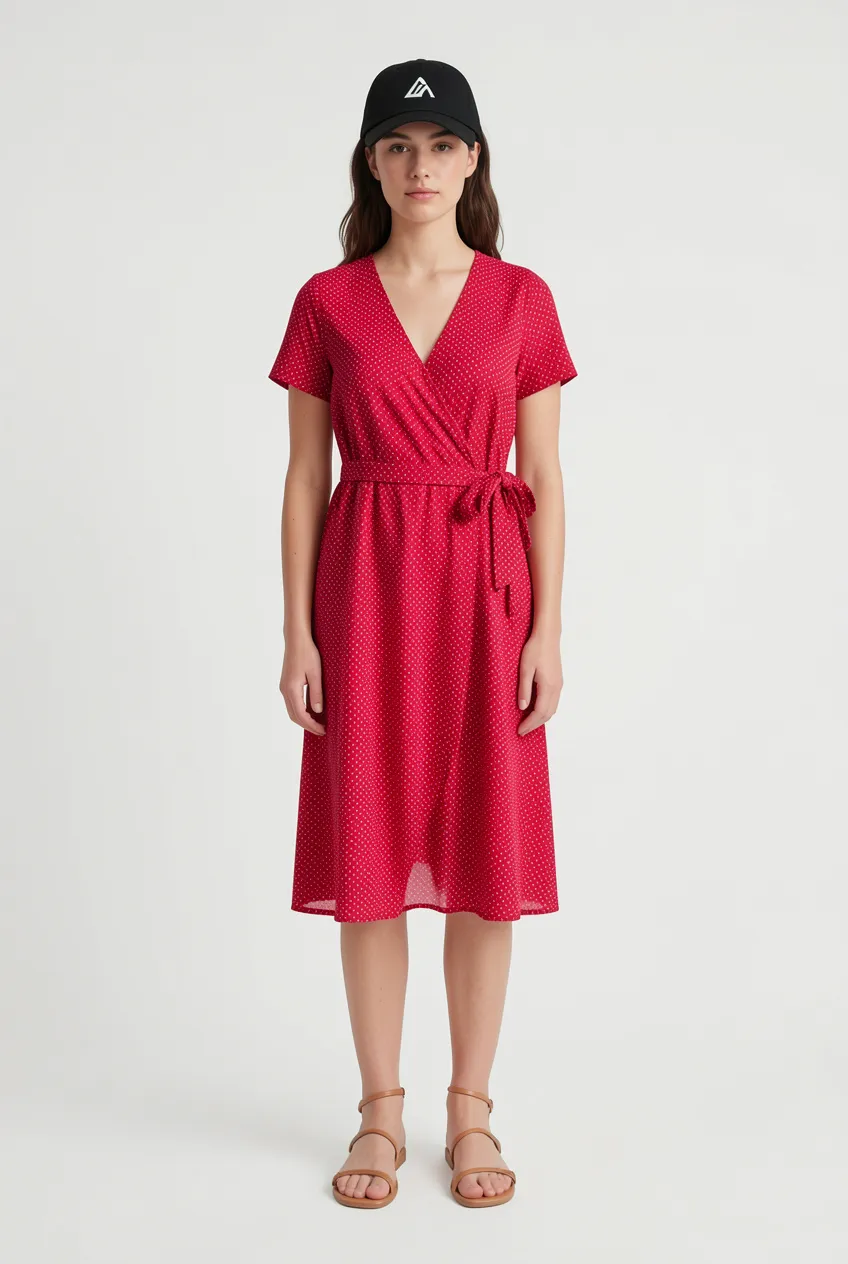
The prompt formula
VTO prompts follow a fixed structure. The person is always image 1, the garment is always image 2, and the prompt describes what to transfer:
The person of image 1, maintaining exactly their face and pose, wearing the {garment description} of image 2.
The garment description should name the category and key visual features of the garment: "black leather biker jacket", "oversized cream cable-knit sweater", "floral wrap dress". Keep it focused on what the garment is, not what the person should look like. The model already knows what the person looks like from image 1.
import { createClient } from '@runware/sdk'

const client = await createClient({ apiKey: process.env.RUNWARE_API_KEY })
await client.connect()

const [result] = await client.run({
  model: 'bfl:flux@vto',
  positivePrompt: 'The person of image 1, maintaining exactly their face and pose, wearing the floral wrap dress of image 2.',
  inputs: {
    referenceImages: [
      {
        image: 'https://example.com/person.jpg',
        role: 'person'
      },
      {
        image: 'https://example.com/garment.jpg',
        role: 'garment'
      }
    ]
  }
})
import asyncio
import os
from runware import Runware
async def main():
async with Runware(api_key=os.environ["RUNWARE_API_KEY"]) as client:
results = await client.run({
"model": "bfl:flux@vto",
"positivePrompt": "The person of image 1, maintaining exactly their face and pose, wearing the floral wrap dress of image 2.",
"inputs": {
"referenceImages": [
{
"image": "https://example.com/person.jpg",
"role": "person"
},
{
"image": "https://example.com/garment.jpg",
"role": "garment"
}
]
}
})
asyncio.run(main())curl https://api.runware.ai/v1 \
-H "Authorization: Bearer $RUNWARE_API_KEY" \
-H "Content-Type: application/json" \
-d '[
{
  "taskType": "imageInference",
  "taskUUID": "a1b2c3d4-e5f6-7890-abcd-ef1234567890",
  "model": "bfl:flux@vto",
  "positivePrompt": "The person of image 1, maintaining exactly their face and pose, wearing the floral wrap dress of image 2.",
  "inputs": {
    "referenceImages": [
      {
        "image": "https://example.com/person.jpg",
        "role": "person"
      },
      {
        "image": "https://example.com/garment.jpg",
        "role": "garment"
      }
    ]
  }
}
]'runware run bfl:flux@vto \
positivePrompt="The person of image 1, maintaining exactly their face and pose, wearing the floral wrap dress of image 2." \
inputs.referenceImages.0.image=https://example.com/person.jpg \
inputs.referenceImages.0.role=person \
inputs.referenceImages.1.image=https://example.com/garment.jpg \
inputs.referenceImages.1.role=garment{
"taskType": "imageInference",
"taskUUID": "a1b2c3d4-e5f6-7890-abcd-ef1234567890",
"model": "bfl:flux@vto",
"positivePrompt": "The person of image 1, maintaining exactly their face and pose, wearing the floral wrap dress of image 2.",
"inputs": {
"referenceImages": [
{
"image": "https://example.com/person.jpg",
"role": "person"
},
{
"image": "https://example.com/garment.jpg",
"role": "garment"
}
]
}
}Response
{
  "data": [
    {
      "taskType": "imageInference",
      "taskUUID": "a1b2c3d4-e5f6-7890-abcd-ef1234567890",
      "imageUUID": "f1e2d3c4-b5a6-7890-1234-567890abcdef",
      "imageURL": "https://im.runware.ai/image/os/a14d18/ws/2/ii/f1e2d3c4-b5a6-7890-1234-567890abcdef.jpg"
    }
  ]
}
Each entry in referenceImages carries a role of either person or garment. The model reads the role to know which is which, so the order of the array doesn't matter.
What to describe and what to leave out
Do describe: the garment category (jacket, dress, sweater), the material or texture if distinctive (leather, denim, cable-knit), the fit (oversized, tailored), and the color or pattern only if the garment image is ambiguous.
Don't describe: the person's pose, expression, hair, background, or any detail that comes from image 1. The prompt formula already locks those with "maintaining exactly their face and pose." Adding redundant descriptions of the person can interfere with the transfer.
How much prompt detail matters
The model is trained to work well even with minimal prompts. For most garments, naming the category is enough; the model reads the rest of the visual detail from the garment image. Prompt verbosity starts to pay off in the cases where the image alone can't fully convey what's there, the clearest one being text or logos printed on the garment.
The two images below use the same person and the same t-shirt. The only thing that changes is whether the prompt tells the model what the printed text actually says.

The person of image 1 wearing the t-shirt of image 2.

The person of image 1, maintaining exactly their face and pose, wearing the white t-shirt with the text "Choose joy over fear today" printed in bold black letters across the chest of image 2.
Without the words in the prompt, the model knows there's something printed on the chest but ends up approximating the letterforms, often producing a passable design that doesn't actually spell anything. Naming the exact text gives it a target to render against. The same logic applies to small logos, brand text, embroidered labels, and any other element where the image is the source of truth visually but the prompt does the disambiguation.
When precision changes the output
Some garment properties can't be inferred from the reference image alone. The prompt becomes the deciding factor.
Zip and button states. A zip-up hoodie can be worn open or closed. The flat-lay image shows it in one state, but the prompt can override that.

The person of image 1, maintaining exactly their face and pose, wearing the navy blue zip-up hoodie of image 2, fully zipped up.

The person of image 1, maintaining exactly their face and pose, wearing the navy blue zip-up hoodie of image 2, fully unzipped and open.
This works for any garment with an open/closed configuration: a blazer buttoned vs unbuttoned, a coat belted vs loose, sleeves rolled vs down.
Tucked vs untucked. The prompt can also control how a garment sits relative to the rest of the outfit. The same shirt produces a different silhouette depending on whether the prompt asks for it tucked in or hanging loose.

The person of image 1, maintaining exactly their face and pose, wearing the light blue button-down shirt of image 2, the shirt fully tucked inside the pants with the waistband clearly visible at the waist and no shirt fabric hanging below the waistline.

The person of image 1, maintaining exactly their face and pose, wearing the light blue button-down shirt of image 2, untucked and hanging loose.
These kinds of styling instructions give you control over how the garment looks in the final image without needing separate garment references for each configuration.
Multi-garment outfits
VTO accepts a single garment image, but that image can contain multiple pieces arranged on a canvas. To dress someone in a full outfit, merge up to 4 garment items into one image before sending it.


Arrange the pieces in a 2 × 2 grid on a white background with tight cropping and minimal padding around each item. The composite image goes into the garment input field as a single image.

The person of image 1, maintaining exactly their face and pose, wearing the red varsity jacket with white sleeves and letter "R" over the navy striped t-shirt, olive cargo pants, and white sneakers of image 2.
- Composite garment
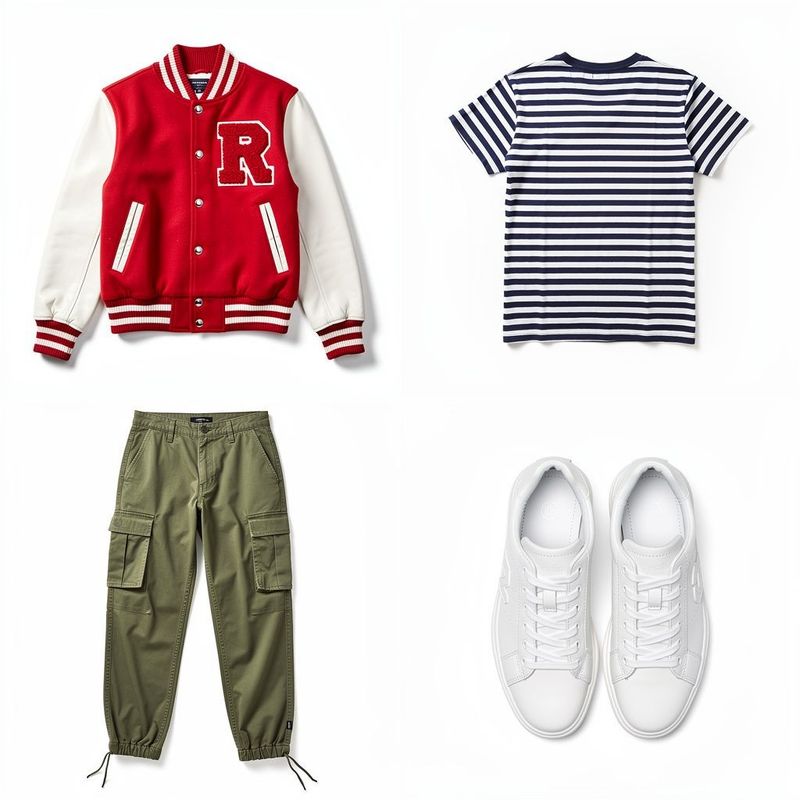

The prompt lists each piece by name so the model can map them correctly. This matters more with multi-garment composites than with single items because the model needs to understand which region of the composite corresponds to which body part.
Composite garment images are capped at 4 items. The model processes at most four pieces; additional items don't work.
Swapping garments
The same person image can be paired with different garments. Each run produces an independent result with the garment applied to the person's pose and body.

The person of image 1, maintaining exactly their face and pose, wearing the black leather biker jacket of image 2.

The person of image 1, maintaining exactly their face and pose, wearing the blue denim jacket of image 2.

The person of image 1, maintaining exactly their face and pose, wearing the oversized cream cable-knit sweater of image 2.

The person of image 1, maintaining exactly their face and pose, wearing the charcoal wool blazer of image 2.

The person of image 1, maintaining exactly their face and pose, wearing the olive green satin bomber jacket with the embroidered tiger on the back of image 2.

The person of image 1, maintaining exactly their face and pose, wearing the beige trench coat of image 2.


All three results use the same person image. The model adapts the draping and fabric weight to each garment type: the leather jacket sits structured across the shoulders, the denim falls with its own stiffness, and the knit sweater has visible cable texture and a looser fit.
Different people, same garment
The garment works as a reusable reference. You can pair it with any person image and the model will adapt the garment to each body.

The person of image 1, maintaining exactly their face and pose, wearing the blue denim jacket of image 2.

The person of image 1, maintaining exactly their face and pose, wearing the blue denim jacket of image 2.
Each person retains their own face and scene. The garment adapts to each body and lighting condition. This makes VTO useful for e-commerce catalogs where a single garment photo needs to be shown on multiple models without re-shooting.
Reference image guidelines
The quality of the inputs directly controls the quality of the output. Both the person and garment images have specific requirements.
Inputs over 2 MP are downscaled to 1 MP before processing, with the original aspect ratio preserved. Send images at or below 2 MP to control exactly what the model sees.
Person image
- Resolution: keep the person image at or below 2 megapixels. Larger inputs are downscaled to 1 MP automatically, so going higher discards detail you sent.
- Pose: full-body or three-quarter shots work best. The model needs to see enough of the body to place the garment.
- Clothing: the person can be wearing anything, but tight-fitting, plain clothing produces cleaner transfers. Existing clothing patterns or heavy layering can leave artifacts in the output.
- Background: clean, uncluttered backgrounds help the model distinguish the person from the scene.
Garment image
- Resolution: garment images don't need to be large. Around 1 megapixel is enough, and there's no benefit to going higher.
- Format: flat-lay packshots (garment laid flat on a white surface) produce the most reliable transfers. On-model references also work but may introduce pose artifacts from the reference model.
- Lighting: even, diffused studio lighting. Hard shadows or colored light on the garment will transfer into the output.
- Cropping: the garment should fill most of the frame with minimal padding. Tight crops with little background produce the best results, especially in multi-garment composites.
Tips
-
Name the garment in the prompt. The prompt description helps the model understand which part of the garment image to transfer. "Black leather biker jacket" is better than "the clothing." If the garment has multiple pieces, list them: "the green jacket and the black pants of image 2."
-
Describe text, logos, and embroidery. If the garment has printed text, brand logos, or embroidered graphics, include them in the prompt. The model handles these details better when it knows to look for them. "The white t-shirt with the red logo on the chest" beats "the t-shirt."
-
Specify the garment state when it matters. Zip-up, button-up, and wrap garments can be worn in different configurations. Add "fully zipped," "unbuttoned and open," or "belted at the waist" to control the output. Without this, the model will pick a state on its own.
-
Use flat-lay garment images when possible. Flat-lay packshots on white backgrounds produce the cleanest transfers because there's no pose or body shape to conflict with the person image. On-model garment references work but add a layer of ambiguity.
-
Don't describe the person in the prompt. The model already sees the person from image 1. Adding descriptions of their appearance ("a young woman with brown hair") doesn't help and can interfere with the face and pose preservation.
-
Cap composites at 4 garments. Use a 2 × 2 grid with tight crops. The model processes at most four pieces per composite. Anything beyond won't work.