Text to image: Turning words into pictures with AI
Introduction
Text-to-image generation transforms textual descriptions into visual content, allowing you to create images from just words. While the concept is simple, understanding the various parameters and how they interact gives you powerful control over your results.
This guide breaks down the key parameters and techniques for getting the most from text-to-image generation with Runware's API, with practical explanations for developers who integrate this workflow into their applications.
Basic request example
Here's a simple text-to-image request to get you started:
[
  {
    "taskType": "imageInference",
    "taskUUID": "a770f077-f413-47de-9dac-be0b26a35da6",
    "model": "runware:101@1",
    "positivePrompt": "An astronaut floating inside a giant hourglass in space, surrounded by stars and glowing dust, with galaxies swirling faintly above and golden sand below. Dreamy, surreal, cinematic",
    "width": 1024,
    "height": 1024,
    "steps": 30
  }
]{
"data": [
{
"taskType": "imageInference",
"imageUUID": "ca6b2d39-5f83-47b9-b22b-71f9afc935e8",
"taskUUID": "a770f077-f413-47de-9dac-be0b26a35da6",
"seed": 9202427981074766178,
"imageURL": "https://im.runware.ai/image/ws/2/ii/ca6b2d39-5f83-47b9-b22b-71f9afc935e8.jpg"
}
]
}As we explore each parameter in this guide, you'll learn how to customize requests to achieve exactly the results you want.
How text-to-image works
Text-to-image generation converts textual descriptions into visual content through a multi-stage process where the model gradually constructs an image based on your prompt. At its core, the process involves three key phases:
-
Text understanding: The input prompt is processed by a text encoder that converts natural language into a numerical representation called embeddings. These embeddings capture the semantic meaning, conceptual relationships, and stylistic cues present in your text.
-
Latent space generation: Rather than manipulating raw pixels, modern systems operate in a latent space, which is an abstract, compressed representation of images. Most advanced models use a diffusion process, which begins with random noise and gradually refines it into a meaningful image. This denoising is guided by your text embeddings and carried out by a neural network, typically a U-Net or a Transformer-based architecture like DiT. Some models follow an autoregressive approach generating images token by token.
-
Image decoding: The final latent representation is converted into a pixel-based image using a decoder, often part of a Variational Autoencoder (VAE). This step handles texture, color, and fine detail, producing the full-resolution image you see.
Together, these phases enable AI to generate images that closely match the meaning and style of your original prompt.
From a practical perspective, this technical process translates into a sequence of actions:
- First, craft your prompts to clearly define what you want to see (and avoid).
- Then, choose an appropriate model suited to your desired style and content.
- Next, set the generation parameters that influence the overall image creation process.
- Finally, evaluate the results and refine your approach as needed.
Parameters like steps, CFGScale, and scheduler directly control the generation process, determining how many iterations occur, how strictly your prompt is followed, and which mathematical approach guides the generation. Meanwhile, parameters like seed influence the initial conditions, ensuring reproducibility.
Different models may implement variations of this process, but the fundamental approach of translating text understanding into visual generation remains consistent. Understanding these parameters is key to getting consistent, high-quality results.
Key parameters
Prompts: Guiding the generation
The prompt parameters provide the textual guidance that steers the image generation process. These text strings are processed by the model's text encoder(s) to create embeddings that influence the generation at each step.
- positivePromptstring required
-
A positive prompt is a text instruction to guide the model on generating the image. It is usually a sentence or a paragraph that provides positive guidance for the task. This parameter is essential to shape the desired results.
For example, if the positive prompt is "dragon drinking coffee", the model will generate an image of a dragon drinking coffee. The more detailed the prompt, the more accurate the results.
If you wish to generate an image without any prompt guidance, you can use the special token
__BLANK__. This tells the system to generate an image without text-based instructions.The length of the prompt must be between 2 and 3000 characters.
Learn more 2 resources
- negativePromptstring
-
A negative prompt is a text instruction to guide the model on generating the image. It is usually a sentence or a paragraph that provides negative guidance for the task. This parameter helps to avoid certain undesired results.
For example, if the negative prompt is "red dragon, cup", the model will follow the positive prompt but will avoid generating an image of a red dragon or including a cup. The more detailed the prompt, the more accurate the results.
The length of the prompt must be between 2 and 3000 characters.
Learn more 1 resource
The positivePrompt parameter defines what you want to see in the image. During generation, this text is tokenized (broken into word pieces) and encoded into a high-dimensional representation that guides the model toward specific visual concepts, styles, and attributes. The model has learned associations between language and imagery during training, allowing it to translate your textual descriptions into visual elements.
Conversely, the negativePrompt parameter specifies what you want to avoid. It works through a similar embedding process but exerts an opposing influence, steering the generation away from undesired characteristics or elements. This can be particularly useful for avoiding common artifacts, unwanted styles, or problematic content.


The position of terms in your prompt can affect their influence, with earlier terms typically receiving more emphasis in most models. Additionally, the semantic relationships between words matter, as the model interprets phrases and combinations differently than isolated terms.
Take note that some model architectures (like FLUX) don't support negative prompts at all. When using these models, the negativePrompt parameter will be ignored in your request.
Model selection: The foundation of generation
The model parameter specifies which specific AI model to use for generation.
- modelstring required
-
We make use of the AIR (Artificial Intelligence Resource) system to identify models. This identifier is a unique string that represents a specific model.
You can find the AIR identifier of the model you want to use in our Model Explorer, which is a tool that allows you to search for models based on their characteristics.
Learn more 3 resources
Models are organized by architecture families, each with different capabilities:
-
SD 1.5 architecture models: Models like
civitai:4384@128713(Dreamshaper v1) or specialized variants for particular styles or subjects. These models typically excel at artistic and creative imagery. -
SDXL architecture models: Models like
civitai:133005@782002(Juggernaut XL XI) that offer higher resolution capabilities and better photorealism compared to SD 1.5 models. -
FLUX architecture models: Models like
runware:101@1(FLUX.1 Dev) deliver faster generation times, better compositional understanding, improved handling of complex scenes, and more consistent quality across different parameter settings. They're particularly notable for their detail preservation in faces and intricate structures. -
HiDream architecture models: Models like HiDream-I1 Full are built on a Transformer-based diffusion architecture with a Mixture-of-Experts (MoE) backbone. They combine high-quality text understanding with fine-grained visual control, producing state-of-the-art results in both creative and photorealistic styles. HiDream models are especially strong in complex prompts, object interactions, and cinematic compositions.
Within each architecture, individual models may be fine-tuned for specific styles, subjects, or use cases. The model you choose significantly impacts not just the aesthetic of your results, but also how your prompt is interpreted and which parameters will be most effective.
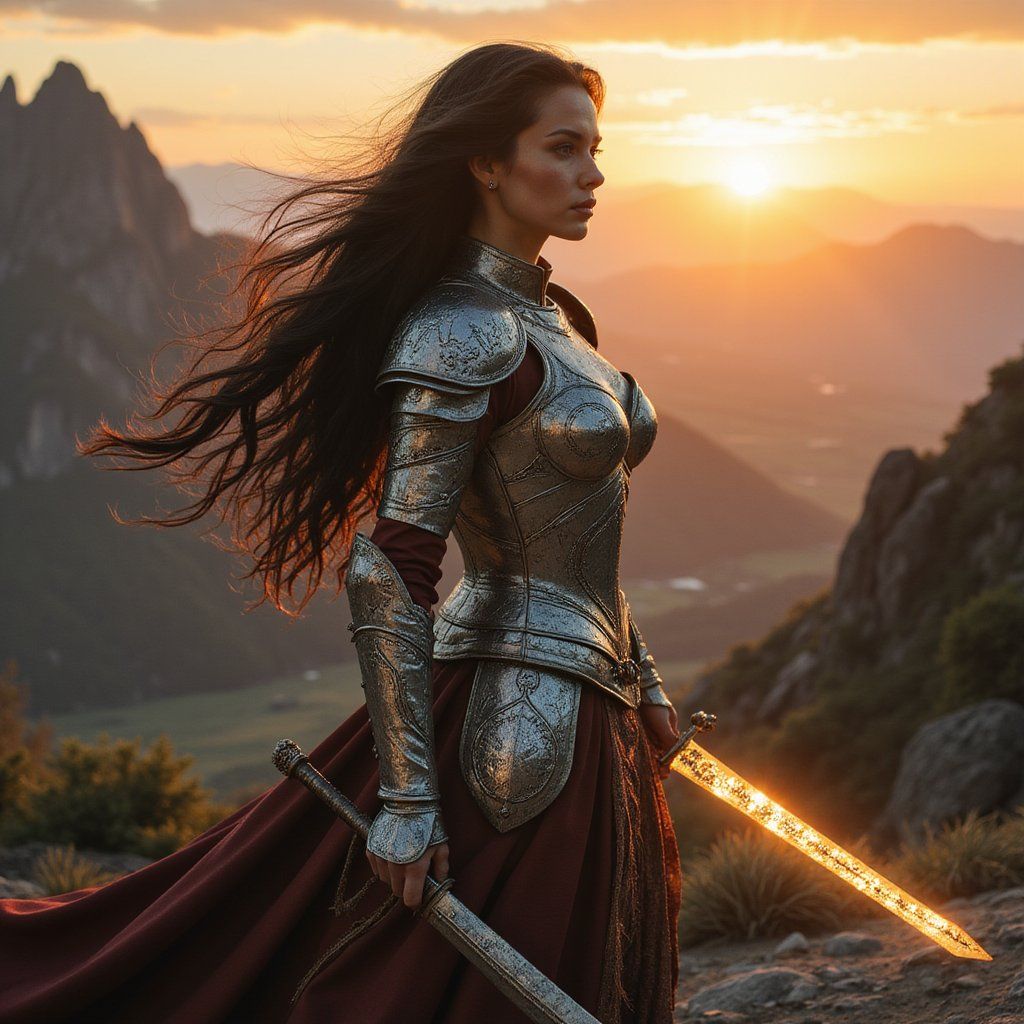
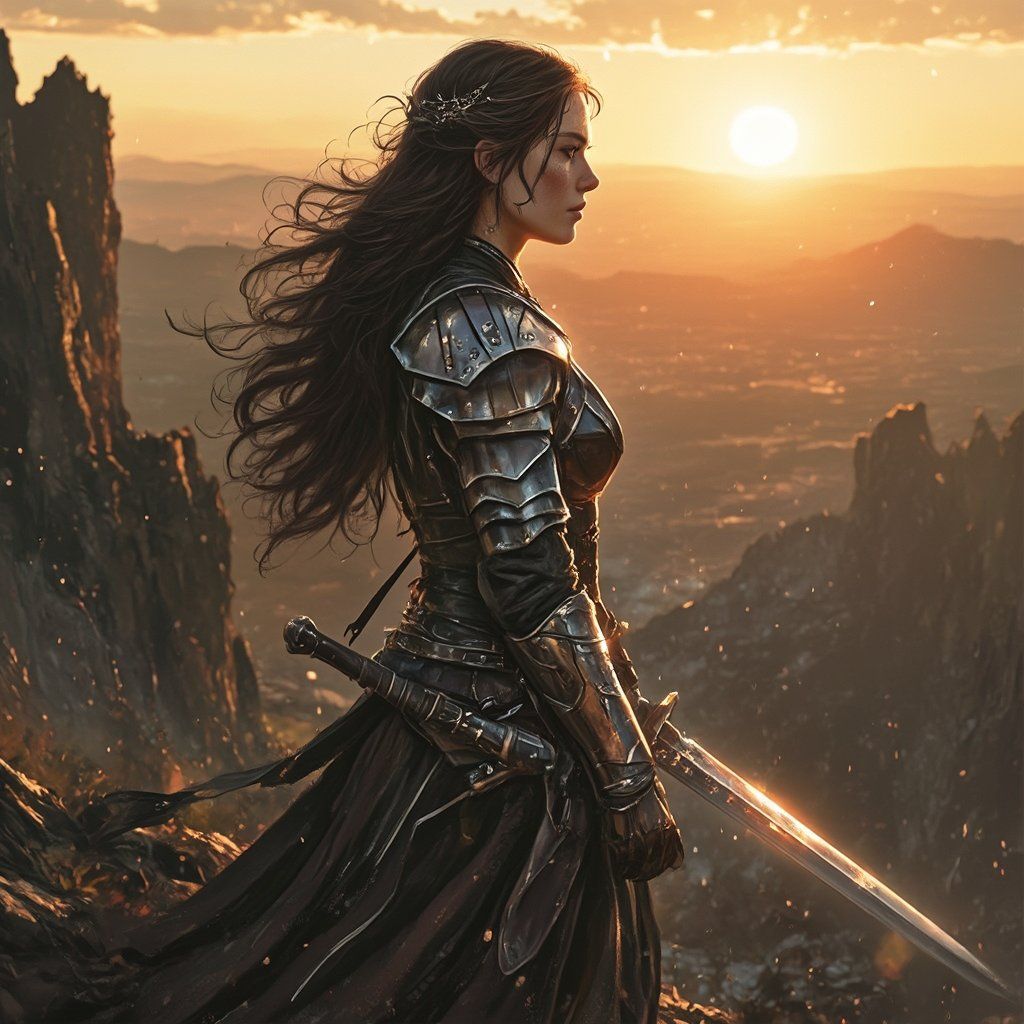
You can browse available models using our Model Search API or using our Model Explorer tool.
Image dimensions: Canvas size and ratio
The width and height parameters define your image's dimensions and aspect ratio.
- heightinteger required Min: 128 Max: 2048
-
Used to define the height dimension of the generated image. Certain models perform better with specific dimensions.
The value must be divisible by 64, eg: 128...512, 576, 640...2048.
Learn more 2 resources
- widthinteger required Min: 128 Max: 2048
-
Used to define the width dimension of the generated image. Certain models perform better with specific dimensions.
The value must be divisible by 64, eg: 128...512, 576, 640...2048.
Learn more 2 resources
While square formats (1:1) are common for general purposes, specific aspect ratios can enhance certain types of content:
- Portrait dimensions (taller than wide, like 768×1024) typically produce better results for character portraits, fashion images, and full-body shots.
- Landscape dimensions (wider than tall, like 1024×768) excel at scenic views, environments, and panoramic compositions.
Our API supports a wide range of dimensions, enabling you to generate ultra-wide panoramas or tall vertical images that would be difficult to create with standard aspect ratios. This flexibility is particularly valuable for specialized use cases like banner images, mobile app content, or widescreen presentations.

AI models are trained on images with specific dimensions, which creates "sweet spots" where they perform best. While some traditional models work best between 512-1024 pixels per side, newer architectures like FLUX models can produce excellent results at larger dimensions. Experiment with different sizes for your chosen model to find the sweet spot that balances quality and generation speed for your specific needs.
Remember that you can always upscale your lower-resolution images using our API, which allows you to generate higher-resolution images without sacrificing quality.
Steps: Trading quality for speed
The steps parameter defines how many iterations the model performs during image generation. While different model architectures use varying internal mechanisms, the steps parameter consistently controls the level of refinement in the generation process.
- stepsinteger Min: 1 Max: 100 Default: 20
-
The number of steps is the number of iterations the model will perform to generate the image. The higher the number of steps, the more detailed the image will be. However, increasing the number of steps will also increase the time it takes to generate the image and may not always result in a better image (some schedulers work differently).
When using your own models you can specify a new default value for the number of steps.
Learn more 1 resource
In diffusion models, each step typically removes a bit of noise, gradually turning random input into a detailed image. In transformer-based or autoregressive models, steps guide how many refinement cycles or generation passes the model performs. Regardless of the internal method, higher step counts usually lead to more coherent and detailed results, though they may also increase generation time.
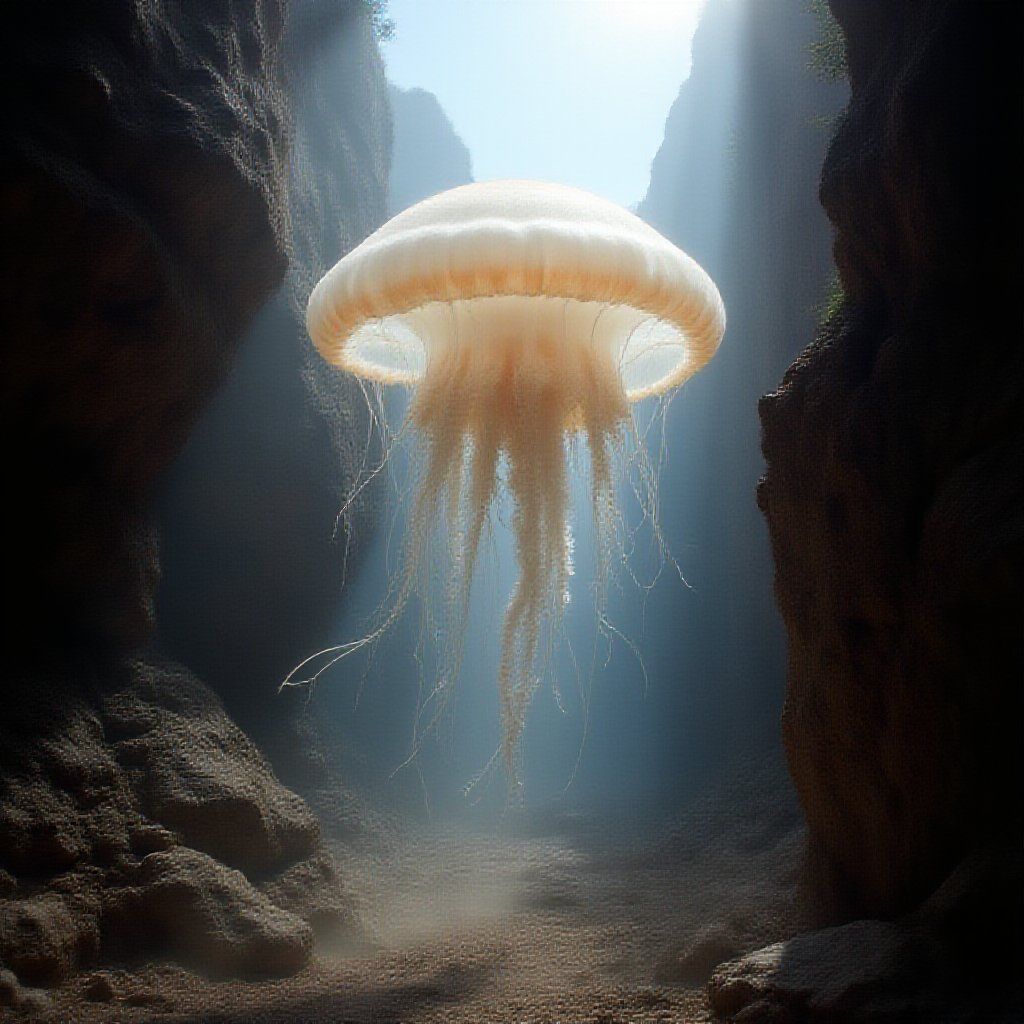
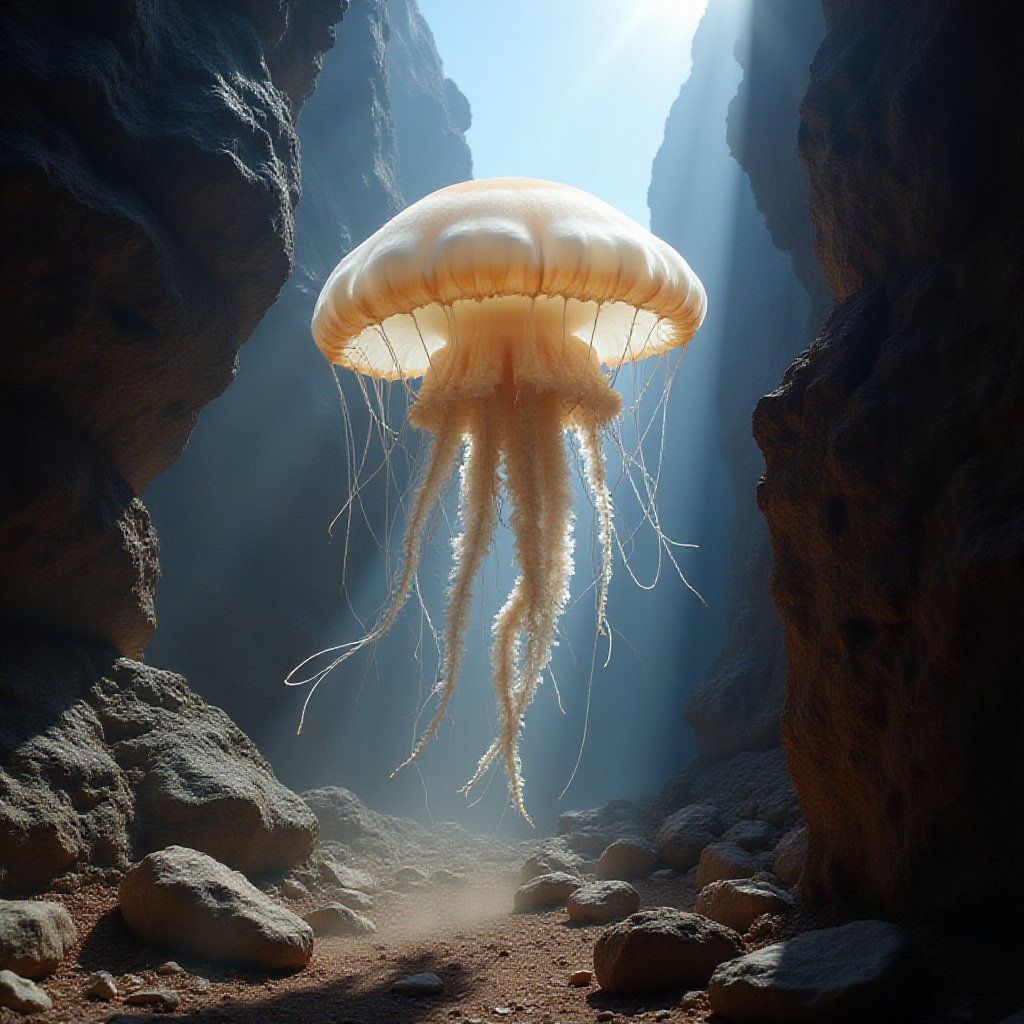
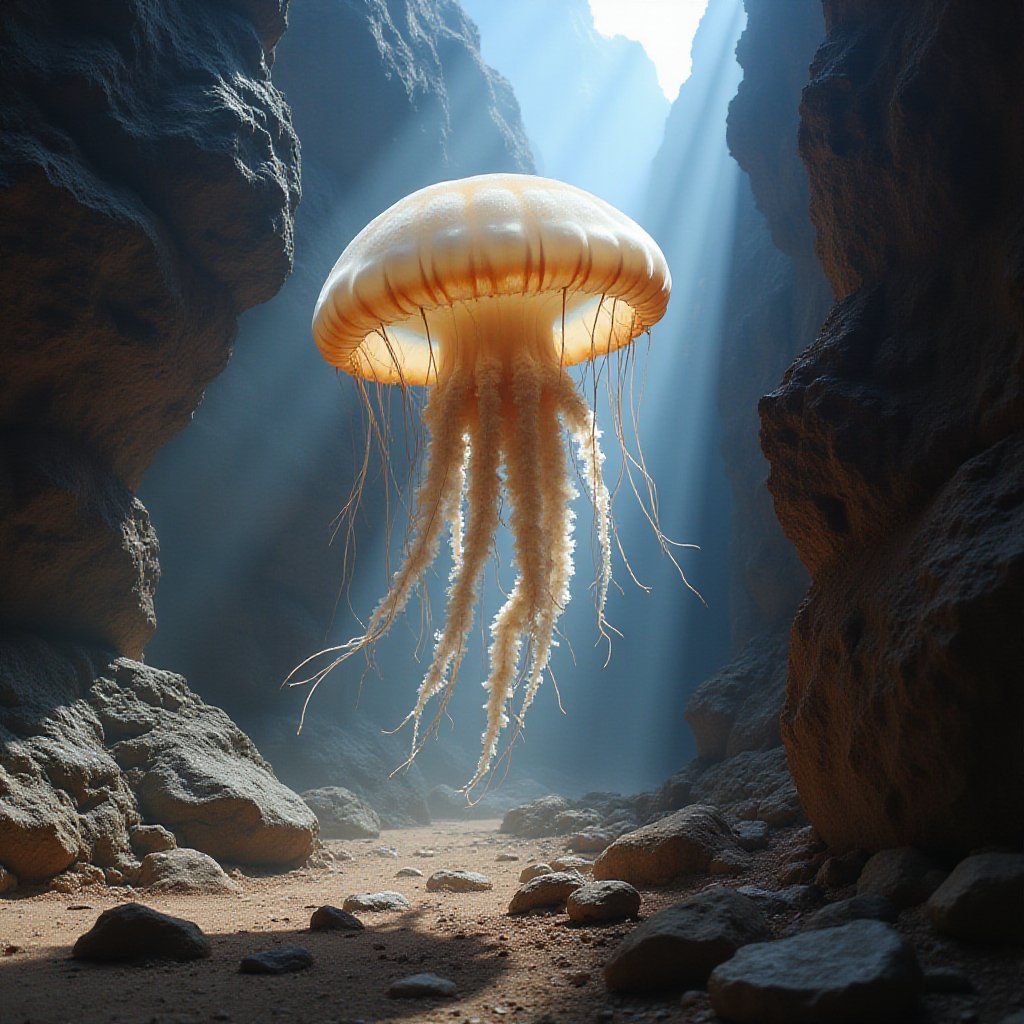
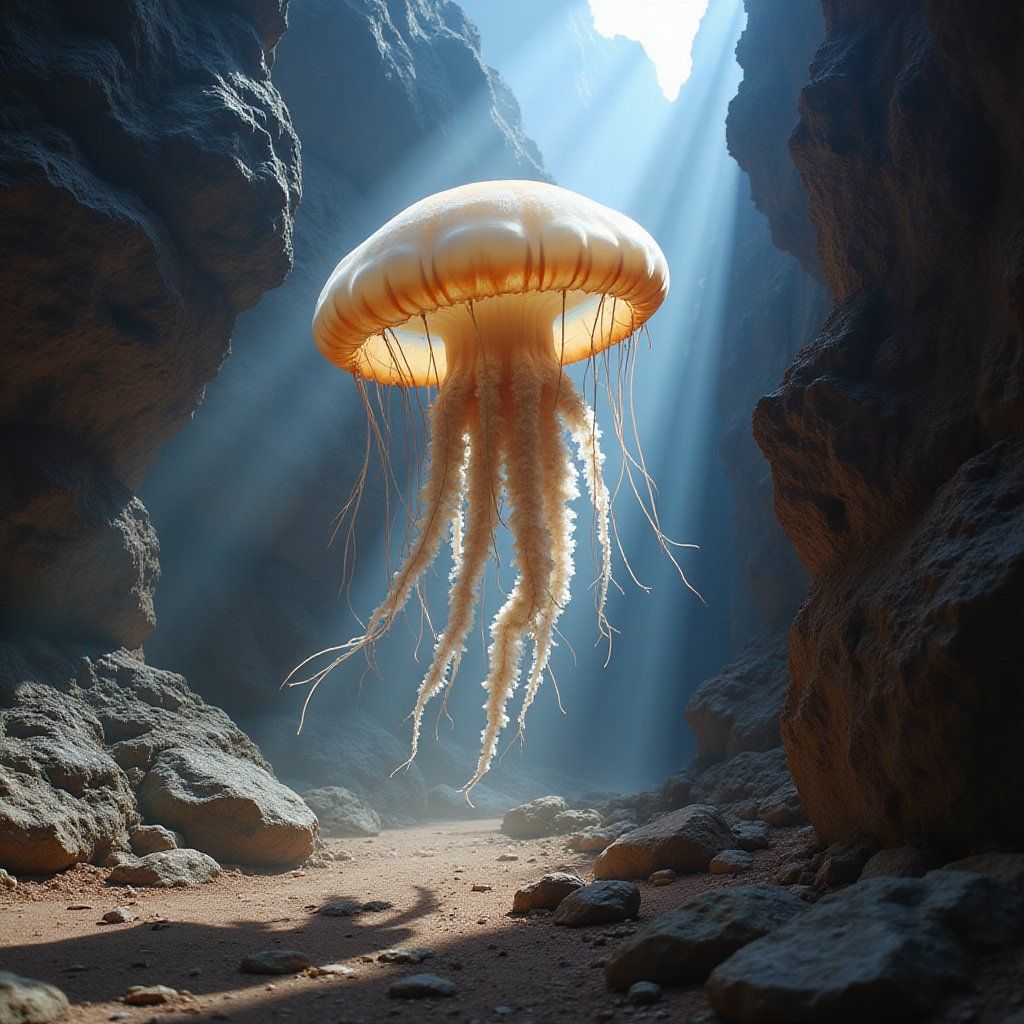
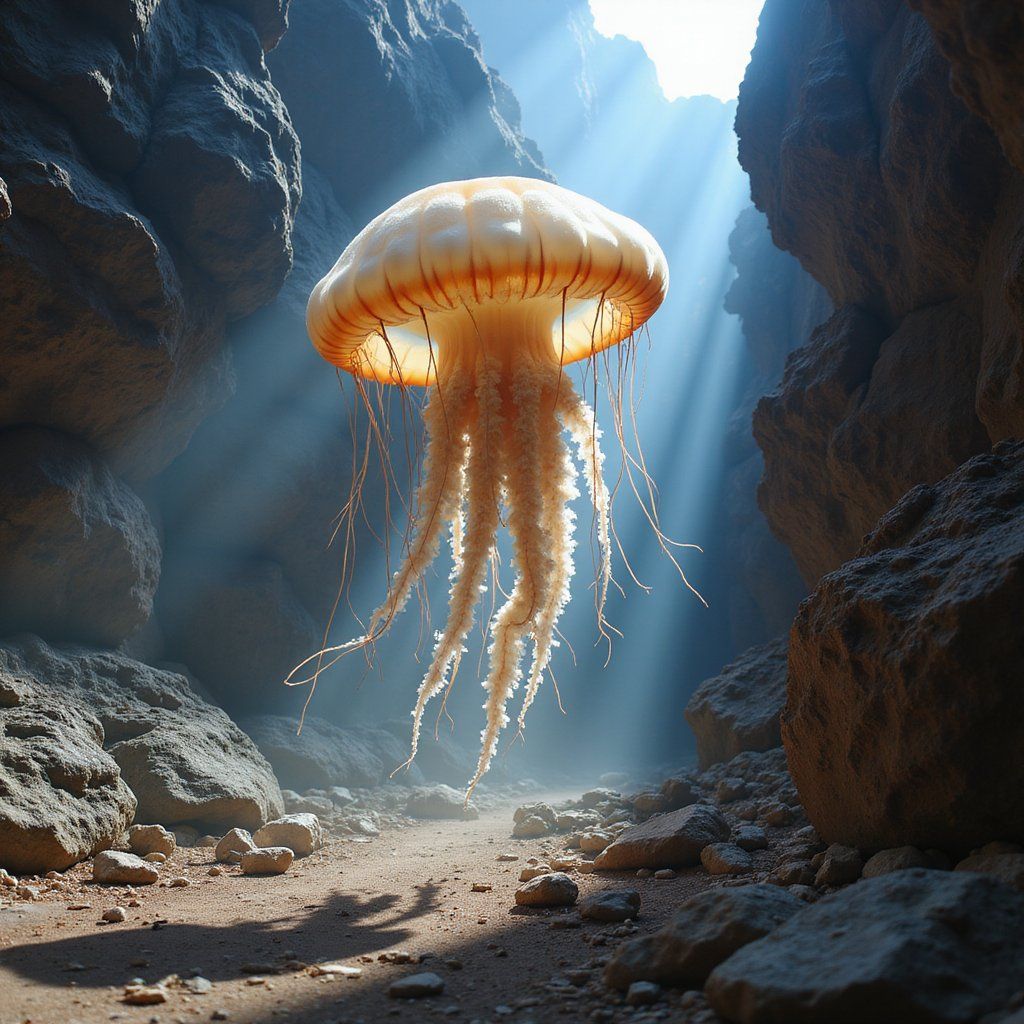
The generation process generally follows these phases regardless of architecture:
- Early steps: Establish basic composition, rough shapes, and color palette distribution.
- Middle steps: Form recognizable objects, define spatial relationships, and develop textural foundations.
- Later steps: Refine details, enhance coherence between elements, and develop subtle lighting nuances.
- Final steps: Polish fine details and smooth transitions, often with increasingly subtle changes.
The optimal step count varies by model architecture and generation algorithm (scheduler), directly impacting both generation time and image quality.
Some models are created through a process called knowledge distillation, where a smaller and more efficient model is trained to mimic the outputs of a larger model. Distilled model architectures like LCM (Latent Consistency Model) or FLUX.1 Schnell can generate high-quality images in significantly fewer steps (4-8) compared to their non-distilled counterparts. This optimization makes them particularly valuable for applications where generation speed is critical, though they may occasionally trade some detail quality or prompt adherence for this efficiency.
CFG scale: Balancing creativity and control
The CFGScale (Classifier-Free Guidance Scale) parameter controls how strictly the model follows your prompt during image generation. Technically, it's a weighting factor that determines the influence of your prompt on the generation process.
- CFGScalefloat Min: 0 Max: 50 Default: 7
-
Guidance scale represents how closely the images will resemble the prompt or how much freedom the AI model has. Higher values are closer to the prompt. Low values may reduce the quality of the results.
Learn more 1 resource
At each step of the generation process, the model computes two predictions:
- Unconditioned prediction: What the model would generate with an empty prompt.
- Conditioned prediction: What the model would generate following your specific prompt.
CFG Scale then amplifies the difference between these two predictions, pushing the generation toward what your prompt describes. Higher values give more weight to your prompt's guidance at the expense of creativity/correctness. You can turn off CFG Scale by setting it to 0 or 1.
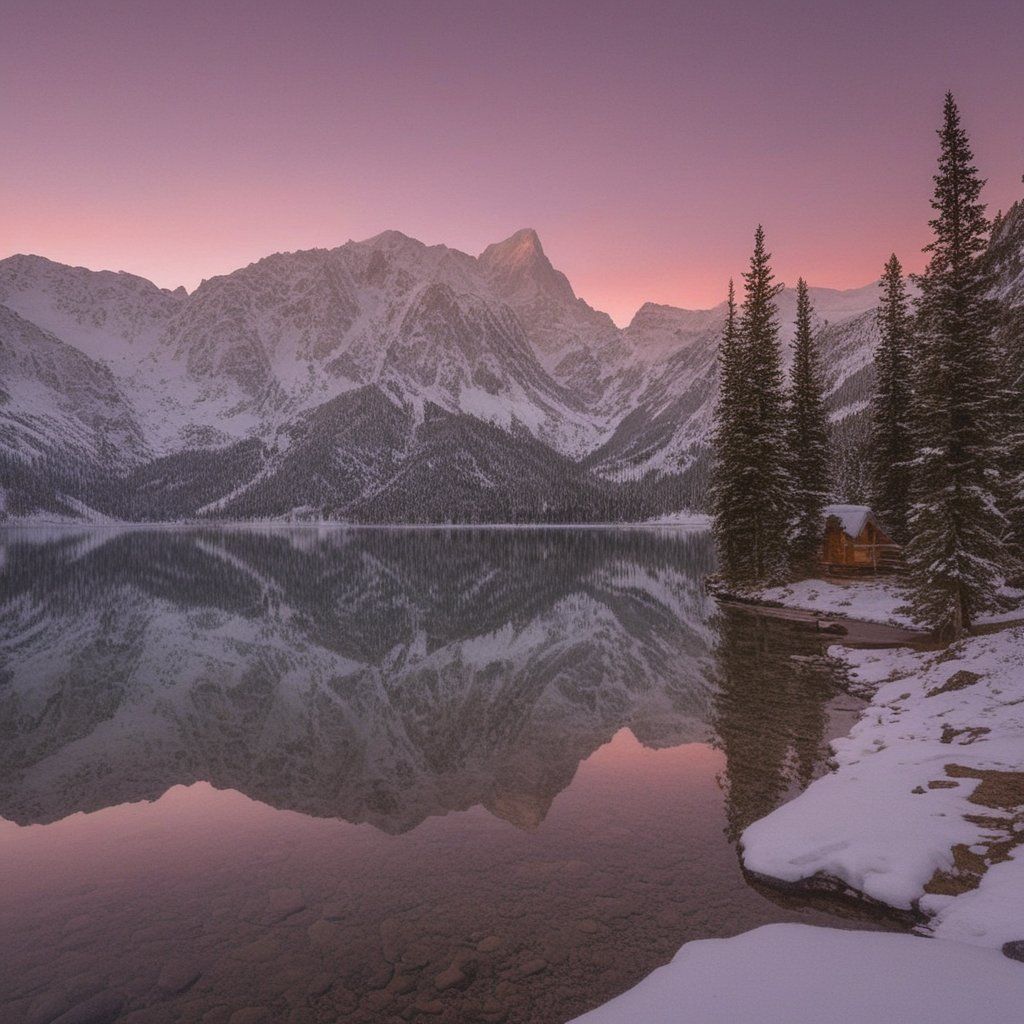
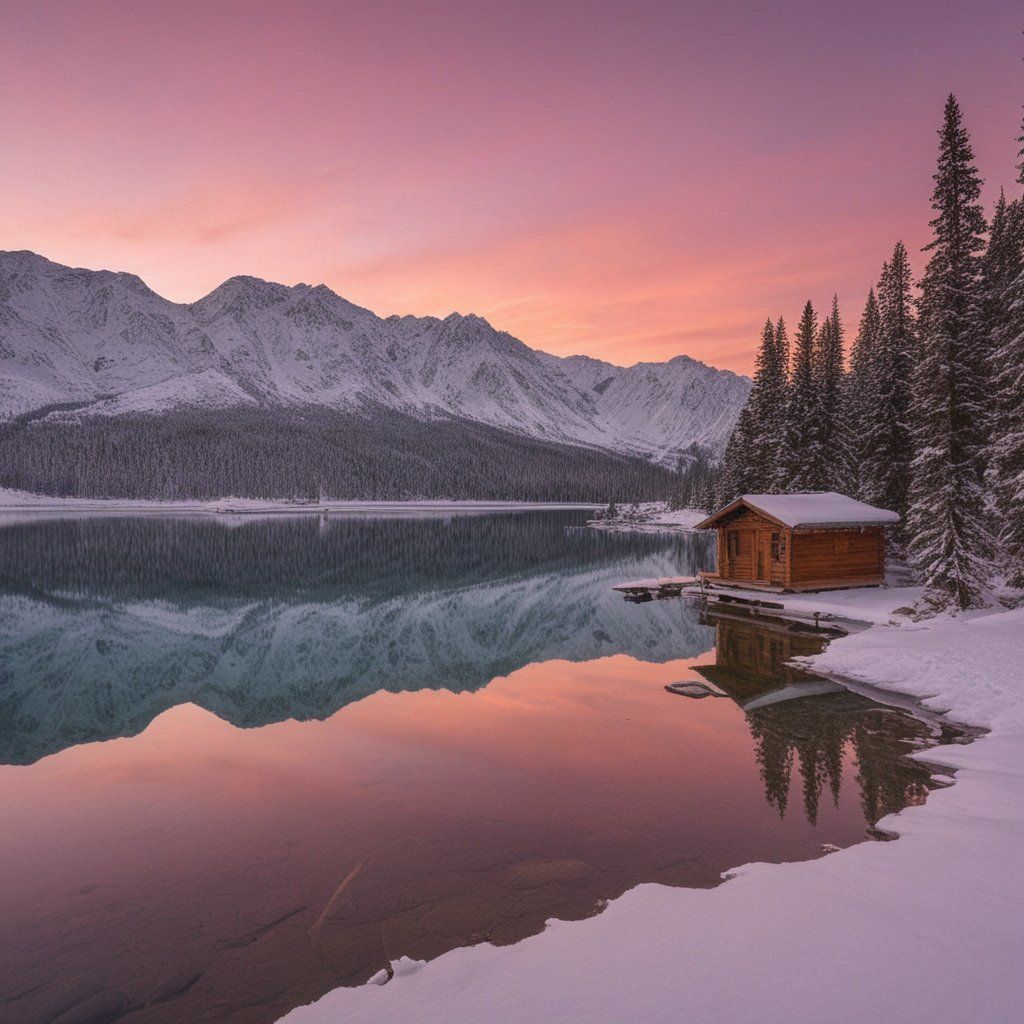
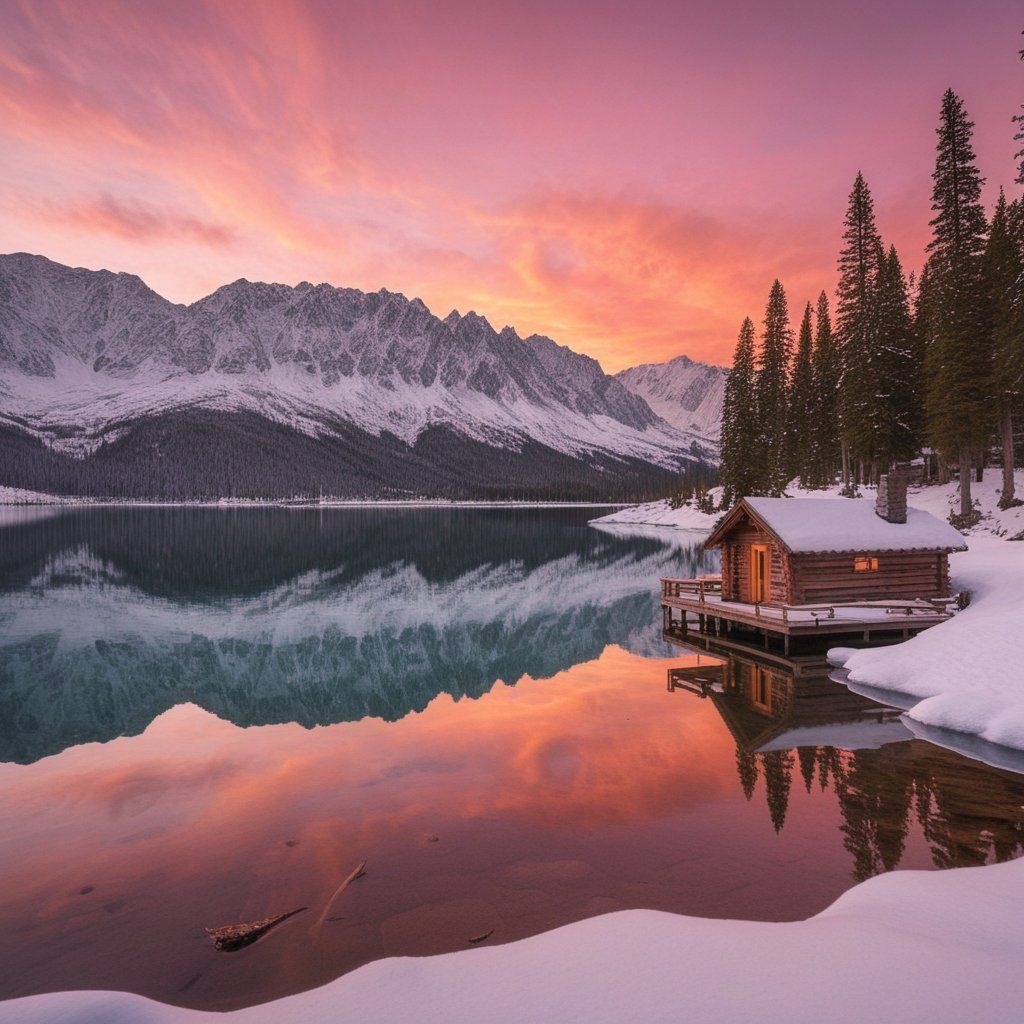
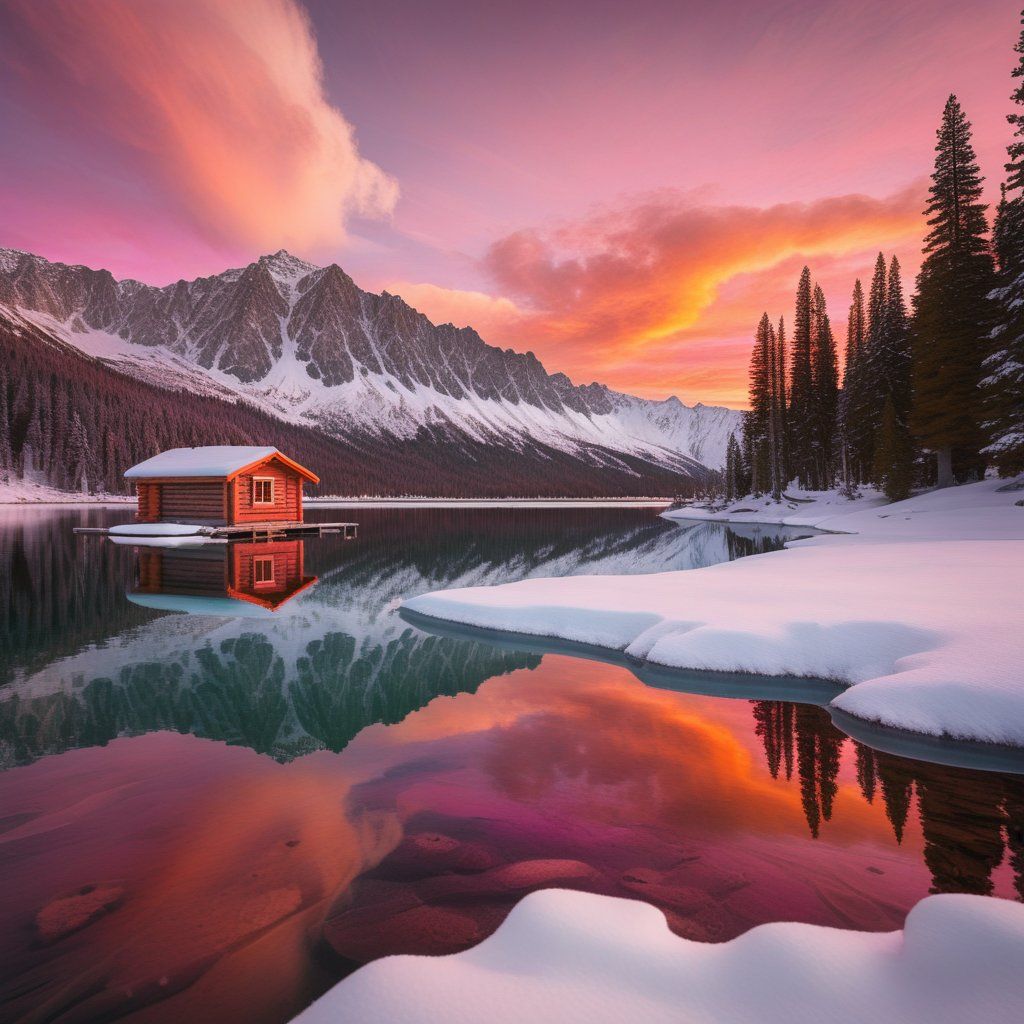
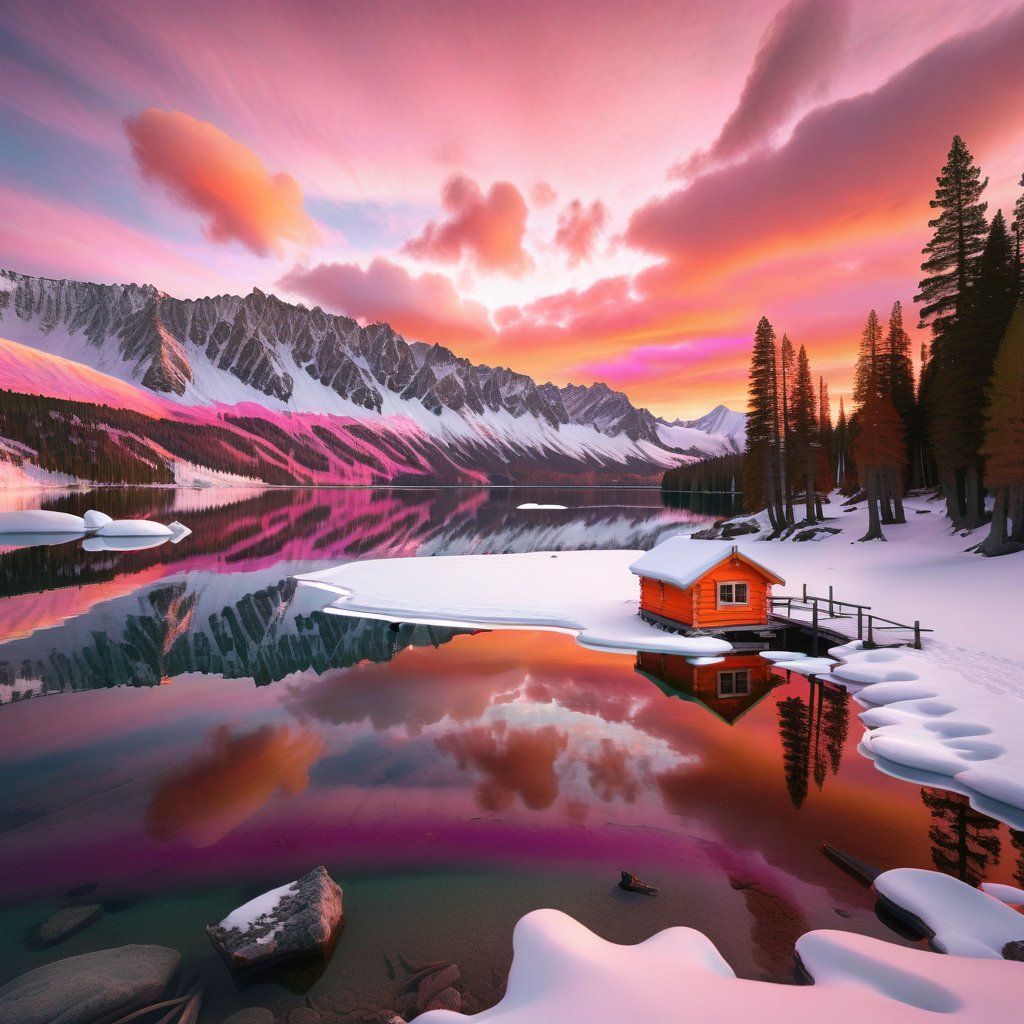
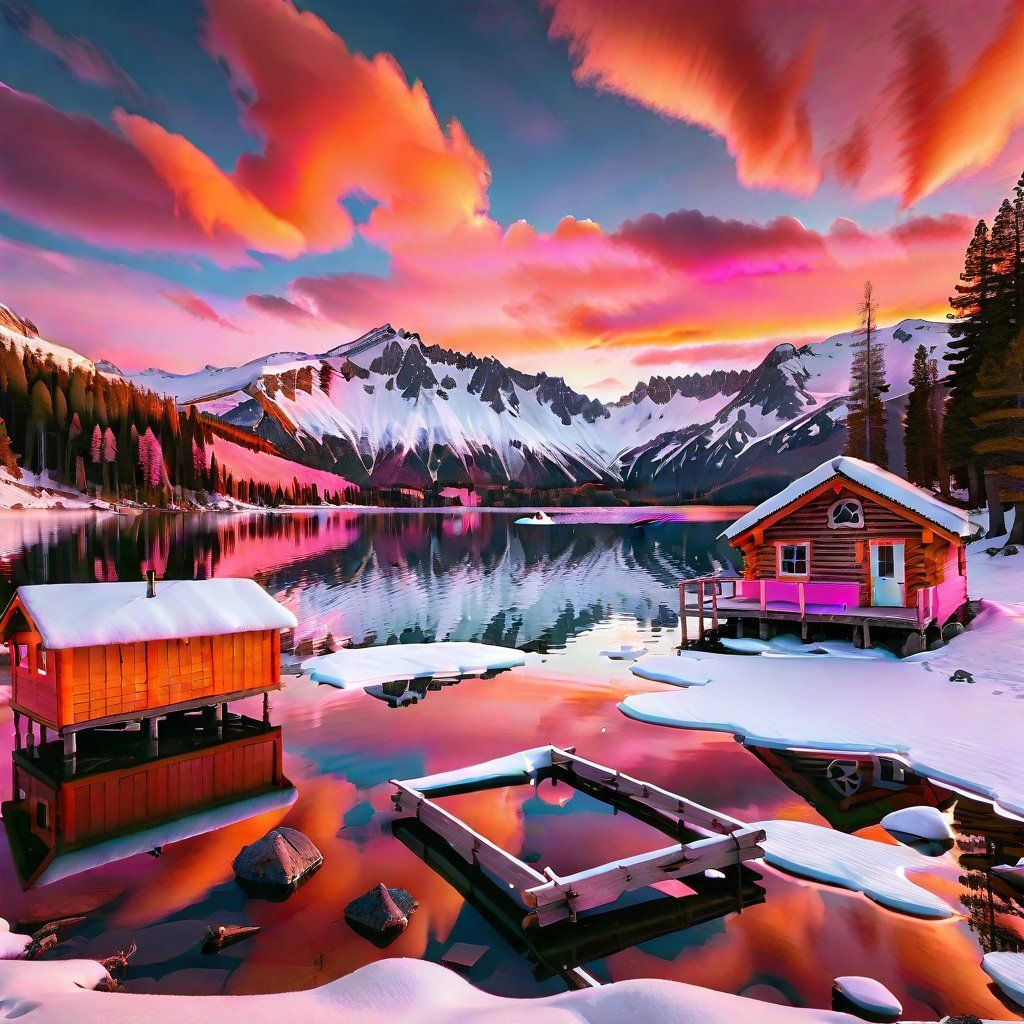
In practice, lower CFG values allow for more creative freedom, while higher values enforce stricter prompt adherence. However, extremely high settings can lead to overguidance, causing artifacts, unnatural saturation, or distorted layouts.
Different model architectures handle CFG in distinct ways. Newer architectures like FLUX use a "CFG-distilled" approach where the parameter still exists, but has a much more subtle effect on generation. For FLUX models, the entire CFG range tends to produce more consistent outputs compared to the dramatic changes seen in traditional diffusion models like SD 1.5 or SDXL, which typically work best with lower CFG values.
For precise control, start with a model's recommended range and adjust based on your specific requirements.
Scheduler: The algorithmic path to your image
The scheduler parameter (sometimes called "sampler") defines the mathematical algorithm that guides the image generation process in diffusion models.
- schedulerstring Default: Model's scheduler
-
An scheduler is a component that manages the inference process. Different schedulers can be used to achieve different results like more detailed images, faster inference, or more accurate results.
The default scheduler is the one that the model was trained with, but you can choose a different one to get different results.
Schedulers are explained in more detail in the Schedulers page.
Learn more 2 resources
Each scheduler defines a different denoising trajectory, which can be more linear, stochastic, or adaptive. Different model architectures support different schedulers optimized for their structure. Schedulers control how noise is removed over time, affecting both quality and generation time.
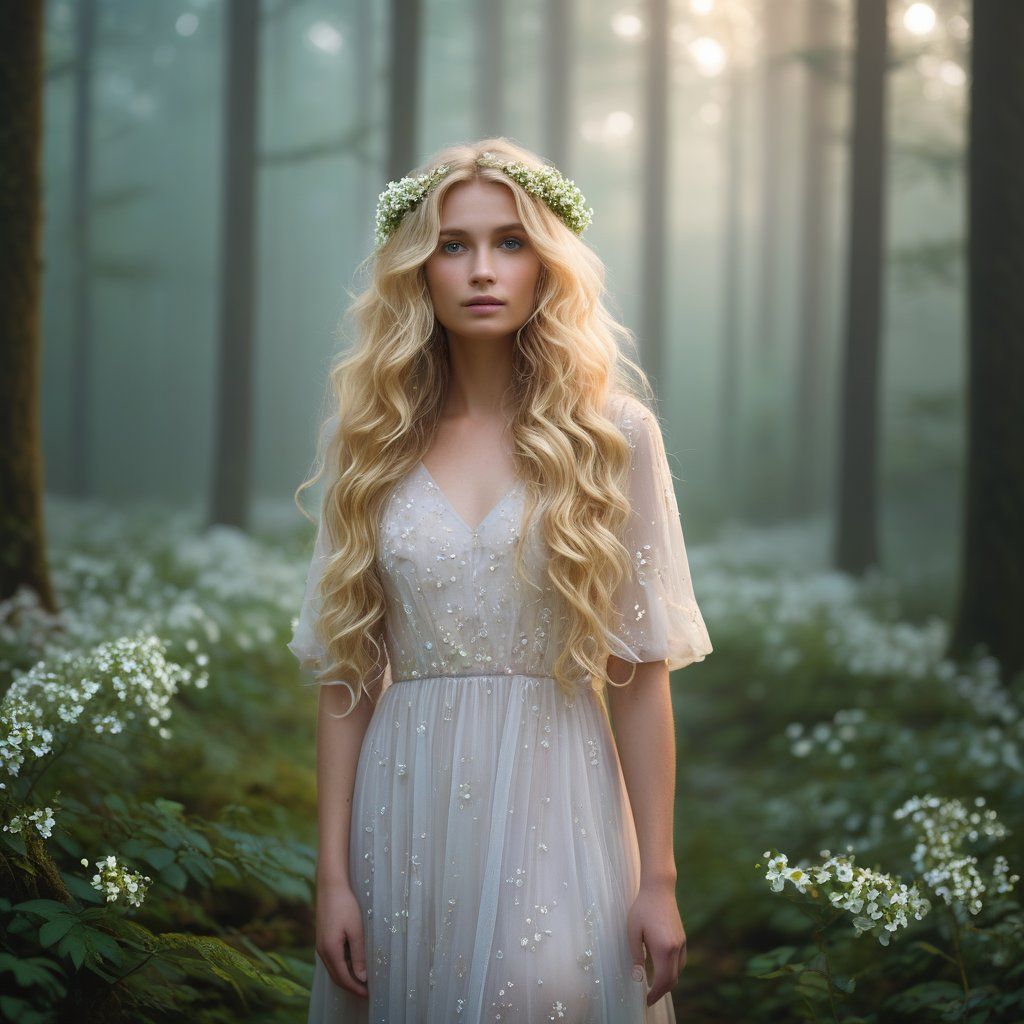
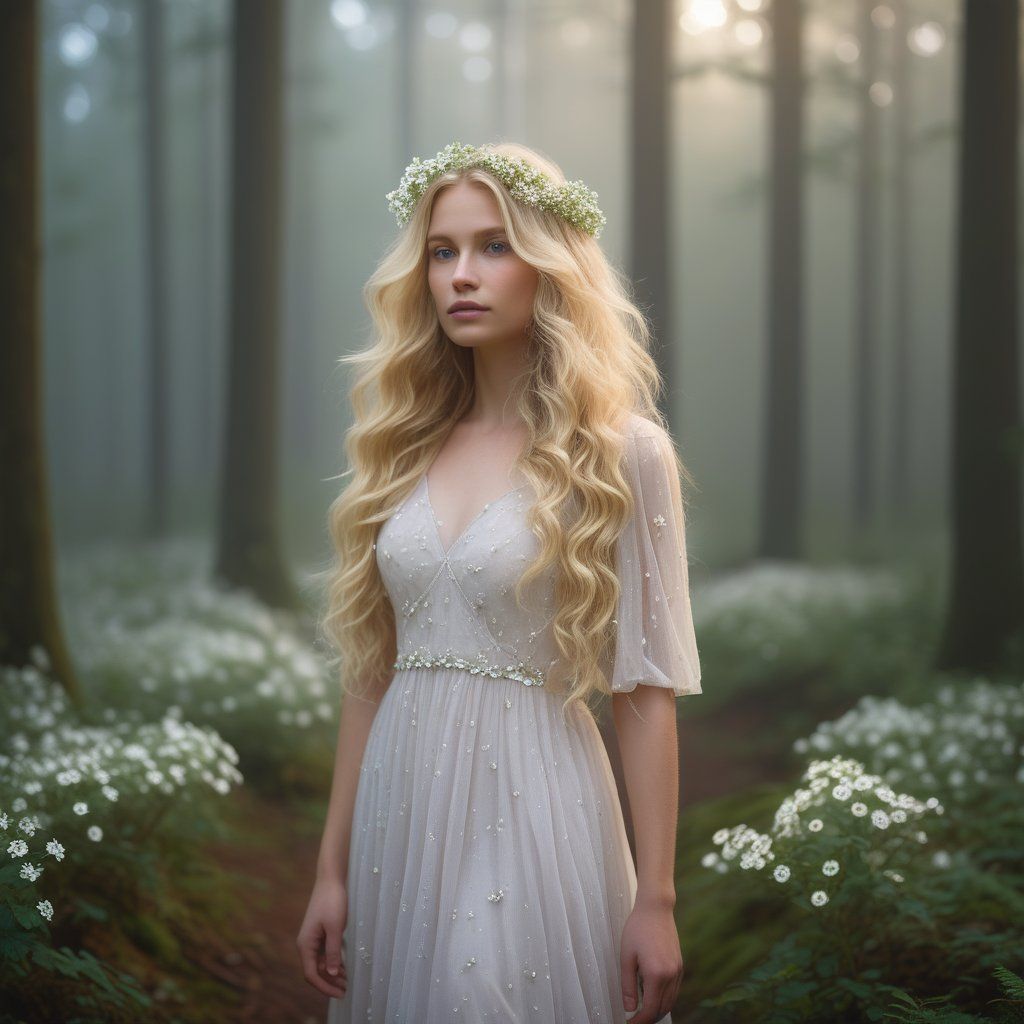
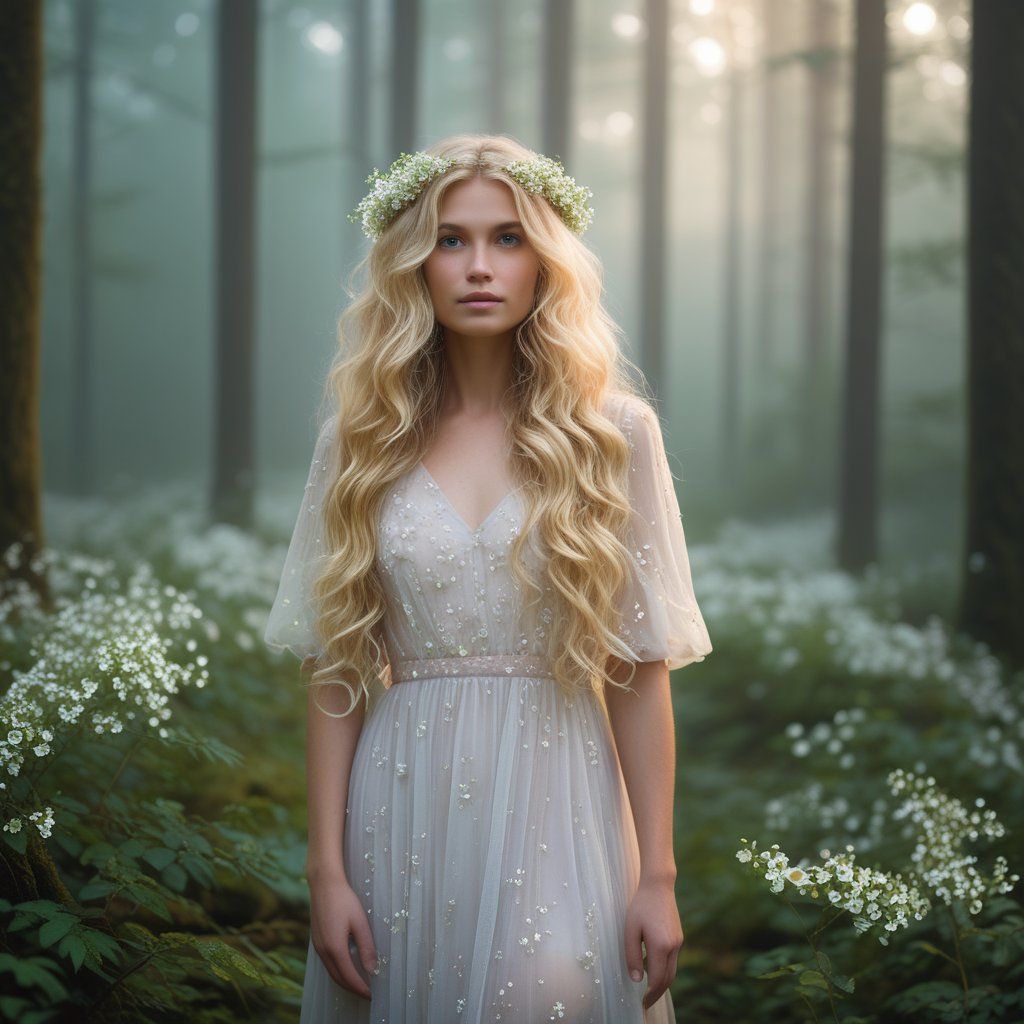
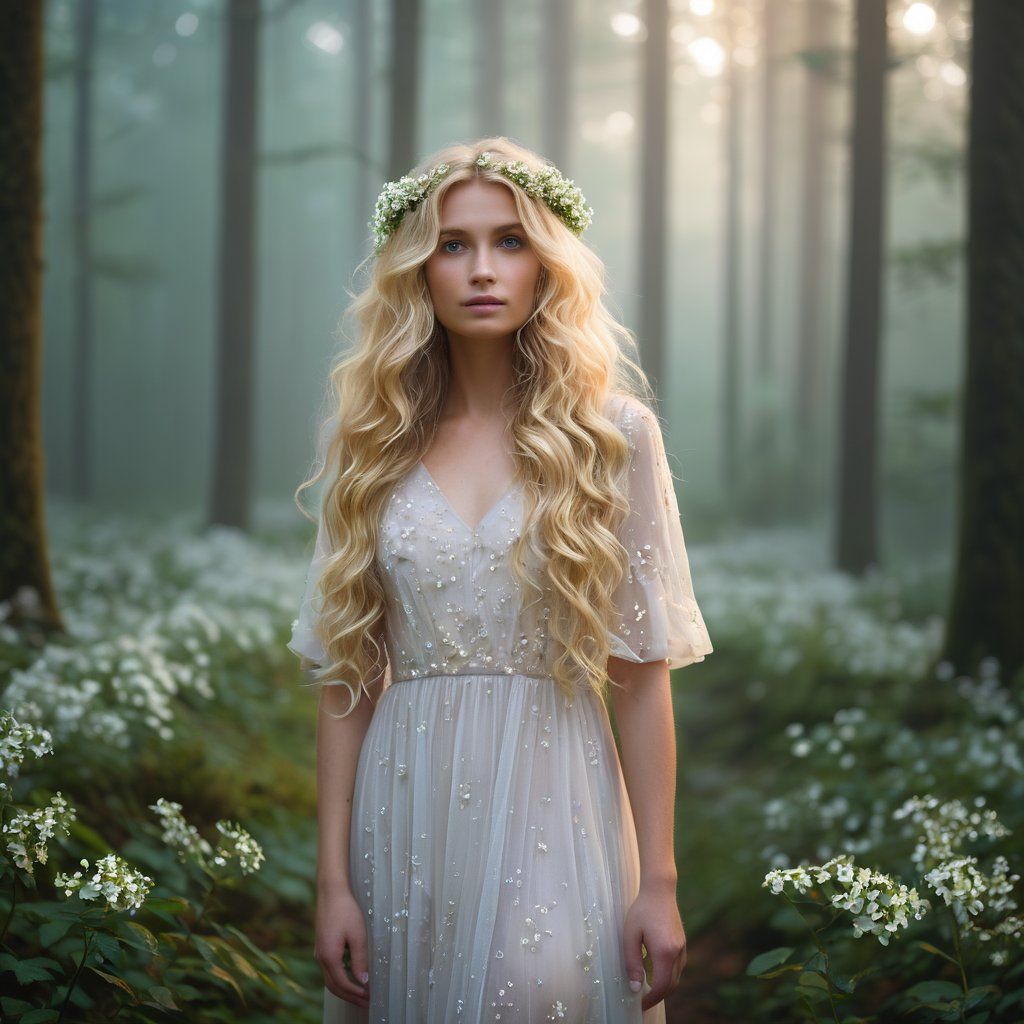
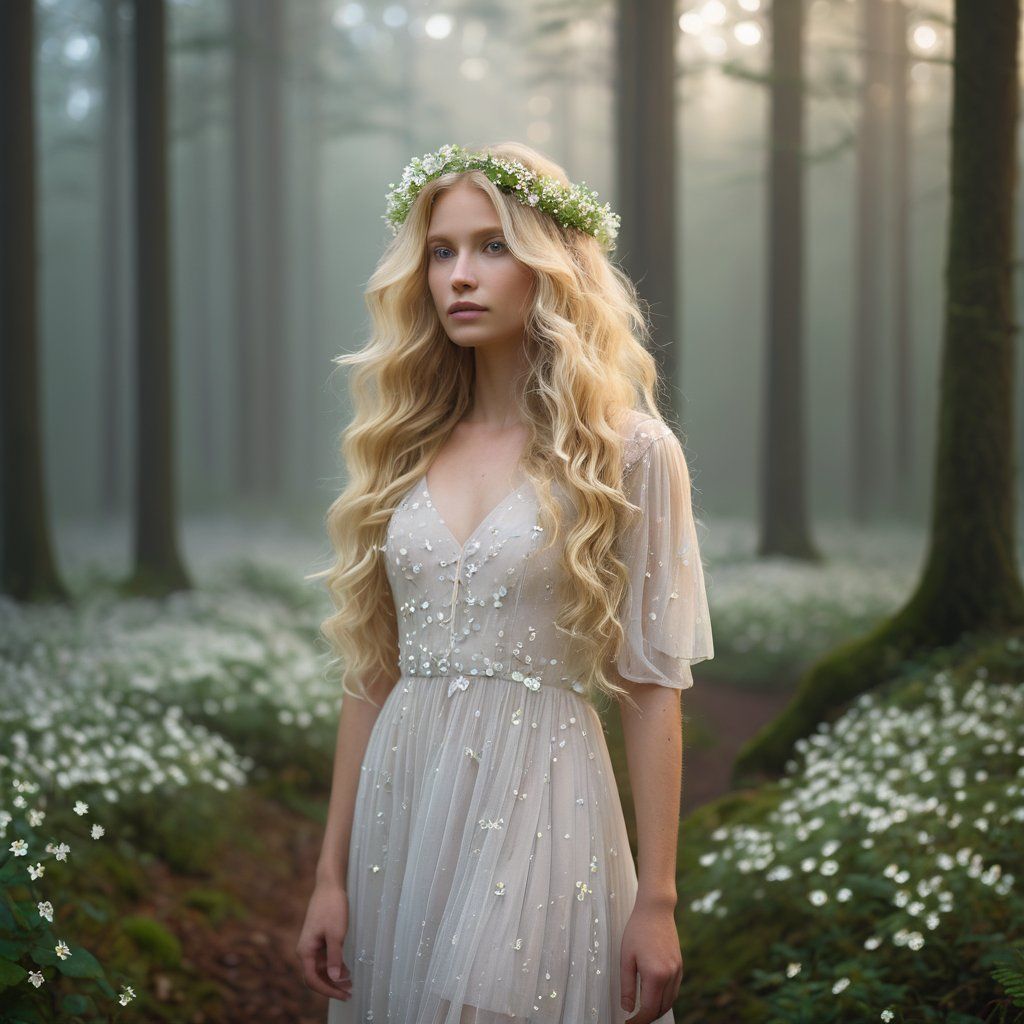
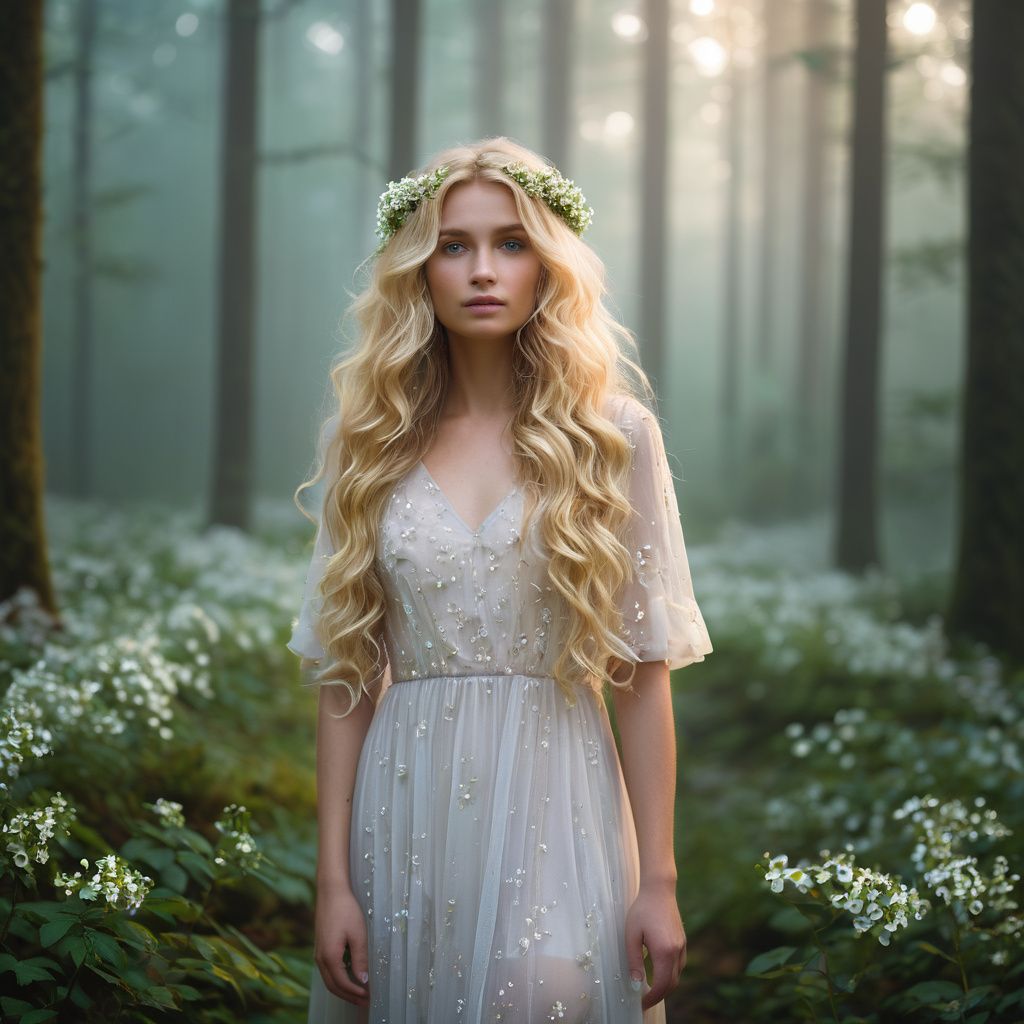
Popular schedulers include:
- DPM++ 2M Karras: A great all-around choice with excellent detail and balanced results.
- Euler A: Very fast and tends to produce more creative results, making it great for experimentation.
- DPM++ 3M SDE: A newer scheduler that offers even better quality at high steps, perfect for detailed or large renders.
- UniPC: A good middle ground between speed and image quality, slightly faster than DPM++ 2M Karras without losing much detail.
For a complete list of available schedulers, check our Schedulers page.
Seed: Controlling randomness deterministically
The seed parameter provides a deterministic starting point for the pseudo-random processes in image generation.
- seedinteger Min: 1 Max: 9223372036854776000 Default: Random
-
A seed is a value used to randomize the image generation. If you want to make images reproducible (generate the same image multiple times), you can use the same seed value.
Note: Random seeds are generated as 32-bit values for platform compatibility, but you can specify any value if your platform supports it (JavaScript safely supports up to 53-bit integers).
Learn more 1 resource
In diffusion models, the seed determines the initial noise pattern from which the image is gradually refined. While different architectures may interpret and process that noise differently, the seed consistently enables reproducibility and controlled variation across generations.
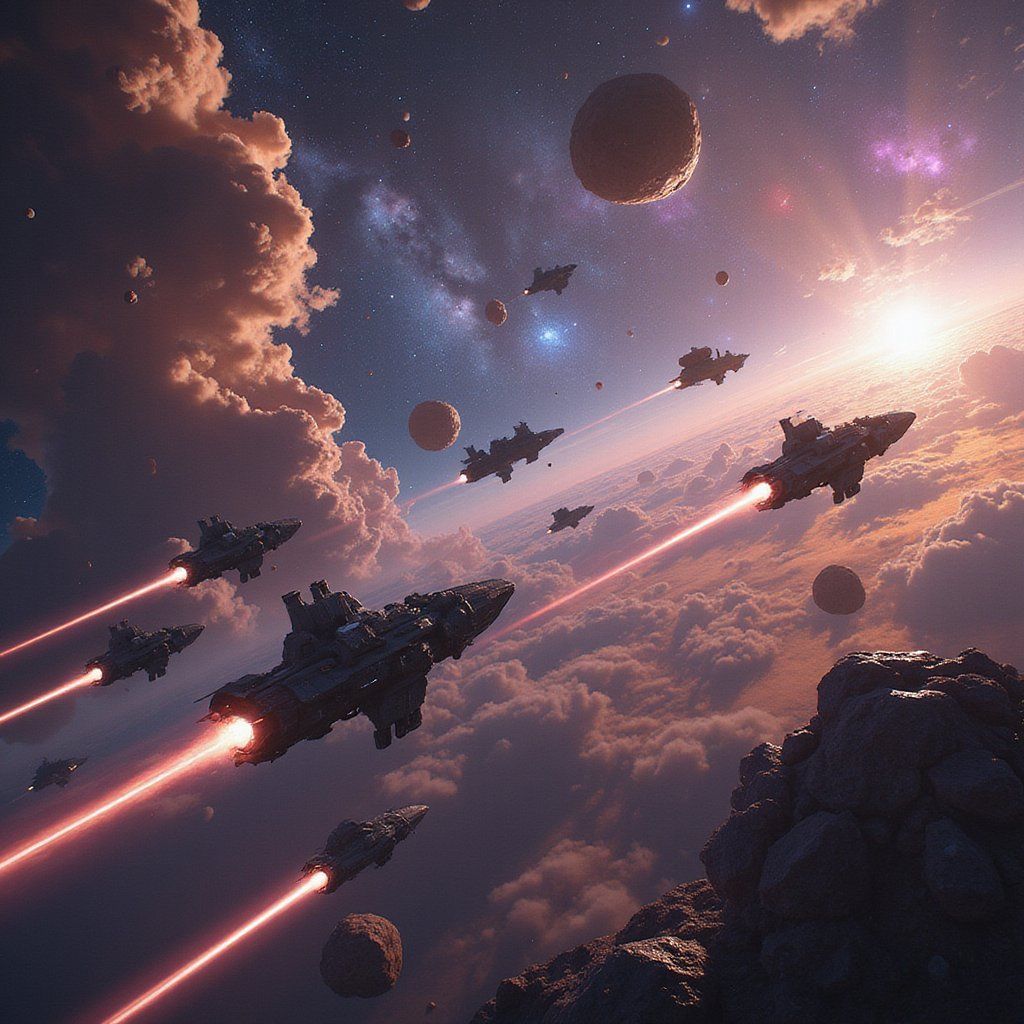

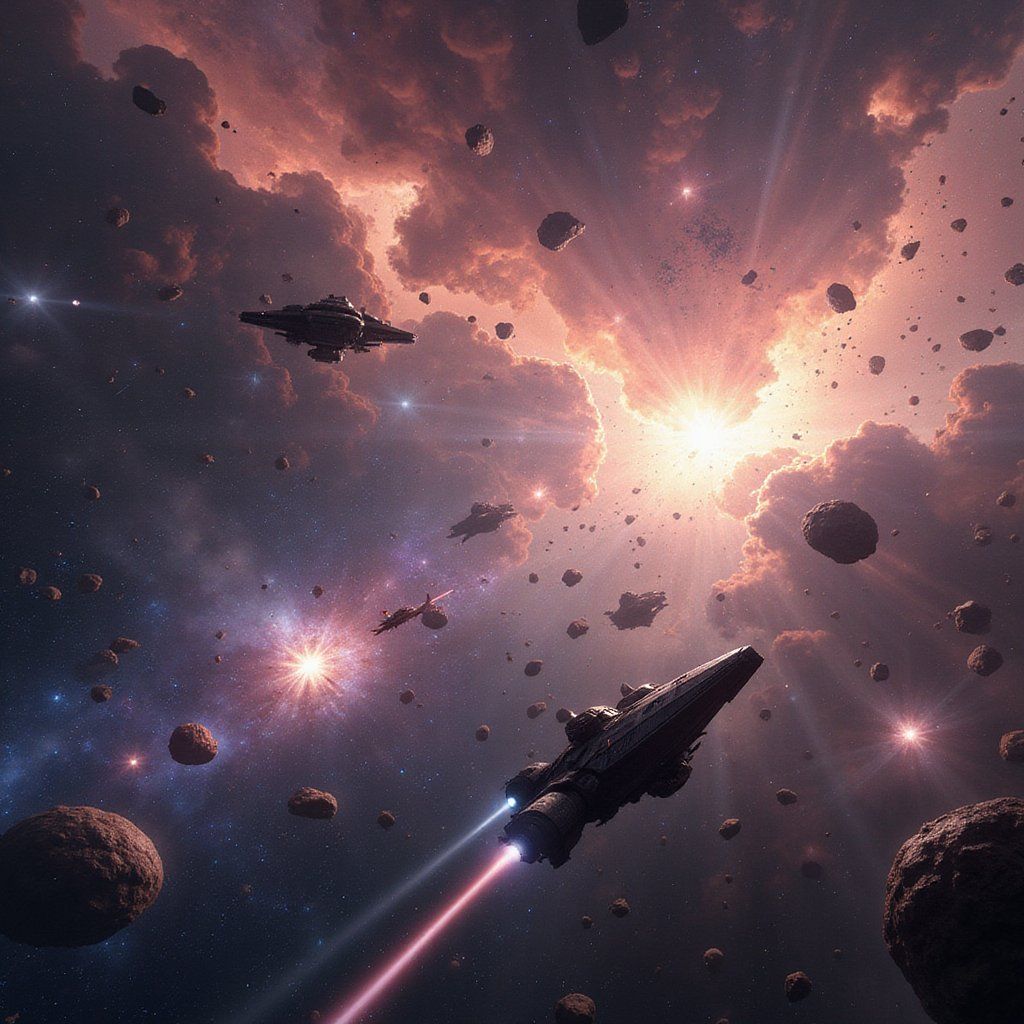
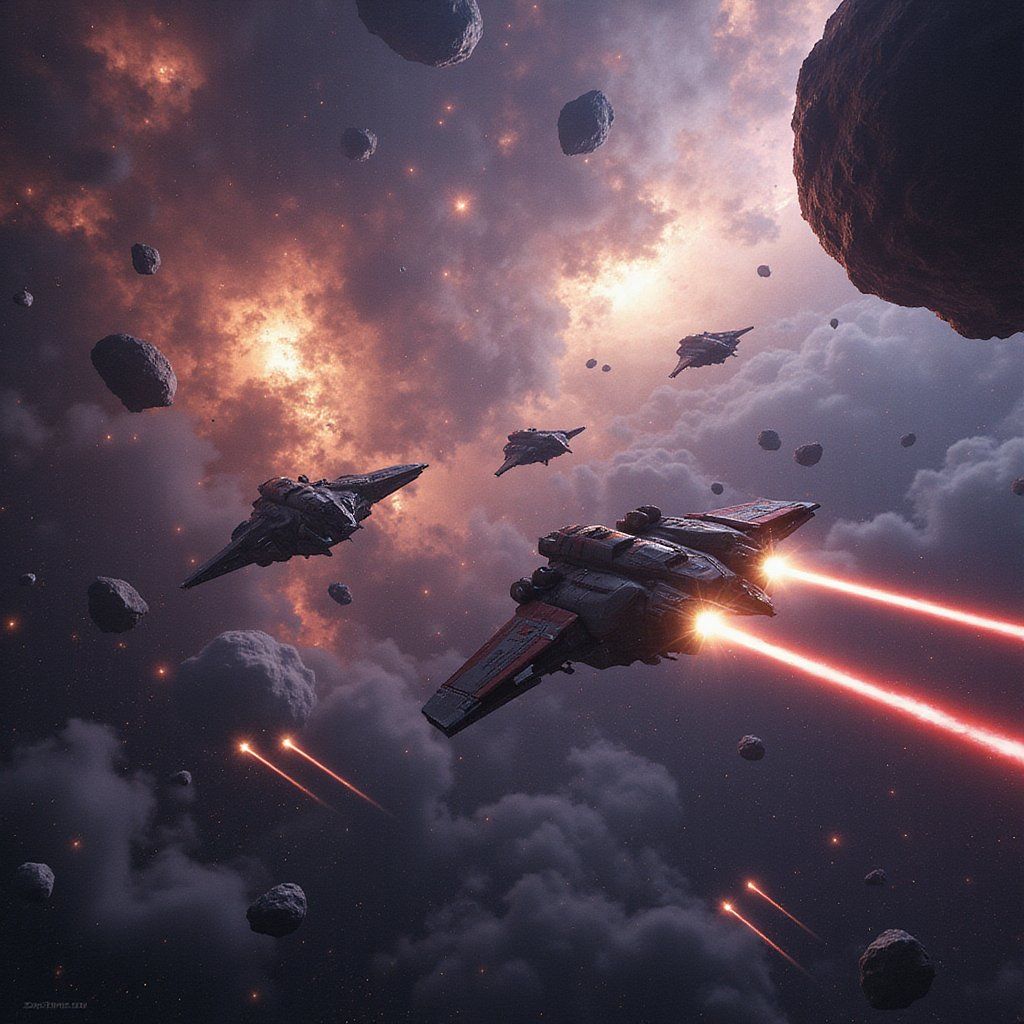
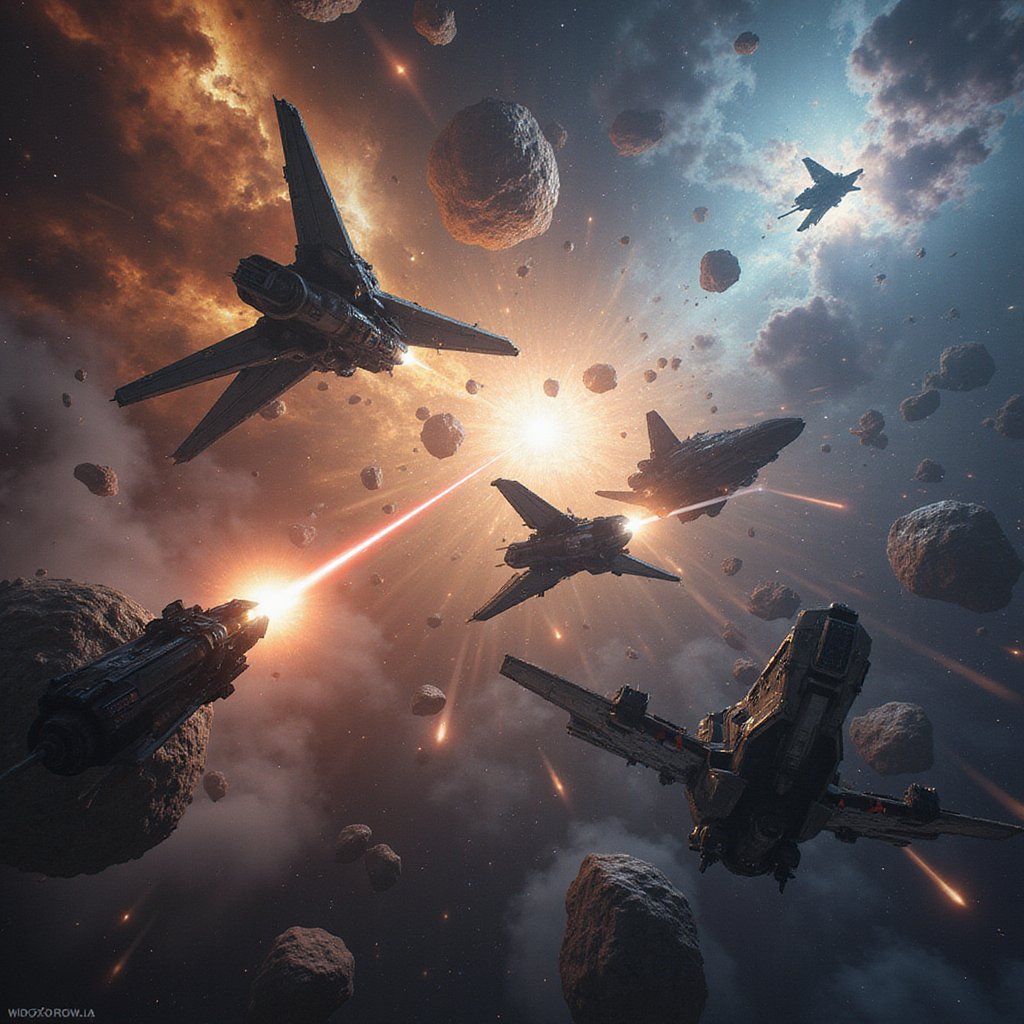

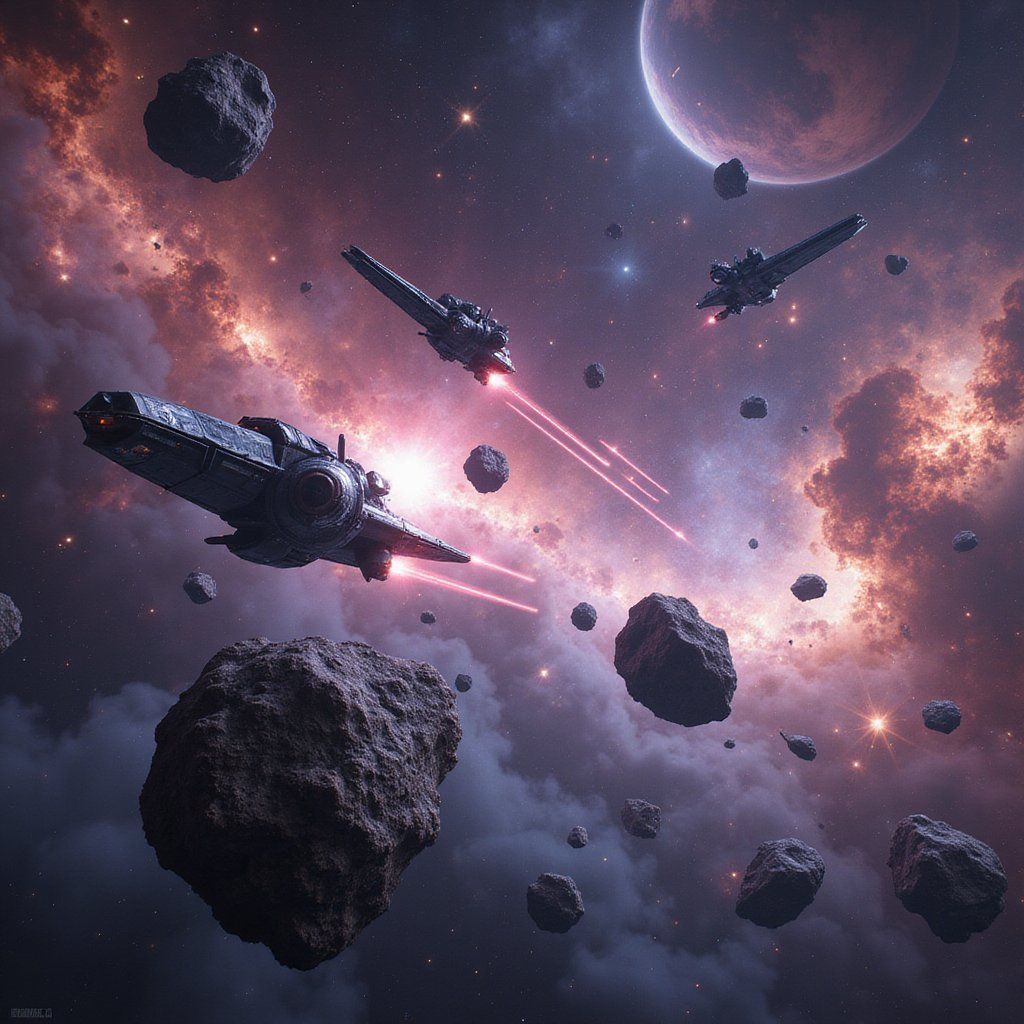

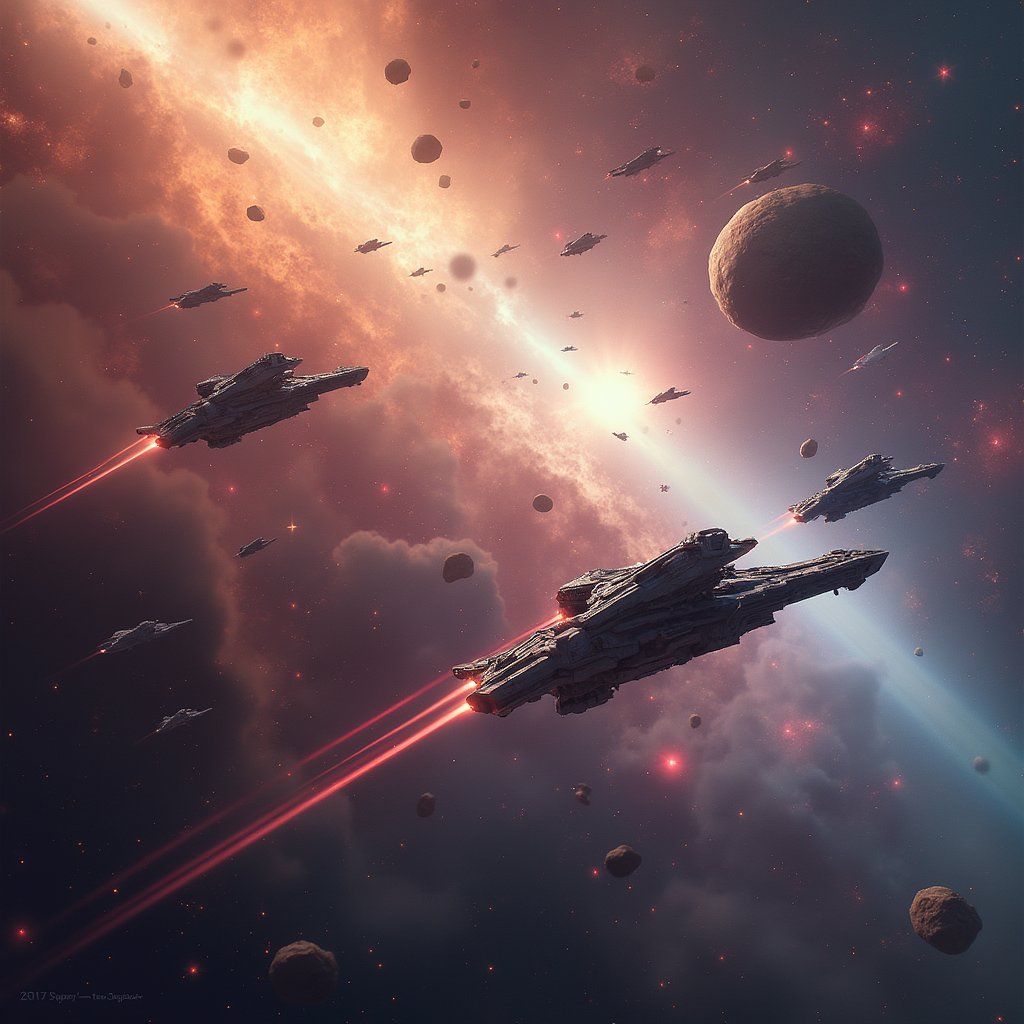
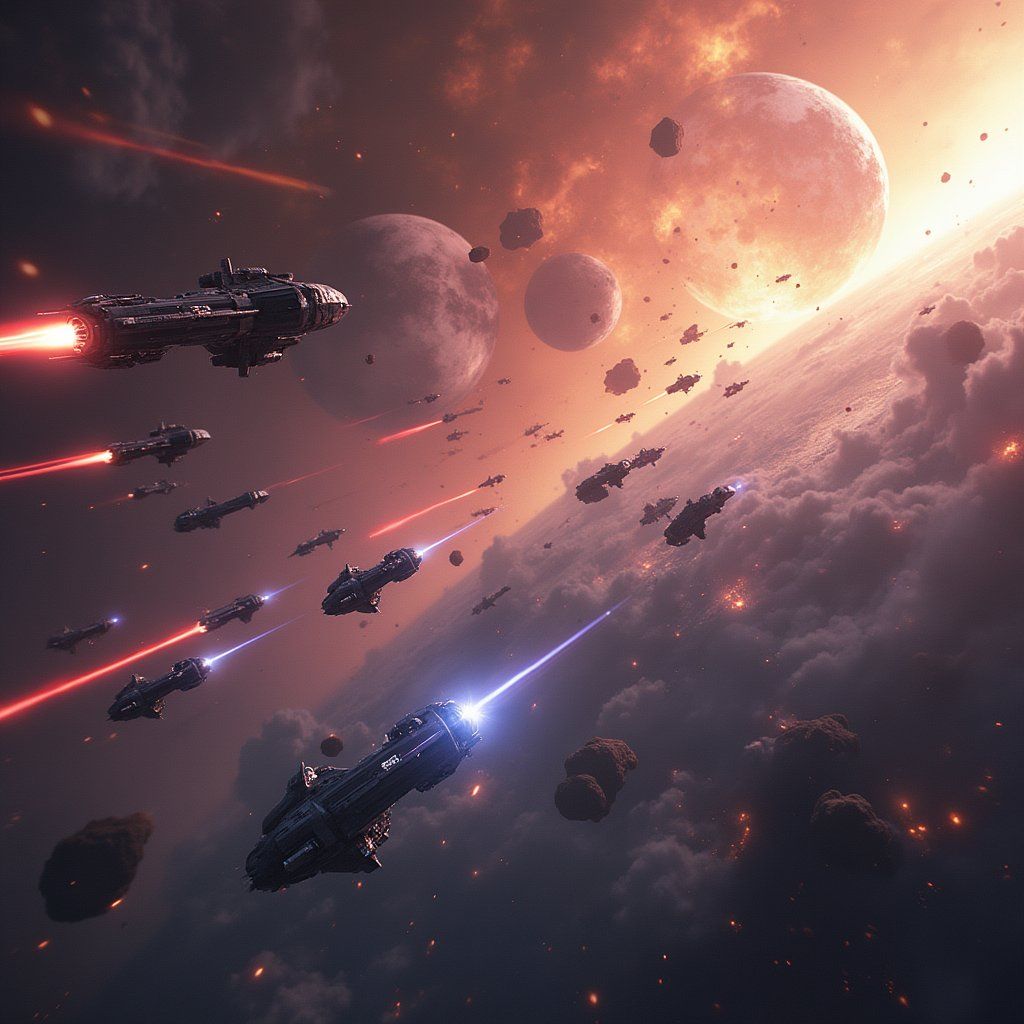
Seed values serve several important purposes:
- Reproducibility: The same seed and parameters will always produce the identical image.
- Controlled experimentation: Change specific parameters while keeping the composition consistent.
- Iterations: Find a good composition, then save the seed for further refinement.
If you don't specify a seed, a random one will be generated. When you find an image you like, note its seed value (returned in the response object) for future use.
VAE: Visual decoder
The vae parameter specifies which Variational Autoencoder to use for converting the model's internal representations into the final image.
- vaestring
-
We make use of the AIR (Artificial Intelligence Resource) system to identify VAE models. This identifier is a unique string that represents a specific model.
The VAE (Variational Autoencoder) can be specified to override the default one included with the base model, which can help improve the quality of generated images.
You can find the AIR identifier of the VAE model you want to use in our Model Explorer, which is a tool that allows you to search for models based on their characteristics.
Learn more 1 resource
A VAE consists of two parts:
- An encoder that compresses images into a low-dimensional latent space (used during model training).
- A decoder that reconstructs images from latent representations (used during inference).
The model doesn't work directly with pixels during generation, but instead operates in a compressed latent space, a lower-dimensional representation that's more computationally efficient. The VAE's decoder is responsible for the crucial final step of converting these abstract latent representations back into a visible image with proper colors, textures, and details.
The VAE parameter allows you to specify an alternative decoder to use for the final conversion step.


Custom VAEs can affect several aspects of the final image:
- Color reproduction: Different VAEs can produce more vibrant or accurate colors.
- Detail preservation: Some VAEs better preserve fine details in the latent-to-pixel conversion.
- Artifact reduction: Specialized VAEs can reduce common issues like color banding or blotches.
Not all architectures support custom VAEs. Some models, including FLUX, use their own integrated decoding methods and don't support VAE customization.
Clip Skip: Adjusting text interpretation
The clipSkip parameter controls which layer of the CLIP text encoder is used to interpret your prompt.
- clipSkipinteger Min: 0 Max: 2
-
Defines additional layer skips during prompt processing in the CLIP model. Some models already skip layers by default, this parameter adds extra skips on top of those. Different values affect how your prompt is interpreted, which can lead to variations in the generated image.
Learn more 2 resources
To understand this parameter, it helps to know how text is processed during image generation.
Most diffusion models use a component called CLIP (Contrastive Language-Image Pre-training), which contains a text encoder that translates your prompt into a numerical representation the image generation model can understand. This text encoder is a neural network that processes text through multiple layers, each extracting different levels of meaning and context.
Clip Skip determines how many layers from the end of this text encoder to skip when extracting embeddings:
- Lower skip values include more of the deeper layers, which tend to focus on abstract or stylistic aspects of your prompt.
- Higher skip values push the model to rely on earlier layers, which emphasize more literal and concrete interpretations.
Tuning this setting can affect how strictly the model follows your prompt versus how much creative interpretation it applies.
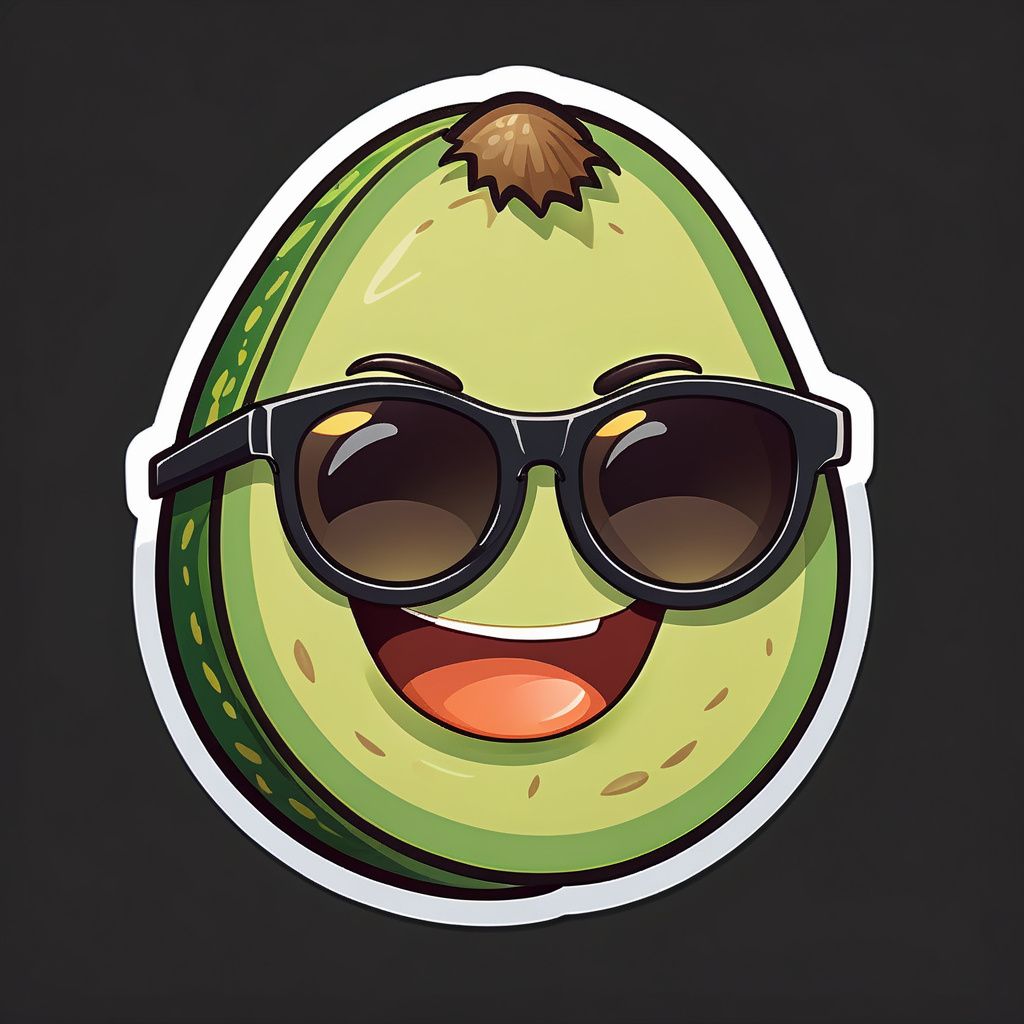
For sticker images, using a clipSkip value of 2 is preferred, leading to a simpler, cleaner result that better fits the minimalistic style expected of a sticker.


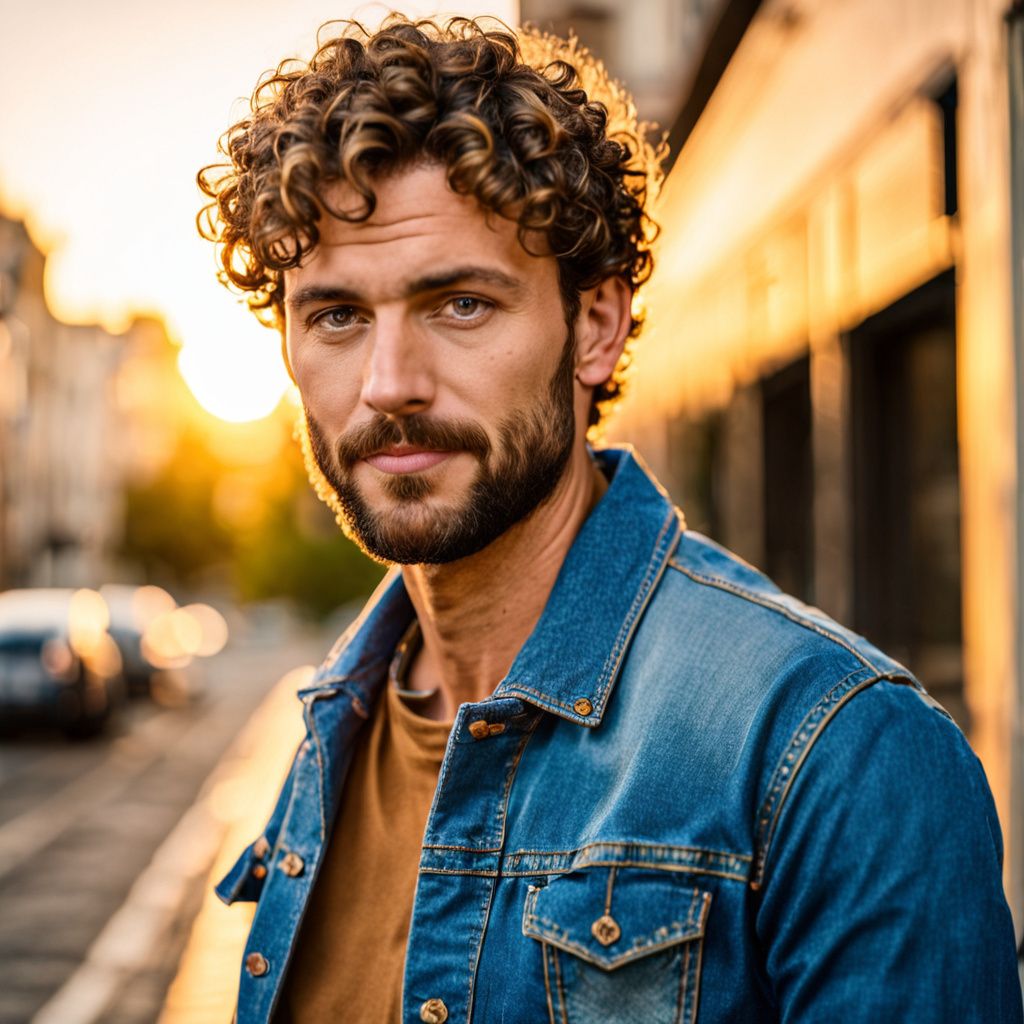
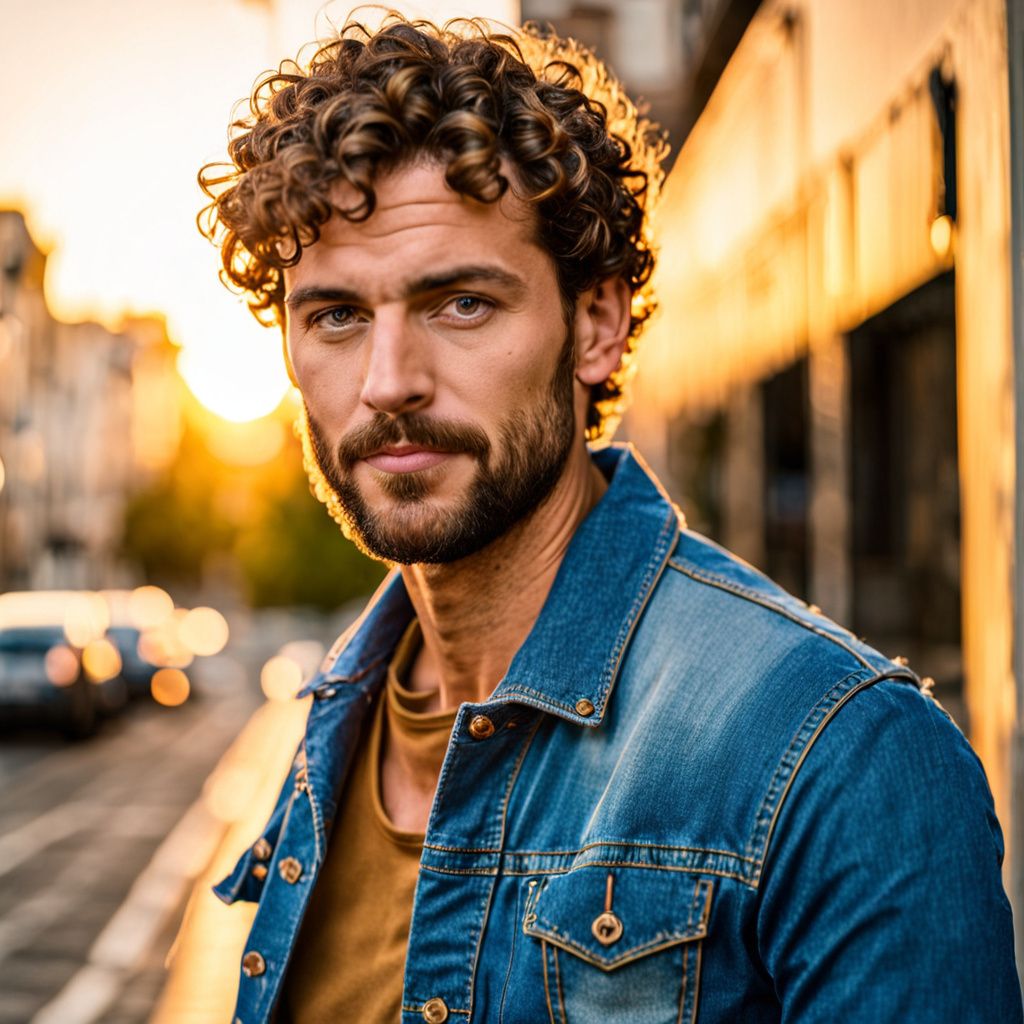
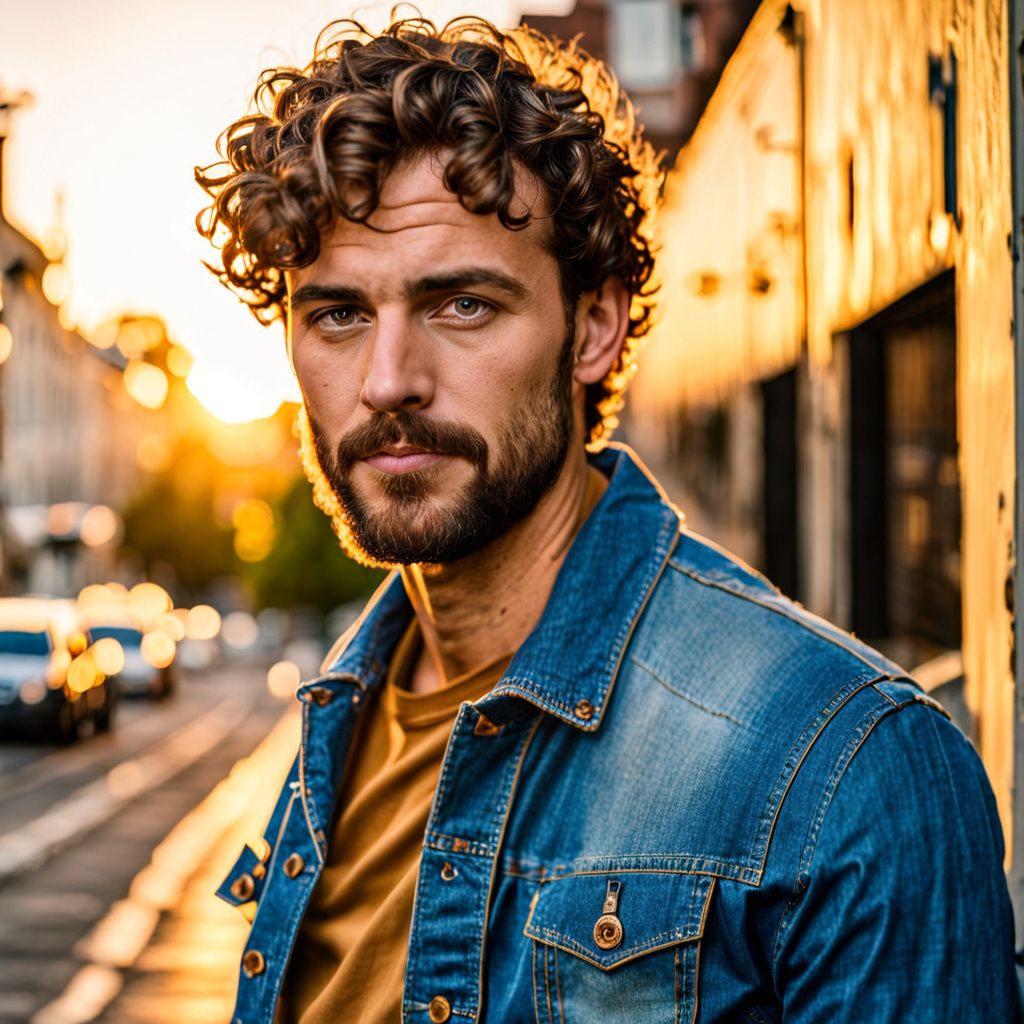
For photorealistic portrait images where capturing fine details and realism is more important, not using clipSkip produces a richer and more detailed image that better matches the intended outcome.



ClipSkip only applies to models that use the CLIP text encoder, such as SD 1.5 and SDXL-based models. Other models that rely on different text encoders (like T5 or LLaMA) will not be affected by this parameter.
Note that SDXL models already skip one layer by default, so setting ClipSkip to 2 with SDXL effectively skips three layers from the original encoder.
Advanced features
Beyond the core parameters, several advanced features can significantly enhance your text-to-image generations.
Refiner: Two-stage generation
SDXL refiner models implement a two-stage generation process that can significantly enhance image quality. While the base model creates the initial image with overall composition and content, a refiner model specializes in improving details and textures.
- refinerobject
-
Refiner models help create higher quality image outputs by incorporating specialized models designed to enhance image details and overall coherence. This can be particularly useful when you need results with superior quality, photorealism, or specific aesthetic refinements. Note that refiner models are only SDXL based.
The
refinerparameter is an object that contains properties defining how the refinement process should be configured. You can find the properties of the refiner object below.View example
{
  "taskType": "imageInference",
  "taskUUID": "a1b3c3d4-e5f6-7890-abcd-ef1234567890",
  "positivePrompt": "a highly detailed portrait of a wise old wizard with a long beard",
  "model": "civitai:139562@297320",
  "height": 1024,
  "width": 1024,
  "steps": 40,
  "refiner": {
    "model": "civitai:101055@128080",
    "startStep": 30
  }
}
Learn more 1 resource
Properties 3 properties
-
refiner»modelmodelstring required -
We make use of the AIR system to identify refiner models. This identifier is a unique string that represents a specific model. Note that refiner models are only SDXL based.
You can find the AIR identifier of the refiner model you want to use in our Model Explorer, which is a tool that allows you to search for models based on their characteristics.
The official SDXL refiner model is
civitai:101055@128080.More information about the AIR system can be found in the Models page.
-
refiner»startStepstartStepinteger Min: 2 Max: {steps} -
Alternative parameters:
refiner.startStepPercentage.Represents the step number at which the refinement process begins. The initial model will generate the image up to this step, after which the refiner model takes over to enhance the result.
It can take values from
2(second step) to the number of steps specified.
-
refiner»startStepPercentagestartStepPercentageinteger Min: 1 Max: 99 -
Alternative parameters:
refiner.startStep.Represents the percentage of total steps at which the refinement process begins. The initial model will generate the image up to this percentage of steps before the refiner takes over.
It can take values from
1to99.
-
Our refiner model implementation use the Ensemble of Expert Denoisers method, a technical approach where image generation begins with the base model and concludes with the refiner model. Importantly, this is a continuous process with no intermediate image generated. Instead, the base model processes the latent tensor for a specified number of steps, then hands it off to the refiner model to complete the remaining steps.




The process works as follows:
- The SDXL base model begins denoising the random latent tensor.
- At a specified transition point (controlled by
startSteporstartStepPercentage), the refiner model takes over and continues denoising from this exact point, specializing in enhancing details, textures, and overall coherence. - The final image is generated only after the refiner completes its processing.
The refiner parameter is an object that contains several sub-parameters:
[
  {
    // other parameters...
    "refiner": {
      "model": "civitai:101055@128080",
      "startStepPercentage": 90
    }
  }
]
The refiner model is specifically trained to excel at detail enhancement in the final denoising stages, not for the entire generation process. Starting the refiner too early can produce poor results, as these models lack the capability to properly form basic compositions and structures. For optimal results, limit the refiner to the final 5-15% of steps.
ControlNet: Structural guidance
ControlNet provides precise structural control over the generation process by using conditioning images (guide images) to direct how the model creates specific aspects of the output. It works by integrating additional visual guidance into the model's generation pipeline, allowing specific visual elements to influence the creation process alongside your text prompt.
- controlNetobject[]
-
With ControlNet, you can provide a guide image to help the model generate images that align with the desired structure. This guide image can be generated with our ControlNet preprocessing tool, extracting guidance information from an input image. The guide image can be in the form of an edge map, a pose, a depth estimation or any other type of control image that guides the generation process via the ControlNet model.
Multiple ControlNet models can be used at the same time to provide different types of guidance information to the model.
The
controlNetparameter is an array of objects. Each object contains properties that define the configuration for a specific ControlNet model. You can find the properties of the ControlNet object below.View example
{
  "taskType": "imageInference",
  "taskUUID": "string",
  "positivePrompt": "string",
  "model": "string",
  "height": int,
  "width": int,
  "numberResults": int,
  "controlNet": [
    {
      "model": "string",
      "guideImage": "string",
      "weight": float,
      "startStep": int,
      "endStep": int,
      "controlMode": "string"
    },
    {
      "model": "string",
      "guideImage": "string",
      "weight": float,
      "startStep": int,
      "endStep": int,
      "controlMode": "string"
    }
  ]
}
Learn more 2 resources
Array items 8 properties each
-
controlNet[]»modelmodelstring required -
For basic/common ControlNet models, you can check the list of available models here.
For custom or specific ControlNet models, we make use of the AIR system to identify ControlNet models. This identifier is a unique string that represents a specific model.
You can find the AIR identifier of the ControlNet model you want to use in our Model Explorer, which is a tool that allows you to search for models based on their characteristics.
More information about the AIR system can be found in the Models page.
-
controlNet[]»guideImageguideImagestring required -
Specifies the preprocessed image to be used as guide to control the image generation process. The image can be specified in one of the following formats:
- An UUID v4 string of a previously uploaded image or a generated image.
- A data URI string representing the image. The data URI must be in the format
data:<mediaType>;base64,followed by the base64-encoded image. For example:data:image/png;base64,iVBORw0KGgo.... - A base64 encoded image without the data URI prefix. For example:
iVBORw0KGgo.... - A URL pointing to the image. The image must be accessible publicly.
Supported formats are: PNG, JPG and WEBP.
-
controlNet[]»weightweightfloat Min: 0 Max: 1 Default: 1 -
Represents the strength or influence of this ControlNet model in the generation process. A value of 0 means no influence, while 1 means maximum influence.
-
controlNet[]»startStepstartStepinteger Min: 1 Max: {steps} -
Alternative parameters:
controlNet.startStepPercentage.Represents the step number at which the ControlNet model starts to control the inference process.
It can take values from
1(first step) to the number of steps specified.Learn more 1 resource
-
controlNet[]»startStepPercentagestartStepPercentageinteger Min: 0 Max: 99 -
Alternative parameters:
controlNet.startStep.Represents the percentage of steps at which the ControlNet model starts to control the inference process.
It can take values from
0to99.Learn more 1 resource
-
controlNet[]»endStependStepinteger Min: {startStep + 1} Max: {steps} -
Alternative parameters:
controlNet.endStepPercentage.Represents the step number at which the ControlNet preprocessor ends to control the inference process.
It can take values higher than startStep and less than or equal to the number of steps specified.
Learn more 1 resource
-
controlNet[]»endStepPercentageendStepPercentageinteger Min: {startStepPercentage + 1} Max: 100 -
Alternative parameters:
controlNet.endStep.Represents the percentage of steps at which the ControlNet model ends to control the inference process.
It can take values higher than startStepPercentage and lower than or equal to
100.Learn more 1 resource
-
controlNet[]»controlModecontrolModestring -
This parameter has 3 options:
prompt,controlnetandbalanced.prompt: Prompt is more important in guiding image generation.controlnet: ControlNet is more important in guiding image generation.balanced: Balanced operation of prompt and ControlNet.
-
These conditioning mechanisms can interpret various types of visual guidance, including edge maps (like Canny or MLSD) for structural guidance, depth maps for spatial composition, pose detection for human positioning, segmentation maps for object placement, among others.
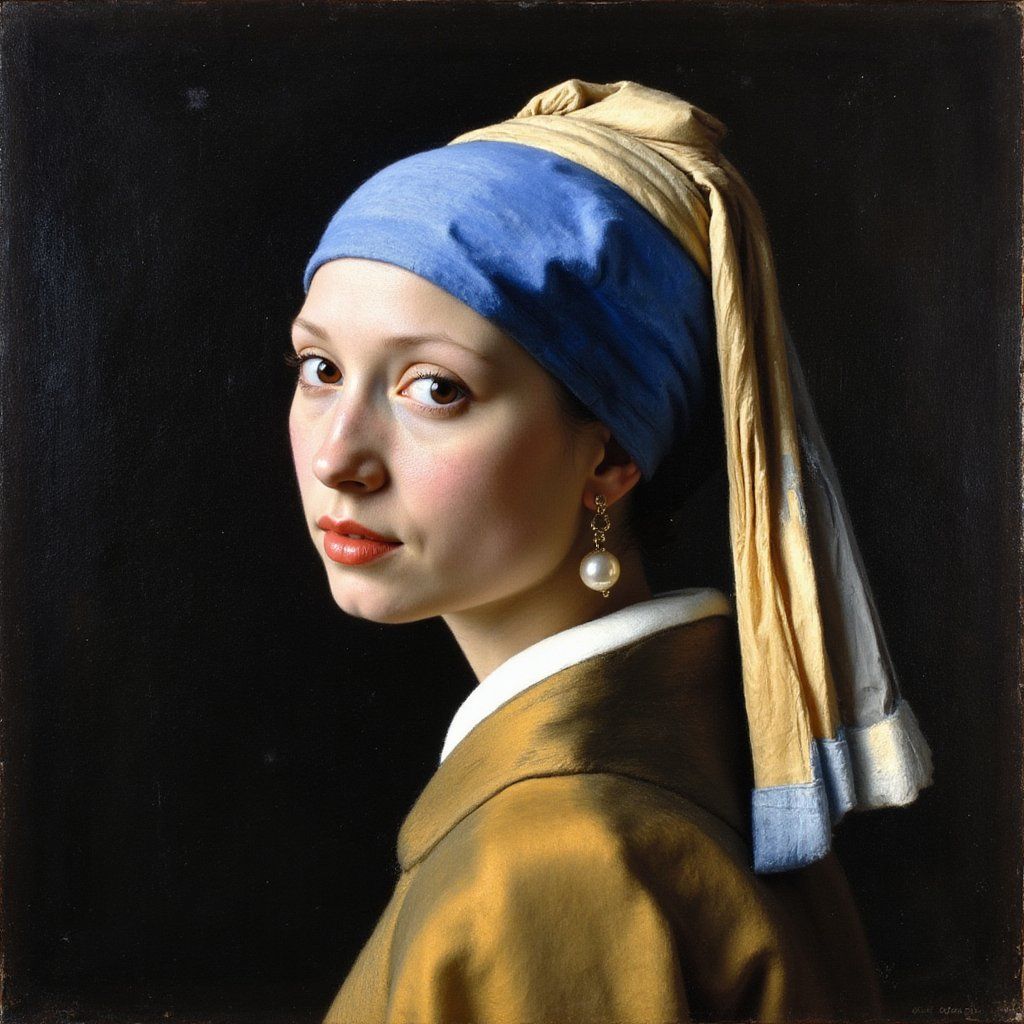


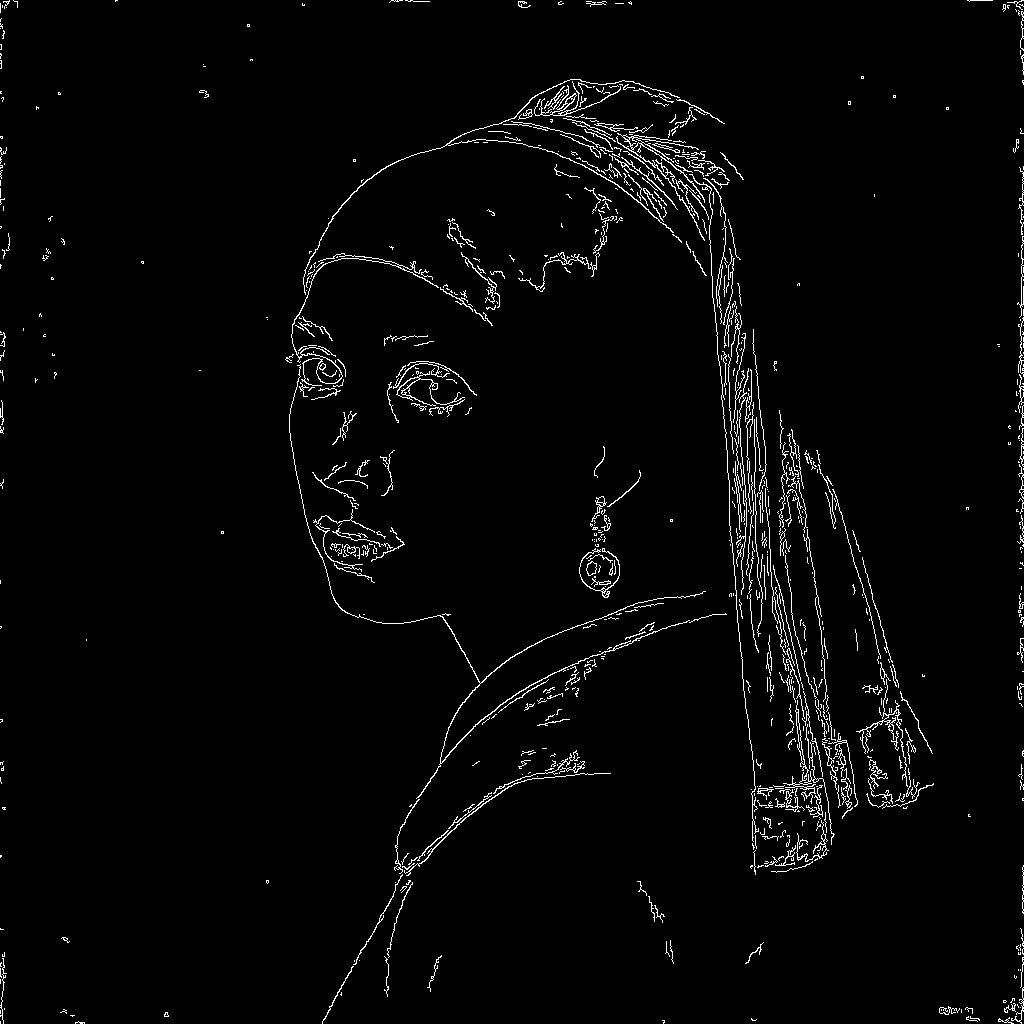
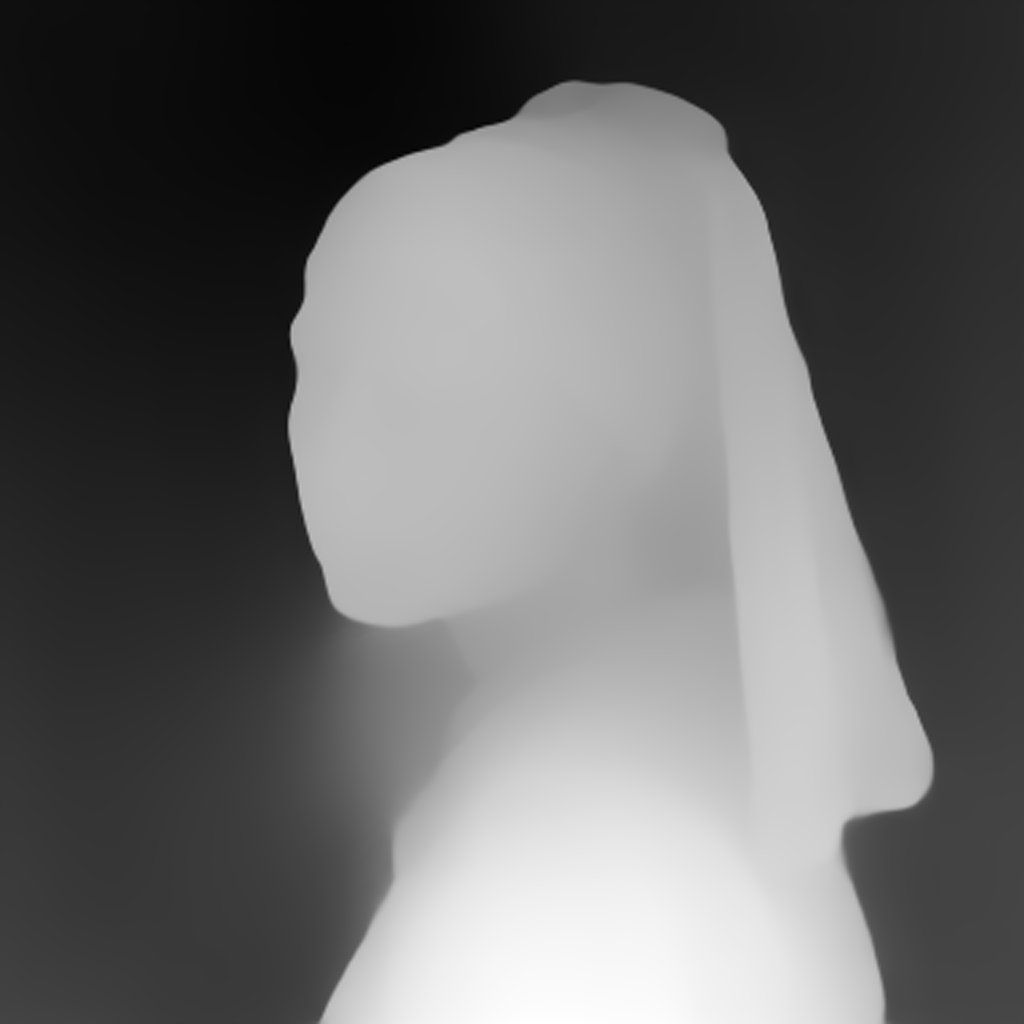
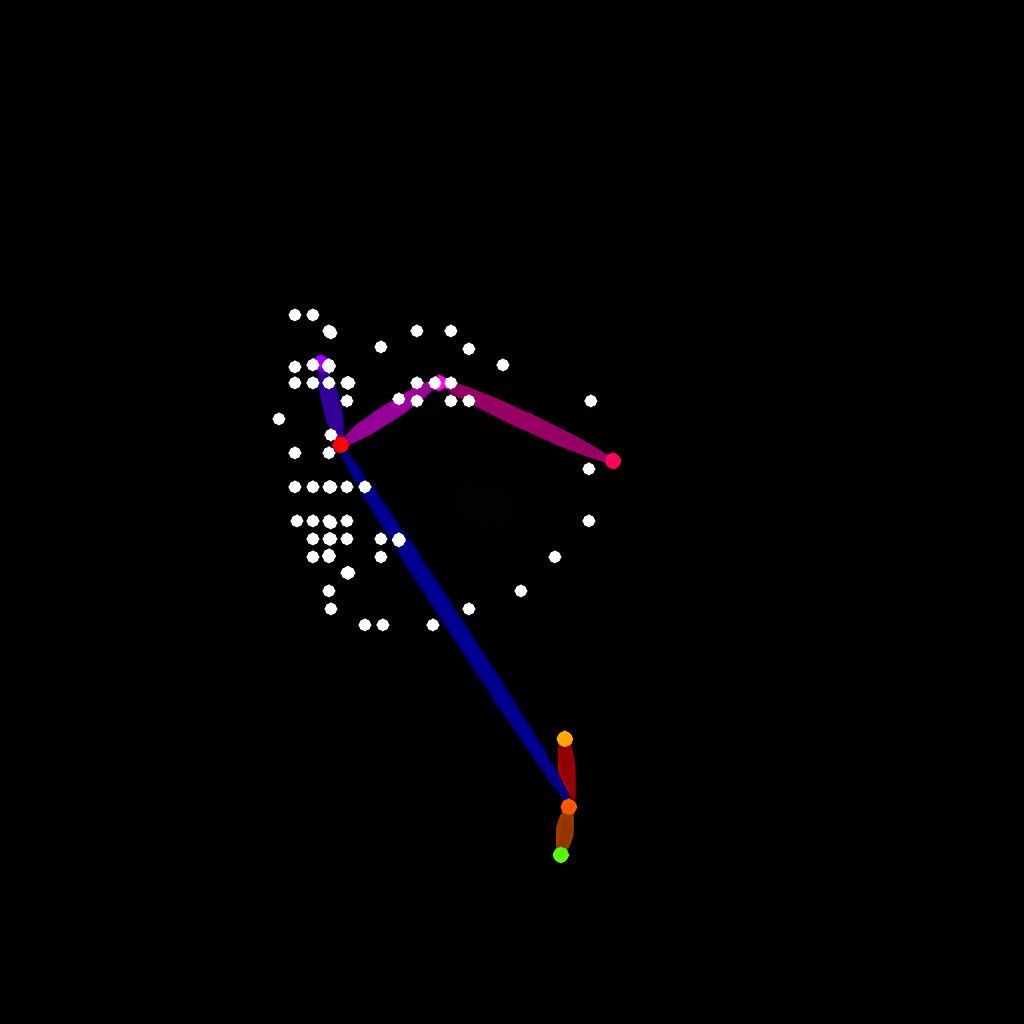
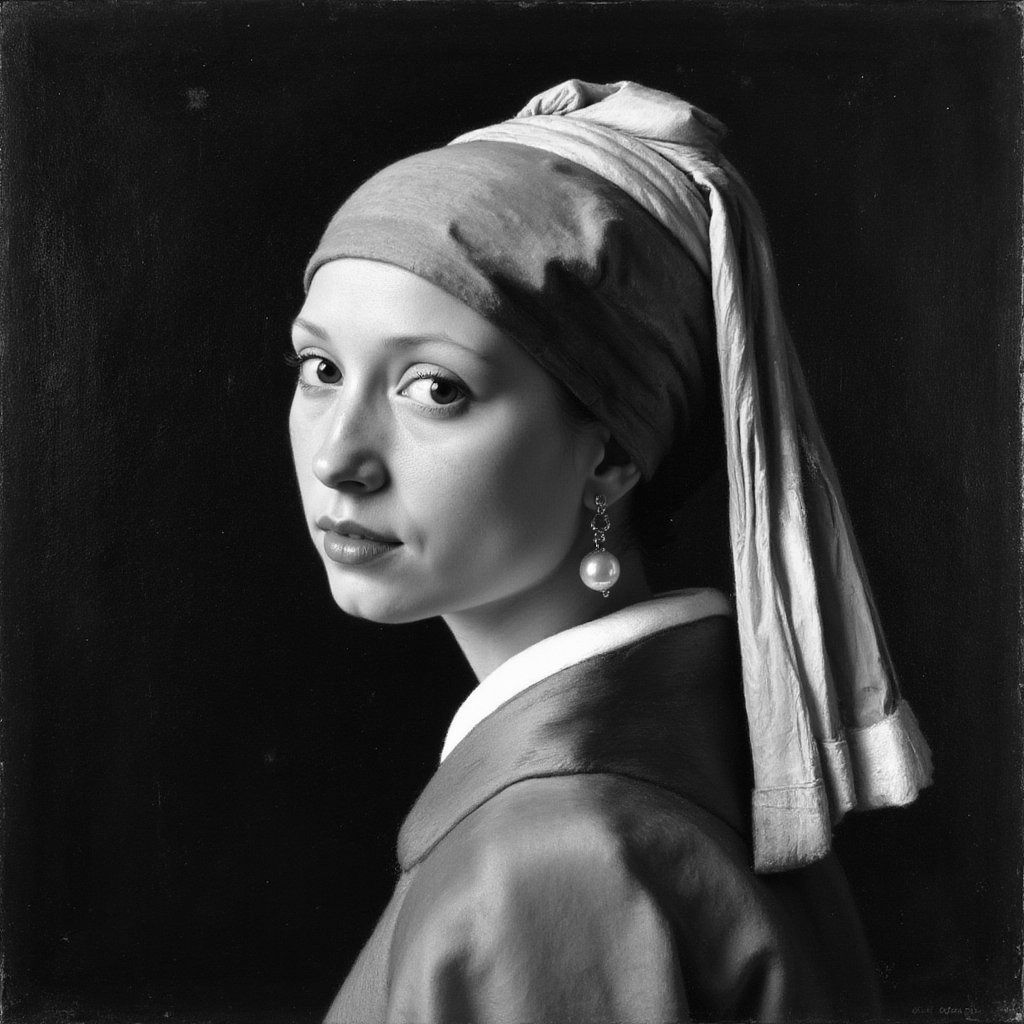
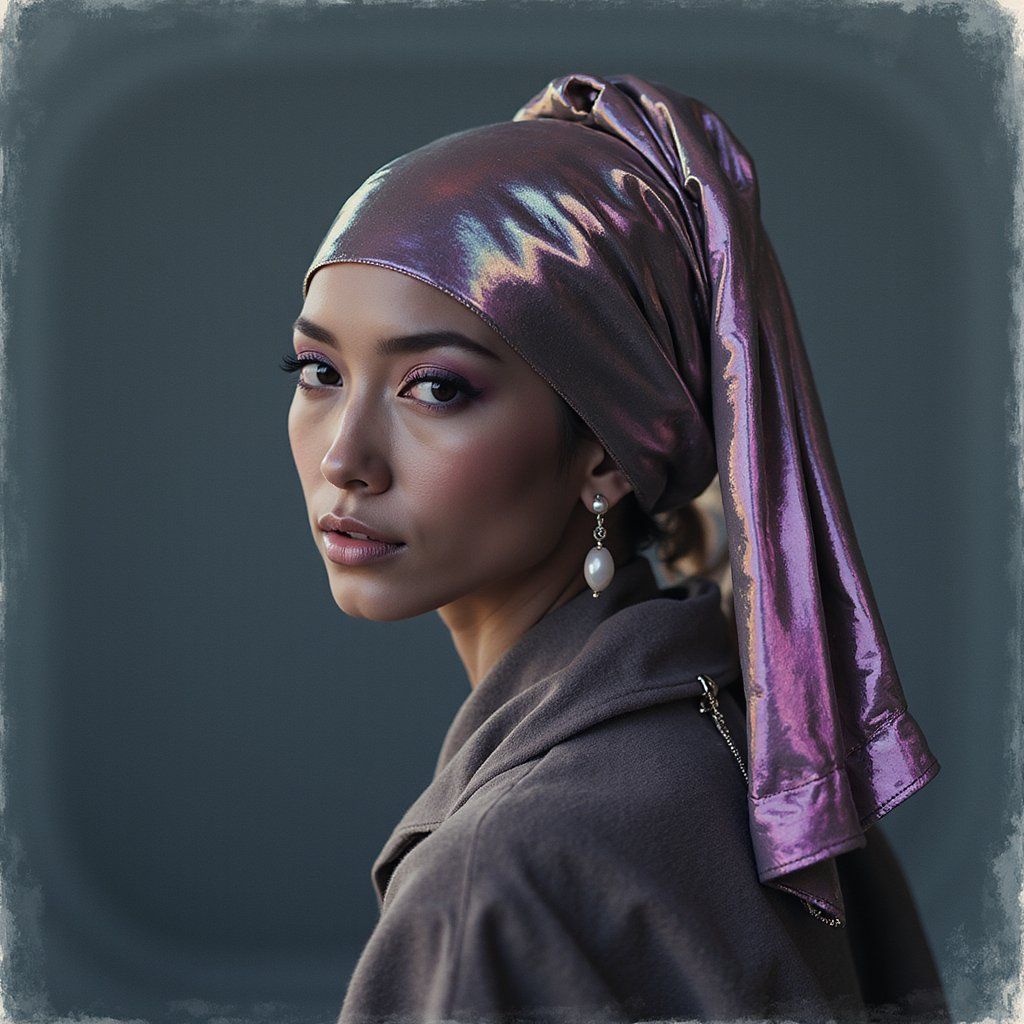
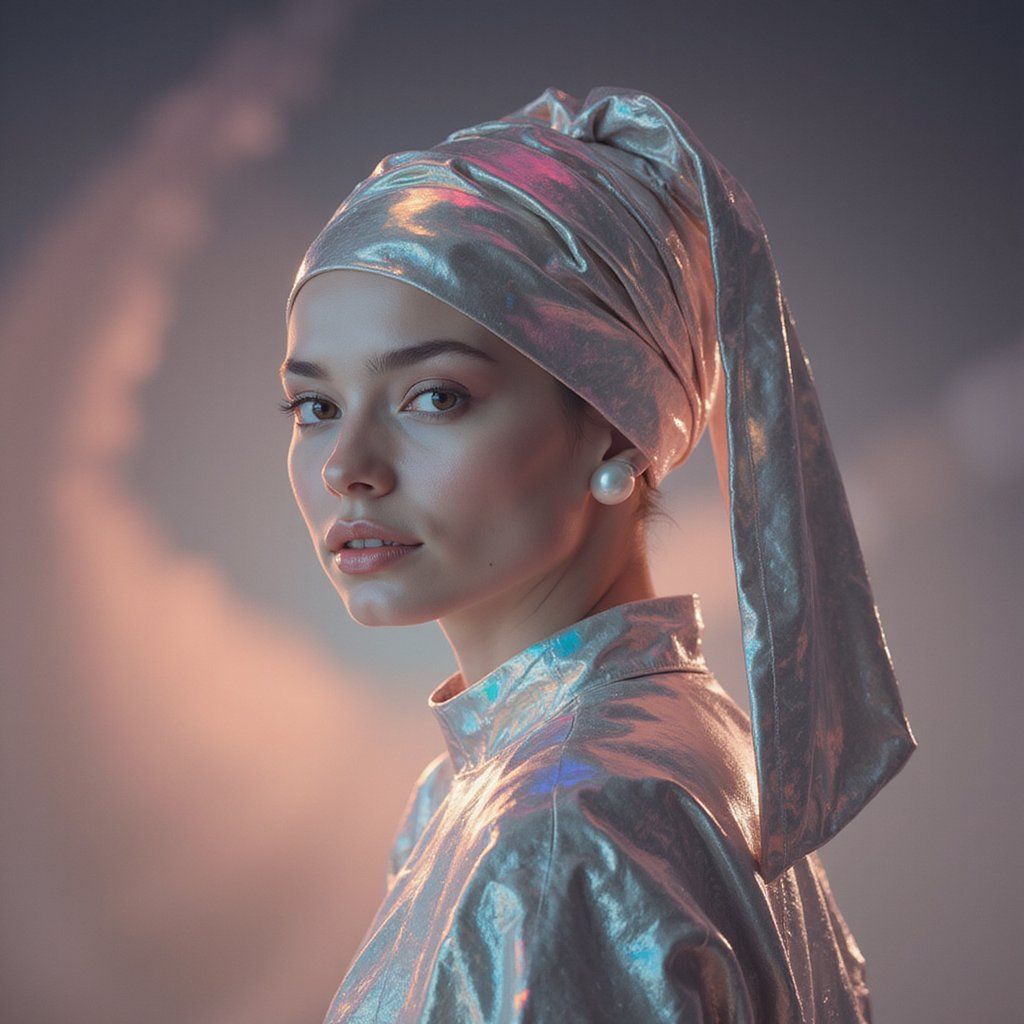
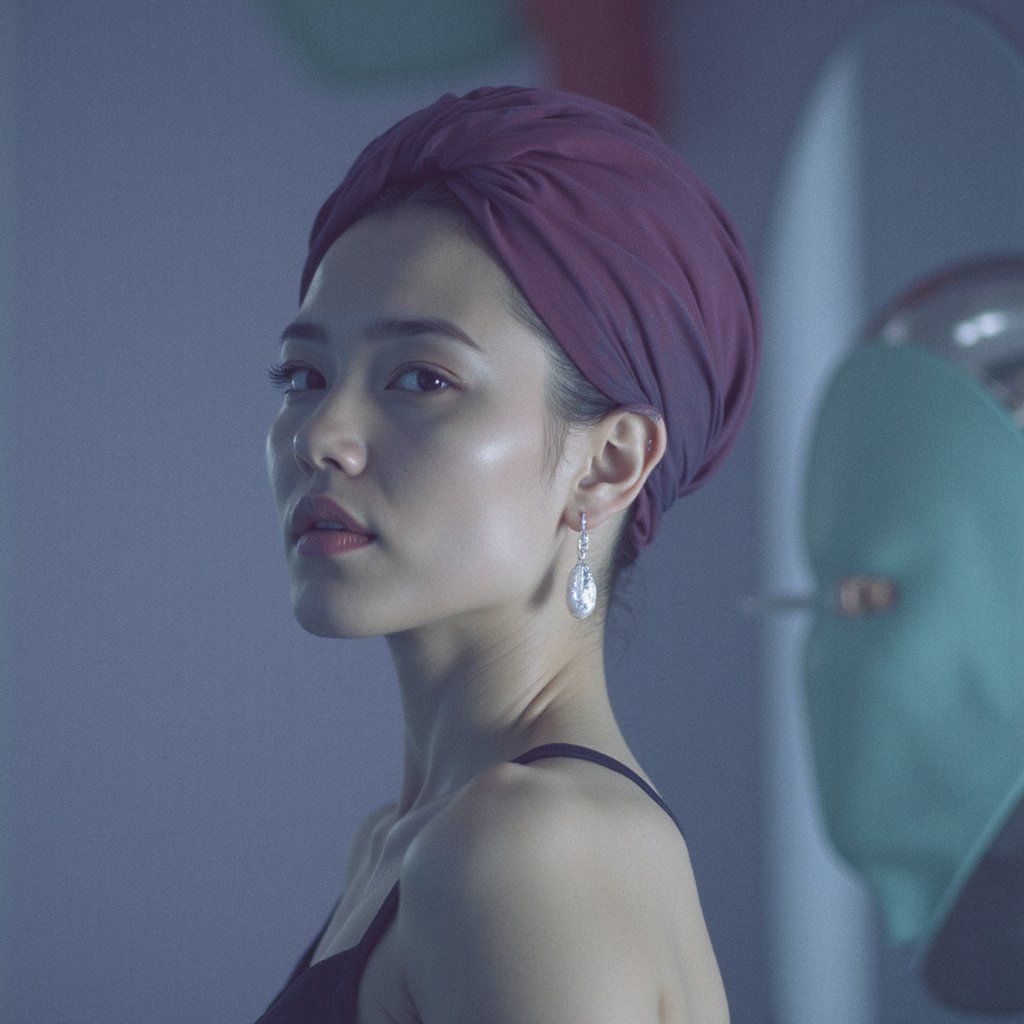
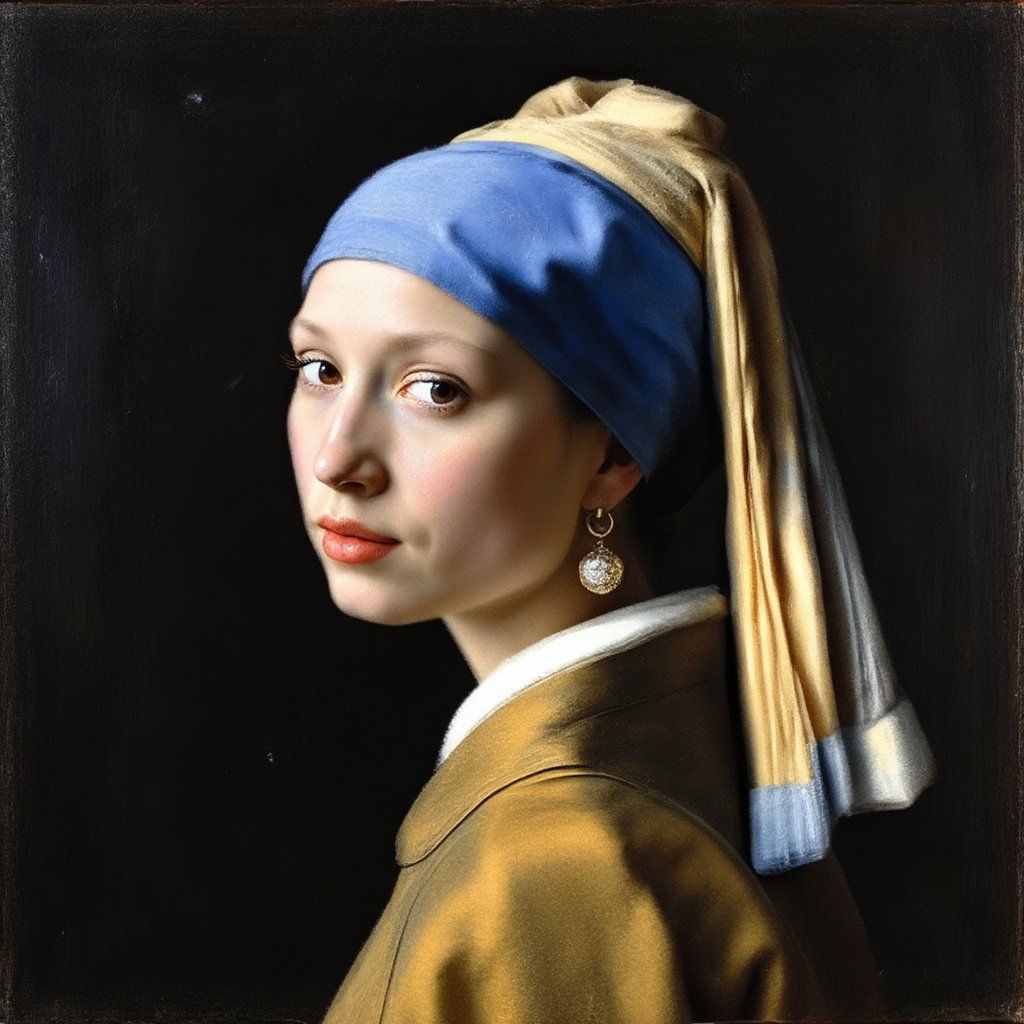
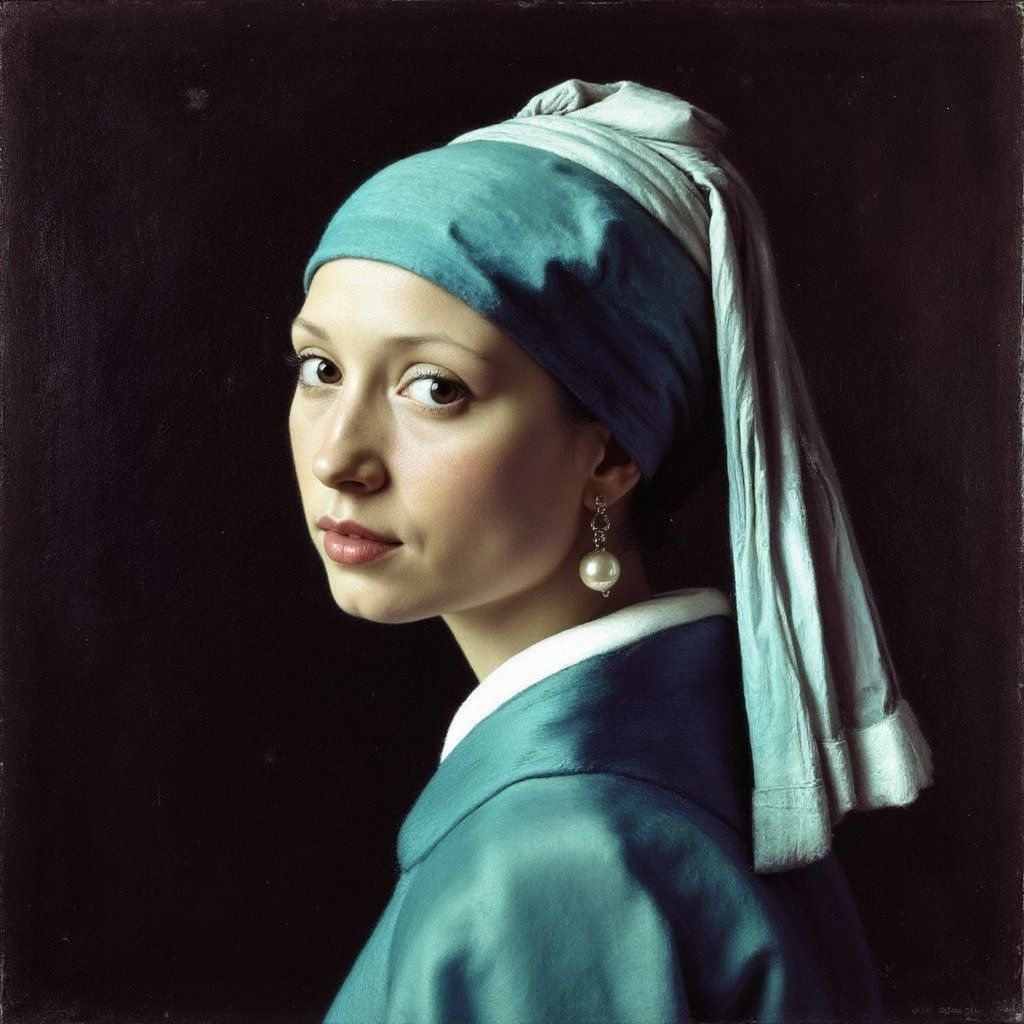
Each ControlNet model is trained to work with a specific type of preprocessed guidance image. The workflow typically involves:
- First preprocessing your reference image using our ControlNet preprocessing tools to generate the appropriate guidance image (edge map, depth map, pose detection or any other type of guidance image).
- Then providing this preprocessed guidance image as the
guideImageparameter along with the corresponding ControlNet model and settings. - During generation, the system uses this preprocessed guidance to influence the creation process, balancing this structural guidance with your text prompt based on the
weightparameter.
This two-step process (preprocessing + inference) gives you precise control over how the structural guidance is prepared and applied.
The controlNet parameter is an array that can contain multiple ControlNet models. Each model can have its own settings.
[
  {
    // other parameters...
    "controlNet": [{
      "model": "runware:25@1",
      "guideImage": "56f8916f-1a33-49cb-b67f-2c4f48472563",
      "startStep": 1,
      "endStep": 10,
      "weight": 1.0,
      "controlMode": "balanced"
    }]
  }
]
The weight parameter controls how strongly the ControlNet guidance influences the generation process. The more weight you give to the ControlNet guidance, the more it will influence the final image.
The timing parameters determine when the ControlNet guidance is applied during the generation process. The startStep/startStepPercentage and endStep/endStepPercentage parameters define the specific steps when guidance begins and ends (e.g., steps 1-10 of a 30-step generation).
These timing controls offer strategic advantages:
- Starting guidance later (higher
startStep) allows more creative initial formation before structural guidance kicks in. - Ending guidance earlier (lower
endStep) lets your prompt take control for final detailing.
Different timing strategies produce distinctly different results, making these parameters powerful tools for fine-tuning exactly how and when structural guidance shapes your image. Play with different timing strategies to discover the perfect balance.
The controlMode parameter determines how the ControlNet guidance is applied relative to the base model's generation process. This parameter works alongside weight to fine-tune exactly how structural guidance interacts with text instructions.
LoRAs: Style and subject adapters
LoRAs (Low-Rank Adaptations) are lightweight neural network adjustments that modify a base model's behavior to enhance specific styles, subjects, or concepts. Technically, LoRAs work by applying small, targeted changes to the weights of specific layers in the generation model, effectively "teaching" it new capabilities without changing the entire model.
- loraobject[]
-
With LoRA (Low-Rank Adaptation), you can adapt a model to specific styles or features by emphasizing particular aspects of the data. This technique enhances the quality and relevance of generated content and can be especially useful when the output needs to adhere to a specific artistic style or follow particular guidelines.
Multiple LoRA models can be used simultaneously to achieve different adaptation goals.
The
loraparameter is an array of objects. Each object contains properties that define the configuration for a specific LoRA model.View example
{
  "taskType": "imageInference",
  "taskUUID": "string",
  "positivePrompt": "string",
  "model": "string",
  "height": int,
  "width": int,
  "lora": [
    {
      "model": "string",
      "weight": float
    }
  ]
}
Learn more 1 resource
Array items 2 properties each
-
lora[]»modelmodelstring required -
We make use of the AIR system to identify LoRA models. This identifier is a unique string that represents a specific model.
You can find the AIR identifier of the LoRA model you want to use in our Model Explorer, which is a tool that allows you to search for models based on their characteristics.
More information about the AIR system can be found in the Models page.
Example:
civitai:132942@146296.
-
lora[]»weightweightfloat Min: -4 Max: 4 Default: 1 -
Defines the strength or influence of the LoRA model in the generation process. The value can range from -4 (negative influence) to +4 (maximum influence).
Multiple LoRAs can be used simultaneously with different weights to achieve complex adaptations.
View example
"lora": [
  { "model": "runware:13090@1", "weight": 1.5 },
  { "model": "runware:6638@1", "weight": 0.8 }
]
-
Each LoRA model contains specialized knowledge that can significantly influence the output when combined with your prompt. This knowledge often focuses on particular artistic styles. Other LoRAs may be trained on specific subject matter, like some famous person. Some go even further, embedding abstract visual concepts such as certain composition techniques, color palettes, lighting dynamics, or aesthetic rules. By integrating a LoRA into the generation process, you effectively inject this visual expertise into your prompt, allowing for greater control and consistency in the output.
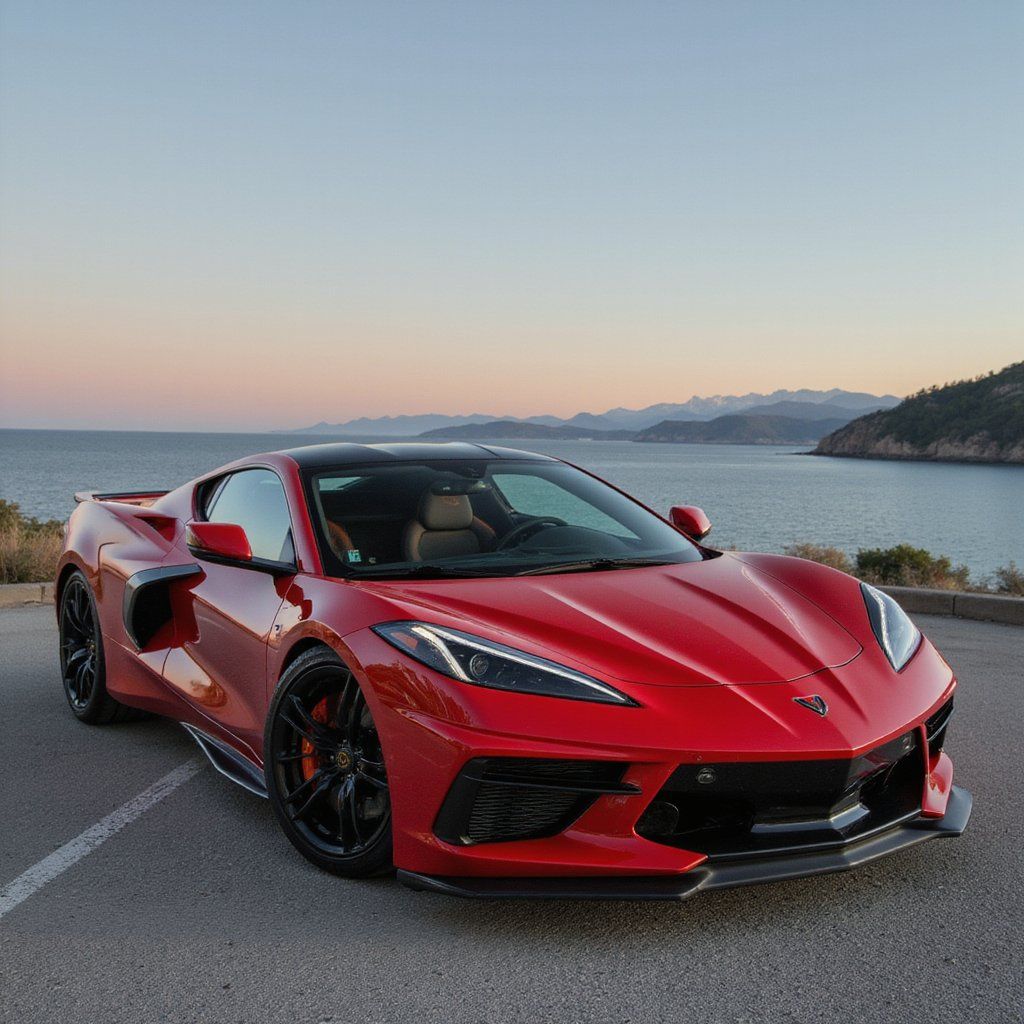
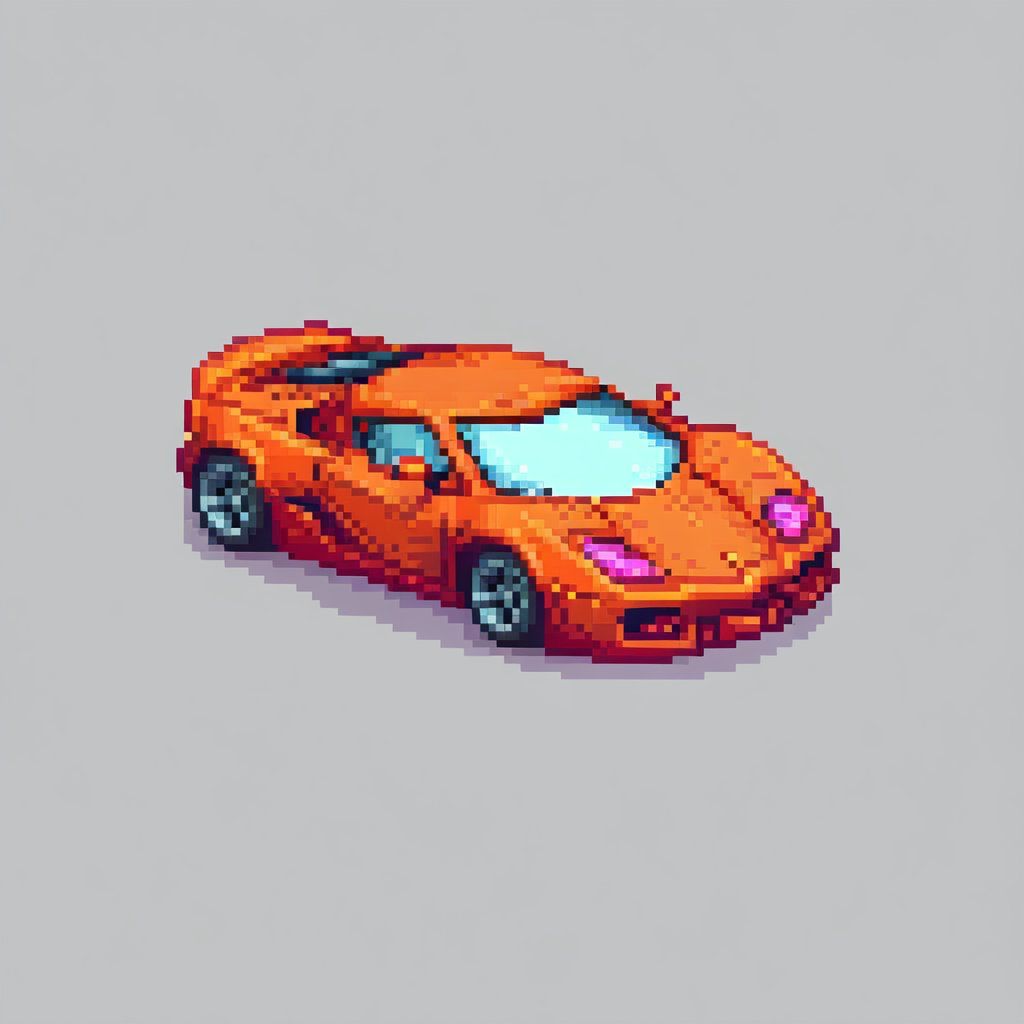




The lora parameter is an array that can contain multiple LoRA models. Each model can have its own settings.
[
  {
    // other parameters...
    "lora": [{
      "model": "civitai:120096@135931",
      "weight": 1.0
    }]
  }
]
Mixing multiple LoRAs allows for fascinating combinations, such as mixing an artistic style LoRA with a subject matter LoRA. When using multiple LoRAs together, consider using slightly lower weights for each to prevent them from competing too strongly.
LoRAs achieve their effect through mathematically low-rank decomposition of weight changes, which is why they can be so small (typically 50-150MB) compared to full models (6-25GB). This efficiency allows for mixing multiple specialized adaptations without the computational cost of full model swapping.
Embeddings: Custom concepts
Embeddings (also called Textual Inversions) are specialized text tokens that encapsulate complex visual concepts, styles, or subjects. Unlike LoRAs which modify the model's weights, embeddings work by teaching the model's text encoder to recognize new tokens that represent specific visual ideas.
- embeddingsobject[]
-
Embeddings (or Textual Inversion) can be used to add specific concepts or styles to your generations. Multiple embeddings can be used at the same time.
The
embeddingsparameter is an array of objects. Each object contains properties that define which embedding model to use. You can find the properties of the embeddings object below.View example
{
  "taskType": "imageInference",
  "taskUUID": "string",
  "positivePrompt": "string",
  "model": "string",
  "height": int,
  "width": int,
  "numberResults": int,
  "embeddings": [
    {
      "model": "string",
    },
    {
      "model": "string",
    }
  ]
}
Learn more 1 resource
Array items 2 properties each
-
embeddings[]»modelmodelstring required -
We make use of the AIR system to identify embeddings models. This identifier is a unique string that represents a specific model.
You can find the AIR identifier of the embeddings model you want to use in our Model Explorer, which is a tool that allows you to search for models based on their characteristics.
-
embeddings[]»weightweightfloat Min: -4 Max: 4 Default: 1 -
Defines the strength or influence of the embeddings model in the generation process. The value can range from -4 (negative influence) to +4 (maximum influence).
It is possible to use multiple embeddings at the same time.
Example:
"embeddings": [
  { "model": "civitai:1044536@1172007", "weight": 1.5 },
  { "model": "civitai:993446@1113094", "weight": 0.8 }
]
-
Embeddings creates a representation of a visual concept derived from training images. When this embeddings are applied, the model interprets it as an instruction to either include or avoid the associated visual concept, depending on whether it's used positively or negatively.
Embeddings are particularly useful when you need to generate consistent results across multiple runs or capture concepts that are difficult to express with plain text prompts. They are often used for the accurate and repeatable generation of specific characters or subjects, ensuring that key facial features, outfits, or poses remain stable. Embeddings can also encode distinctive artistic styles, allowing you to apply a unique aesthetic even if it's hard to describe explicitly. In workflows that require visual consistency across multiple generations, embeddings provide a compact and powerful way to anchor those visual traits.
Negative embeddings are especially useful for fixing common issues like distorted hands, unrealistic anatomy, or other artifacts. For example, a "hand-fixing" embedding used with a negative weight can significantly improve hand details without changing your overall image concept.


Embeddings are directly added to your request through the embeddings array parameter, which can include multiple embeddings simultaneously.
[
  {
    // other parameters...
    "embeddings": [
      { "model": "civitai:118418@134583", "weight": 1.5 },
      { "model": "civitai:98259@539032", "weight": 0.8 }
    ]
  }
]
The weight parameter controls how strongly the embedding influences the generation, with a range from -4.0 to 4.0. Positive weights enhance or add the embedded concept to your generation, while negative weights suppress or remove that concept. Higher absolute values create stronger influence in either direction.
While both LoRAs and embeddings can influence style and content, they work differently. Embeddings integrate directly with the prompt processing pipeline, while LoRAs modify the generation model itself. For maximum control, these techniques can be combined in the same generation. For example, using a style LoRA with a negative artifact-fixing embedding.