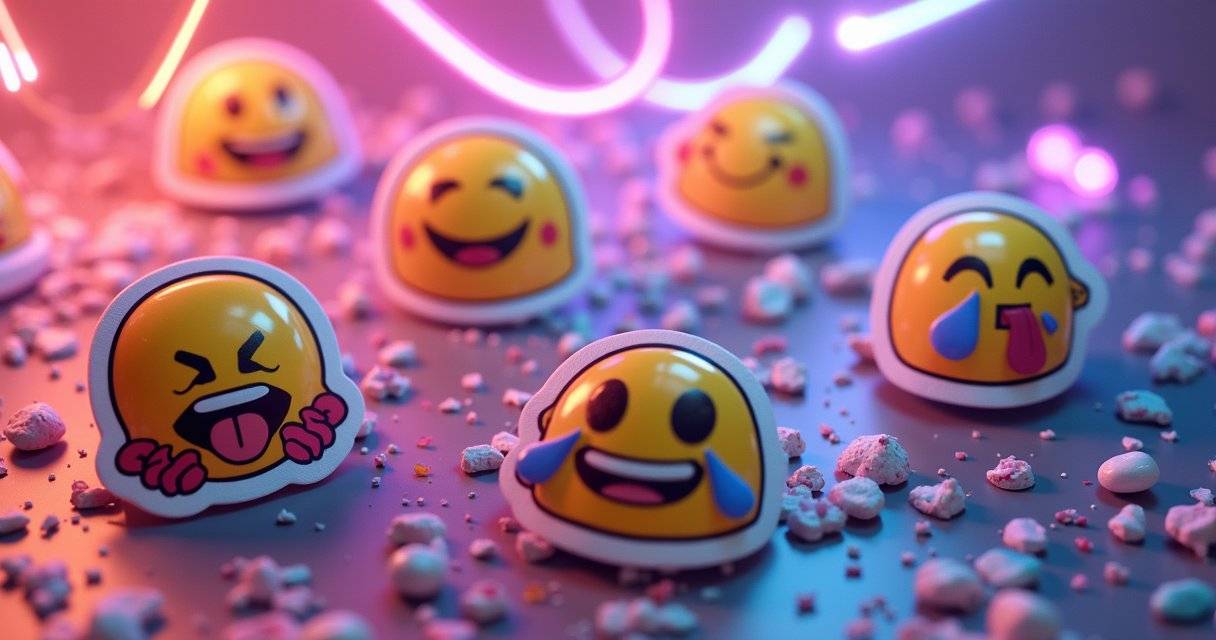
How to create stickers with AI: complete workflow with specialized LoRAs
Learn how to generate consistent and professional sticker collections using specialized diffusion models and LoRAs.
Introduction
Stickers have become an essential form of expression in digital communication. Whether on WhatsApp, Telegram, or Discord, these small works of art add personality and context to our conversations. However, creating high-quality stickers is not always an easy task. Achieving a consistent style, clean backgrounds, and attractive designs requires time and skill. This is where AI generation can streamline the process.




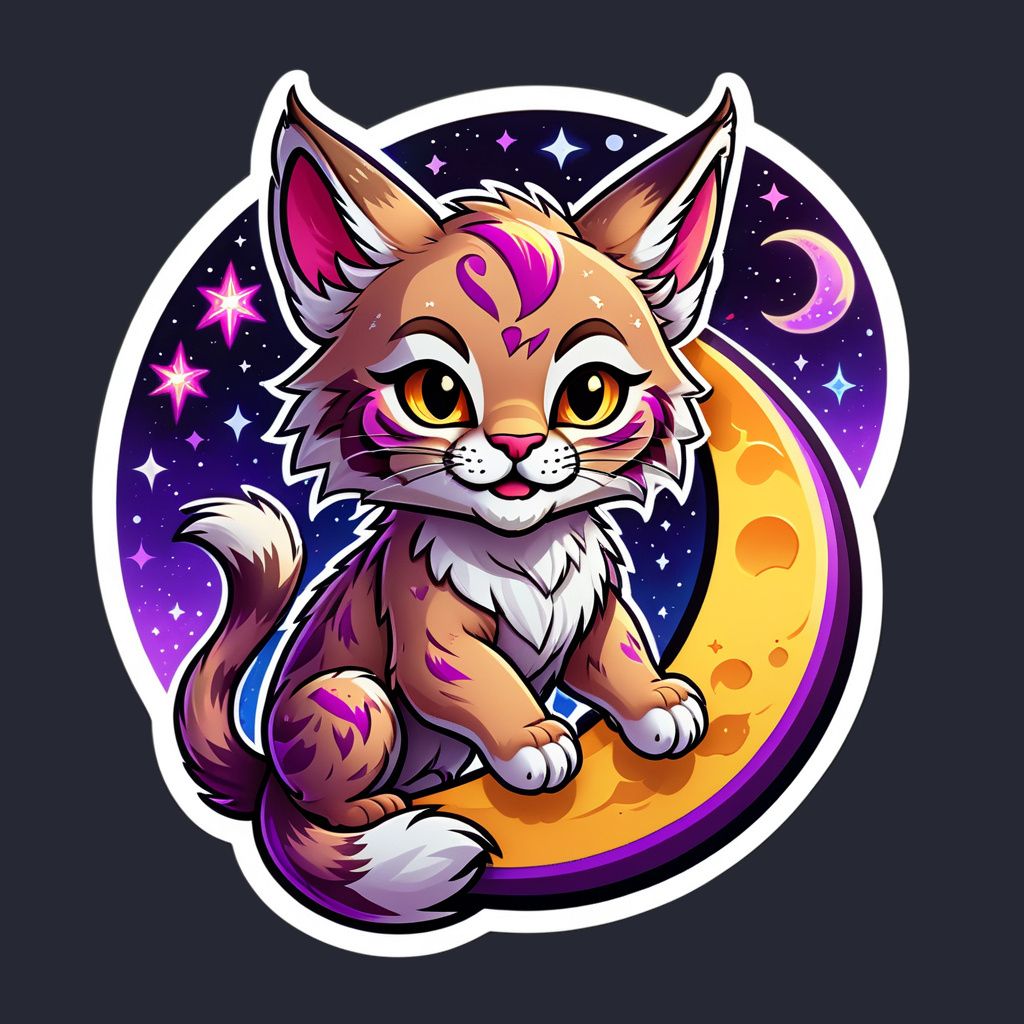


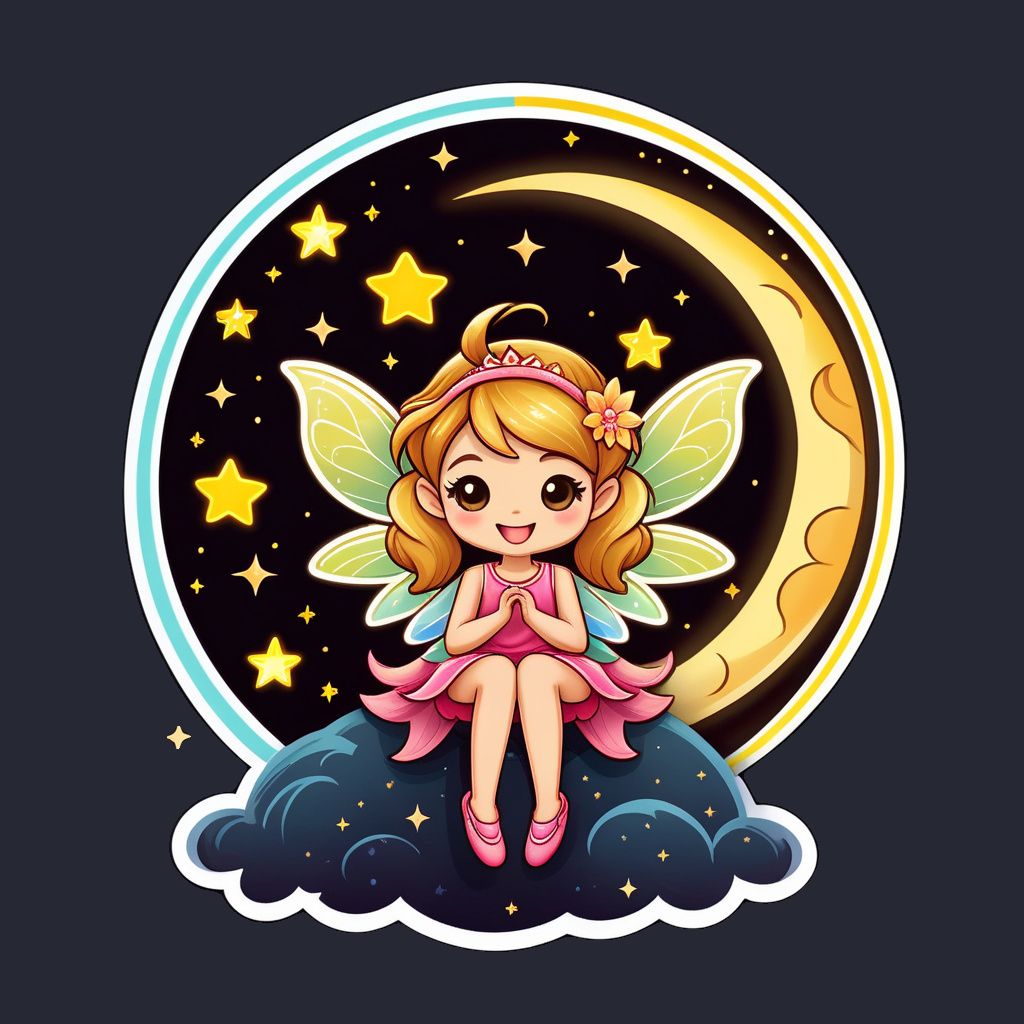


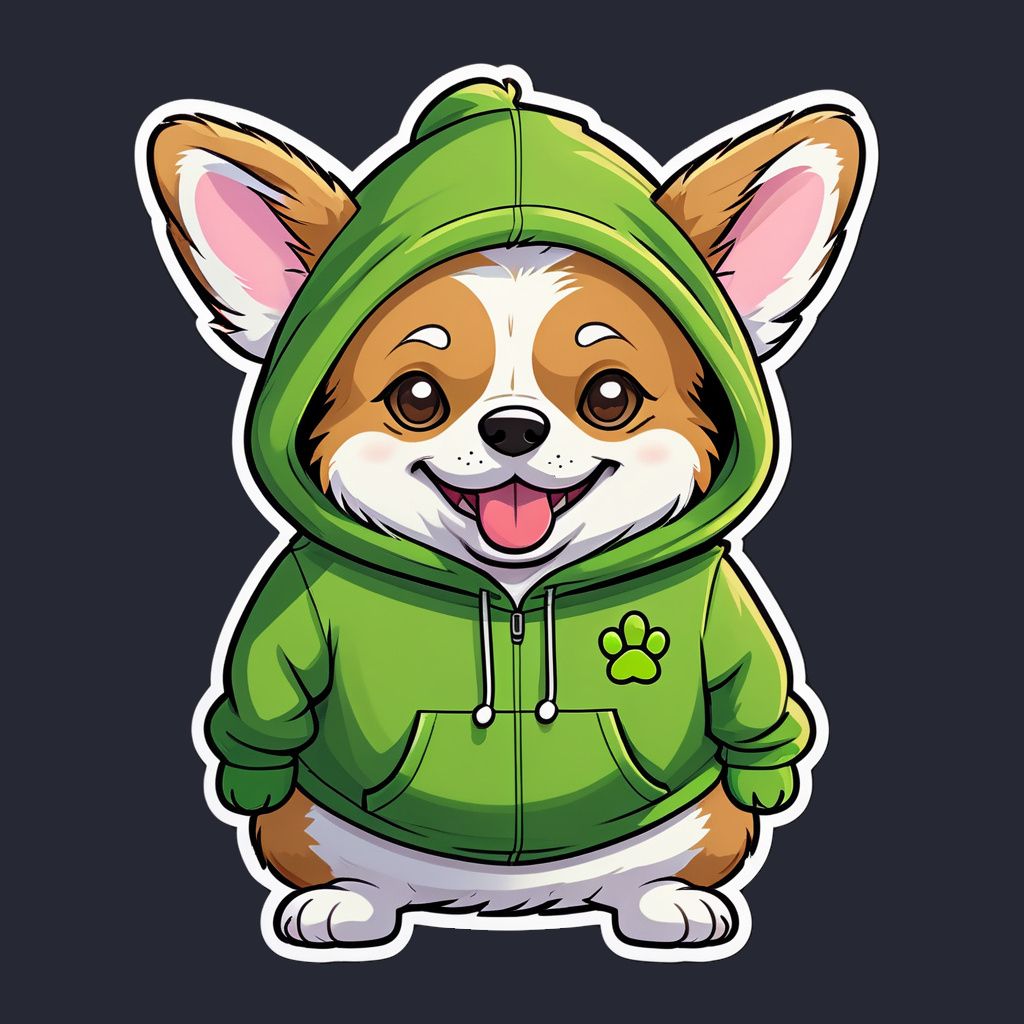
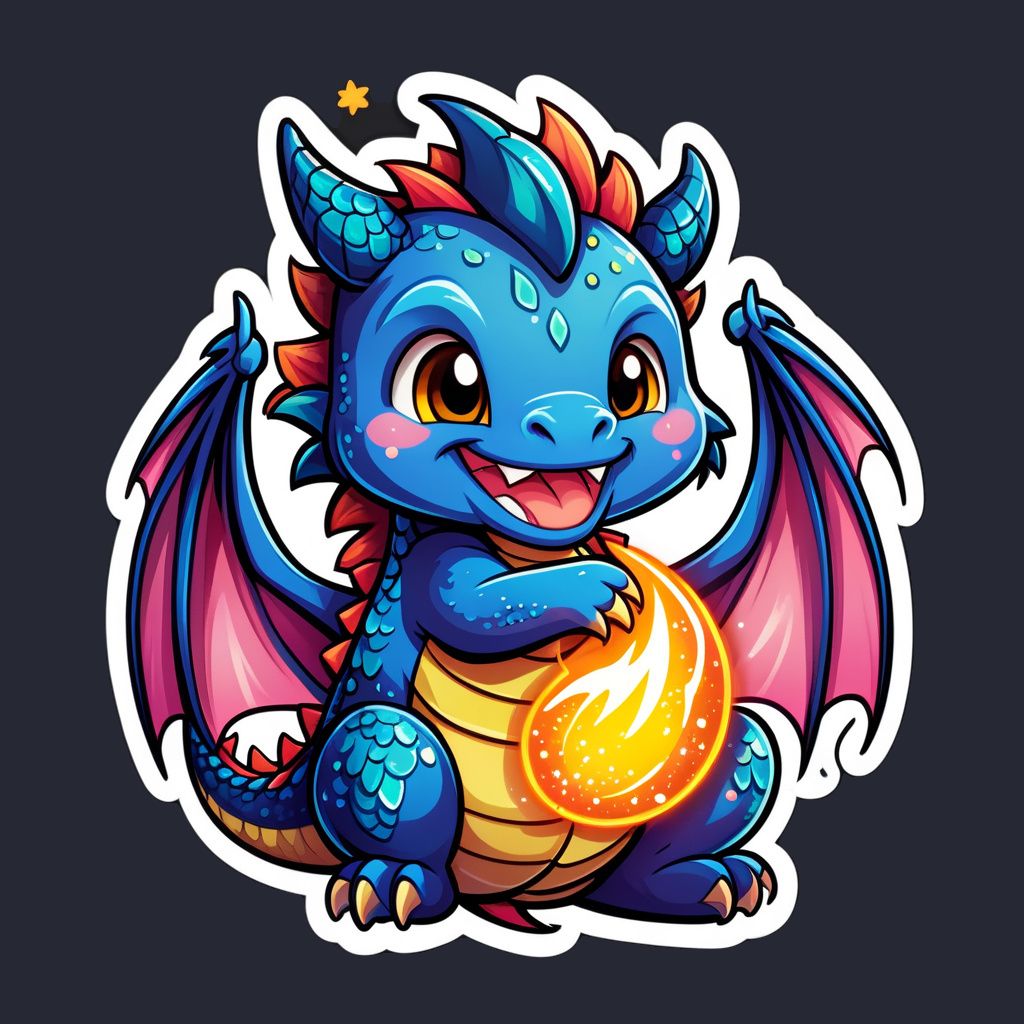



In this article, we will explore how to generate stickers that meet all these characteristics using artificial intelligence. We'll delve into how techniques like CLIP Skip refine the artistic interpretation of prompts, and why having granular control over the creative process is essential. By examining both the technical aspects and practical outcomes, we aim to provide a clear understanding of the choices behind our model selection and workflow.
Requirements for a good result
To achieve high-quality stickers, it is important to consider the following aspects:
- Removable background: The main element should be well-defined, and the background should be easy to remove using background removal techniques.
- Simple composition: The sticker should work well even at small sizes. Avoid unnecessary elements or excessive detail.
- Consistent style: When creating a collection, all stickers should maintain the same visual style. LoRAs will be especially useful for this.
Playground
Here's a playground where you can generate stickers using Stable Diffusion XL and the LoRA mentioned in the article. Try this workflow and experiment with different prompts, as well as how the clipSkip parameter influences the results.
The playground is pre-configured with the necessary parameters to generate stickers, even the trigger words to activate the LoRA.
Keep reading to learn more about the generation process, the importance of each component, and how to achieve the
The generation process
To create high-quality stickers, we need to carefully choose each component of the process. In order of importance, we first select the specialized LoRA, then the CLIP Skip level, and finally the base model. As for the prompt, it's essential to include the LoRA's trigger words and clearly and simply describe the sticker we want to generate.
Specialized LoRAs
Perhaps the most crucial factor in creating high-quality, consistent stickers is the choice of LoRAs.
LoRAs, or Low-Rank Adaptation modules, are essential for fine-tuning our models without retraining the entire network. They allow us to introduce adjustments that target specific visual elements such as style, color, and shape so that the generated stickers reflect a unique aesthetic. By choosing a specialized LoRA, we ensure that the model produces stickers that capture the distinctive look we desire.
Some of these modules require the use of "trigger words" in the prompt to activate. You can find these trigger words in each LoRA’s description.
For this workflow, we are going to use the Stickers.Redmond LoRA by artificialguybr. This LoRa has been specifically trained for this purpose.

- stickers
- style
- sticker
- styles
One important setting when working with LoRAs is the weight parameter. This value controls the strength of the module's influence on the final image. A weight between 0.8 and 1.0 is typically recommended.
If the weight is set too low, for example below 0.5, the impact of the LoRA may be too subtle and the sticker might not fully exhibit the intended style. On the other hand, a weight that is too high, such as above 1.3, can make the LoRA too dominant and lead to artifacts or an imbalance in the final output. By carefully adjusting the weight, you can achieve a harmonious balance between the fine-tuned style and the inherent characteristics of the base model.
CLIP Skip
CLIP Skip is a technique that offers a subtle but powerful way to influence how Stable Diffusion interprets your text prompt. When you provide a prompt, it's first processed by CLIP, a model that converts text into numerical representations through a series of transformer layers. The early layers tend to capture basic elements like shapes and colors, while the later layers focus on more abstract, stylistic details. By default, the model uses the full output of all layers, but with the clipSkip parameter you can instruct it to bypass the last few layers.
- clipSkipinteger Min: 0 Max: 2
-
Defines additional layer skips during prompt processing in the CLIP model. Some models already skip layers by default, this parameter adds extra skips on top of those. Different values affect how your prompt is interpreted, which can lead to variations in the generated image.
Learn more 2 resources
For example, setting clipSkip: 2 means the final two layers are skipped, which can prevent the model from over-refining the style, resulting in more creative and less constrained outputs.
SDXL models already skip a layer by default, so this parameter will skip additional layers on top of that.

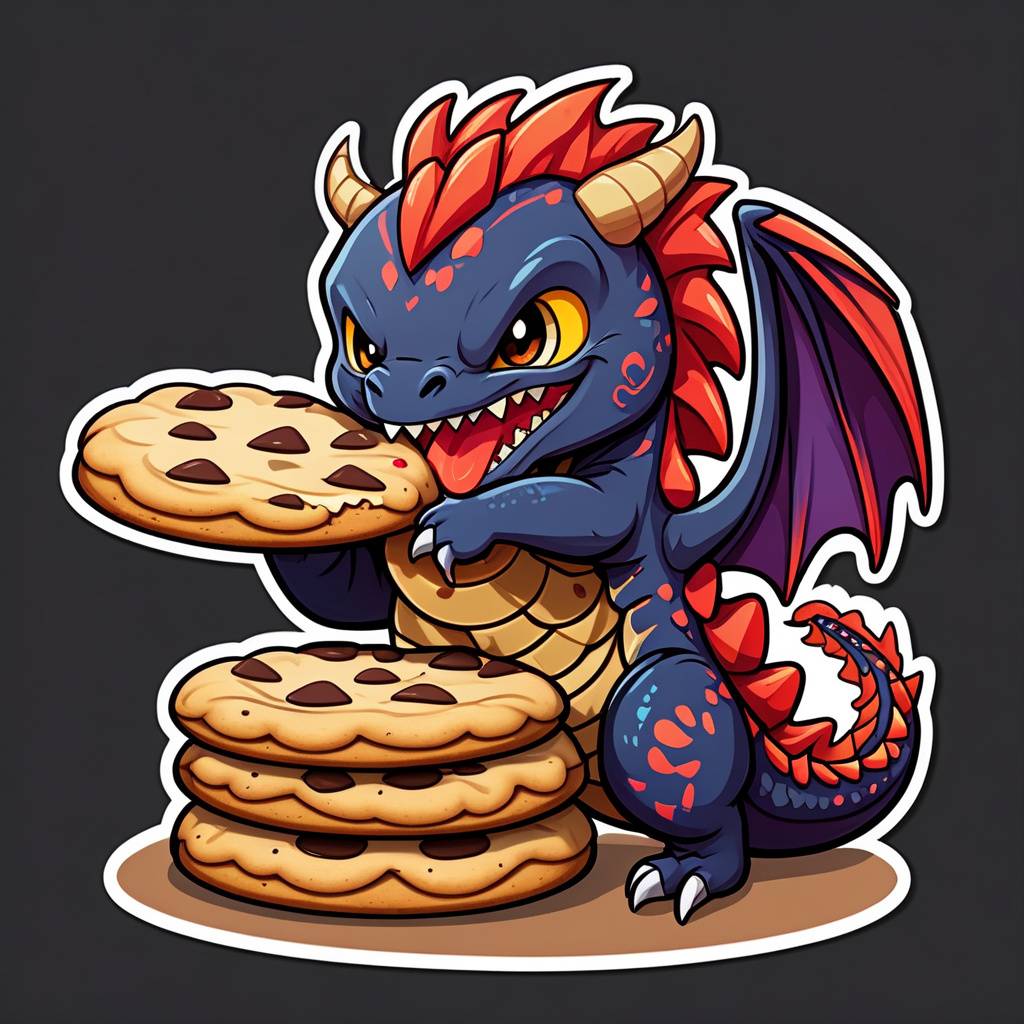





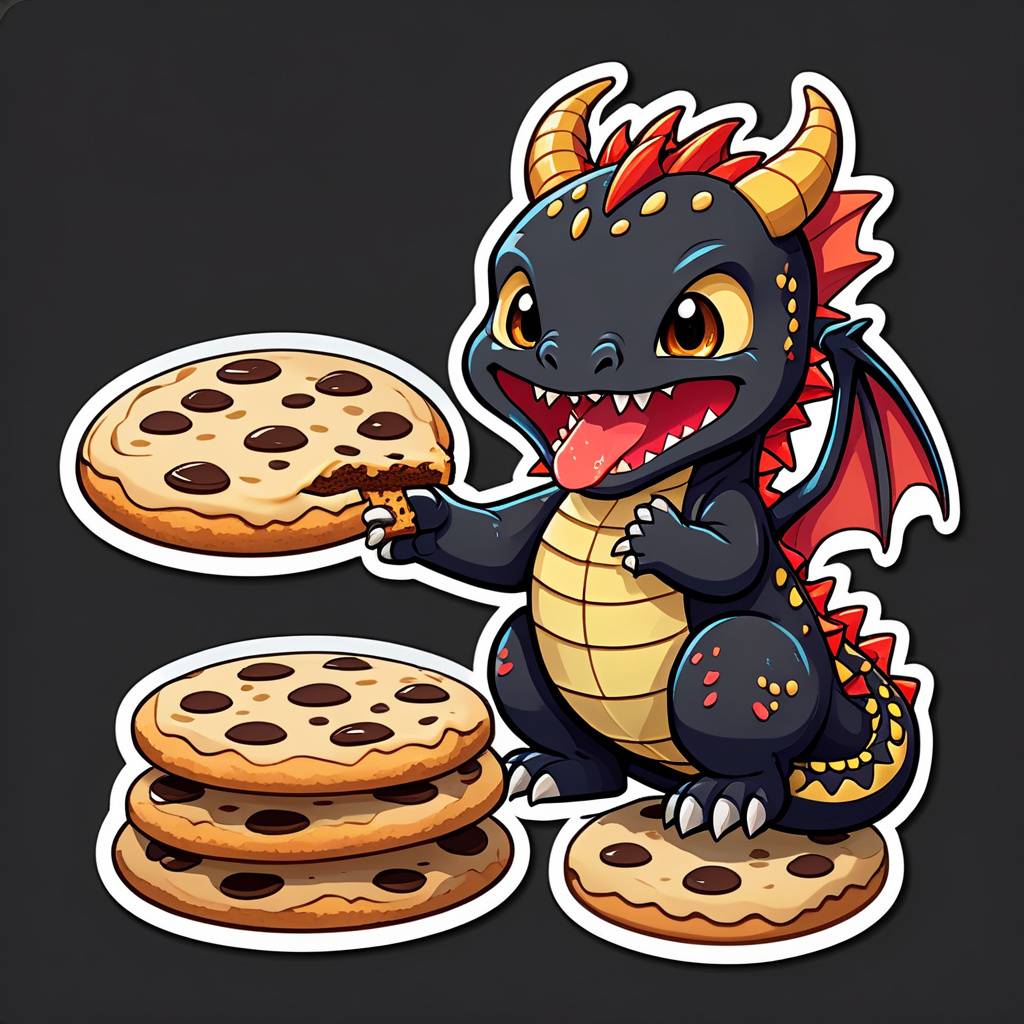


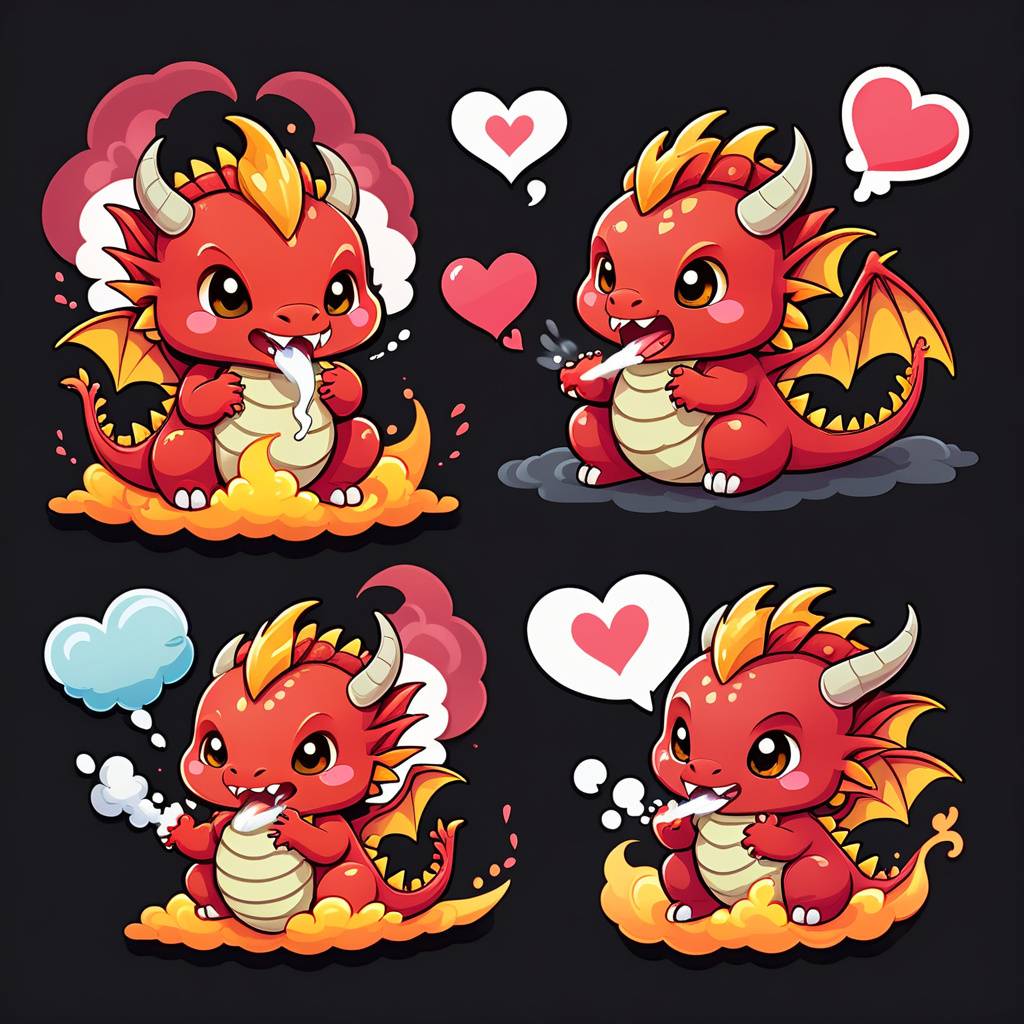

Small differences can be observed, but enough to notice that the stickers generated using CLIP Skip have a simpler style, more in line with the style of a sticker.
Base model
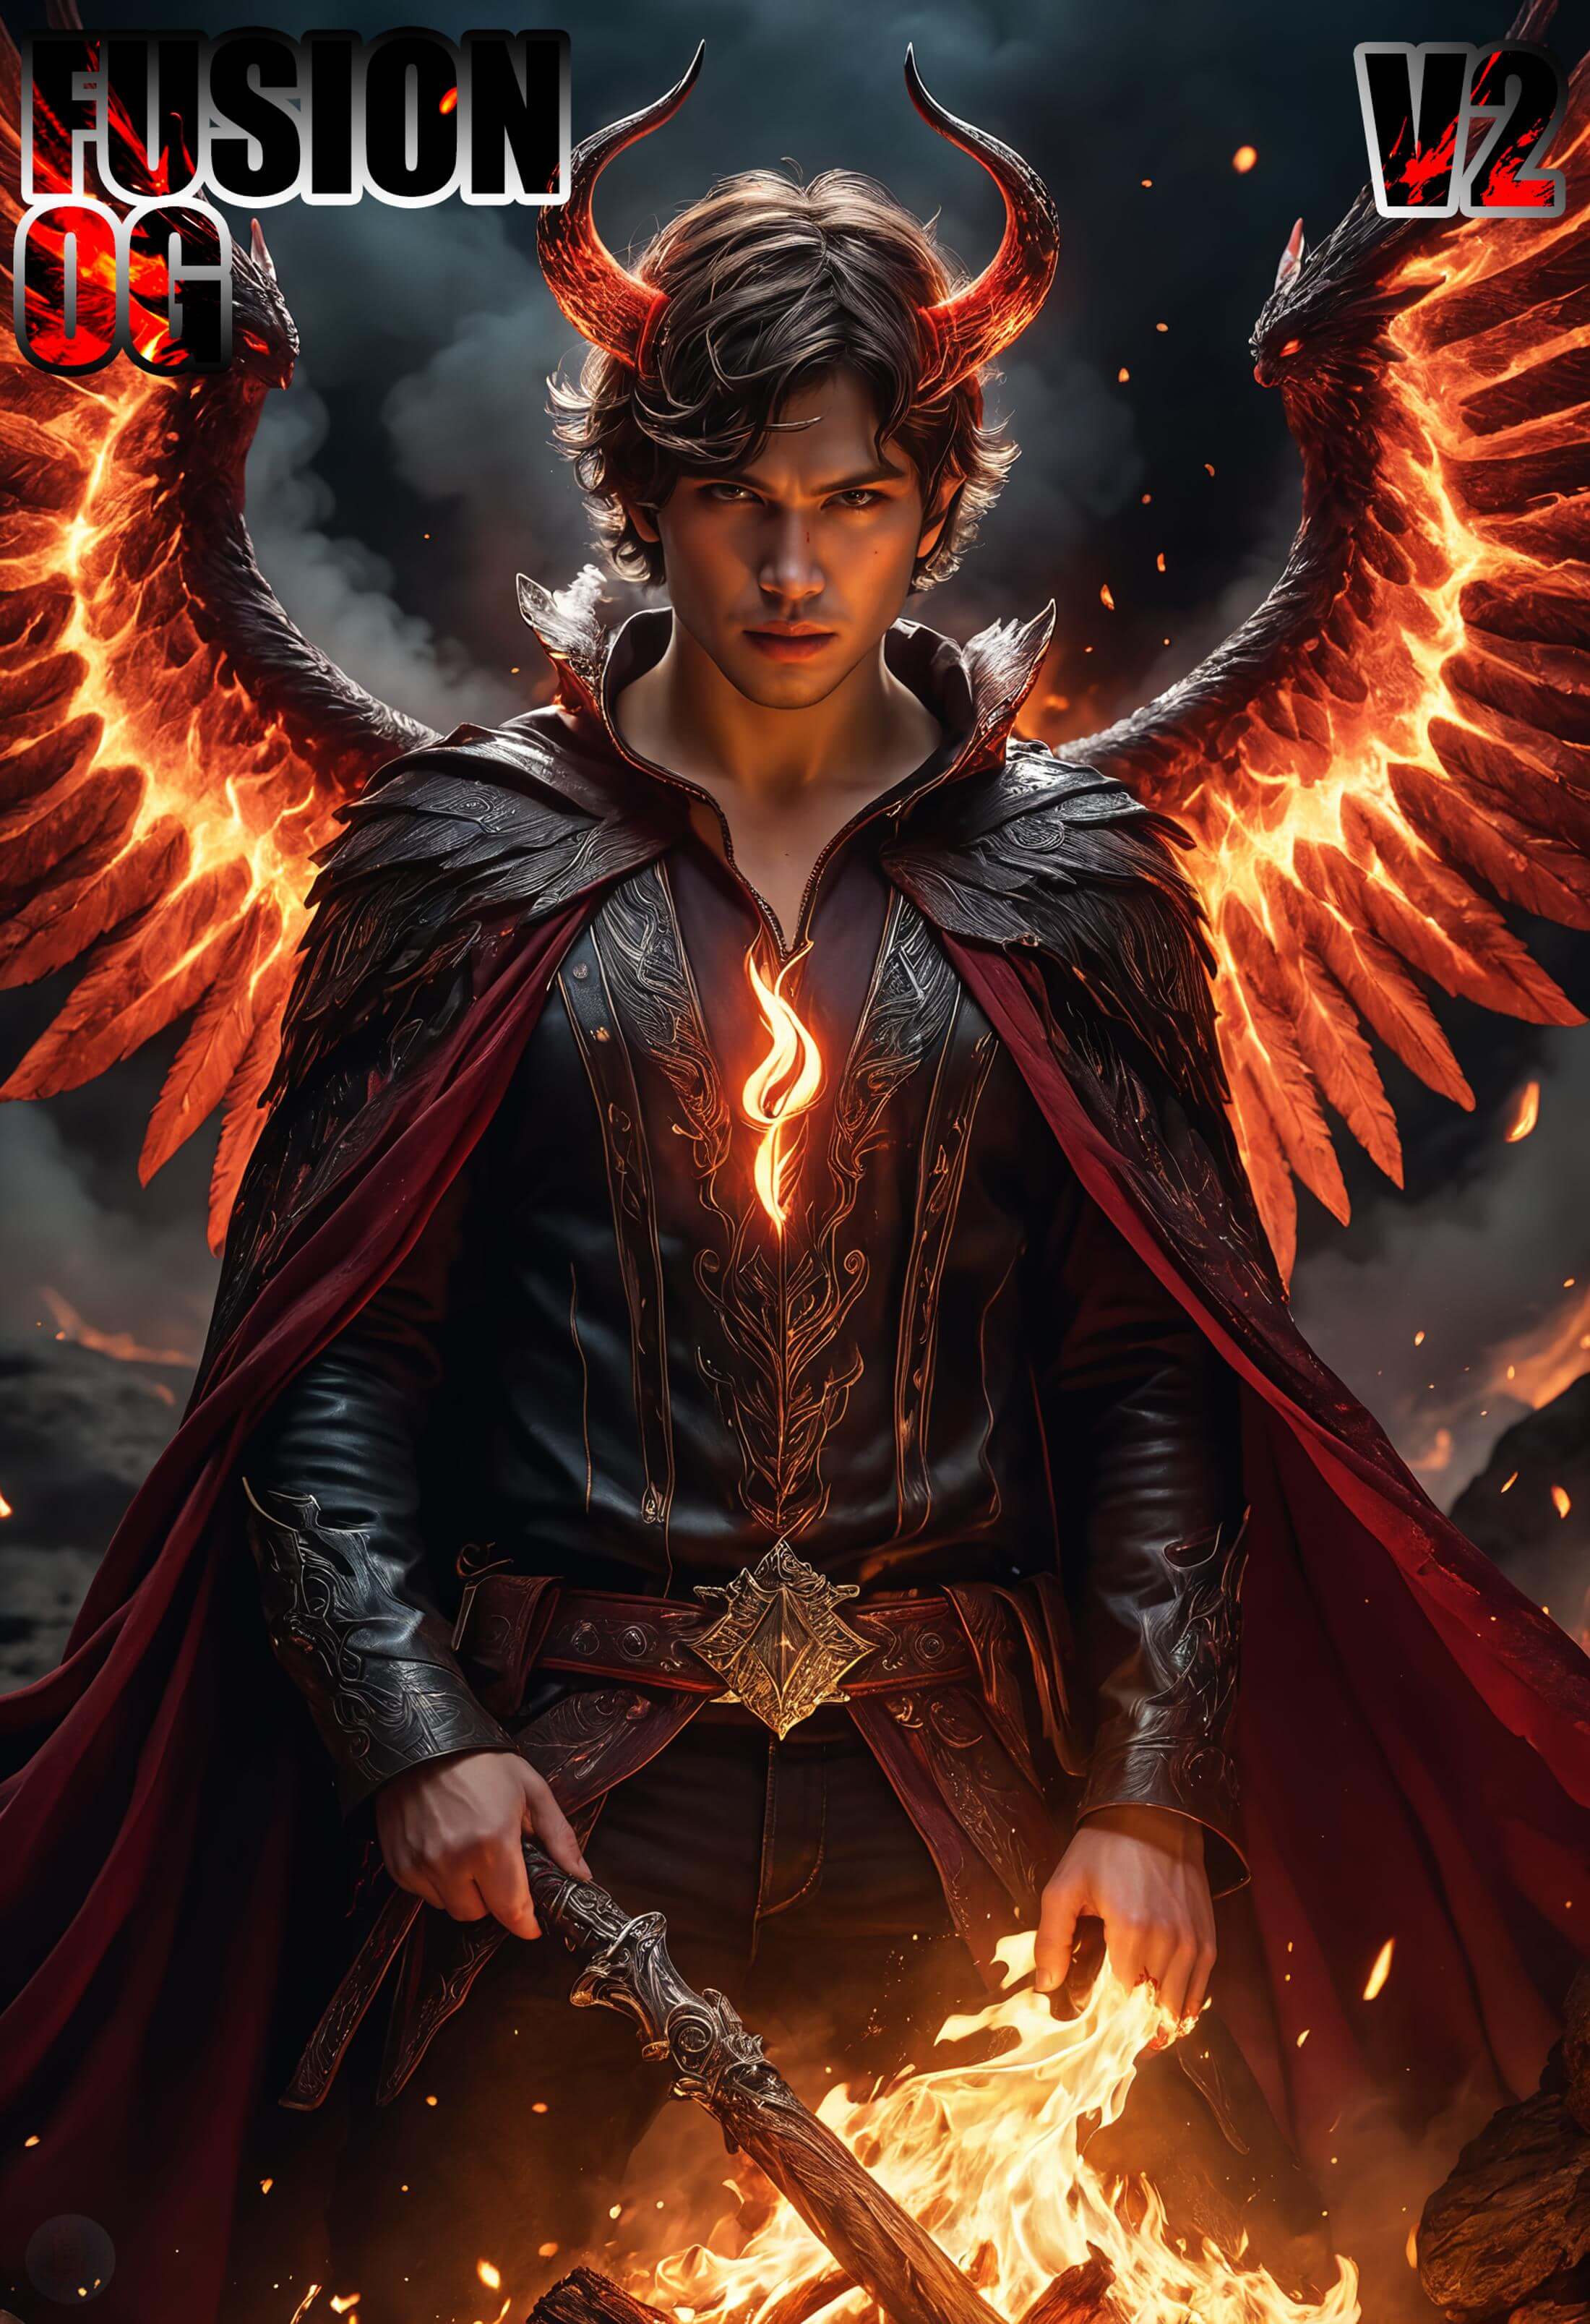
For this workflow, we will use WildCardX-XL-Fusion by Mr_fries1111 as the base model. Since it has been fine-tuned on a large amount of creative and artistic content, it delivers more stylized results compared to the standard Stable Diffusion XL base model. This type of model tends to better capture the visual styles we aim for in stickers.
- anime
- animals
- 3d
- horror
- neon
- punk
- photorealistic
- sexy
- colorful
- art
- chaos
- cyber
Any model from the SDXL family is suitable for this purpose, and even other architectures like SD 1.5 or SD 2.0 can work well as long as specialized LoRAs are available.
A note about FLUX
In many common FLUX implementations the text encoder outputs only a single, aggregated representation rather than offering access to the detailed, intermediate layer outputs. This design means that techniques like CLIP Skip, which rely on using outputs from earlier layers to provide a more nuanced interpretation of prompts, cannot be applied. The model processes the text through all its layers and only provides the final result, so there is no opportunity to select a more creative or less over-refined representation.
Additionally, the FLUX ecosystem currently does not offer a wide variety of high-quality LoRAs that are specifically tailored for sticker aesthetics. These adaptation modules are important for fine-tuning the model to achieve distinct artistic styles.










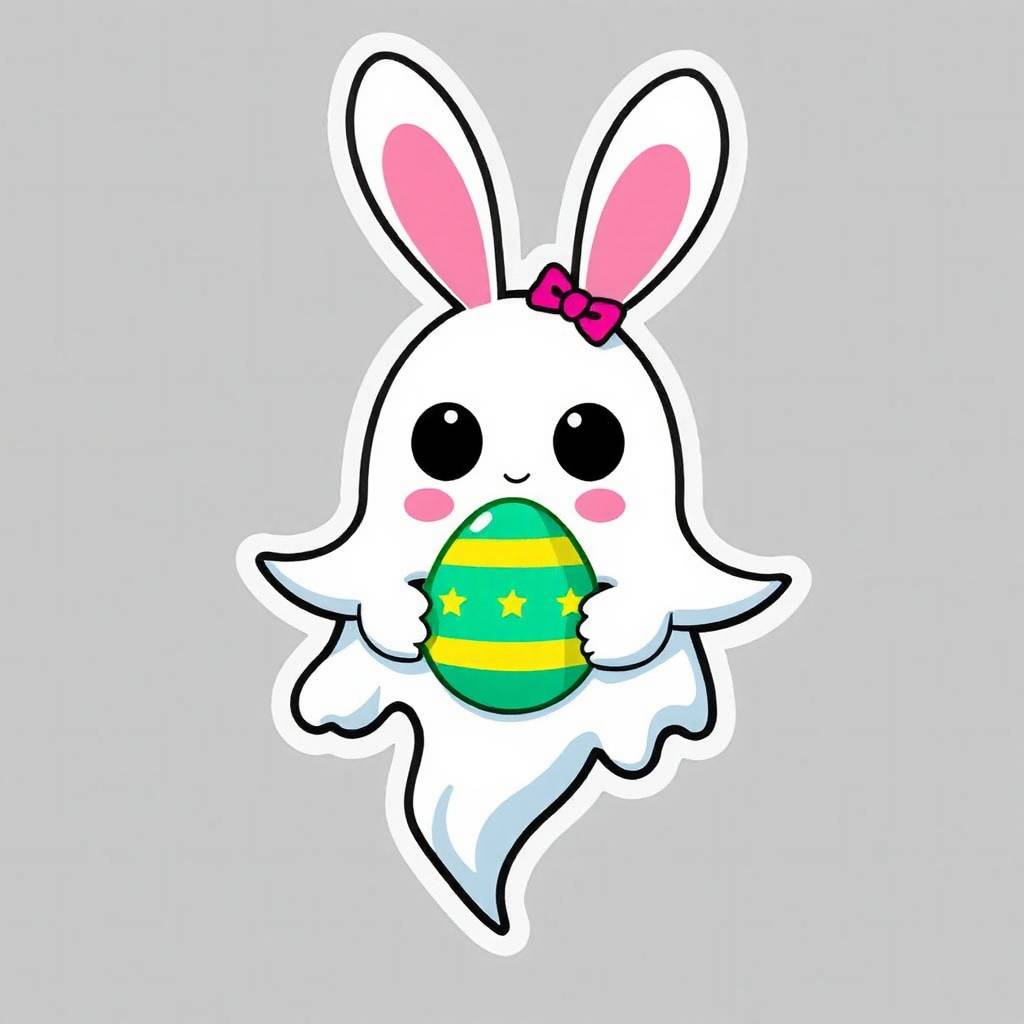

Without the ability to use CLIP Skip and currently lacking specialized sticker-focused LoRAs, FLUX is not yet optimal for this specific workflow. While FLUX excels in many generation tasks and offers excellent prompt interpretation and style control, the current unavailability of these particular tools makes SDXL and it's versatile and customizable approach a more practical choice for sticker generation at this time. As the FLUX ecosystem continues to grow, this may well change in the future.
The workflow
Our API is designed to make the process of generating images both simple and powerful. The intuitive JSON interface allows you to quickly experiment with different settings, enabling rapid iterations and creative freedom. You can also use our Model Explorer to search for a base model and specialized LoRAs that suit your needs.
Here is an example of the JSON configuration for generating stickers using the parameters discussed in this article. Once you've generated your stickers, the next step is removing their backgrounds. Our API supports this process as well, allowing you to seamlessly integrate background removal into your workflow.
[
  {
    "taskType": "imageInference",
    "taskUUID": "{{taskUUID}}",
    "positivePrompt": "{{positivePrompt}}",
    "negativePrompt": "nsfw, 3d, monochrome",
    "height": 1024,
    "width": 1024,
    "steps": 40,
    "model": "civitai:267728@345685",
    "clipSkip": 2,
    "lora": [
      {
        "model": "civitai:144142@160130",
        "weight": 1
      }
    ],
    "numberResults": 4
  }
][
{
"taskType": "removeBackground",
"taskUUID": "{{taskUUID}}",
"inputImage": "{{stickerImage}}"
}
]For a detailed guide on getting started with our API, including authentication and basic requests, visit our comprehensive documentation. The documentation includes extensive parameter descriptions, example requests, and code snippets to help you integrate sticker generation or any other workflow into your projects quickly.
Conclusion
In summary, the journey into AI-driven sticker generation reveals that the right combination of model architecture, fine-tuning techniques and precise parameter control can make all the difference.
Our API is designed to give you granular control over every step of the workflow. This flexibility allows you to experiment with various settings and fine-tune the outcome to match your creative vision. Whether you are a developer integrating artistic features into your application or an artist exploring new design possibilities, our service simplifies the process and empowers you to produce consistently impressive results.
