Image-to-image: The art of AI-powered image transformation
Introduction
Image-to-image (img2img) transformation uses an existing image as a starting point and modifies it according to your text prompt. Unlike text-to-image generation which creates images from scratch, img2img maintains aspects of your original image while applying changes based on your instructions.
This guide focuses specifically on standard image-to-image transformation. For related techniques like inpainting, outpainting, or image variation with FLUX Redux, see the respective pages for dedicated walkthroughs and examples.
Basic request example
Here's a simple image-to-image request to get you started:
[
  {
    "taskType": "imageInference",
    "taskUUID": "b8c4d952-7f27-4a6e-bc9a-83f01d1c6d59",
    "model": "runware:101@1",
    "positivePrompt": "A wide desert with soft sand dunes, dry air, and scattered cacti under a clear blue sky, watercolor painting style",
    "seedImage": "c64351d5-4c59-42f7-95e1-eace013eddab",
    "strength": 0.9,
    "width": 1024,
    "height": 1024,
    "steps": 30
  }
]{
"data": [
{
"taskType": "imageInference",
"imageUUID": "0c3cf644-70d4-499b-a2ce-febb4474d40c",
"taskUUID": "b8c4d952-7f27-4a6e-bc9a-83f01d1c6d59",
"seed": 5120148993590679312,
"imageURL": "https://im.runware.ai/image/ws/2/ii/0c3cf644-70d4-499b-a2ce-febb4474d40c.jpg"
}
]
}This request transforms an existing image (identified by the seedImage UUID) into a watercolor painting style while maintaining the basic composition. The strength value of 0.9 indicates a strong transformation.
How image-to-image works
Image-to-image starts from your source image instead of random noise, then applies the generation process guided by your prompt. Internally, the image is first encoded into the model's latent space and then partially noised, based on the strength parameter. This determines where in the denoising process the model begins, with higher values starting from a noisier version of the image.
From there, the model performs denoising while being guided by your prompt, gradually transforming the image based on how much noise was introduced and how strongly the prompt influences the result.
The final output balances the original image with the prompt. At low strength values, the composition, layout, subject structure, and color relationships are largely preserved. Higher values increase stylization and prompt influence, with values close to 1.0 behaving almost like text-to-image generation from scratch.
When using FLUX models (e.g. runware:101@1) for image-to-image tasks, note that the strength parameter behaves differently from traditional diffusion models. Values below 0.8 typically have minimal to no visible effect, while values above 0.8 begin to introduce transformation, but may produce results that differ from user expectations. If you need fine-grained control over image edits, consider using model architectures like SDXL or SD 1.5.
Key parameters
Seed image: The foundation
The seedImage parameter provides the starting image for transformation, as simple as that. It's the image that the model will start from and transform according to your prompt.
- seedImagestring required
-
When doing image-to-image, inpainting or outpainting, this parameter is required.
Specifies the seed image to be used for the diffusion process. The image can be specified in one of the following formats:
- An UUID v4 string of a previously uploaded image or a generated image.
- A data URI string representing the image. The data URI must be in the format
data:<mediaType>;base64,followed by the base64-encoded image. For example:data:image/png;base64,iVBORw0KGgo.... - A base64 encoded image without the data URI prefix. For example:
iVBORw0KGgo.... - A URL pointing to the image. The image must be accessible publicly.
Supported formats are: PNG, JPG and WEBP.
Learn more 3 resources
If you plan to use the same image in multiple requests, consider using the Image Upload API, so that you can reuse the image's UUID in subsequent requests.
Strength: The transformation intensity
The strength parameter controls how much noise is added to your input image in latent space. A low strength value adds a small amount of noise, preserving more of the original image. A high strength adds more noise, allowing the model to rely more heavily on your prompt.
- strengthfloat Min: 0 Max: 1 Default: 0.8
-
When doing image-to-image or inpainting, this parameter is used to determine the influence of the
seedImageimage in the generated output. A lower value results in more influence from the original image, while a higher value allows more creative deviation.Learn more 3 resources
Under the hood, strength is typically used to calculate where in the denoising schedule to start. For example, with strength: 0.5 and steps: 40, the model starts at step 20 and only performs the remaining 20 steps. This means only part of the total steps are actually run.
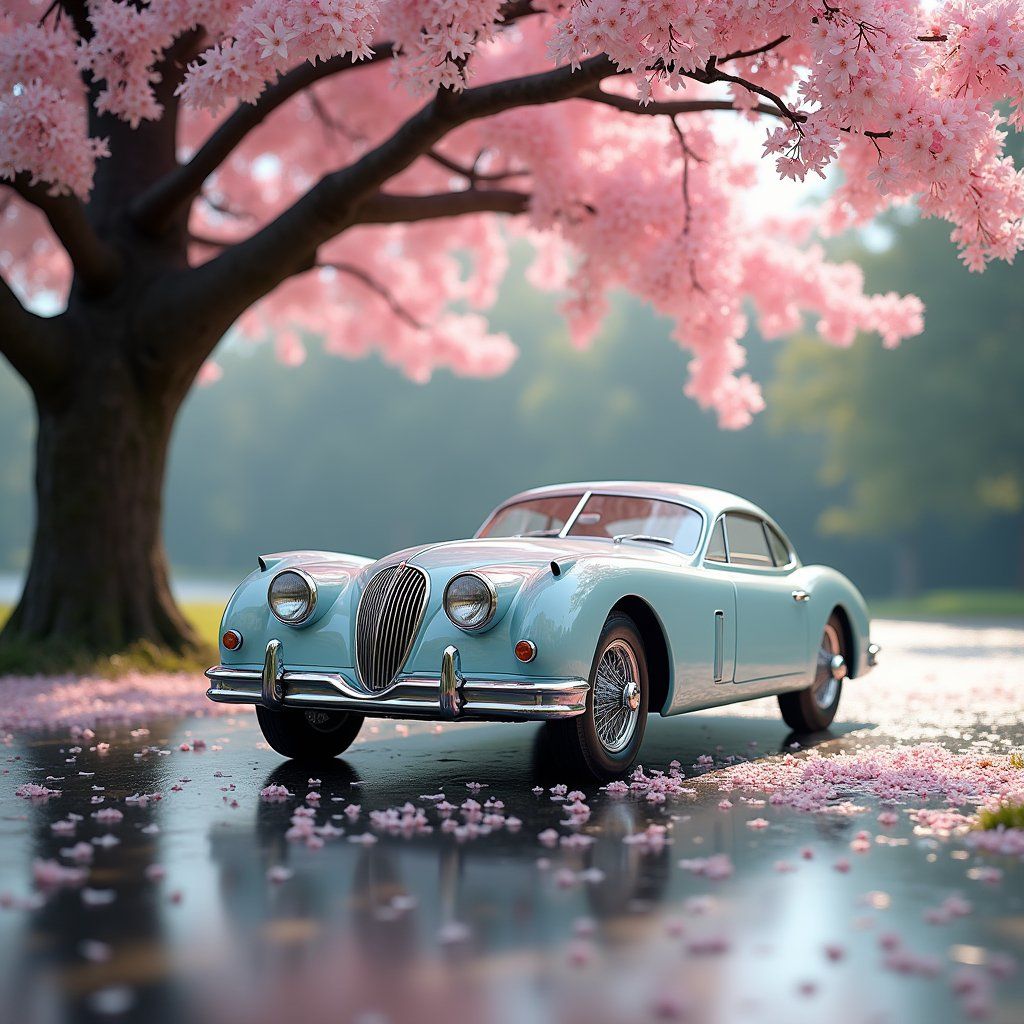
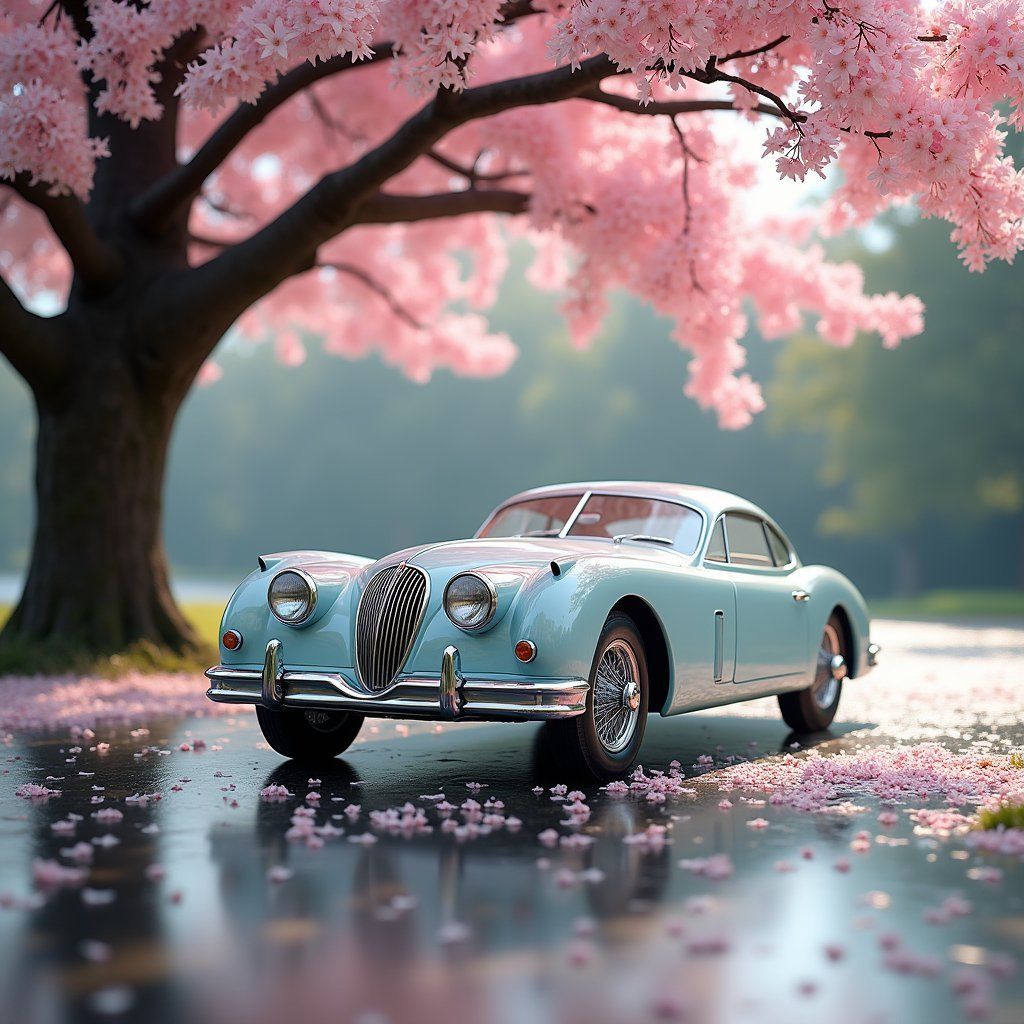
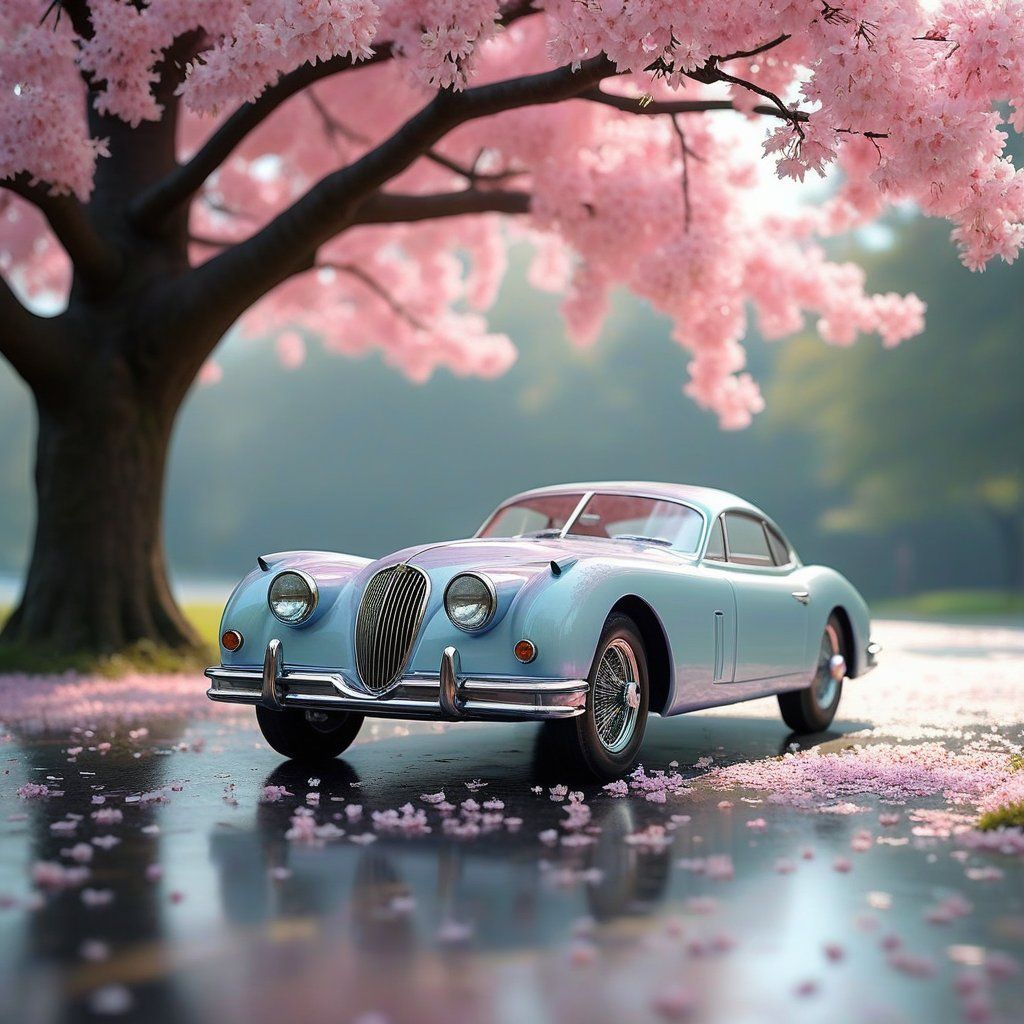
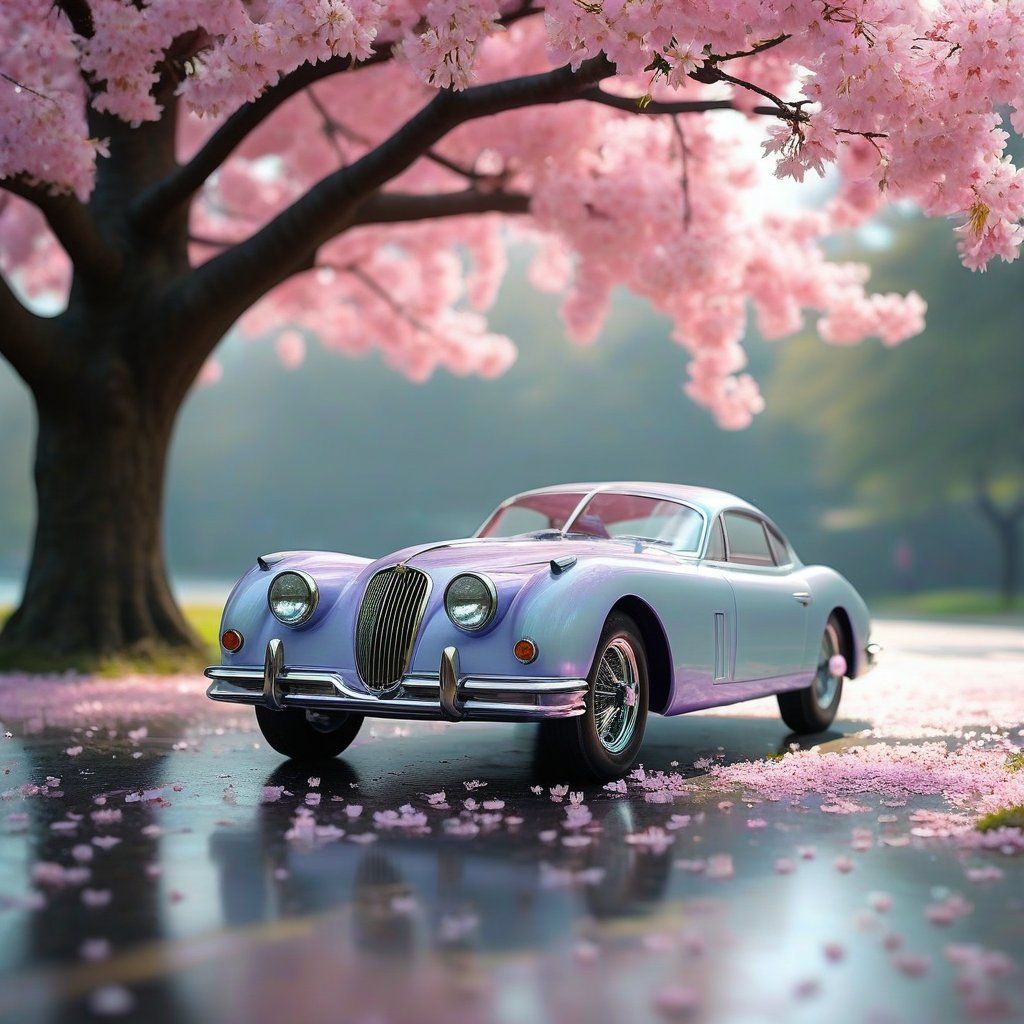
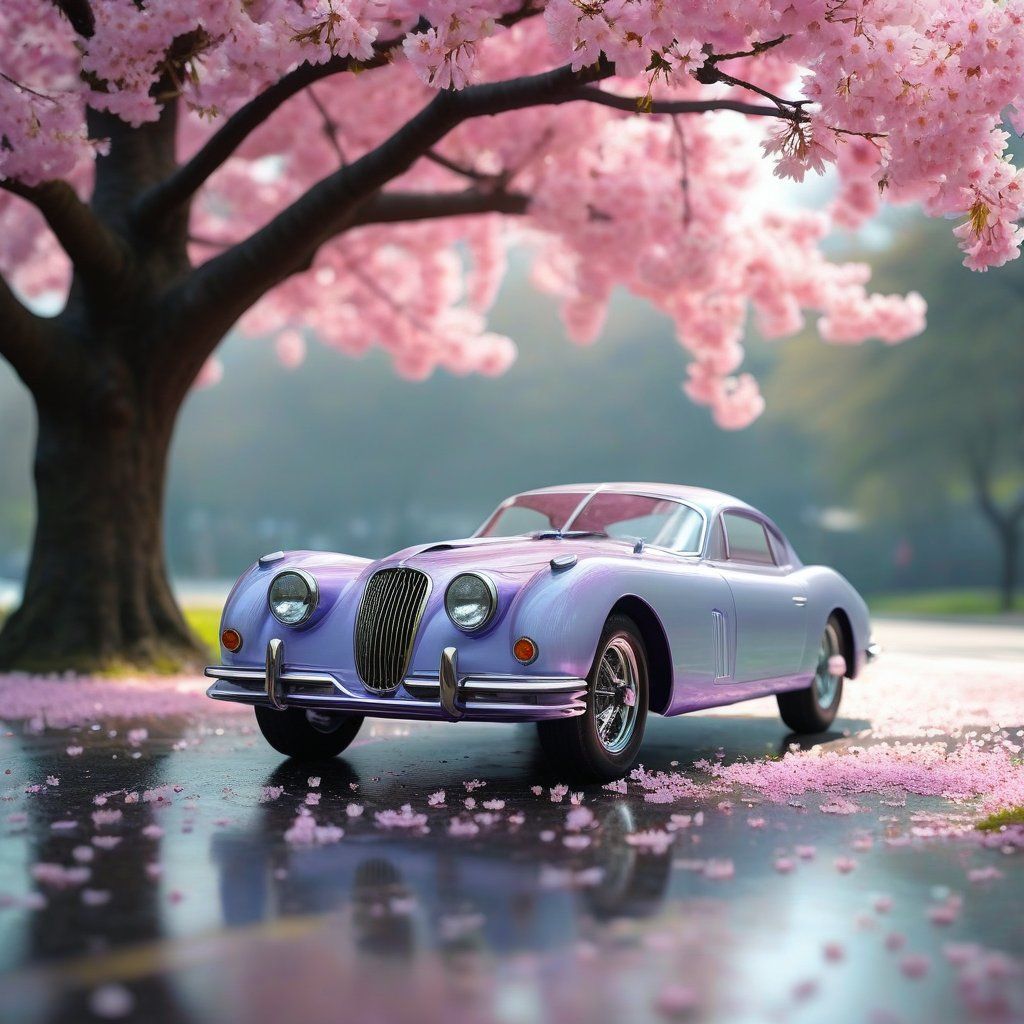
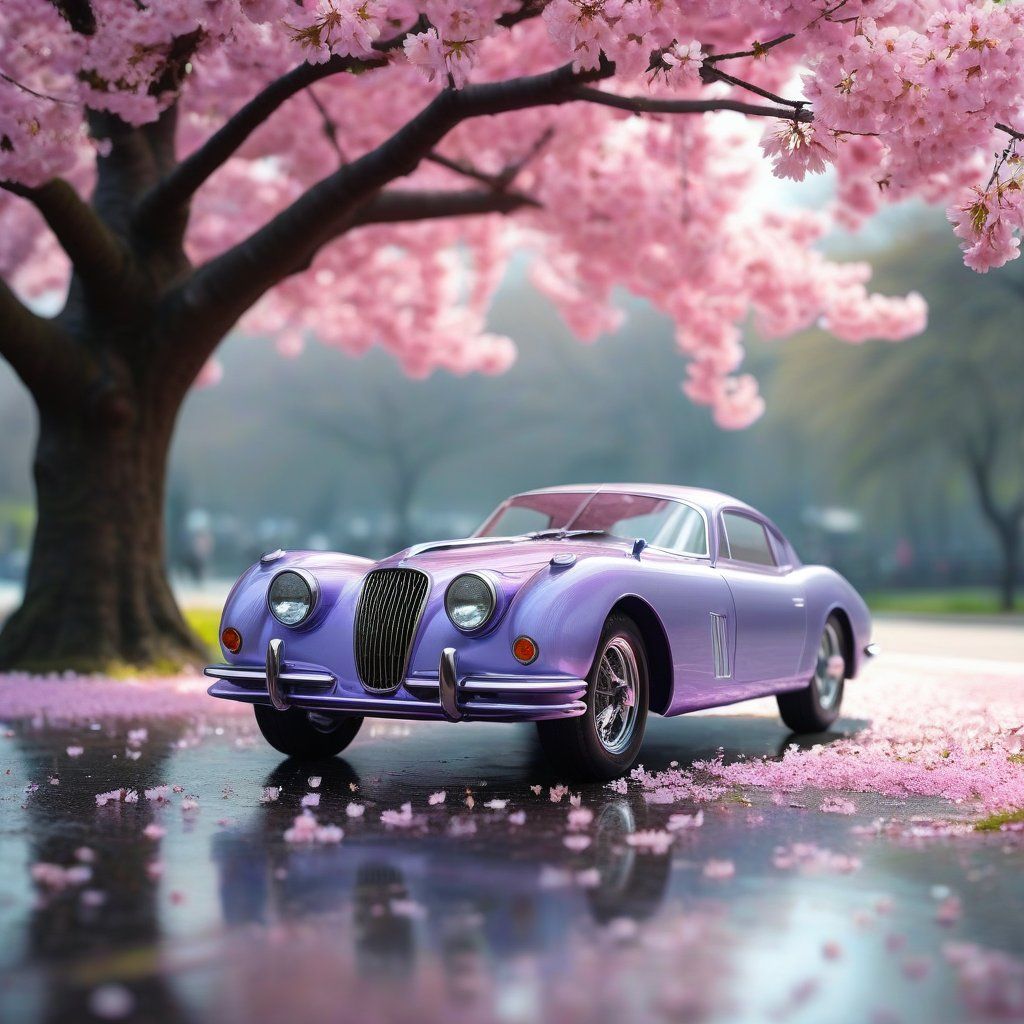
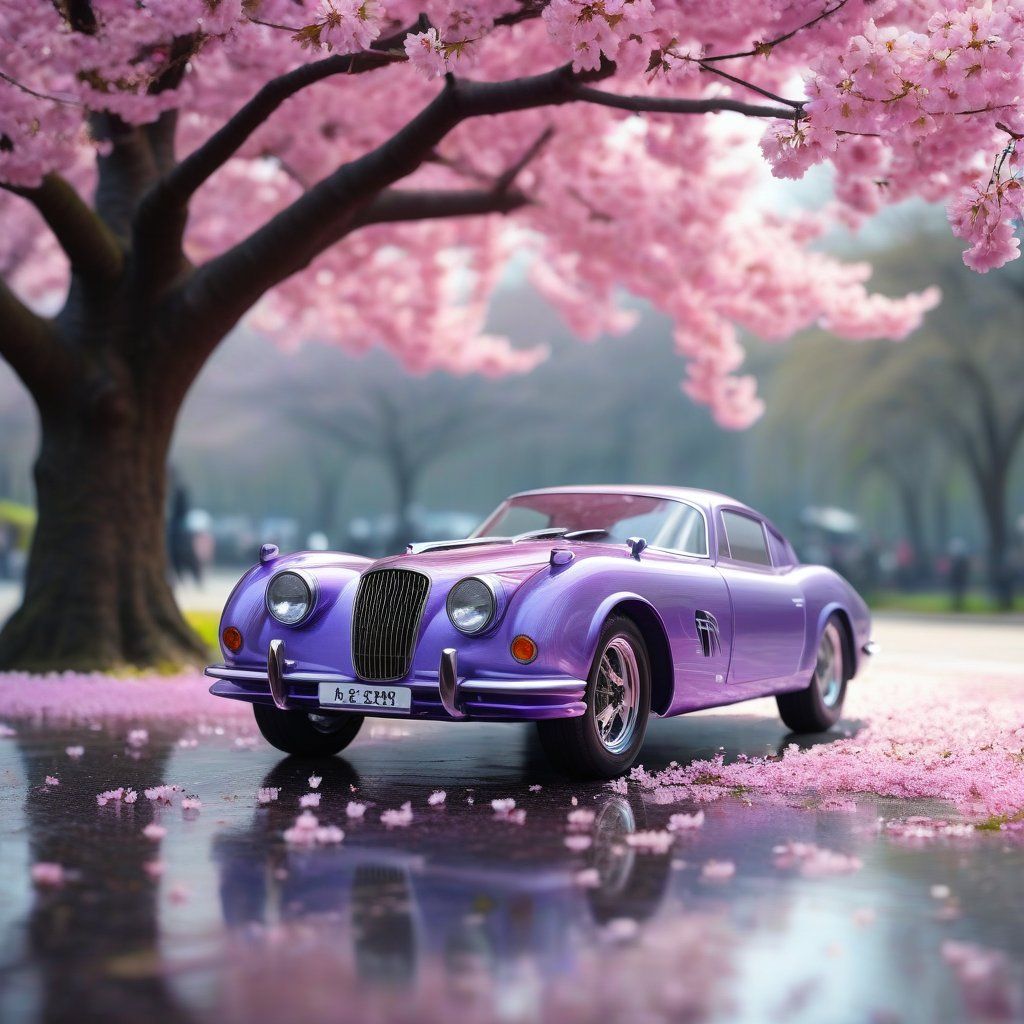
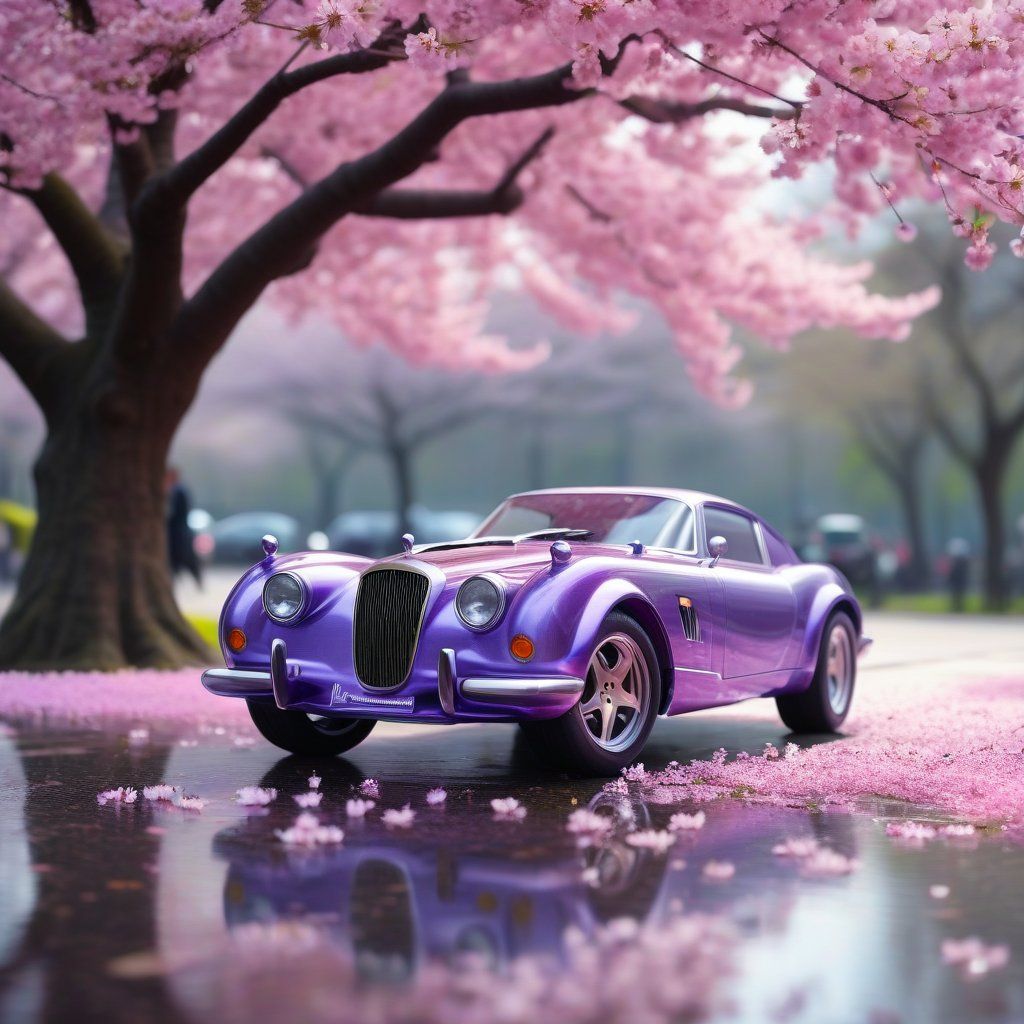
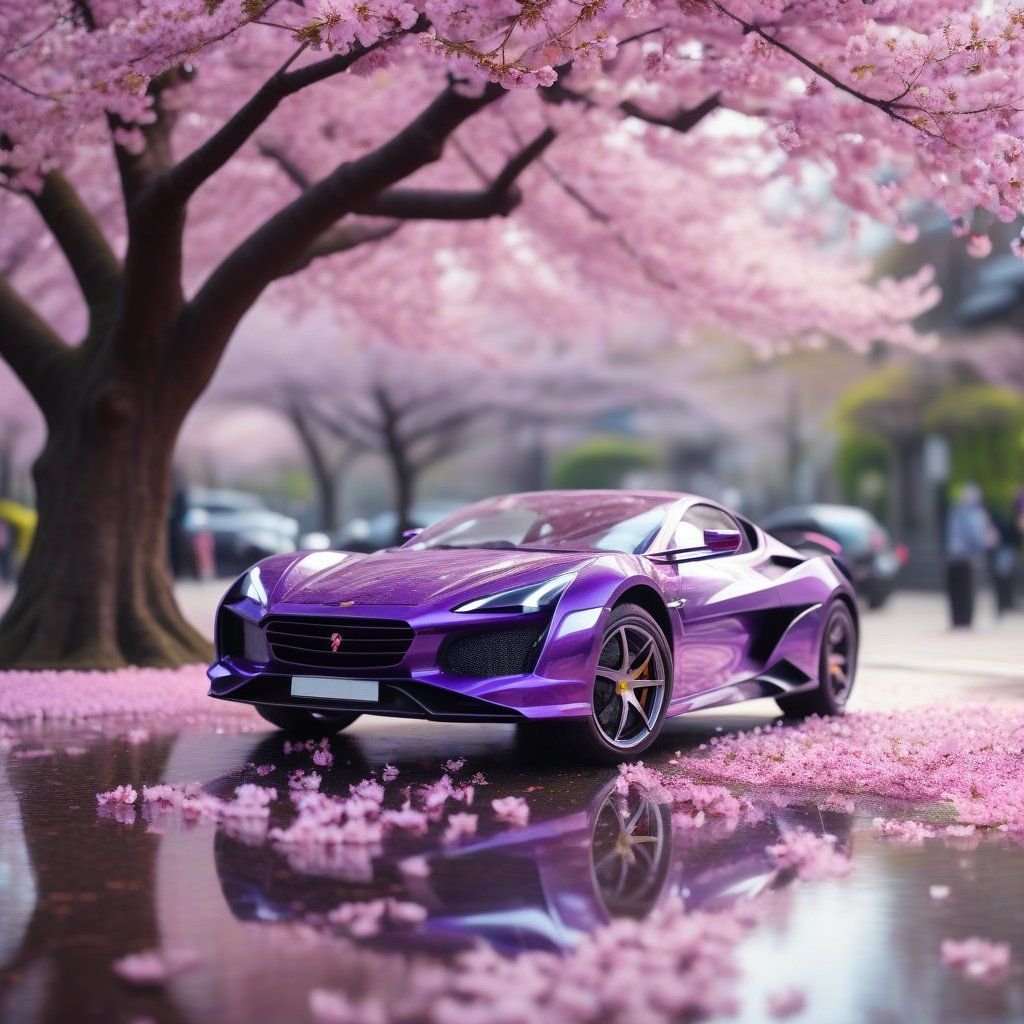
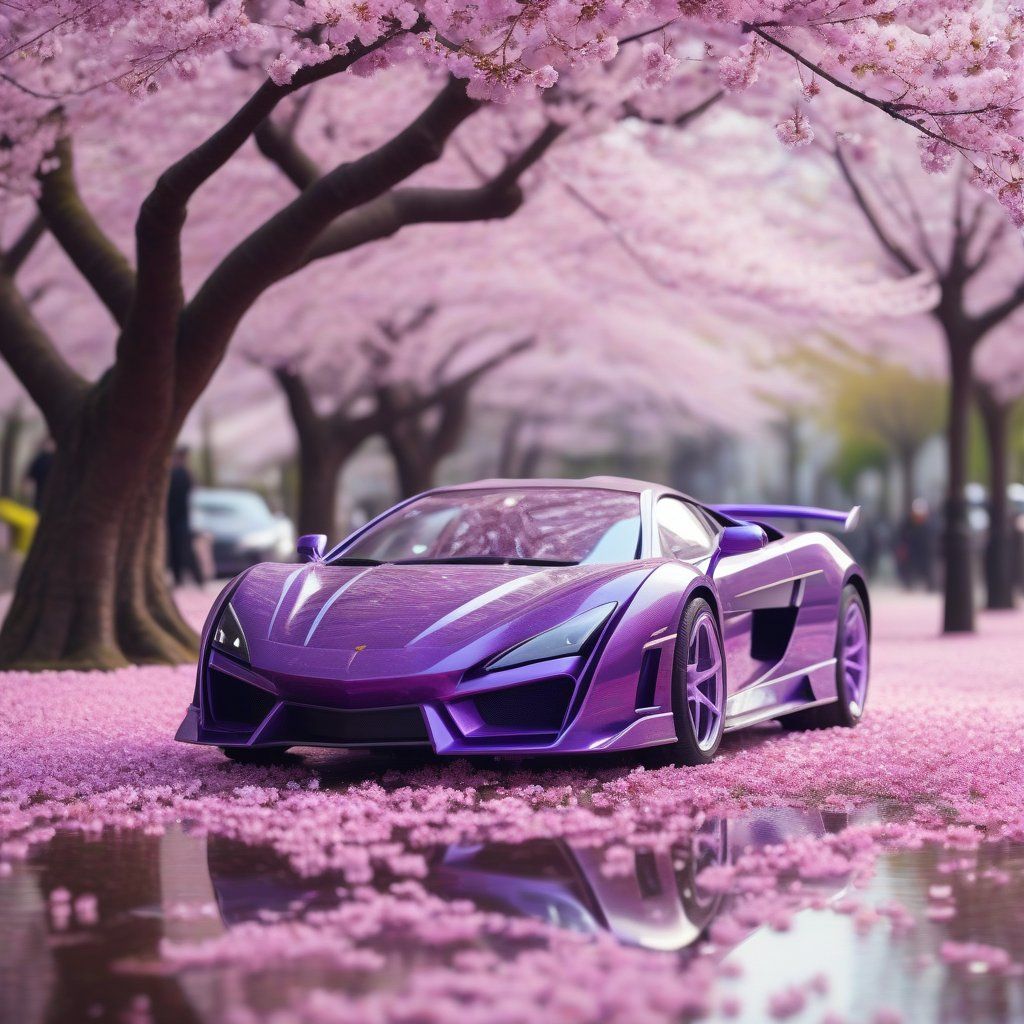
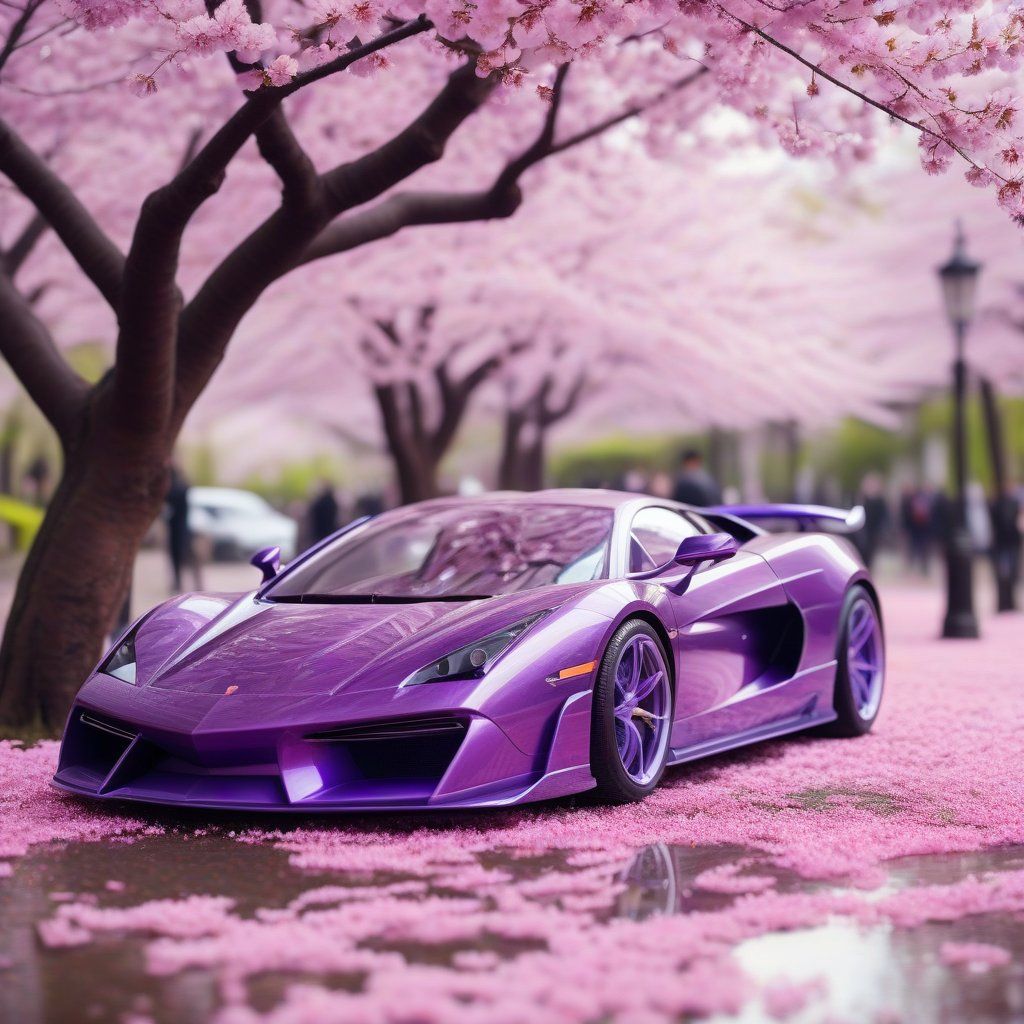
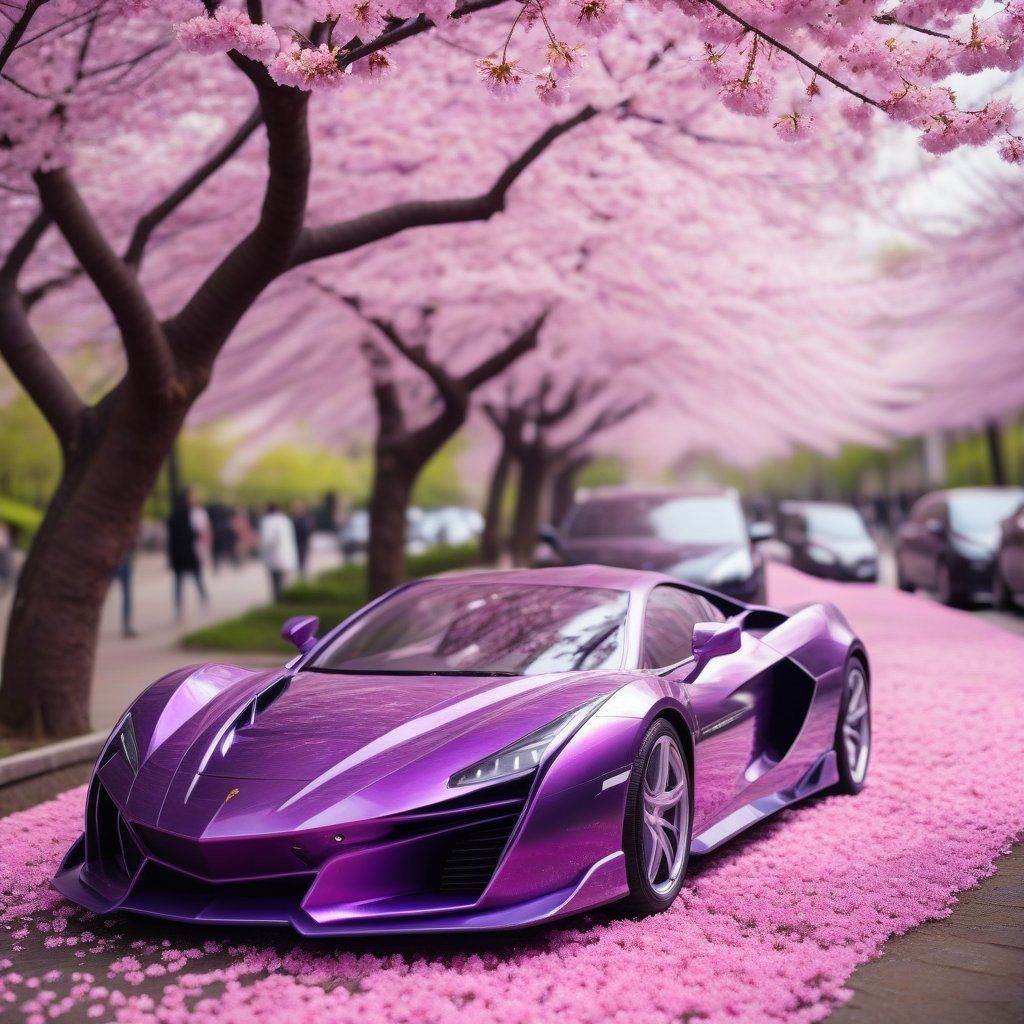
In practice, strength affects the output in three ways:
- Image fidelity: Lower strength values preserve more visual details (like texture and color) and structural elements (like layout and composition).
- Prompt influence: Higher strength values give your prompt more control over the final image, often leading to stronger stylization or changes in subject matter.
- Speed: Lower strength values result in fewer denoising steps being run, so generation is faster.
Dimensions: Changing aspect ratio
The width and height parameters define the output dimensions for your transformed image. While you can specify dimensions different from your source image, this introduces important technical considerations. When the output dimensions differ from the input, the model must recompose the image to fit the new canvas, which affects how content is preserved and transformed.
- heightinteger required Min: 128 Max: 2048
-
Used to define the height dimension of the generated image. Certain models perform better with specific dimensions.
The value must be divisible by 64, eg: 128...512, 576, 640...2048.
Learn more 2 resources
- widthinteger required Min: 128 Max: 2048
-
Used to define the width dimension of the generated image. Certain models perform better with specific dimensions.
The value must be divisible by 64, eg: 128...512, 576, 640...2048.
Learn more 2 resources
Changing dimensions forces the model to make decisions about scaling, positioning, and potentially adding or removing content. Maintaining the same aspect ratio while changing size (e.g., 512×512 to 1024×1024) generally produces better results as it only requires uniform scaling. Changing the aspect ratio (e.g., square to landscape) is more complex as the model must recompose the scene, potentially stretching content or generating new elements to fill the expanded dimension.
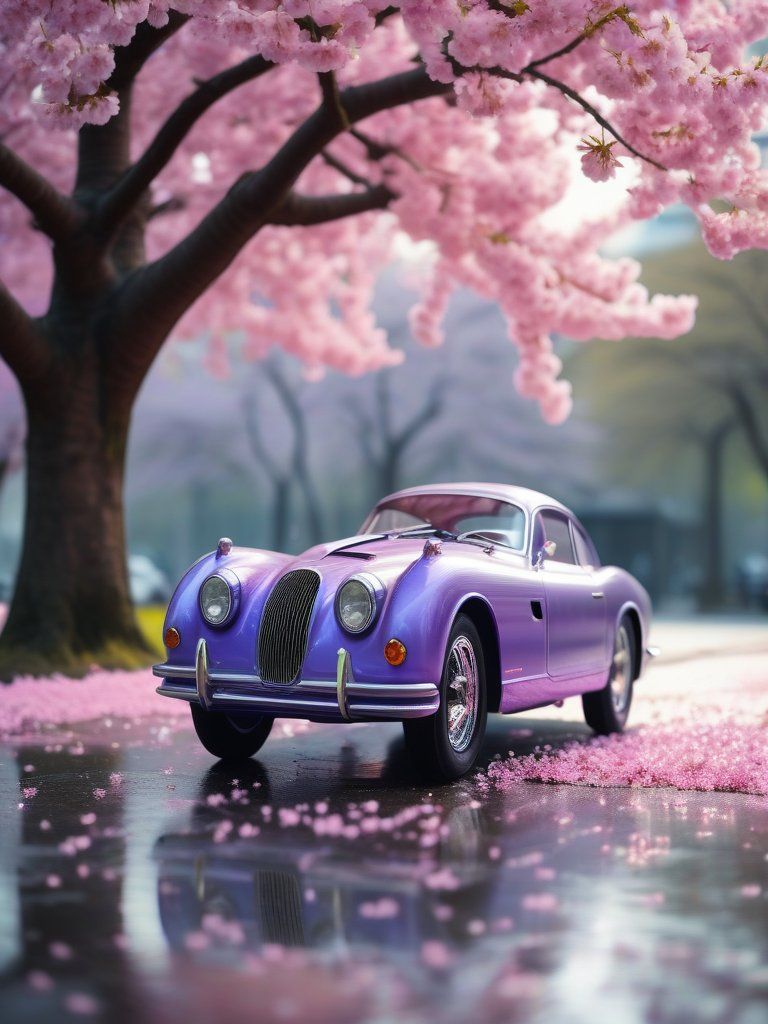
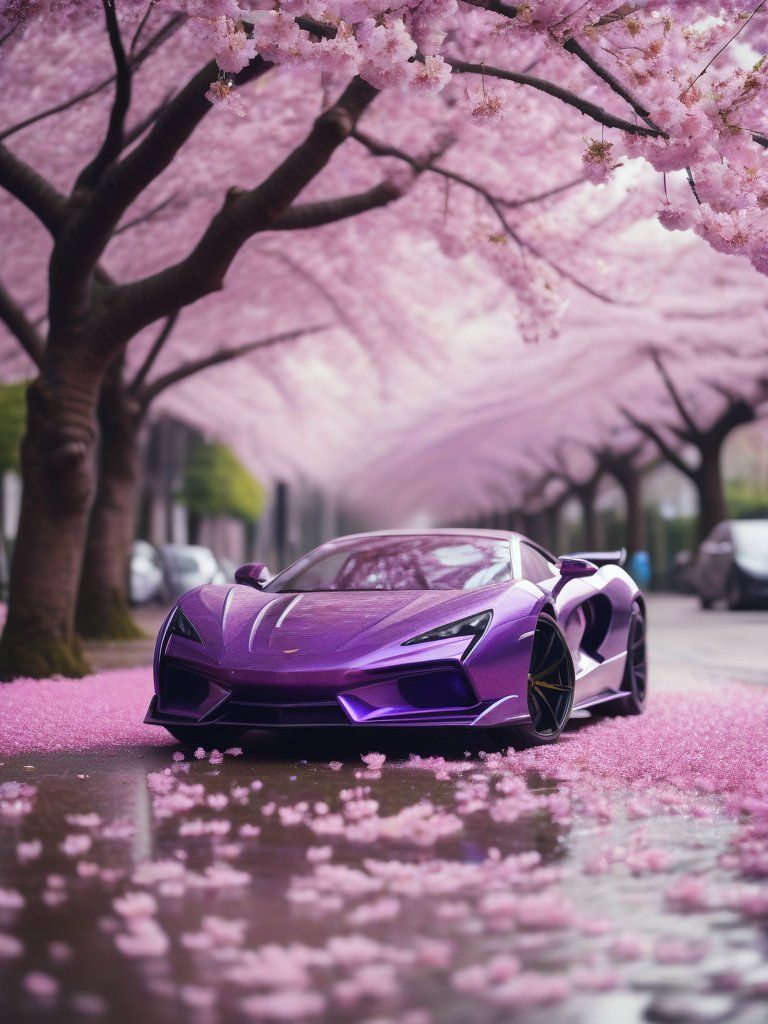
For optimal results when changing aspect ratios, consider using a higher strength value (0.8-0.9) to give the model more freedom to properly recompose the scene for the new dimensions. Alternatively, outpainting can provide more controlled expansion in specific directions while preserving the original content entirely.
Other critical parameters
The model parameter works the same as in text-to-image. However, some models perform better in certain image-to-image tasks. While most base models will work, those with stronger structure preservation or editing capabilities (like inpainting models) often produce more consistent results, especially for subtle edits.
- modelstring required
-
We make use of the AIR (Artificial Intelligence Resource) system to identify models. This identifier is a unique string that represents a specific model.
You can find the AIR identifier of the model you want to use in our Model Explorer, which is a tool that allows you to search for models based on their characteristics.
Learn more 3 resources
The steps parameter defines the total number of denoising steps. In image-to-image, only a portion of these steps are used, depending on the strength. For example, strength: 0.3 with steps: 50 means only the final ~15 steps are used. This makes higher step counts more important for quality at low strengths, as they give the model more room to refine the image.
- stepsinteger Min: 1 Max: 100 Default: 20
-
The number of steps is the number of iterations the model will perform to generate the image. The higher the number of steps, the more detailed the image will be. However, increasing the number of steps will also increase the time it takes to generate the image and may not always result in a better image (some schedulers work differently).
When using your own models you can specify a new default value for the number of steps.
Learn more 1 resource
The CFGScale (Classifier-Free Guidance Scale) parameter works exactly as it does in text-to-image. It controls how strongly the model follows your prompt. In image-to-image, this prompt pressure competes with the influence of your input image. Higher values push the model to follow the prompt more strictly, often at the cost of preserving original details.
- CFGScalefloat Min: 0 Max: 50 Default: 7
-
Guidance scale represents how closely the images will resemble the prompt or how much freedom the AI model has. Higher values are closer to the prompt. Low values may reduce the quality of the results.
Learn more 1 resource
The scheduler defines the denoising algorithm used by the model. Some schedulers (like DDIM) tend to preserve more of the original structure, while others (like Euler or DPM++) allow for more creativity. Your choice of scheduler can significantly affect results, especially at lower strengths.
- schedulerstring Default: Model's scheduler
-
An scheduler is a component that manages the inference process. Different schedulers can be used to achieve different results like more detailed images, faster inference, or more accurate results.
The default scheduler is the one that the model was trained with, but you can choose a different one to get different results.
Schedulers are explained in more detail in the Schedulers page.
Learn more 2 resources
Advanced features
Beyond the core parameters, several advanced features can significantly enhance your image-to-image generations.
IP-Adapters: Reference-based generation
IP-Adapters (Image Prompt Adapters) represent another approach to image-based generation. Unlike standard image-to-image which directly transforms the input image, IP-Adapters use reference images to condition the generation process while creating entirely new content.
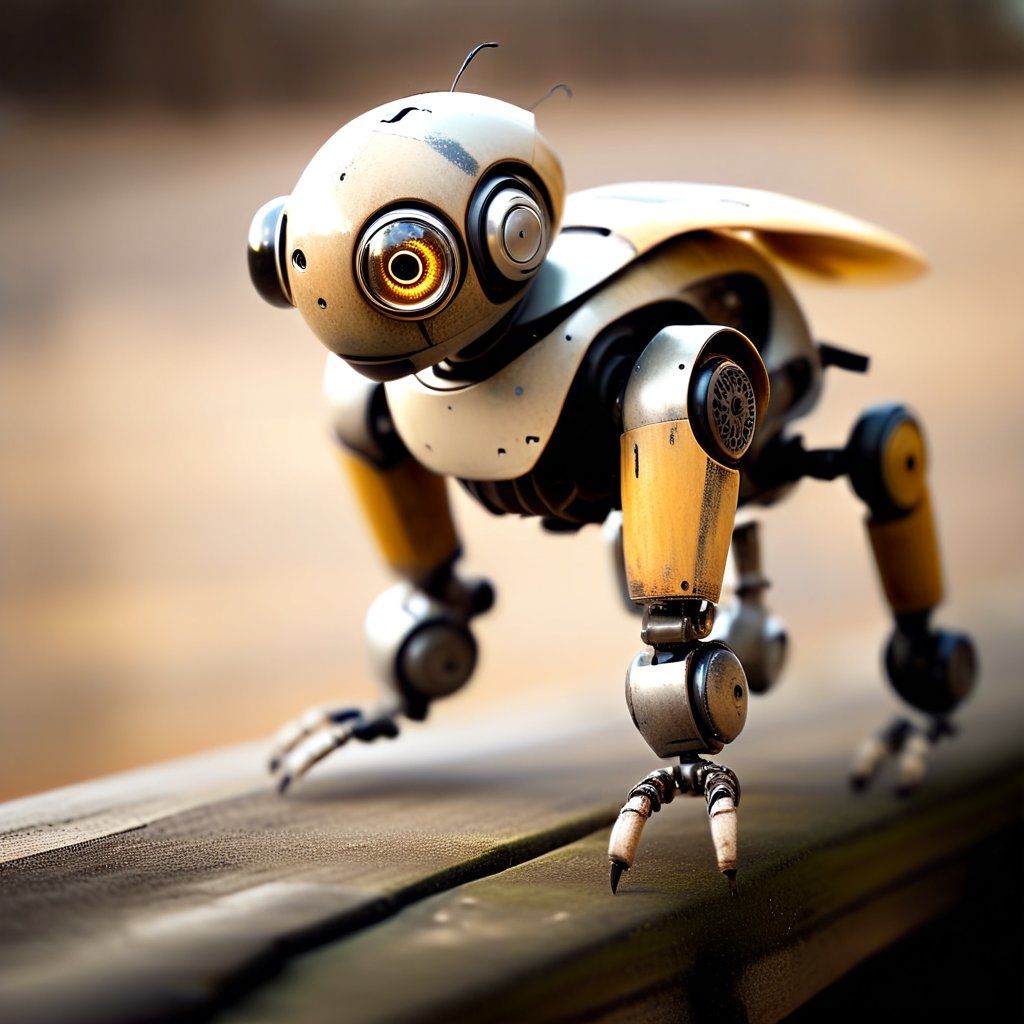
IP-Adapters work by extracting visual features from a reference image and using them to influence the generation process. This approach allows for:
- Creating new images that inherit stylistic elements from the reference.
- Generating content where specific visual attributes (like color palette, texturing, or composition) carry over.
- Combining visual references with text prompts for more precise guidance.
- Maintaining consistent visual language across multiple generations.
FLUX Redux, which is part of our FLUX Tools, is one implementation of IP-Adapter technology specialized for image variation and remixing.
Common use cases
Image-to-image excels at several transformation types, let's explore some common use cases.
Style adaptation
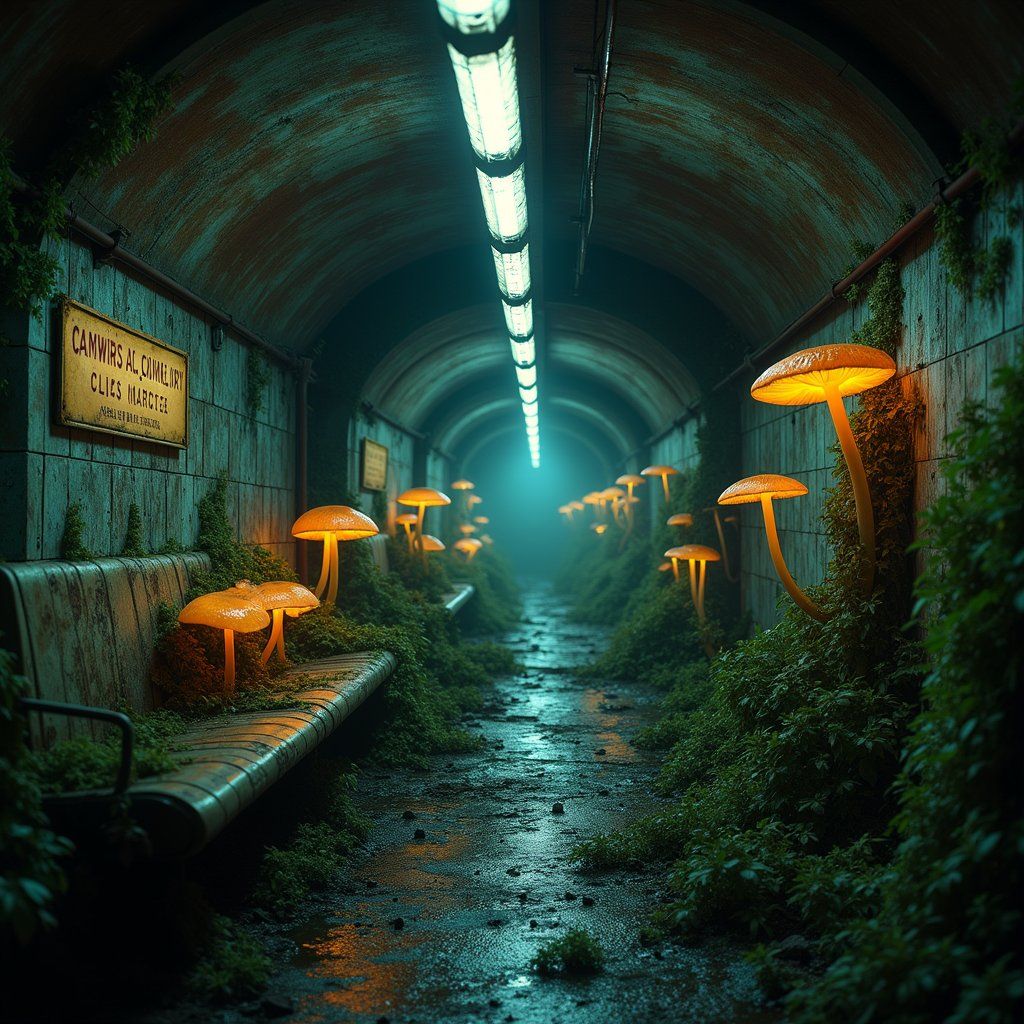
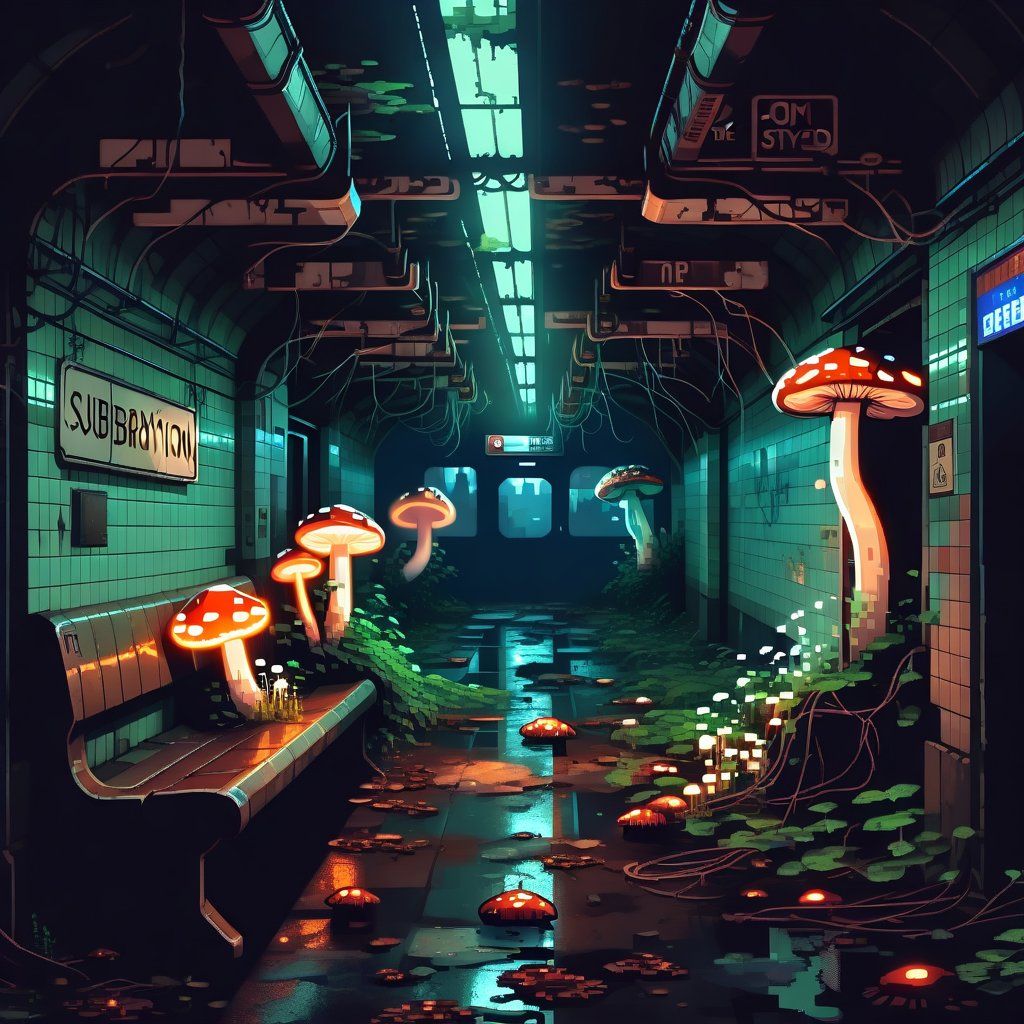
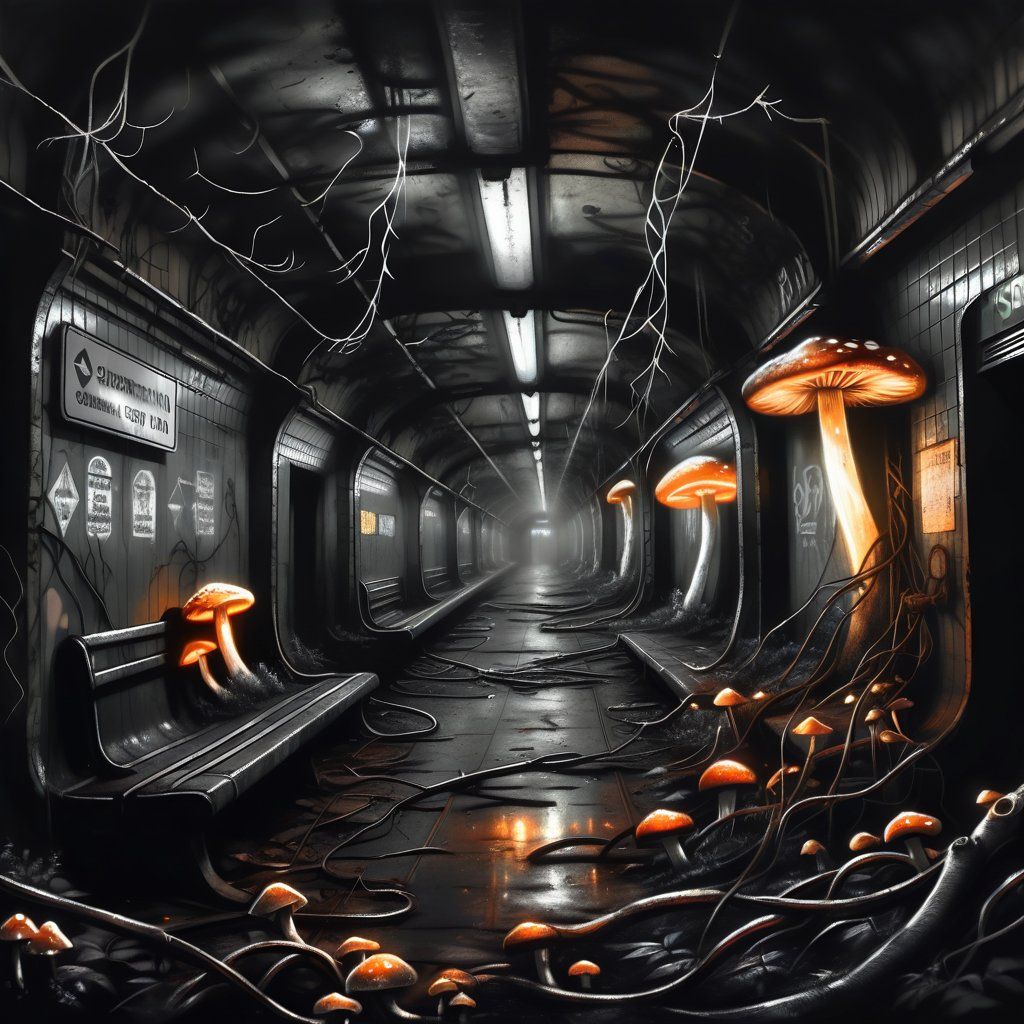
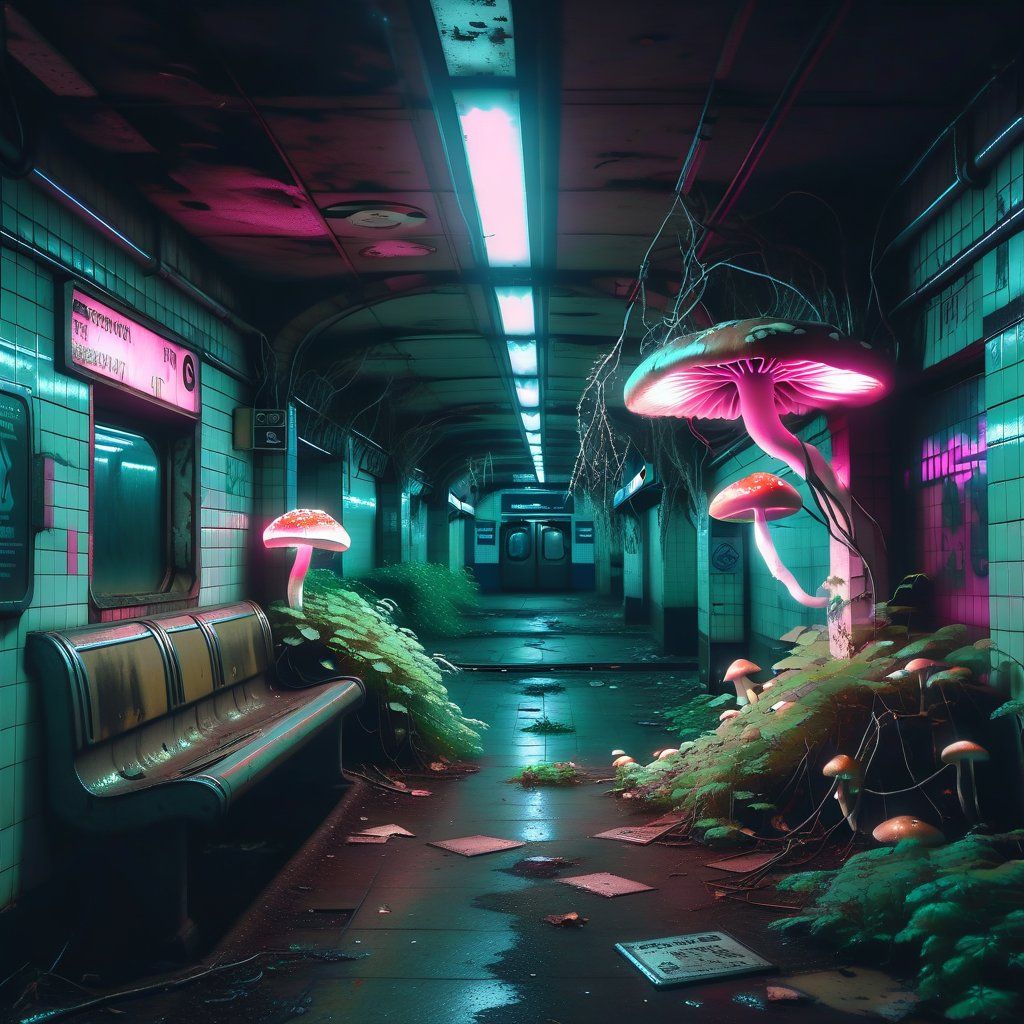
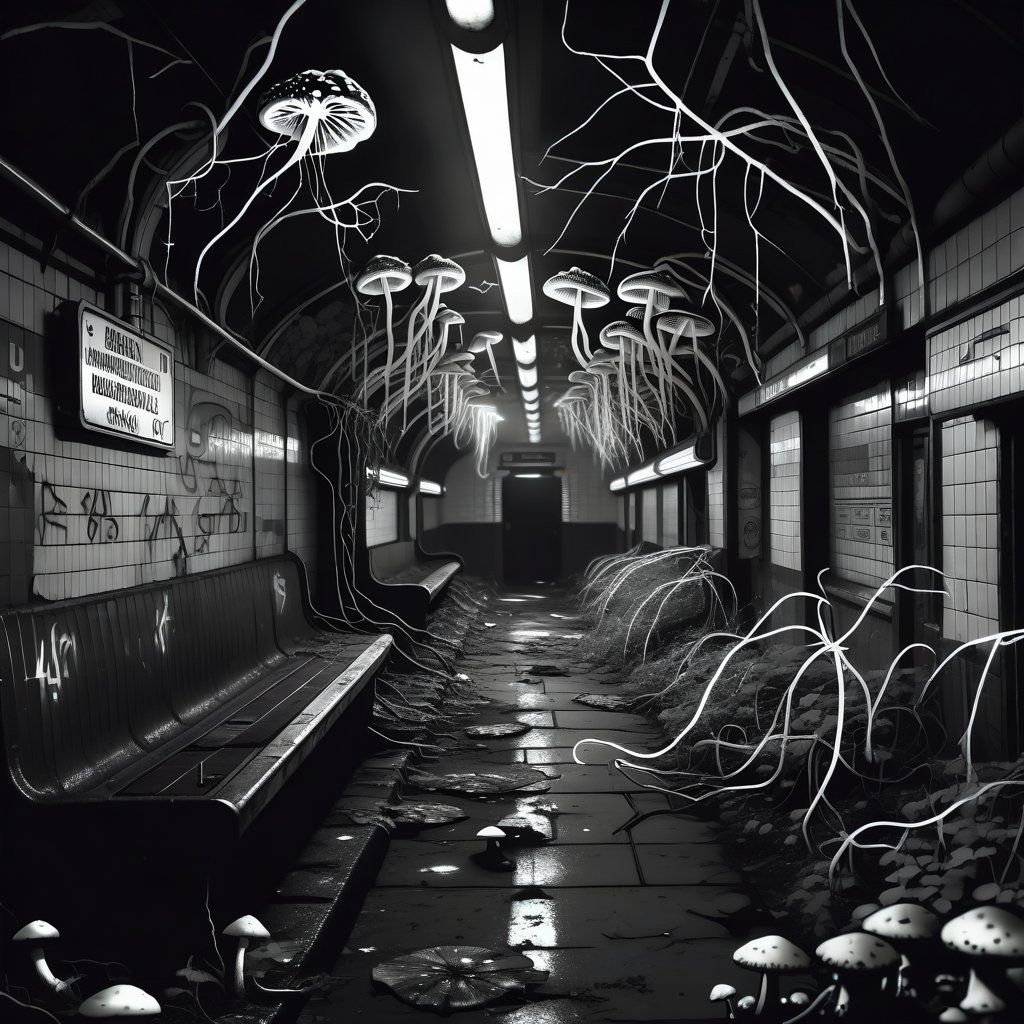
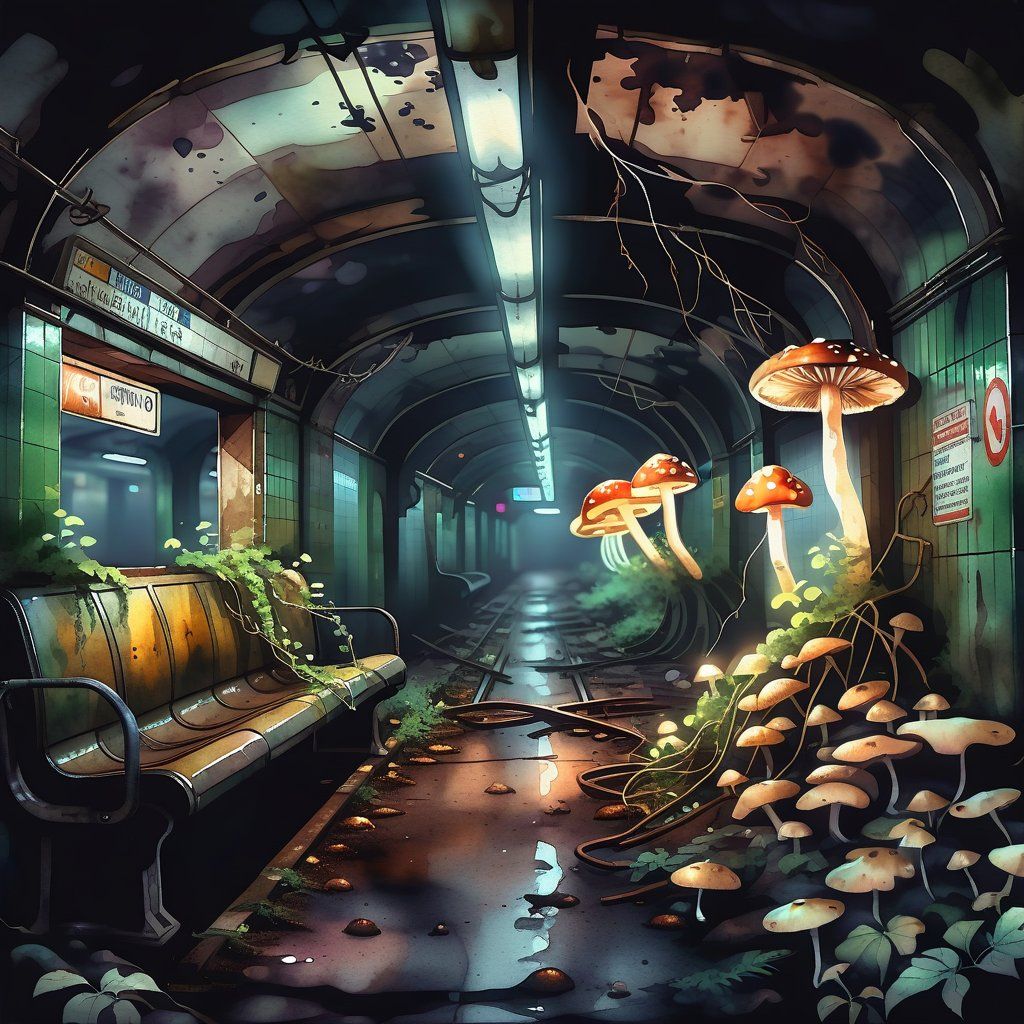
Modifying the artistic style of an image while maintaining the overall structure is very simple to do thanks to this technique. A recommended approach is to use a high CFGScale value, so the prompt influences the model more strongly. A strength value of 0.7-0.9 is often a good starting point to keep the original structure as much as possible.
Creative upscaling
Upscaling is a technique that allows you to increase the resolution of an image and enhance its details. Thanks to image-to-image, we can preserve the original structure and style while increasing the quality of the image by using a medium strength value (e.g., 0.5-0.6). The model will reimagine the image fixing the imperfections. The prompt should describe the image as much as possible.
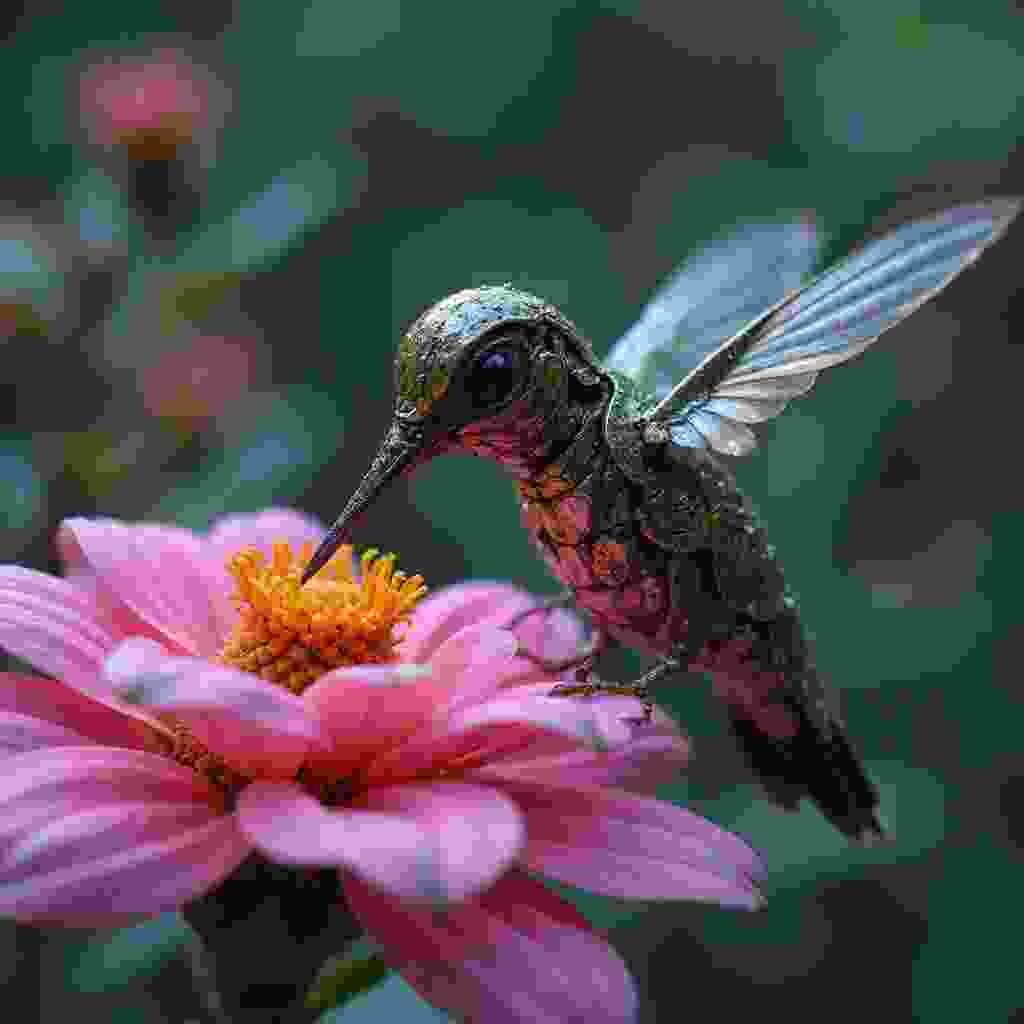
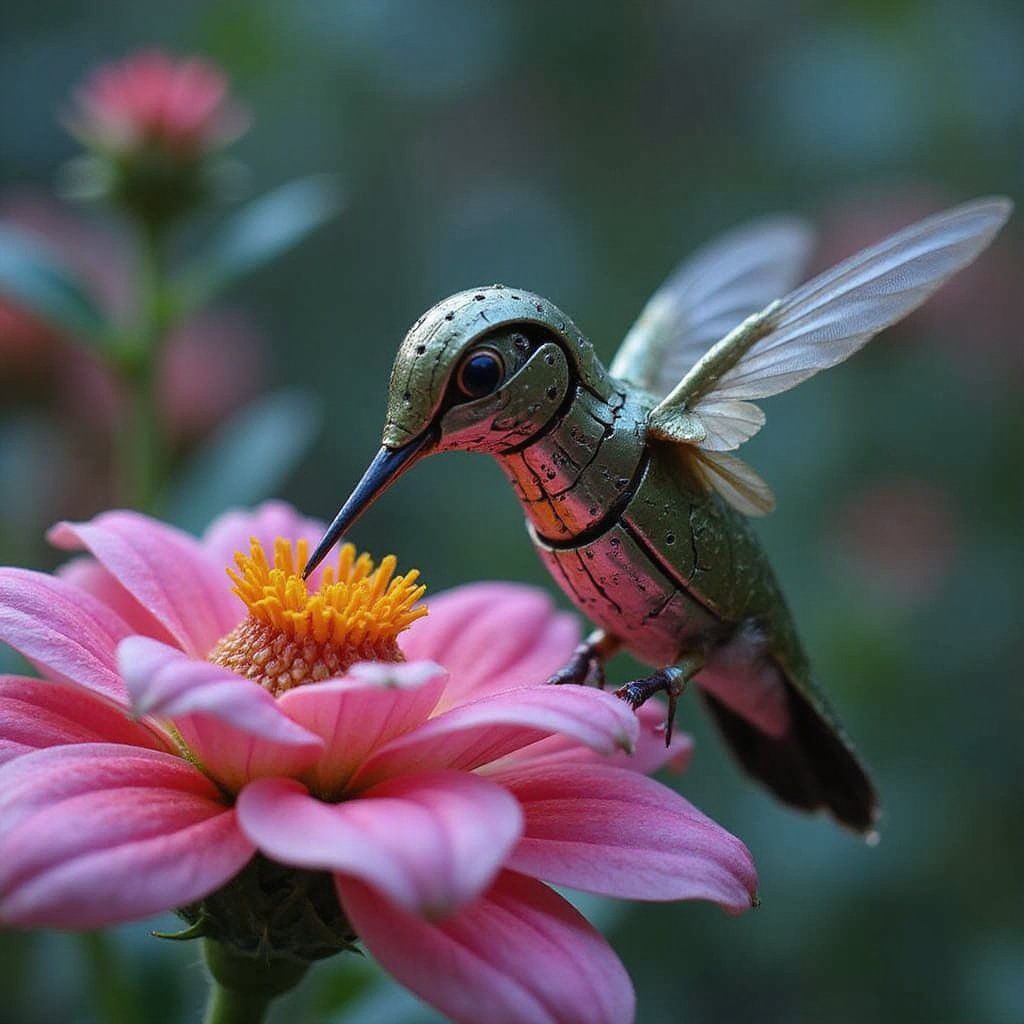
While FLUX models may not offer the most predictable experience for standard image-to-image transformations, they truly shine when used for creative upscaling. FLUX architecture excels at enhancing image resolution, making it an excellent choice specifically for this use case.
Advanced techniques
When basic settings aren't enough, these advanced techniques offer more precise control. They help you guide the model more intentionally and get more consistent, reliable results.
Prompt anchoring for structural preservation
One of the most powerful techniques for image-to-image is strategically anchoring your prompt to preserve specific elements.
Original prompt: A landscape with mountains, a pine forest, and a lake.
Anchored prompt: A landscape with mountains, a pine forest, and a lake, watercolor style, autumn colors.
By explicitly describing key elements you want to preserve, you create "structural anchors" that guide the model. This works because the model pays special attention to nouns and concrete objects mentioned in your prompt.
For maximum effectiveness:
- List all major visual elements you want to maintain.
- Describe their spatial relationships (e.g., "mountains in the background, forest in the midground, lake in the foreground").
- Mention distinctive visual features (e.g., "snow-capped mountains", "dense pine forest", "reflective lake").
- Add these descriptions before any style or modification terms.
Precision transformation through multiple passes
For complex transformations, multiple incremental passes often produce more coherent results than a single high-strength pass. The process involves:
- Initial foundation (strength: 0.5-0.7): Establish basic style changes while preserving most structural elements.
- Refinement pass (strength: 0.4-0.6): Use the first result as your seed image, reinforcing the desired style changes.
- Detail enhancement (strength: 0.3-0.4): Final pass with a prompt emphasizing specific details and quality.
This multi-pass approach offers several advantages. By applying gradual transformations, it avoids drastic structural changes that would be difficult to recover from. Each pass can target a different aspect of the image. It also allows for prompt adjustments between passes based on intermediate results, giving you more control over the outcome. Overall, this leads to a more natural progression of changes and helps maintain visual coherence throughout the process.
Semantic guidance through negative prompts
Negative prompts are particularly powerful in image-to-image for guiding what should be transformed versus preserved.
Original image prompt: A bright city skyline on a clear day, sunlight reflecting off glass buildings, with people walking and traffic moving below.
Image-to-image positive prompt: A busy city skyline under grey clouds, reflections on wet pavement, soft rain falling, people with umbrellas.
Image-to-image negative prompt: sunlight, clear sky, bright day, dry streets, shadows, harsh light, blue sky, sun glare.
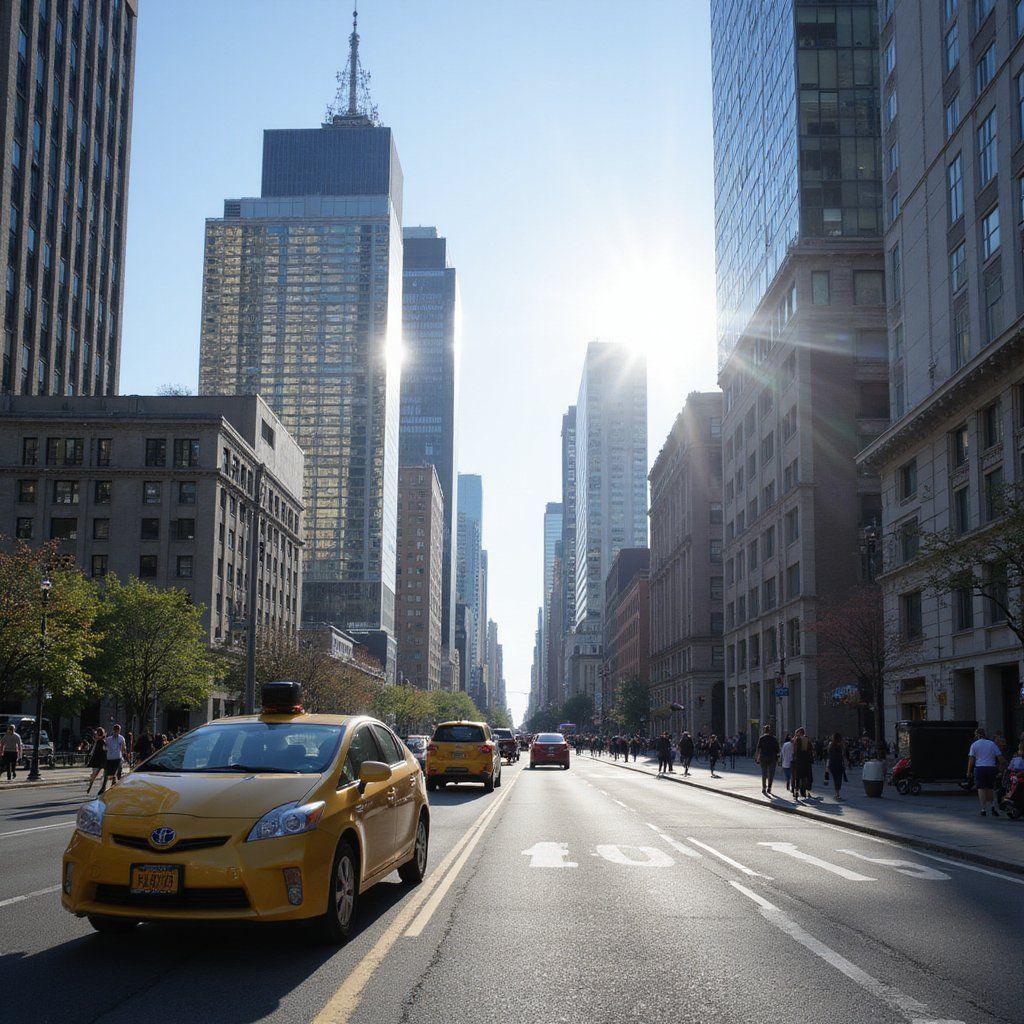
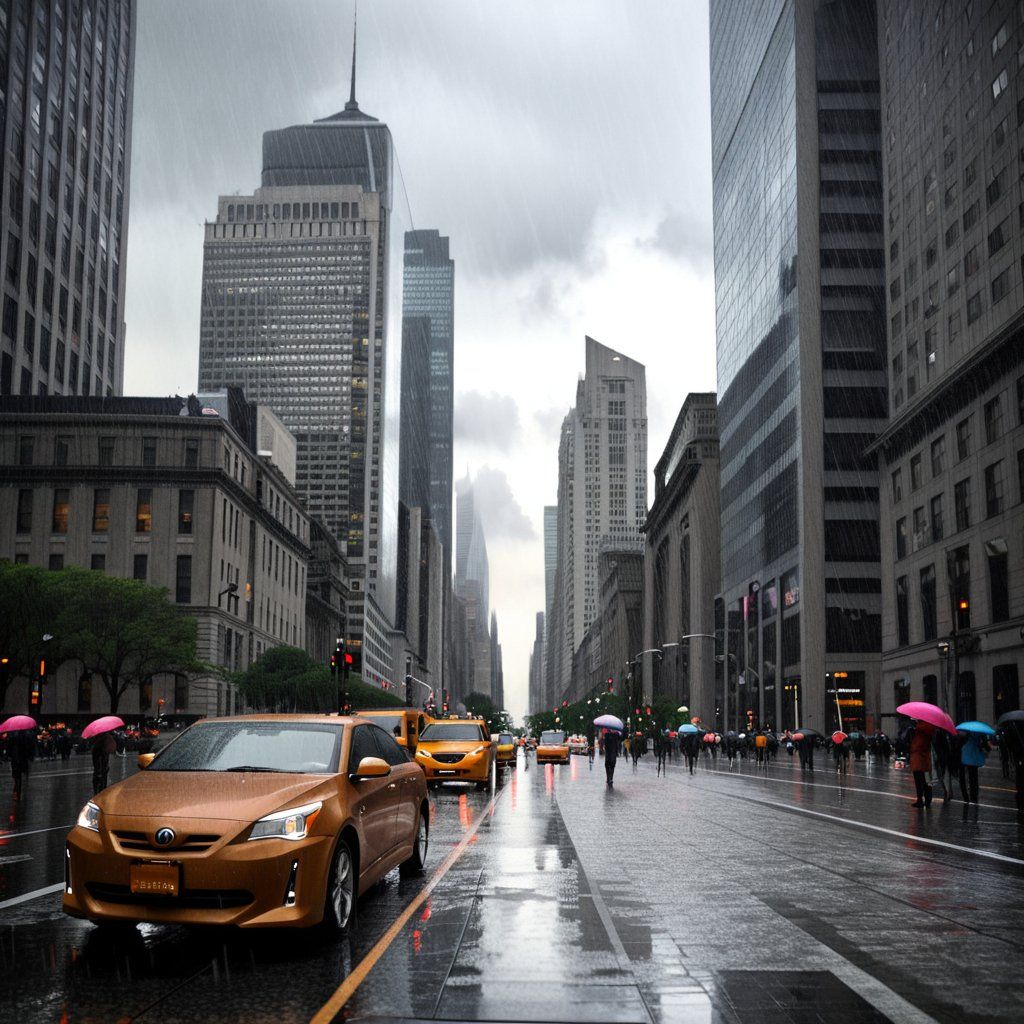
This approach explicitly tells the model what elements from the original image should be removed, allowing for more targeted and controlled transformations. To use this effectively, include specific attributes you want to change. Using opposites or antonyms (like day -> night or dry -> wet) helps steer the model clearly away from the original look. The key is to be specific and increase CFGScale value so the model can focus on the desired changes.