Inpainting: Selective image editing
Introduction
Inpainting is a powerful image editing technique that allows you to selectively modify specific areas of an image while preserving the rest intact. Unlike standard image-to-image which transforms the entire image, inpainting focuses only on masked regions, making it ideal for targeted edits like object removal, replacement, or enhancement.
This guide covers everything you need to know about inpainting with the Runware API, from basic concepts to advanced techniques for achieving natural-looking edits.
Basic request example
Here's a simple inpainting request to get you started:
[
  {
    "taskType": "imageInference",
    "taskUUID": "3738f7ee-392d-4fae-927d-604abf2de01b",
    "positivePrompt": "wall",
    "seedImage": "2b591bbd-2b86-4085-a2d5-60e3eb337b44",
    "maskImage": "b533db85-8479-4dbc-a464-4f5851a52005",
    "model": "civitai:403361@456538",
    "width": 1024,
    "height": 1024,
    "strength": 0.8,
    "steps": 40
  }
]{
"data": [
{
"taskType": "imageInference",
"imageUUID": "ea0613fa-6ed9-4a5d-b65a-ae4f00cdd2a8",
"taskUUID": "3738f7ee-392d-4fae-927d-604abf2de01b",
"seed": 526241620747753540,
"imageURL": "https://im.runware.ai/image/ws/2/ii/ea0613fa-6ed9-4a5d-b65a-ae4f00cdd2a8.jpg"
}
]
}This request replaces (or just removes) a framed picture defined by the mask. The high strength value (0.8) ensures the masked area is almost completely regenerated according to the prompt.
How inpainting works
Inpainting lets you modify specific parts of an image using a mask to define what should change and a text prompt to describe what should appear.
The process begins by converting the original image into a latent representation, a compressed version where visual features are encoded as abstract data rather than raw pixels. The model then applies the mask in this latent space, identifying which regions to regenerate and which to leave untouched.
During generation, the model progressively refines the masked area using three key inputs: the semantic meaning of your prompt, the surrounding unmasked content, and the overall structure and style of the image. This helps ensure the new content blends naturally with the original.
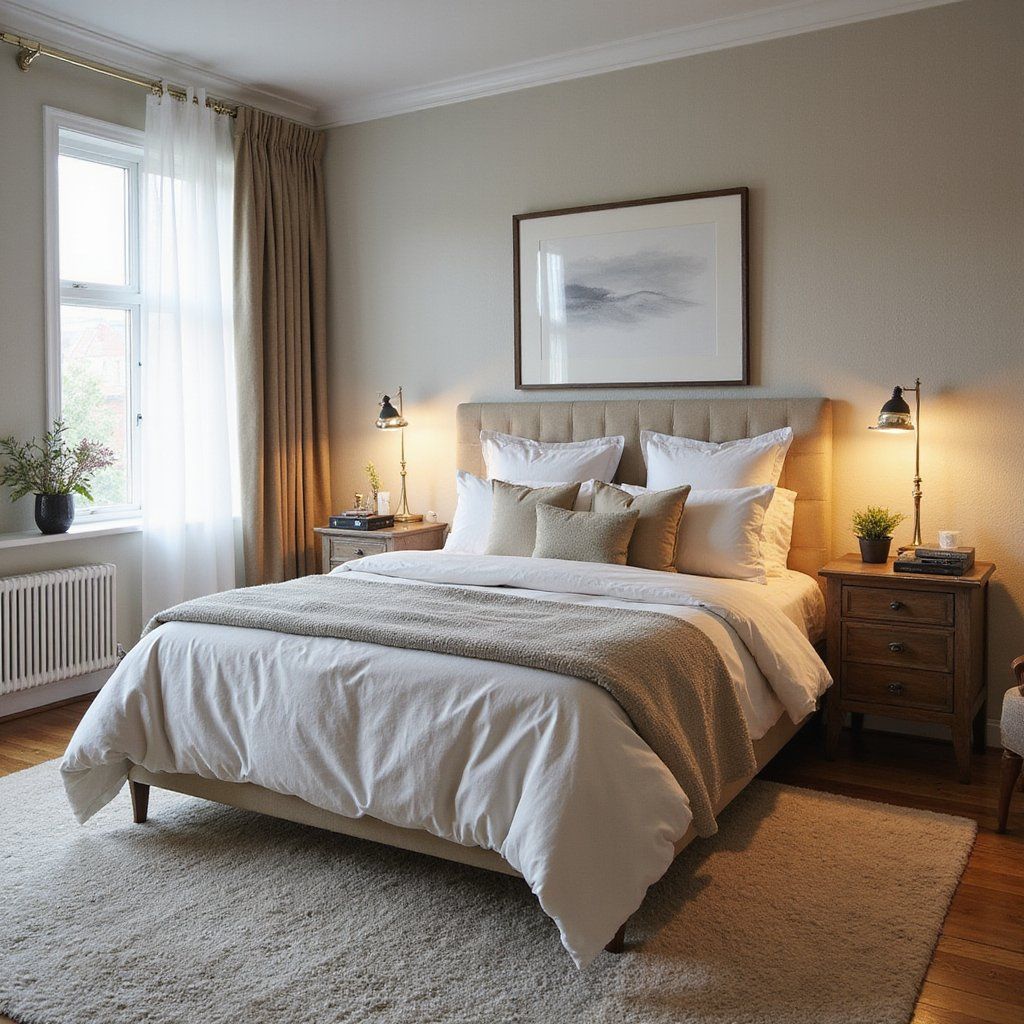
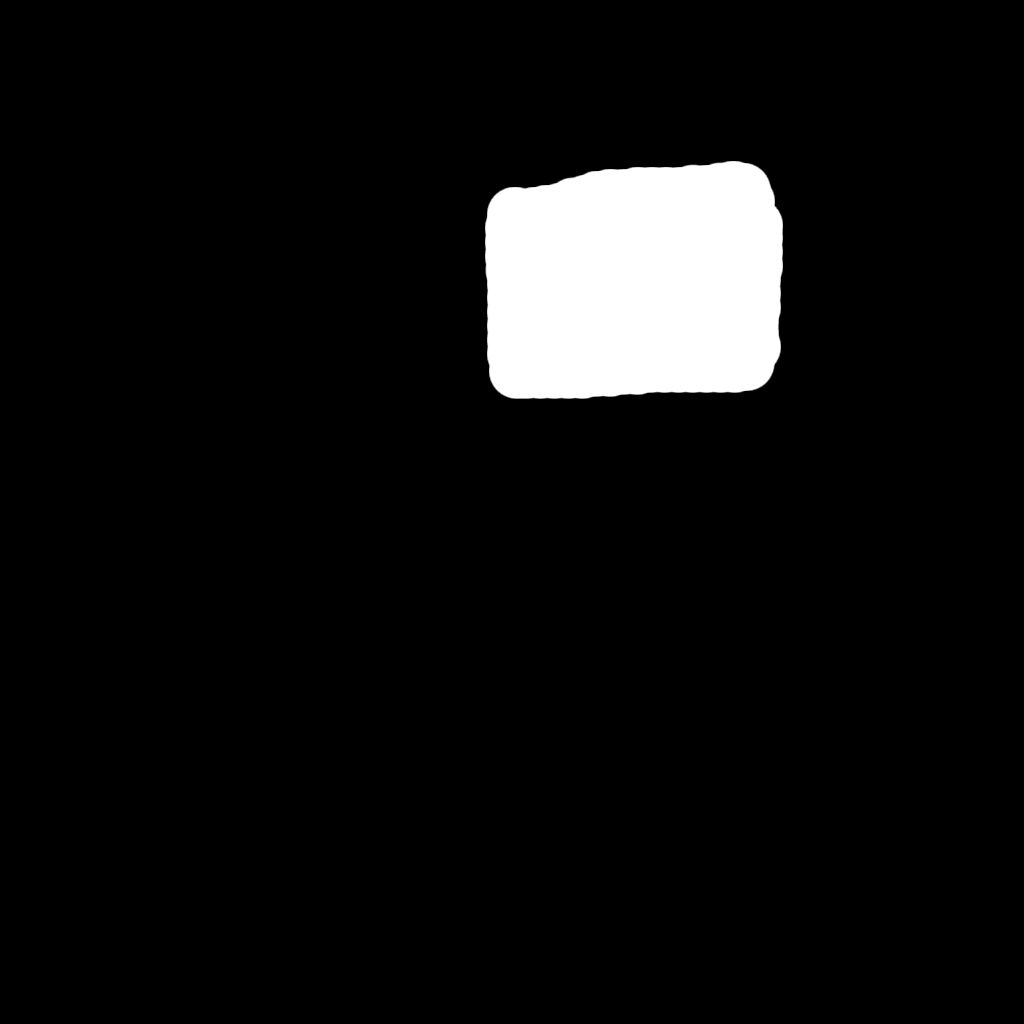
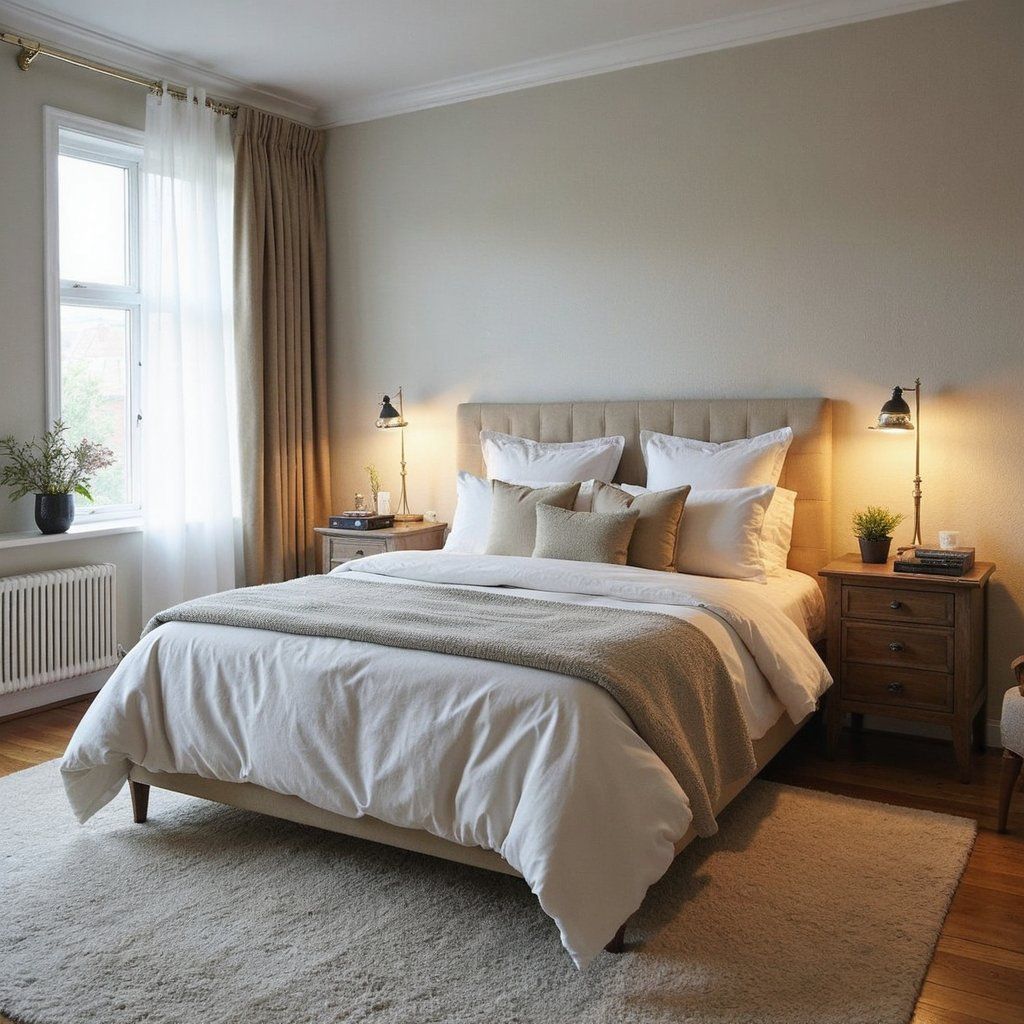
Inpainting involves solving complex visual challenges like maintaining consistent lighting, texture alignment, and structural continuity. Models trained specifically for inpainting are better at handling edge transitions and reducing artifacts, as they've learned to generate content that fits neatly into partially observed images.
The success of inpainting depends heavily on how you use it. Smaller, well-placed masks are easier to blend than large areas. Images with simpler backgrounds tend to yield better results. And the more your prompt aligns with the existing image, the more convincing the outcome will be.
Key parameters
Seed and mask image: The foundation
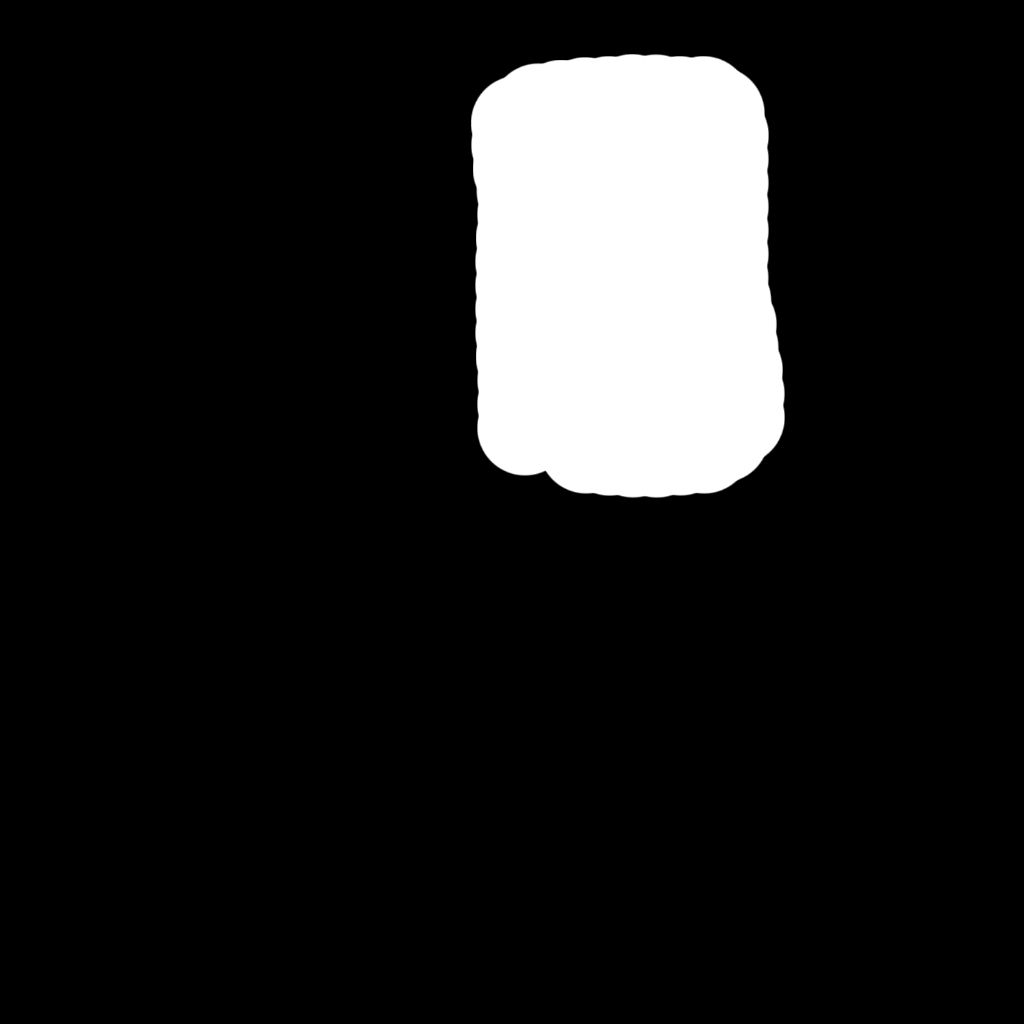
The foundation of inpainting is the combination of a seed image and a mask. The seedImage provides the base image to be edited, just like in image-to-image. The maskImage defines which areas to modify from the seed image.
- seedImagestring required
-
When doing image-to-image, inpainting or outpainting, this parameter is required.
Specifies the seed image to be used for the diffusion process. The image can be specified in one of the following formats:
- An UUID v4 string of a previously uploaded image or a generated image.
- A data URI string representing the image. The data URI must be in the format
data:<mediaType>;base64,followed by the base64-encoded image. For example:data:image/png;base64,iVBORw0KGgo.... - A base64 encoded image without the data URI prefix. For example:
iVBORw0KGgo.... - A URL pointing to the image. The image must be accessible publicly.
Supported formats are: PNG, JPG and WEBP.
Learn more 3 resources
- maskImagestring required
-
When doing inpainting, this parameter is required.
Specifies the mask image to be used for the inpainting process. The image can be specified in one of the following formats:
- An UUID v4 string of a previously uploaded image or a generated image.
- A data URI string representing the image. The data URI must be in the format
data:<mediaType>;base64,followed by the base64-encoded image. For example:data:image/png;base64,iVBORw0KGgo.... - A base64 encoded image without the data URI prefix. For example:
iVBORw0KGgo.... - A URL pointing to the image. The image must be accessible publicly.
Supported formats are: PNG, JPG and WEBP.
Learn more 1 resource
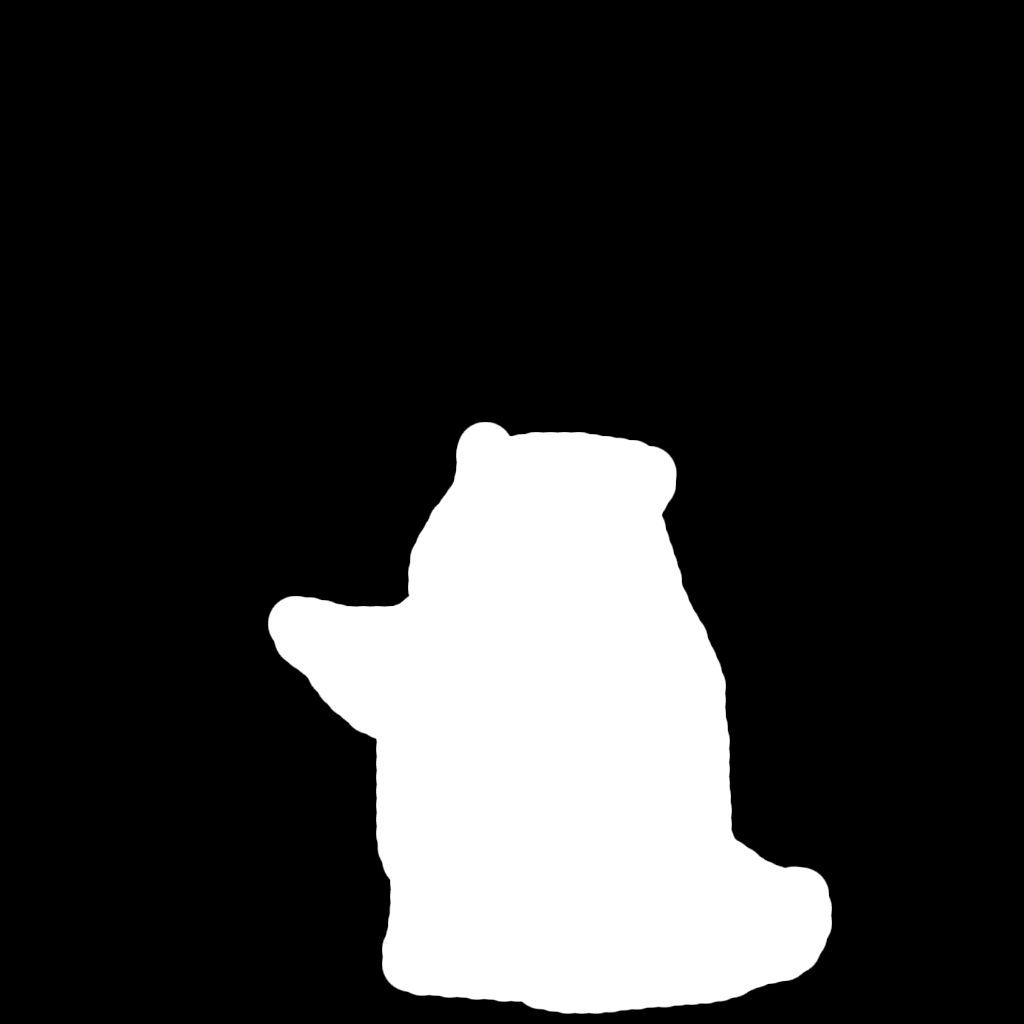
In the mask image:
- White areas (255,255,255) indicate regions to be modified according to your prompt.
- Black areas (0,0,0) indicate regions to preserve from the original image.
- Gray values create partial modification, with lighter grays modified more than darker ones. This helps in blending the generated content with the existing image.
You can create these mask images using any image editing software like Photoshop, GIMP, Krita, or even online editors. The process typically involves:
- Opening your original image in your editor of choice.
- Creating a new layer that will serve as your mask.
- Using painting tools with white color to mark areas you want to modify.
- Filling the rest of the layer with black to indicate areas to preserve.
- Optionally using blur or gradient tools to create smooth transitions at boundaries.
- Exporting just the mask layer as a separate grayscale image.
For simple masks, even basic applications can work well. The important part is creating a clear distinction between areas to modify (white) and areas to preserve (black). Once created, you can upload both your original image and the mask to Runware using the Image Upload API to use them in inpainting requests.
If you prefer an automated approach, check out our automatic mask generation section below for tools that can create masks for you based on detected objects, faces, or other elements.
Strength: Controlling transformation intensity
The strength parameter controls the intensity of changes within the masked area, ranging from 0.0 to 1.0 as in image-to-image requests.
- strengthfloat Min: 0 Max: 1 Default: 0.8
-
When doing image-to-image or inpainting, this parameter is used to determine the influence of the
seedImageimage in the generated output. A lower value results in more influence from the original image, while a higher value allows more creative deviation.Learn more 3 resources
For most inpainting tasks, higher strength values produce better results since the goal is typically to replace content rather than modify it subtly.
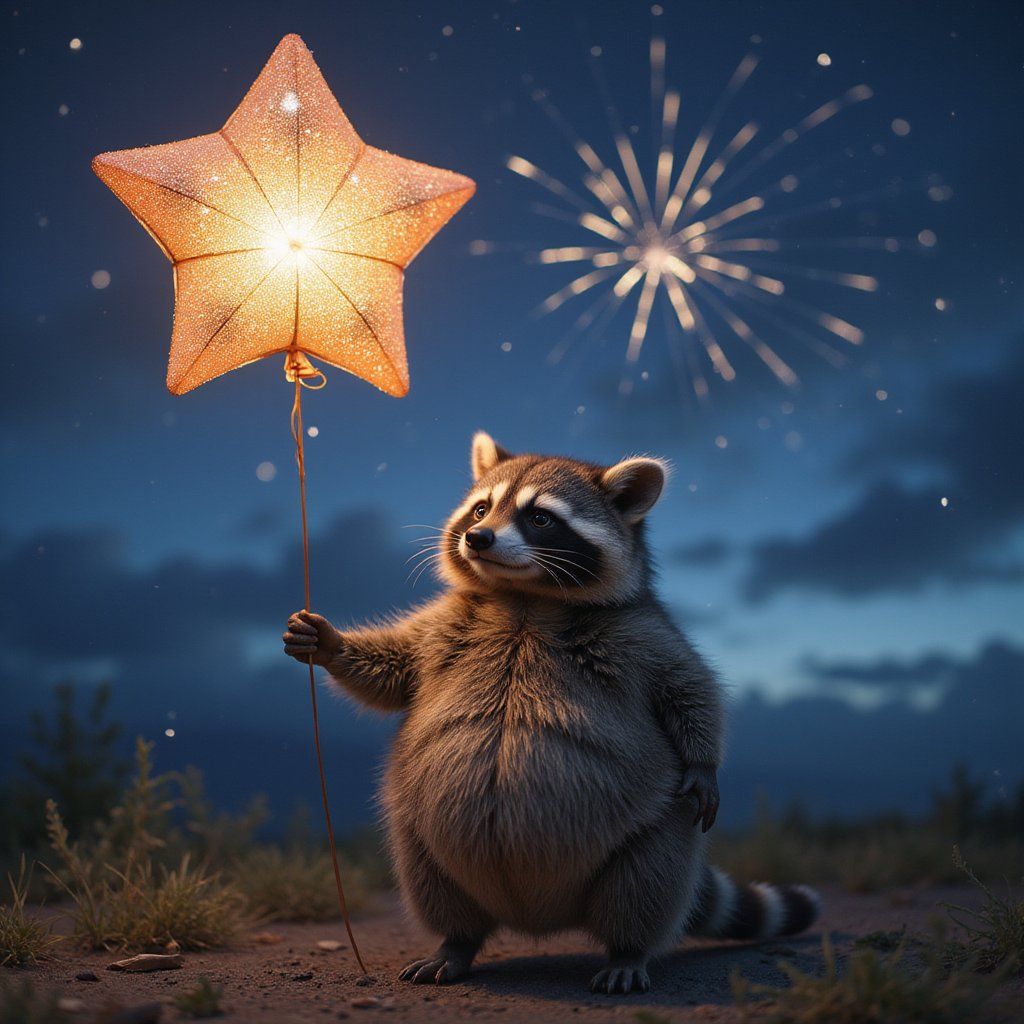

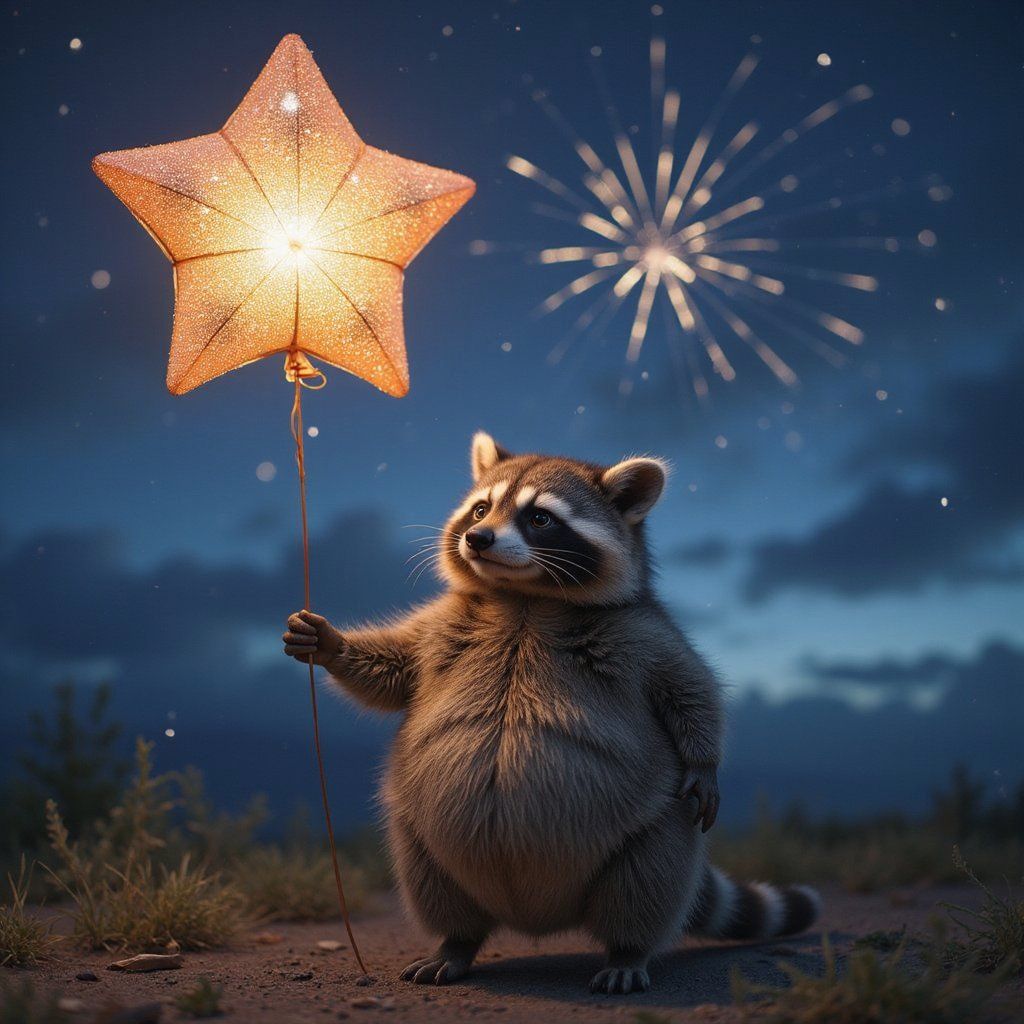
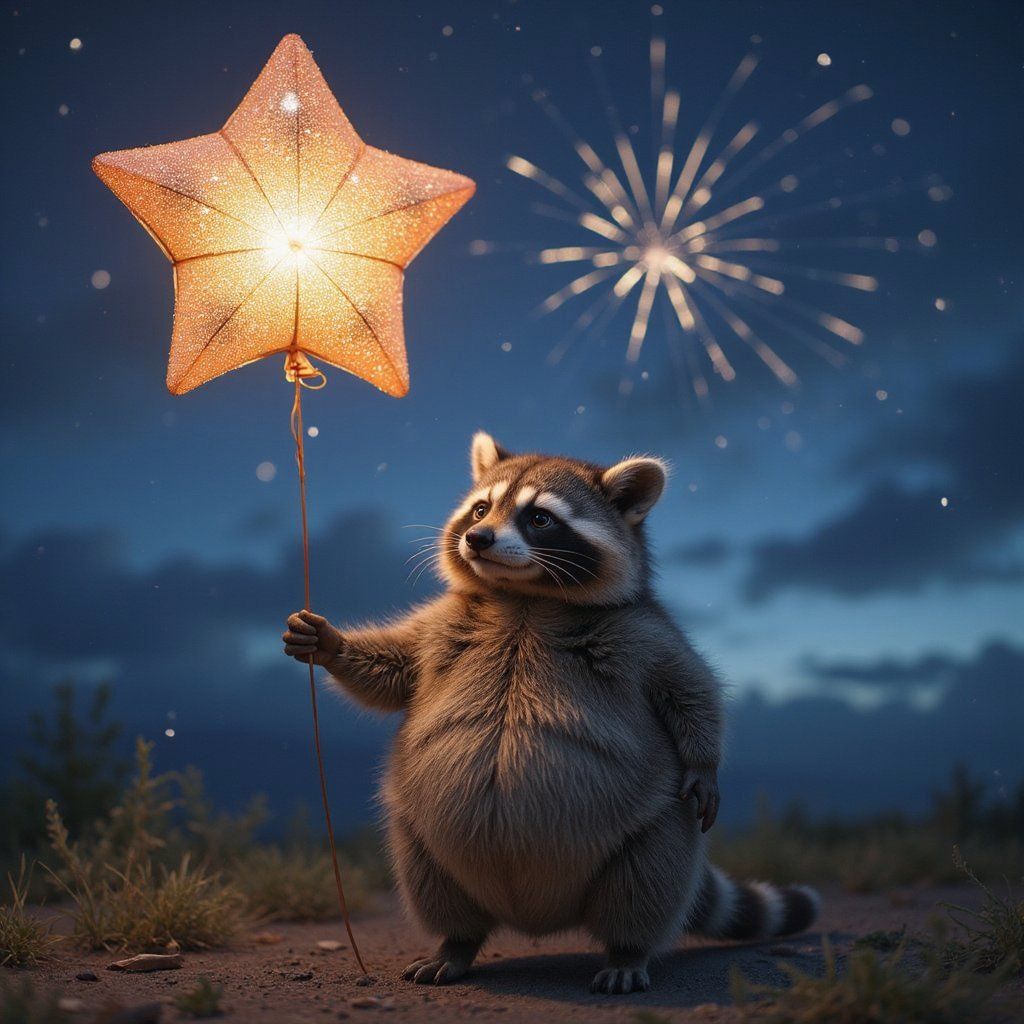
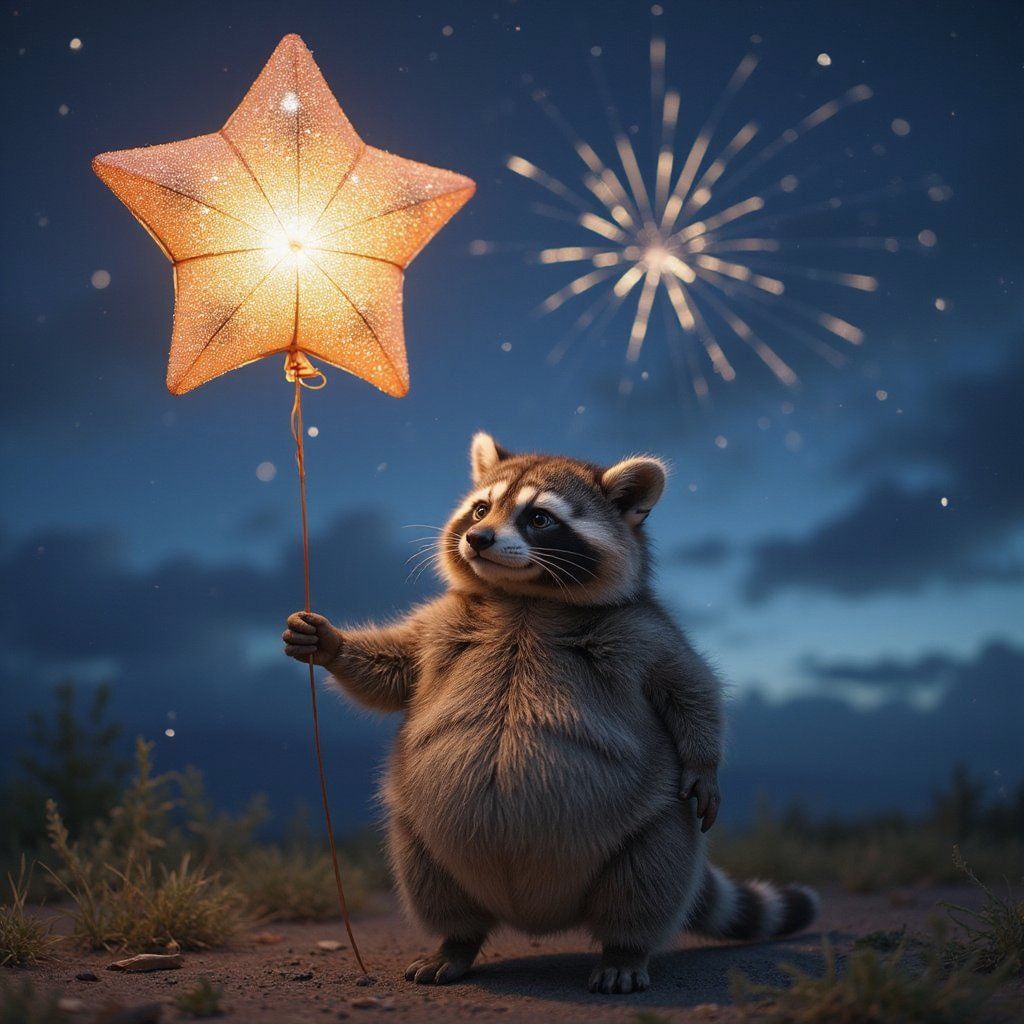
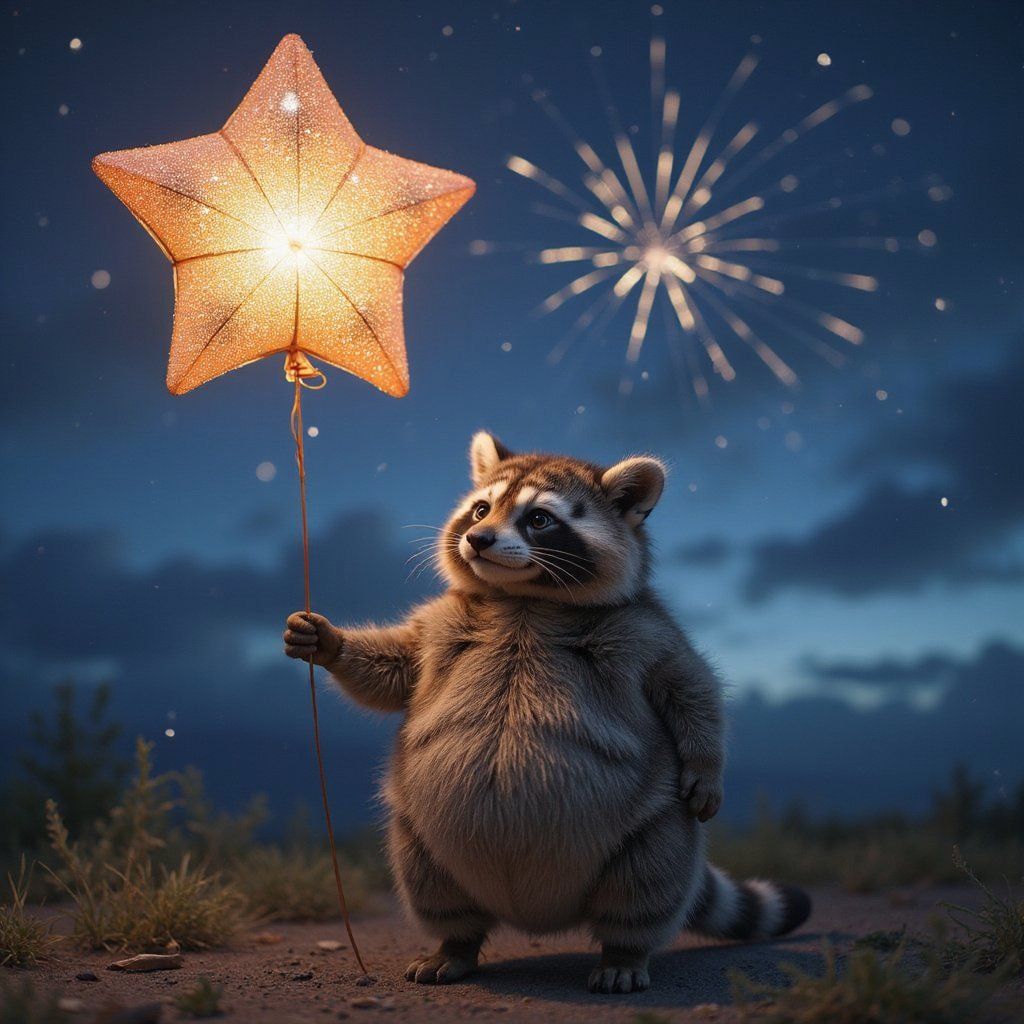
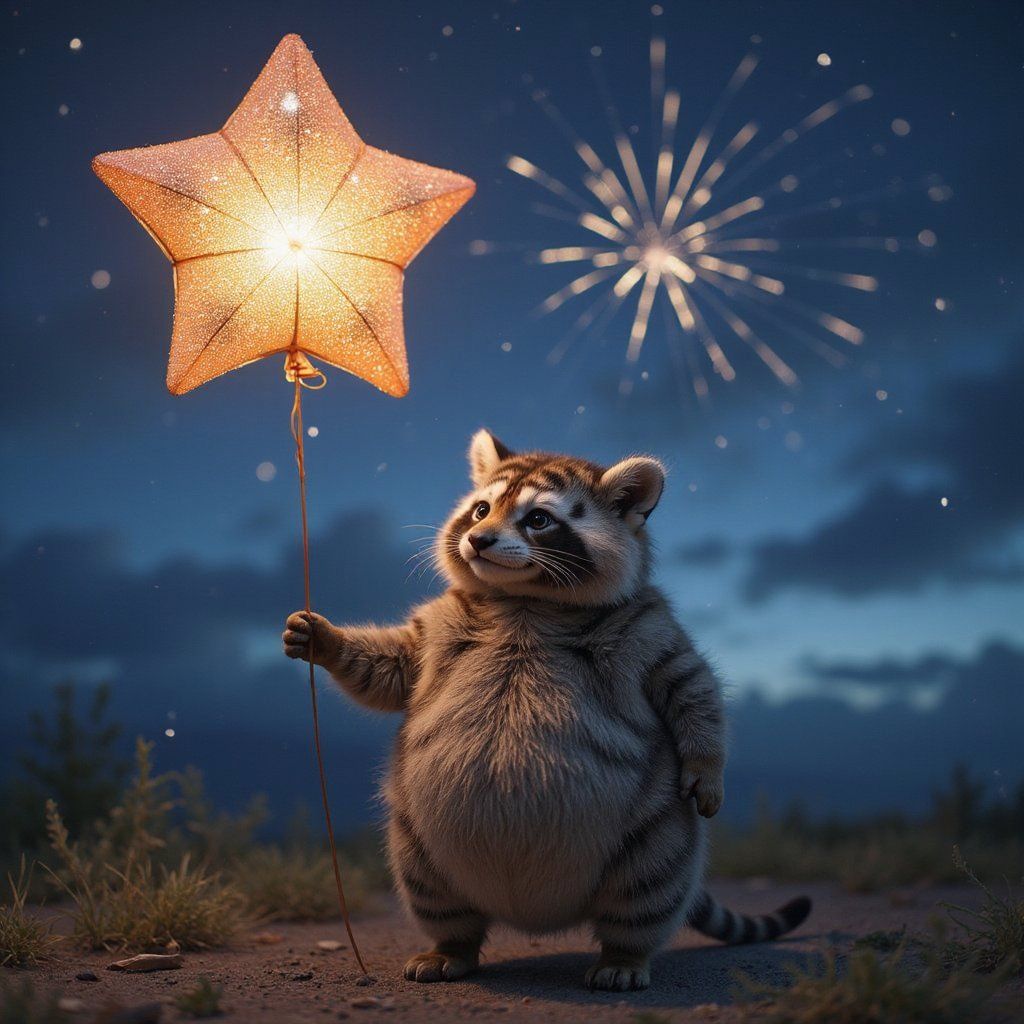
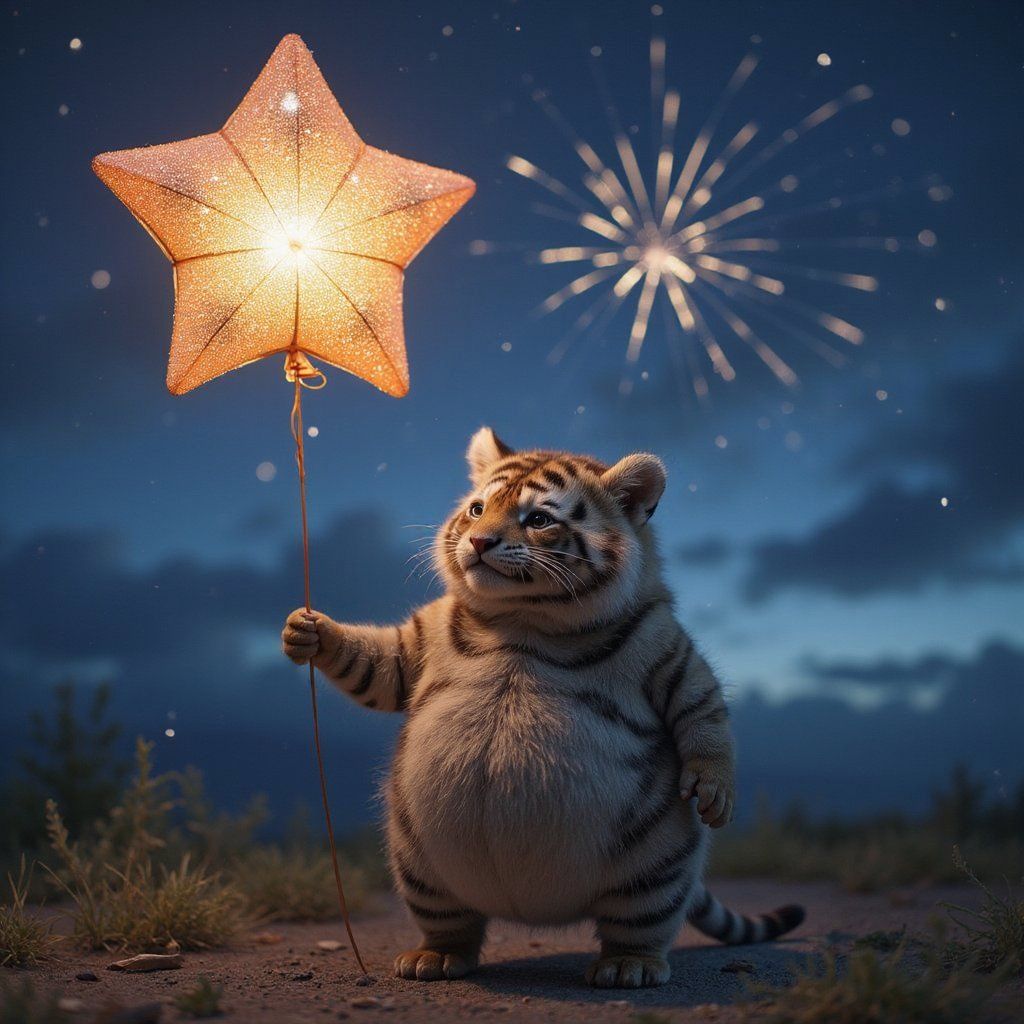


Notice how the tiger starts to appear at around 0.7–0.8 strength. Using a lower strength value is not enough to steer generation toward the desired outcome, while using a higher strength value leads to the tiger appearing in different style and not fully aligned with the original composition. This highlights the importance of finding the right strength range, one that allows the prompt to take control without completely discarding the structural context of the input image.
Note that some specialized inpainting models like FLUX Fill do not use the strength parameter, as they automatically determine the optimal approach based on the mask and context.
Mask margin: Enhancing detail
The maskMargin parameter activates a detail-focused inpainting mode that significantly enhances the quality of specific areas by effectively zooming into the masked region during processing.
- maskMargininteger Min: 32 Max: 128
-
Adds extra context pixels around the masked region during inpainting. When this parameter is present, the model will zoom into the masked area, considering these additional pixels to create more coherent and well-integrated details.
This parameter is particularly effective when used with masks generated by the Image Masking API, enabling enhanced detail generation while maintaining natural integration with the surrounding image.
Learn more 1 resource
From a technical perspective, maskMargin works by:
- Cropping the original image to include just the masked area plus the specified margin in pixels.
- Performing inpainting at a higher effective resolution on this cropped region.
- Seamlessly blending the enhanced region back into the original image.
This approach dramatically improves detail quality by concentrating the model's full resolution capacity on a smaller area. The value you specify (in pixels) determines how much surrounding context the model considers during generation. Values between 32-64 pixels typically provide optimal results for most cases.
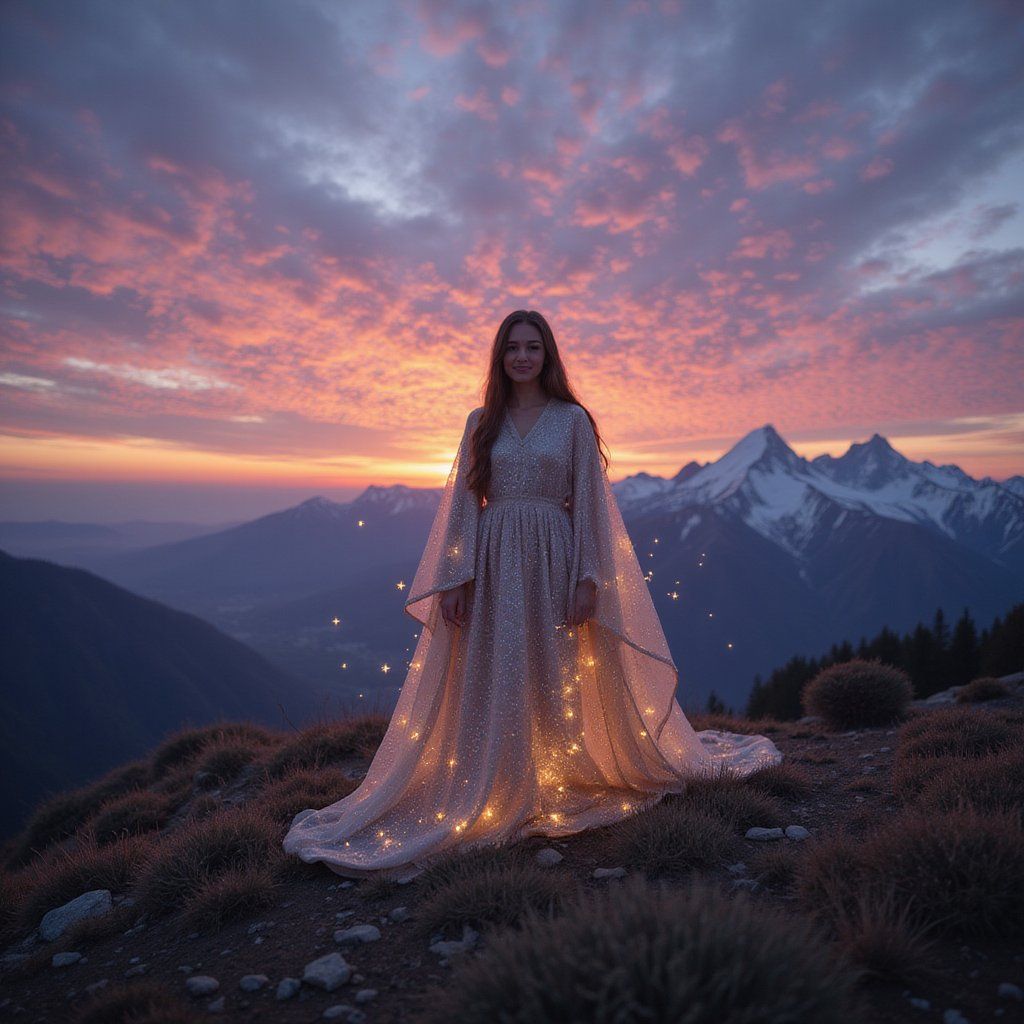
The maskMargin parameter is particularly powerful when combined with our automatic mask generation feature. For example, when using face detection to create a mask, adding a maskMargin allows the model to enhance facial features with exceptional detail.
This technique is ideal for targeted improvements like enhancing specific objects, refining facial details, or upgrading small text, especially when you want to maintain the overall composition while improving particular elements.
The maskMargin parameter is not compatible with all models. Specialized inpainting models like FLUX Fill operate differently and do not support this feature.
Model: Specialized inpainting models
The model parameter determines which AI model performs the inpainting task.
- modelstring required
-
We make use of the AIR (Artificial Intelligence Resource) system to identify models. This identifier is a unique string that represents a specific model.
You can find the AIR identifier of the model you want to use in our Model Explorer, which is a tool that allows you to search for models based on their characteristics.
Learn more 3 resources
Different model architectures handle inpainting with varying levels of specialization:
- Base checkpoints (SD 1.5, SDXL, FLUX) support inpainting functionality, but since they're trained primarily for general image generation, they may struggle with precise consistency between original and generated content, especially when using a high strength value.
- Inpainting-specific models (such as those built on SDXL or SD 1.5) are fine-tuned versions that have undergone additional training with masked images. This specialized training improves their boundary handling capabilities and context awareness, making them better at preserving the coherence between modified and unmodified regions.
- FLUX Fill (
runware:102@1, part of FLUX Tools) is FLUX's dedicated inpainting model that uses a different technical approach than traditional models. Unlike standard models that require manual parameter tuning, FLUX Fill automatically determines optimal settings based on the input image and mask, providing less granular control but often producing better results for complex scenes.
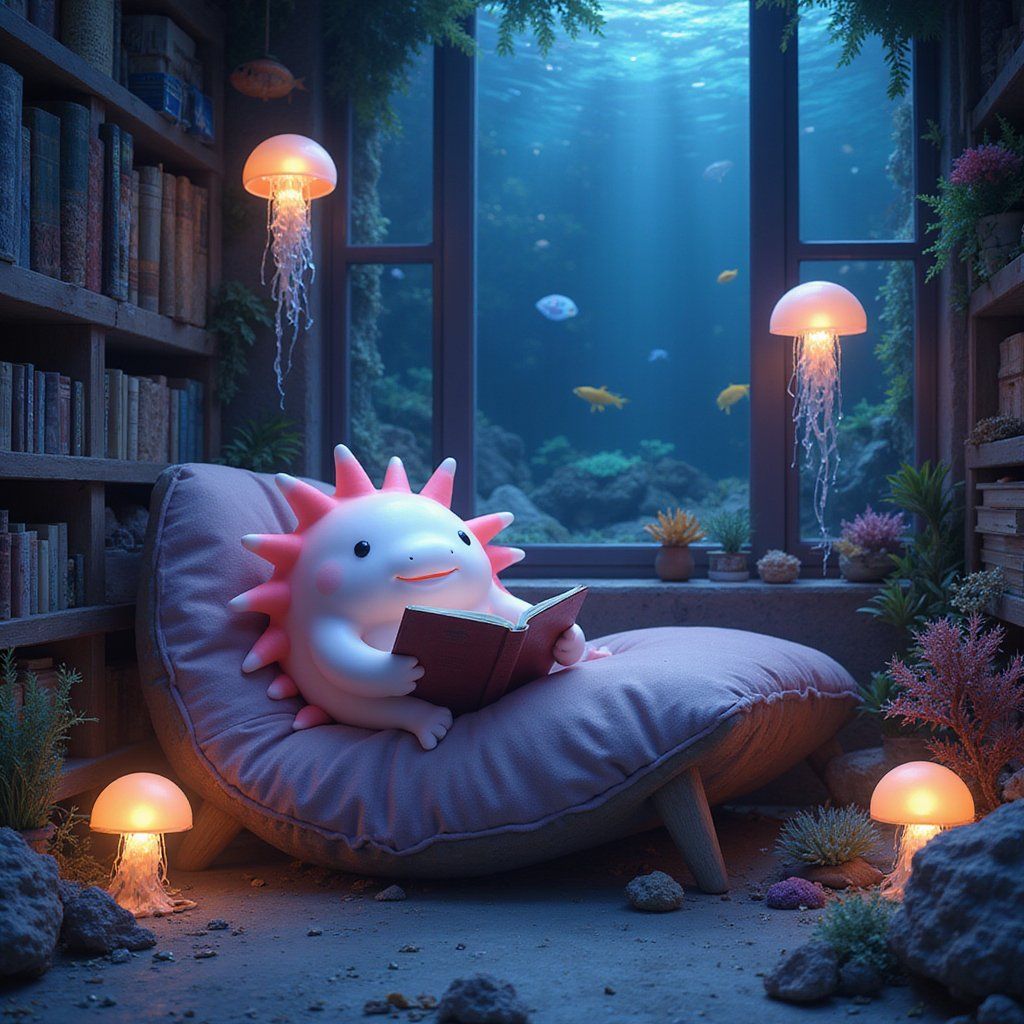
FLUX Dev at strength 0.85: Not enough influence to generate the astronaut.
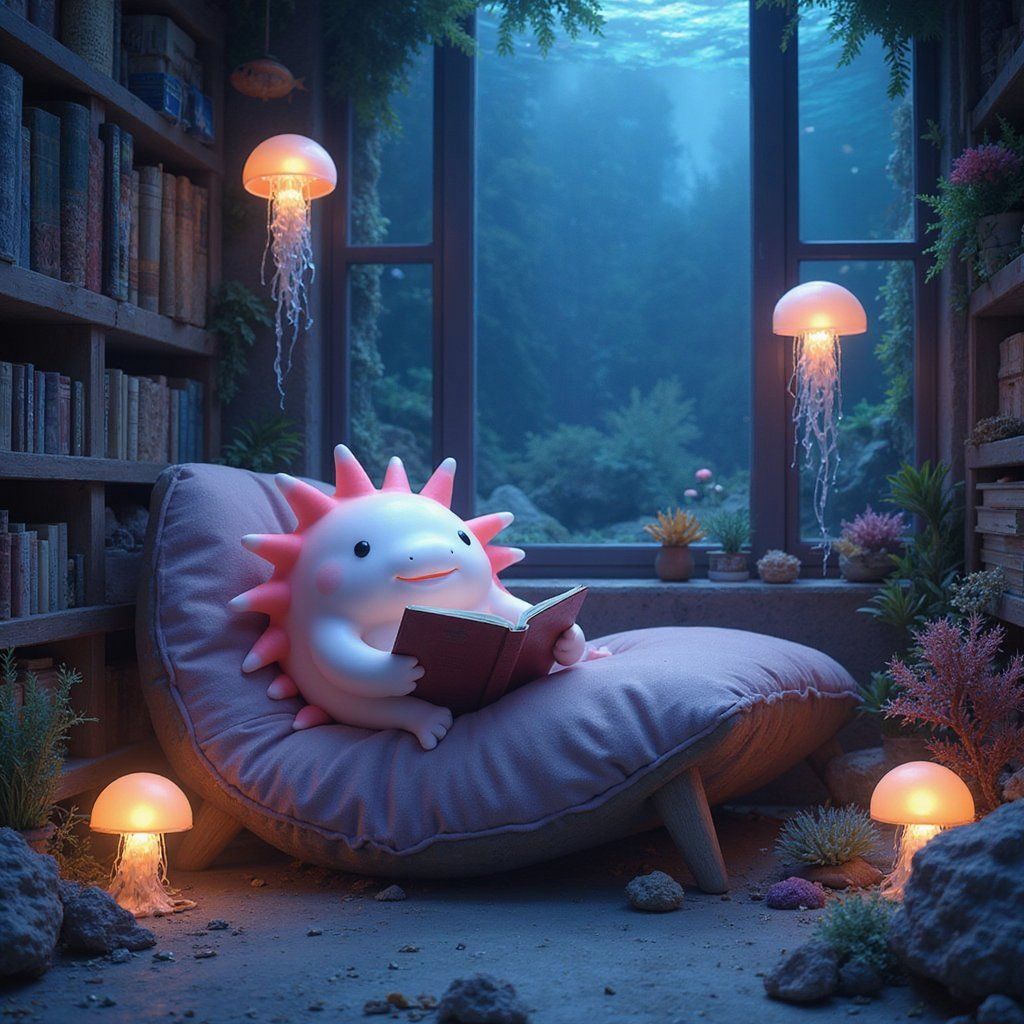
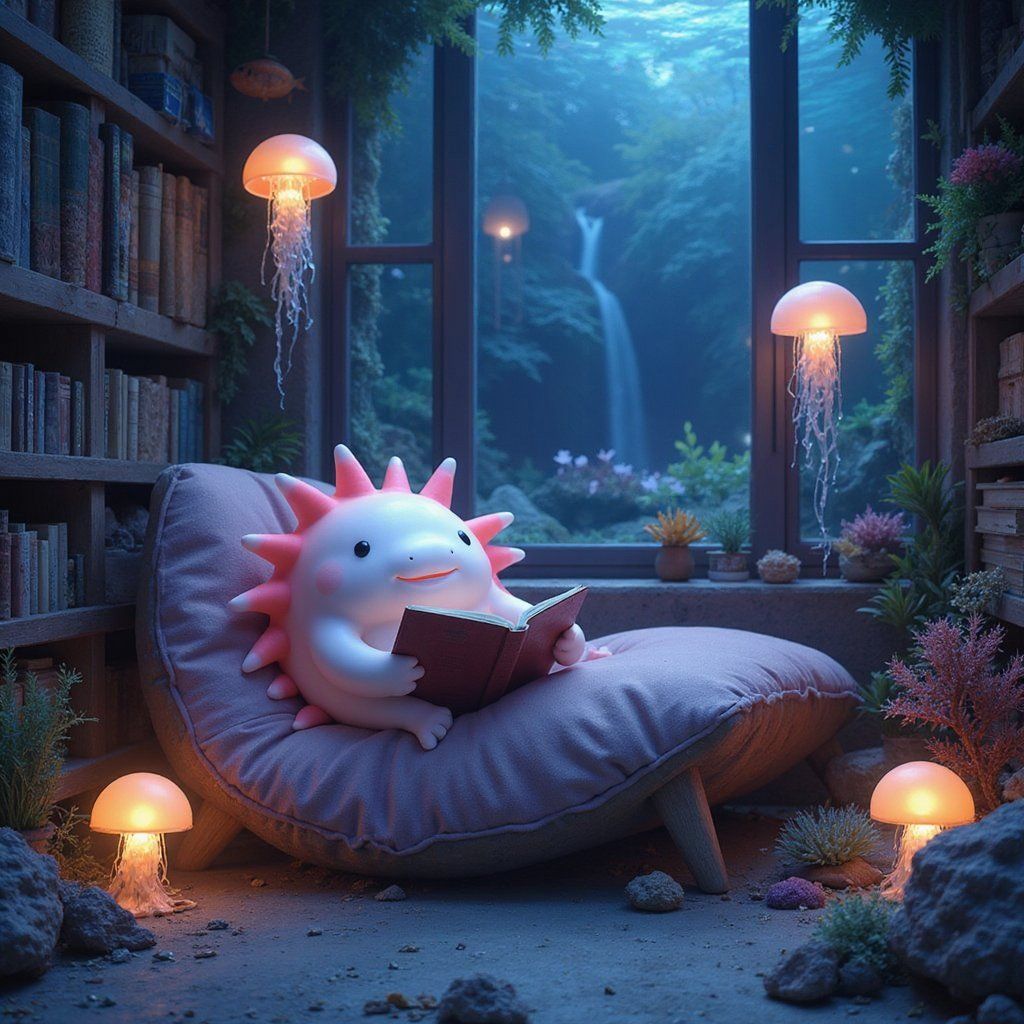
FLUX Dev at strength 0.9: Too much strength causing integration problems with surroundings.
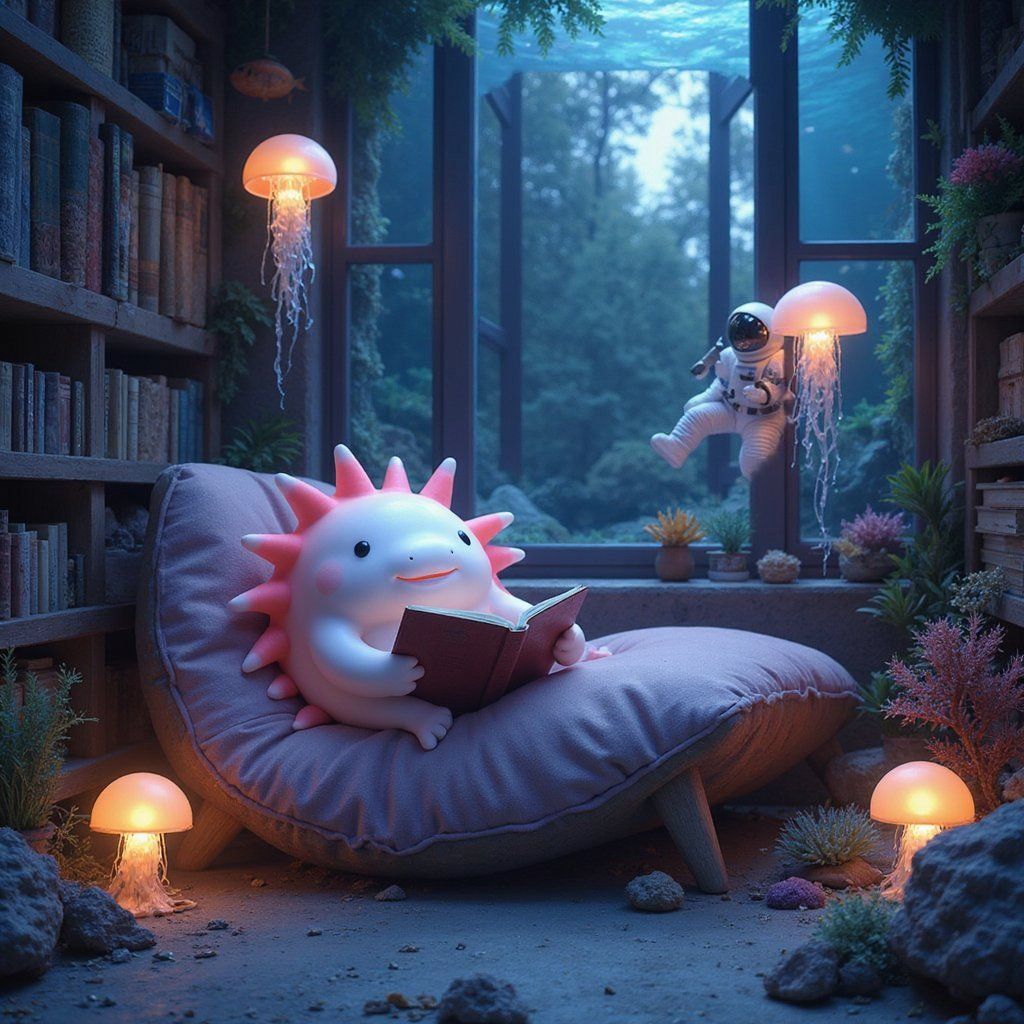
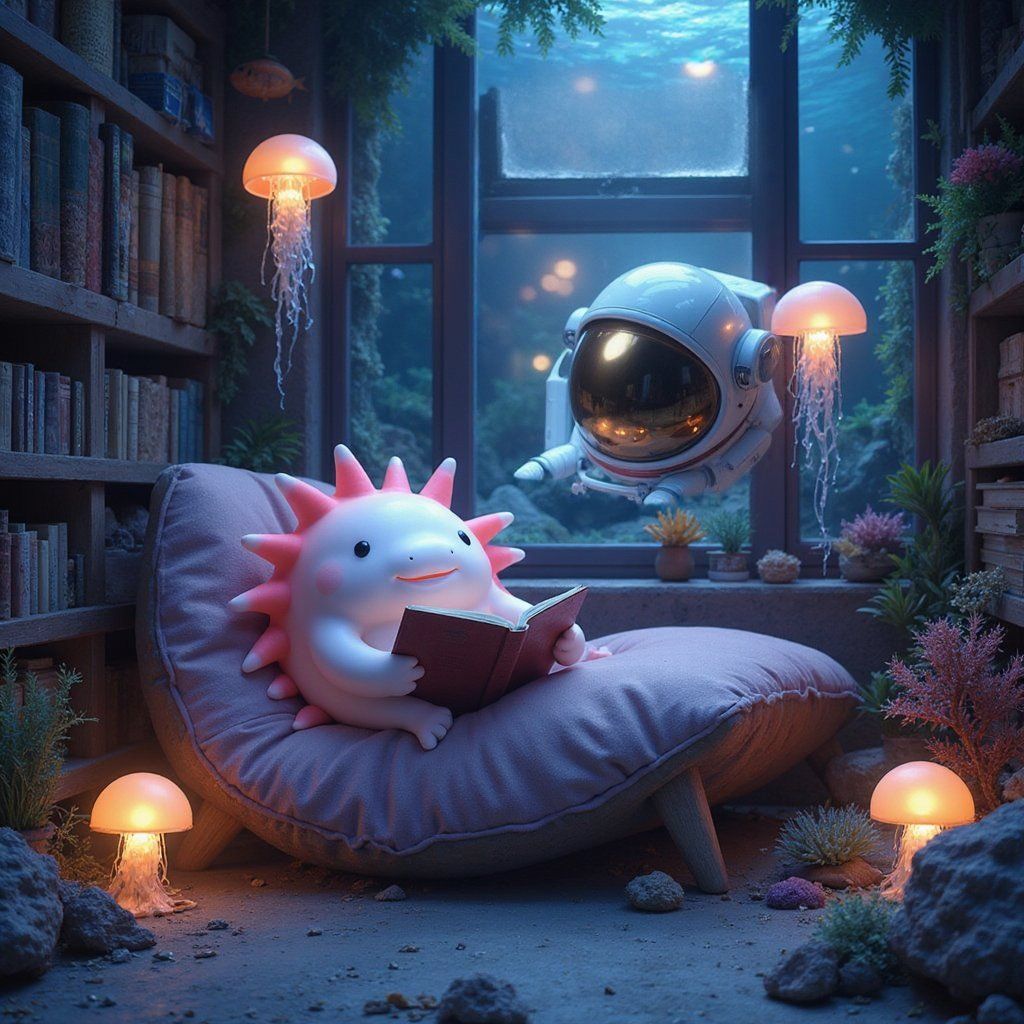
FLUX Fill: Right balance between prompt following and blending with surroundings.
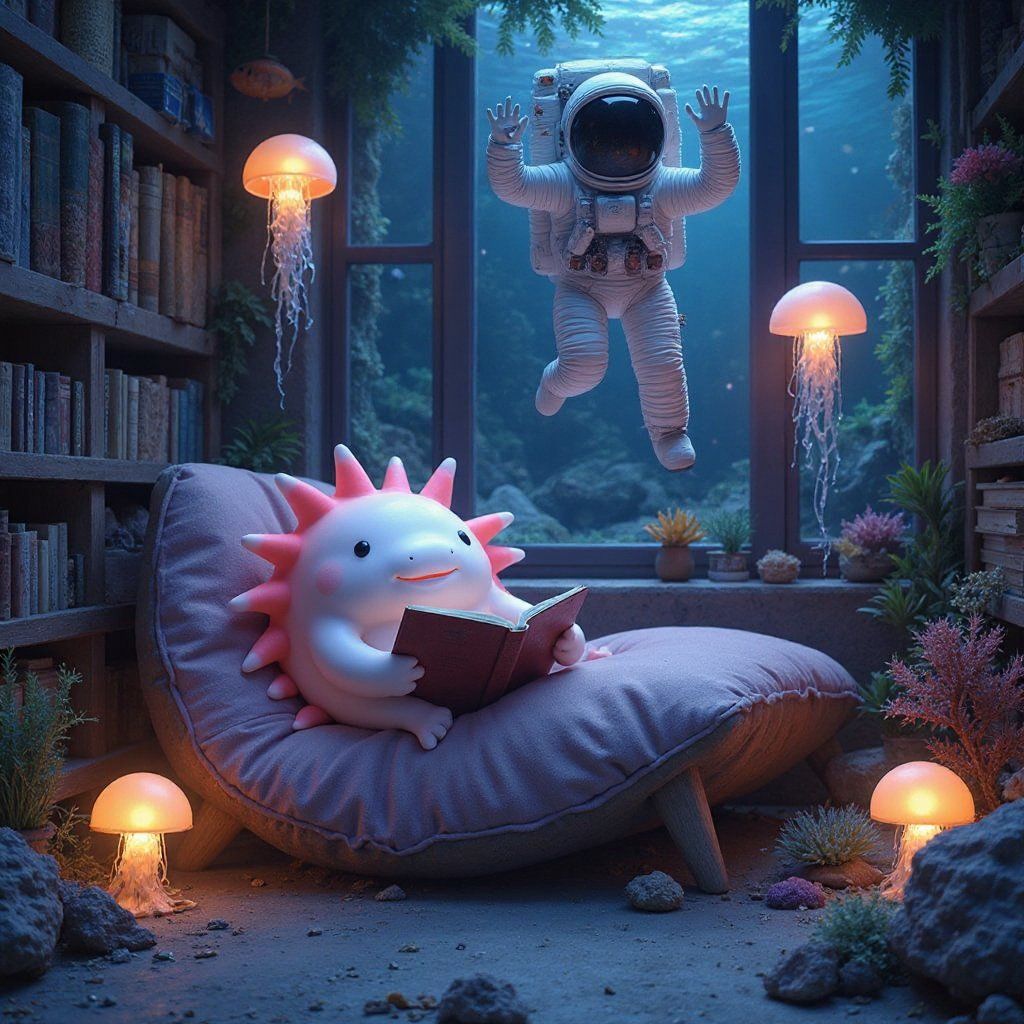
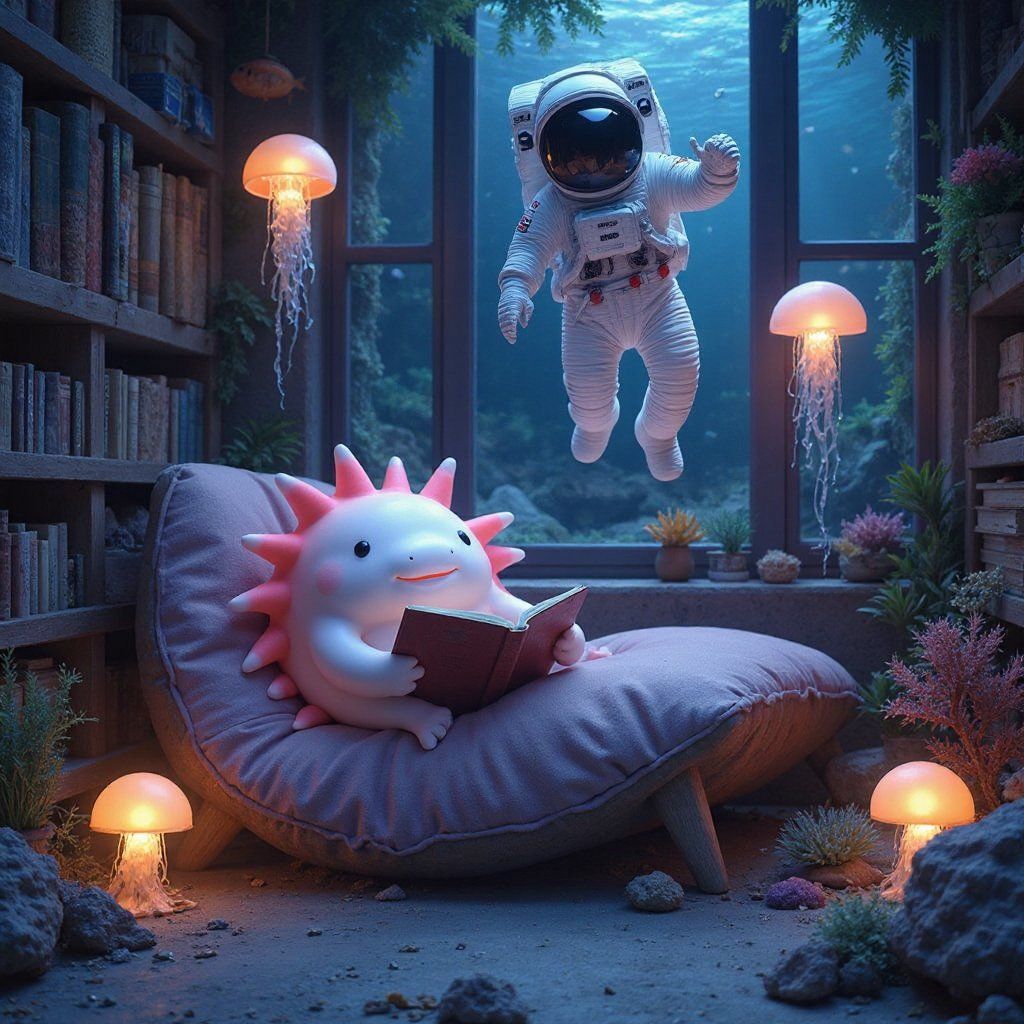
Your choice of model has a direct impact on inpainting quality. Base models are flexible and perform well for stylistic changes or simple edits where seamless edges aren't critical. In contrast, inpainting-specific models are fine-tuned to handle masks more intelligently, producing smoother transitions and better preserving surrounding details.
Other critical parameters
The positivePrompt parameter for inpainting works differently than in standard image generation. You only need to describe what you want to appear in the masked area rather than the entire scene.
For small inpainting zones your prompt can be remarkably simple, just name the object or texture you want ("brick wall", "blue sky", "wooden table"). The model will automatically derive stylistic information and lighting conditions from the surrounding unmasked areas, helping to ensure coherent integration.
However, for more precise control or large areas, you can include additional details about style, materials, or specific elements you want in the masked region. This becomes particularly important when using the maskMargin parameter, which effectively zooms the model into the masked area. With maskMargin enabled, the model has less surrounding context visible, so your prompt needs to provide more complete guidance about style and contextual elements.
Standard inpainting: "A red apple" might be sufficient.
With maskMargin: "A glossy red apple with subtle highlights and a small leaf stem, natural lighting from the upper right" would work better.
The model parameter also affects how strictly the positivePrompt is followed. Standard models may require more detailed prompts to achieve specific results, while specialized inpainting models like FLUX Fill are often better at interpreting simpler prompts in context.
- positivePromptstring required
-
A positive prompt is a text instruction to guide the model on generating the image. It is usually a sentence or a paragraph that provides positive guidance for the task. This parameter is essential to shape the desired results.
For example, if the positive prompt is "dragon drinking coffee", the model will generate an image of a dragon drinking coffee. The more detailed the prompt, the more accurate the results.
If you wish to generate an image without any prompt guidance, you can use the special token
__BLANK__. This tells the system to generate an image without text-based instructions.The length of the prompt must be between 2 and 3000 characters.
Learn more 2 resources
For inpainting, both the steps and CFGScale parameters work together to control the quality and precision of your generated content.
The steps parameter controls how many iterations the model performs when generating content in the masked area. Higher step counts (30-50) produce better boundary integration and detail consistency in modified areas. This is because the model needs sufficient iterations to establish structure, develop appropriate textures, and refine the critical transitions between generated and original content. Without enough steps, these transitions may appear abrupt or mismatched in texture, lighting, or color.
Meanwhile, the CFGScale parameter determines how strictly the model follows your prompt guidance. For inpainting tasks, slightly higher CFG values often work well to ensure specific elements are generated as described. This is particularly important when you need precise control over replacement content, such as generating specific objects, materials, or styles within masked regions.
The interaction between these parameters is crucial for successful inpainting. Higher steps give the model more time to refine details and transitions, while appropriate CFG values ensure it follows your creative direction while still integrating naturally with the surrounding image. Finding the right balance is essential for results that both match your intent and maintain visual coherence.
Unlike in standard image generation, inpainting often benefits from both higher step counts and elevated CFG values because the process requires more precision to seamlessly blend new content with existing elements.
FLUX architecture models, including FLUX Fill, can handle significantly higher CFG Scale values (up to 50) without the image degradation typically seen in other architectures. This is partly due to their distillation-based design which processes prompt guidance differently. When using SDXL or SD-based models, keep CFG values below 10-15 to avoid prompt overfitting.
- stepsinteger Min: 1 Max: 100 Default: 20
-
The number of steps is the number of iterations the model will perform to generate the image. The higher the number of steps, the more detailed the image will be. However, increasing the number of steps will also increase the time it takes to generate the image and may not always result in a better image (some schedulers work differently).
When using your own models you can specify a new default value for the number of steps.
Learn more 1 resource
- CFGScalefloat Min: 0 Max: 50 Default: 7
-
Guidance scale represents how closely the images will resemble the prompt or how much freedom the AI model has. Higher values are closer to the prompt. Low values may reduce the quality of the results.
Learn more 1 resource
The scheduler parameter can significantly impact how well your inpainted content blends with the surrounding original image.
Different scheduler algorithms handle the generation of masked areas with varying approaches, each with distinct advantages for inpainting tasks.
Stochastic schedulers like Euler Ancestral (EulerAncestralDiscreteScheduler) or DPM++ 2M SDE introduce helpful randomness that often creates more natural-looking textures and organic elements. This makes them excellent choices for creative inpainting tasks like replacing natural elements, generating organic textures, or when working with large masked areas. Their tendency to introduce variation helps avoid the "too perfect" look that can make inpainted regions stand out.
Deterministic schedulers like DDIM or DPM++ 2M Karras typically produce more consistent and predictable results. These schedulers often excel at preserving sharp details and precise structures, making them ideal for architectural elements, text, or scenes where exact precision is required.
For most inpainting tasks, DPM++ 2M SDE offers an excellent balance between detail preservation and natural integration, making it a reliable default choice. This scheduler demonstrates good performance across various inpainting scenarios, from small object removals to larger creative replacements.
When working with particularly challenging inpainting tasks involving complex textures or intricate boundaries, experimenting with different schedulers can yield noticeably different results in how they handle the integration between original and generated content.
- schedulerstring Default: Model's scheduler
-
An scheduler is a component that manages the inference process. Different schedulers can be used to achieve different results like more detailed images, faster inference, or more accurate results.
The default scheduler is the one that the model was trained with, but you can choose a different one to get different results.
Schedulers are explained in more detail in the Schedulers page.
Learn more 2 resources
Advanced features
Beyond the core parameters, several advanced features can significantly enhance your image-to-image generations.
Automatic mask generation
Our Image Masking API can automatically detect and create masks for specific elements in your images, making the inpainting workflow more efficient and precise.
The Image Masking API supports a wide range of detection models for various subjects, allowing you to create targeted masks without manual work:
- Face detection models for generating masks around faces with varying levels of precision.
- Facial feature models for isolating specific elements like eyes, nose, or lips.
- Body part detection for hands and full-person segmentation.
When combined with the maskMargin parameter, this automated approach becomes particularly powerful for enhancing specific features with exceptional detail. For example, automatically detecting and masking a face, then using inpainting with maskMargin to refine just the facial features while preserving identity.
[
  {
    "taskType": "imageMasking",
    "taskUUID": "144e528b-1501-448f-ad35-bbbe9f64d942",
    "model": "runware:35@2",
    "inputImage": "482b0bb2-b724-4033-989f-1b08d0f769f3"
  }
]{
"data": [
{
"taskType": "imageMasking",
"maskImageUUID": "5988e195-8100-4b91-b07c-c7096d0861aa",
"taskUUID": "144e528b-1501-448f-ad35-bbbe9f64d942",
"detections": [
{
"x_min": 425,
"y_min": 313,
"x_max": 533,
"y_max": 435
}
],
"maskImageURL": "https://im.runware.ai/image/ws/2/ii/5988e195-8100-4b91-b07c-c7096d0861aa.jpg"
}
]
}This approach offers fine-grained control over the detection process through parameters like confidence thresholds, detection limits, and mask refinement options. This allows you to precisely tune how aggressively the system identifies features and how the resulting masks are formatted. The API's advanced detection capabilities make it ideal for large-scale batch processing operations. It eliminates hours of manual masking work while providing consistent, high-quality results that directly integrate with your inpainting workflow.
Common use cases
Inpainting is particularly useful in several common scenarios, let's explore some of them.
Object removal
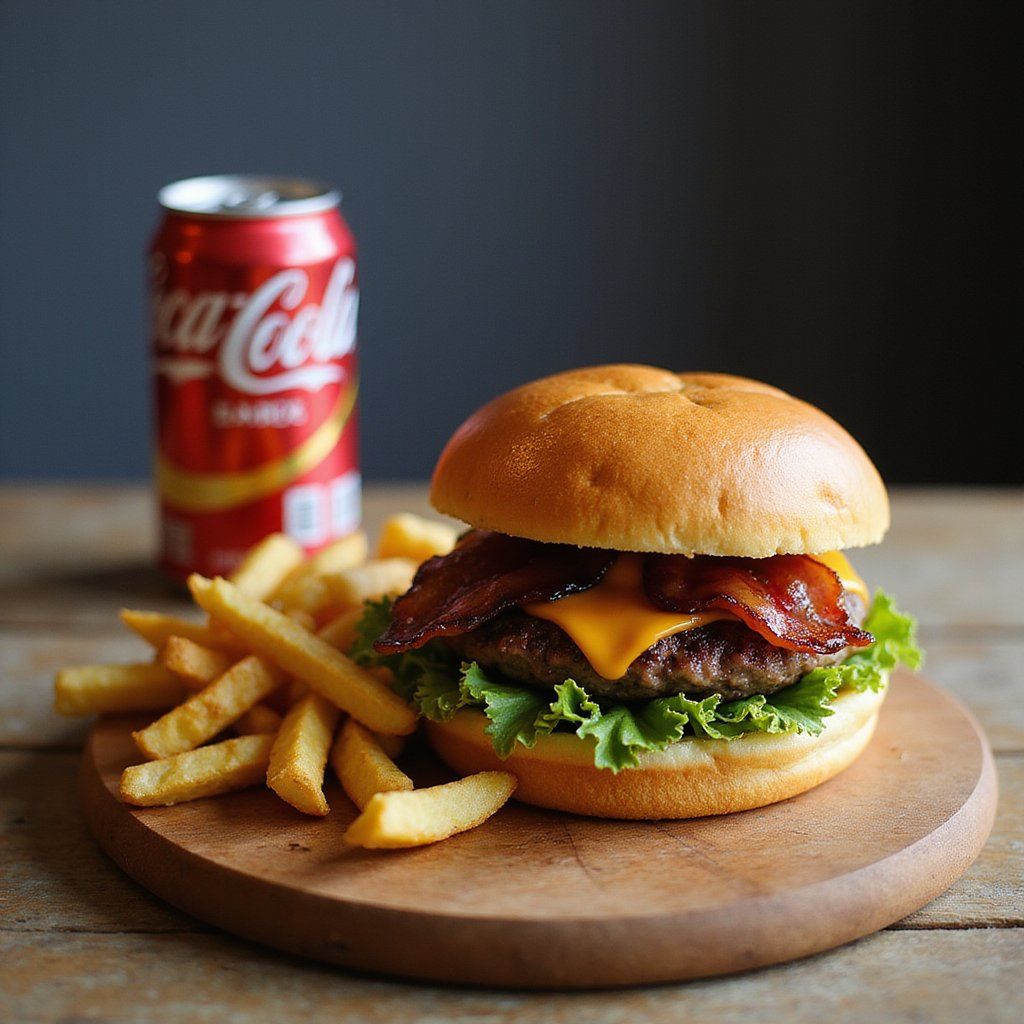
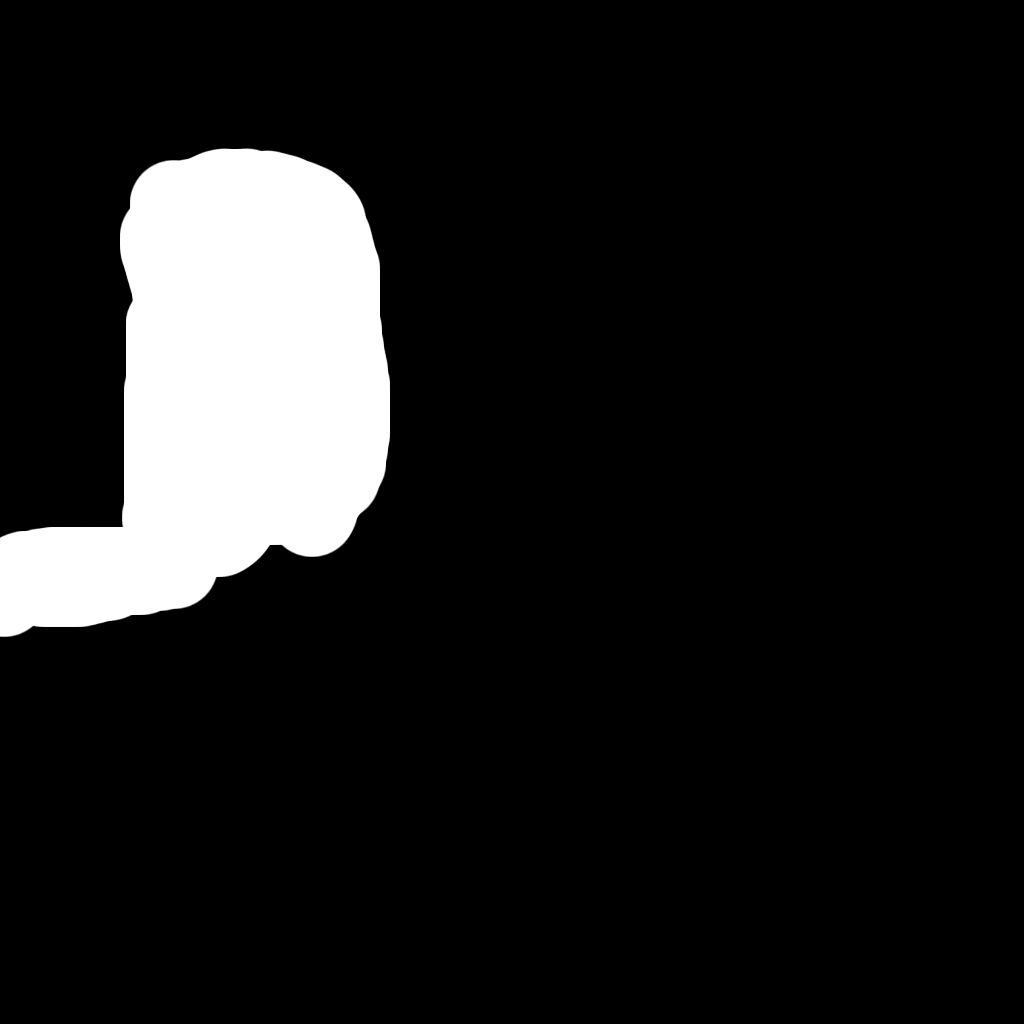
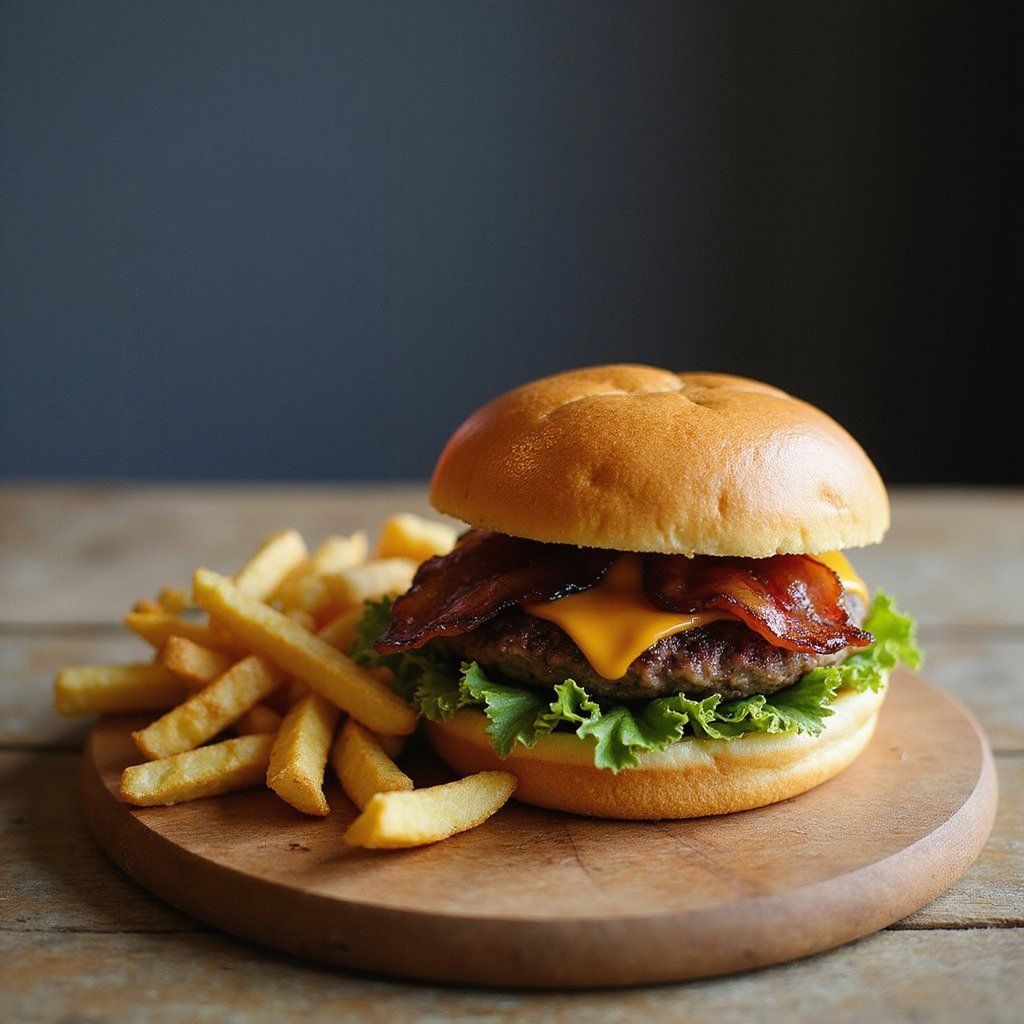
Inpainting excels at removing unwanted elements from images by replacing them with appropriate background content. Create a precise mask over only the unwanted object and focus your prompt on describing the background that should replace it (e.g. "white wall"). The model will automatically understand the surrounding context, including lighting and textures. However, if using the maskMargin parameter, your prompt should be more detailed since the model loses broader context when zooming into the masked area.
Text-to-image prompt: A juicy cheeseburger with bacon, fries on a wooden board, next to a cold can of Zuno Cola, soft natural lighting.
Inpainting prompt: black wall and wood table.
Recommended settings:
- If the object is small, you can use a base checkpoint model.
- High strength.
- High CFGScale.
- High steps.
Background modification
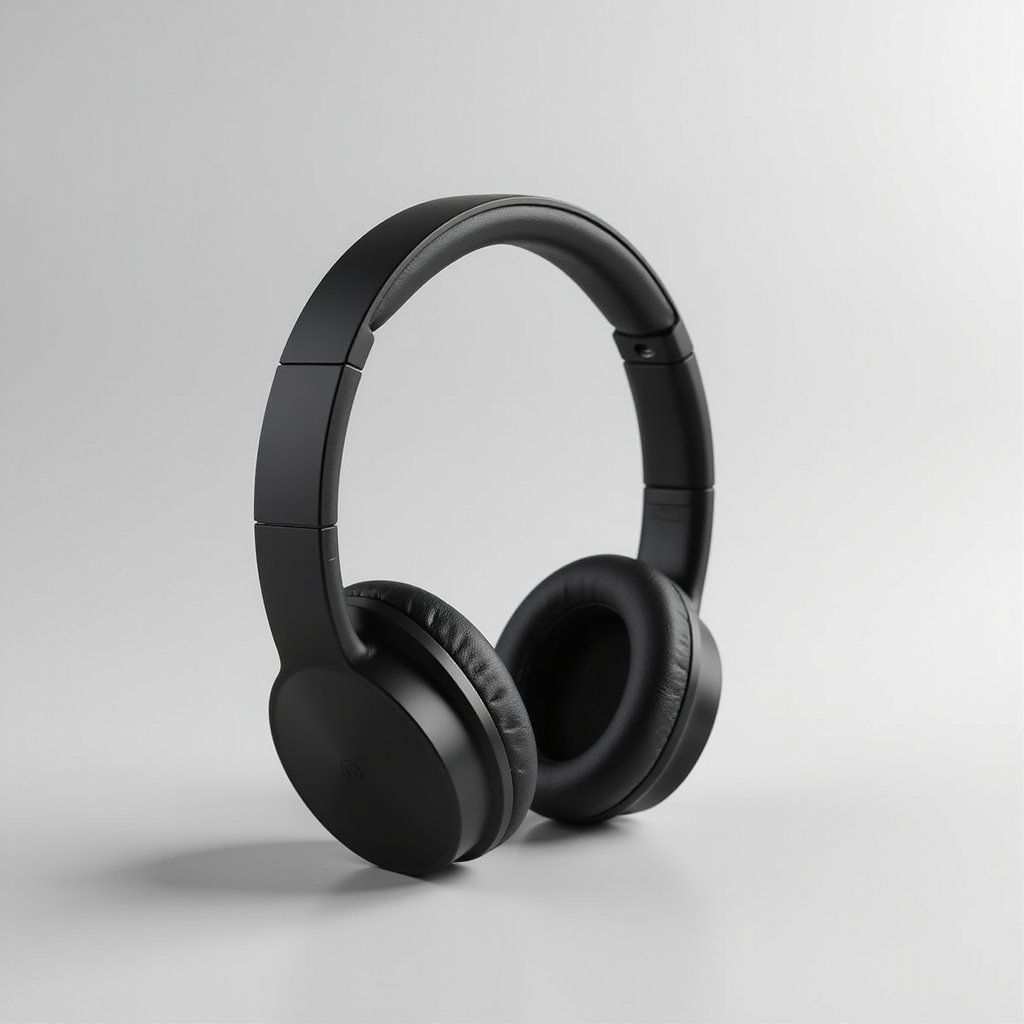
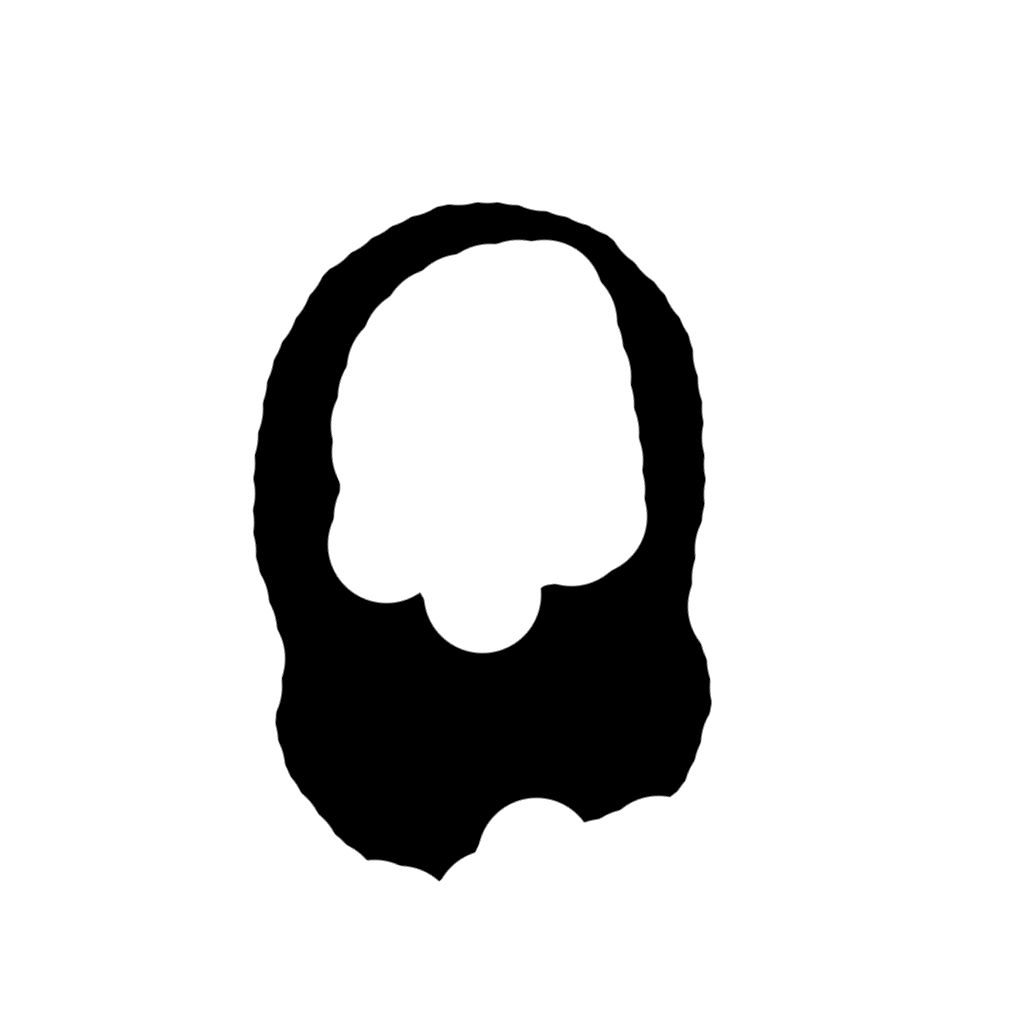
Inpainting provides a powerful way to transform backgrounds while preserving foreground subjects. Create a mask covering only the background areas, leaving foreground elements untouched. Don't worry about perfect masking precision, if you accidentally include small portions of the foreground object in your mask, the model will regenerate them very similarly to the original.
For efficient workflow, you can use our Image Masking API with automatic detection and then invert the mask to target only the background. You can also use any third-party segmentation tools that separate foreground from background automatically.
The model will maintain proper lighting and perspective relationships with foreground subjects regardless of how you create the mask. For extensive background replacements, consider using multiple smaller masks rather than one large mask for better control.
Text-to-image prompt: A high-quality product photo of a matte black wireless headphone set, centered composition, soft shadows, white background with slight depth, subtle gradient lighting for a professional look.
Inpainting prompt: a wood desktop with plants and blue neon lights on the wall, product photography.

Recommended settings:
- Specialized models like FLUX Fill.
- High strength.
- High CFGScale.
- High steps.
- Multi-stage inpainting is very useful here.
Clothing and appearance changes
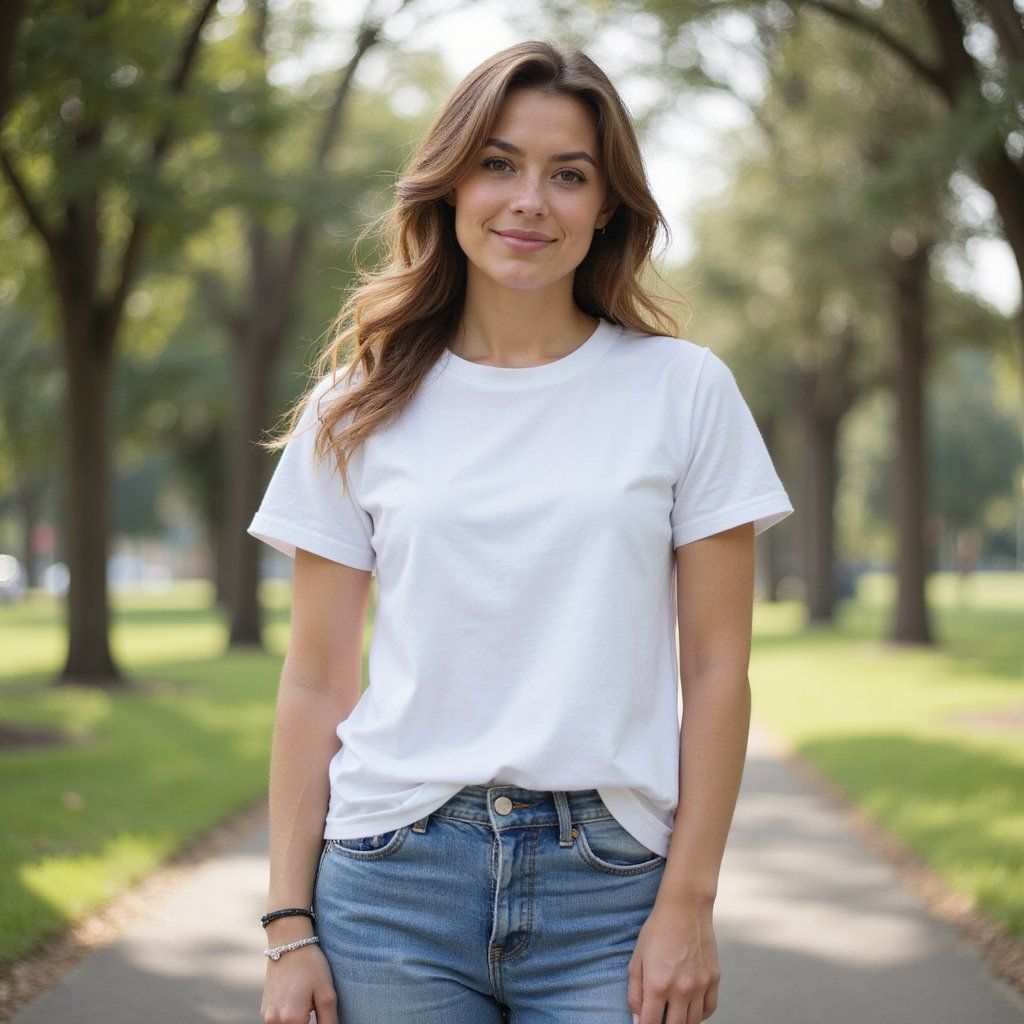
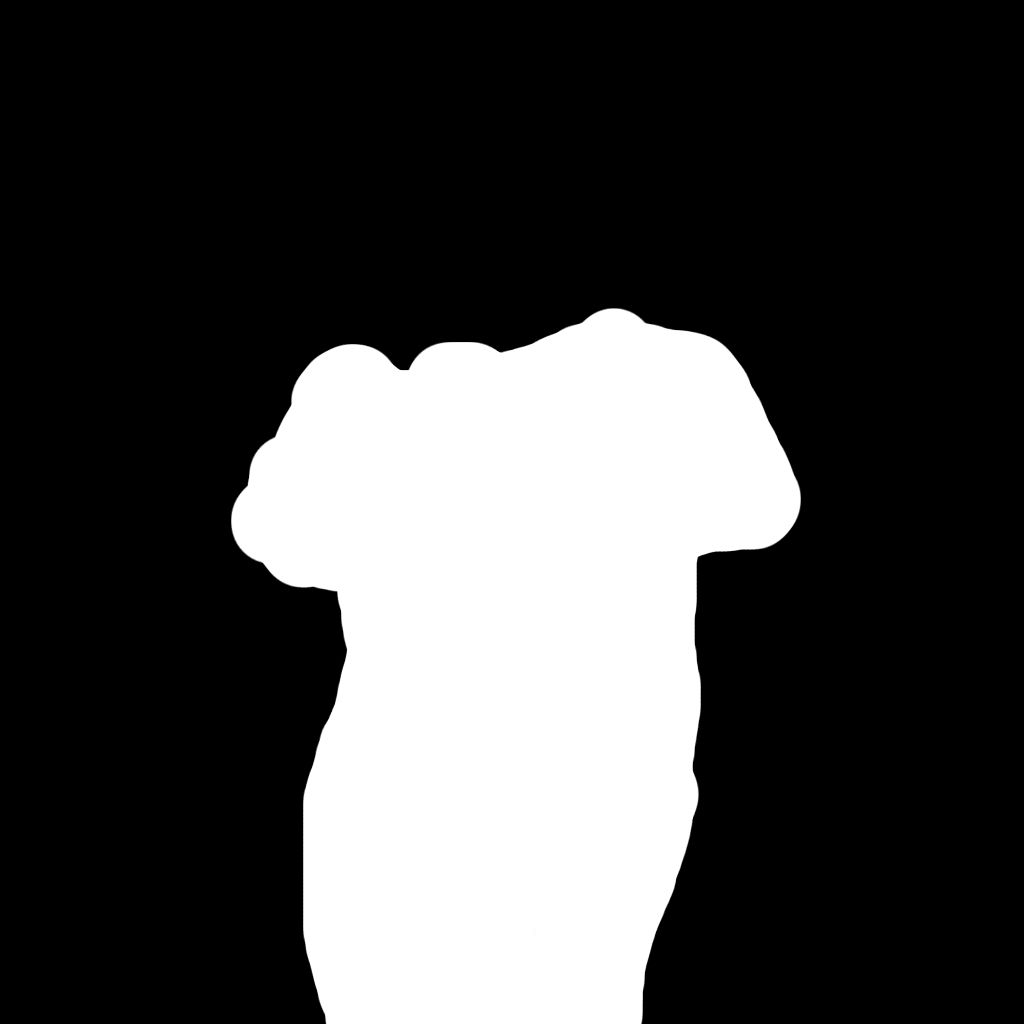
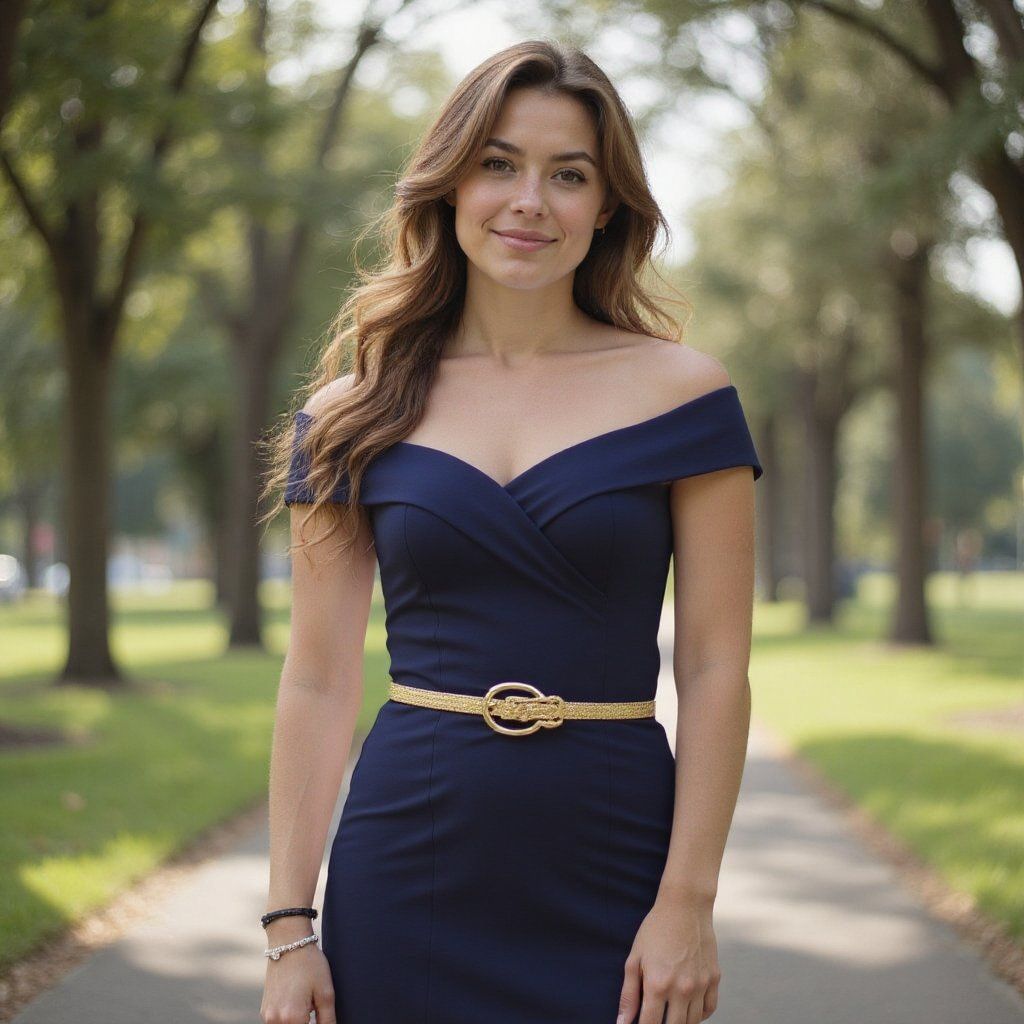
Transform a subject's clothing, accessories, or physical attributes while maintaining their identity and pose. Create precise masks around just the elements you want to modify and use specific prompts describing the desired changes. This technique works exceptionally well with the maskMargin parameter, which allows the model to focus on generating high-quality details for clothing textures, jewelry, or makeup while preserving the person's identity.
Text-to-image prompt: A full-body photo of a woman wearing a plain white t-shirt and jeans, standing outdoors in soft daylight, looking at the camera.
Inpainting prompt: wearing an elegant dark blue dress with a golden belt.
Recommended settings:
- Specialized models like FLUX Fill.
- Moderate to high strength.
- Moderate CFGScale .
- Moderate to high steps.
maskMarginfor detailed changes.
Adding new elements
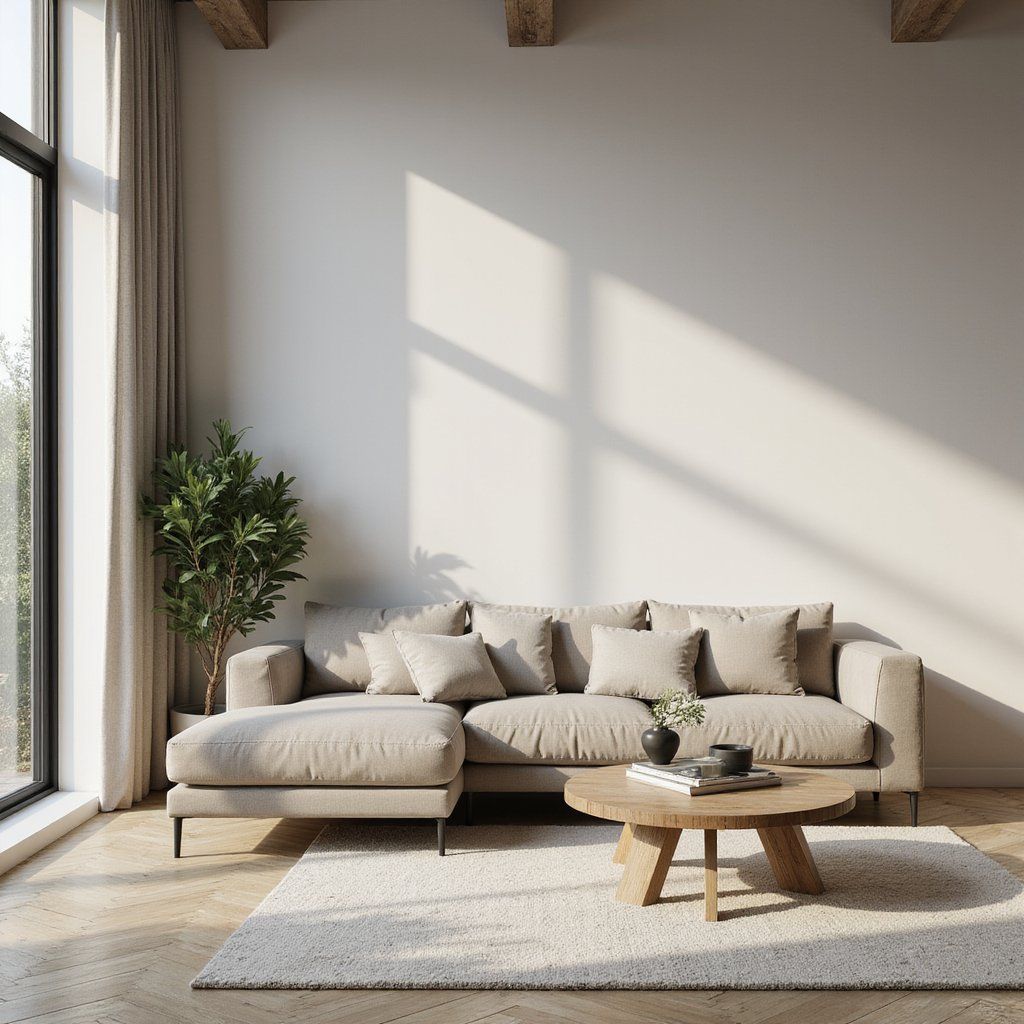
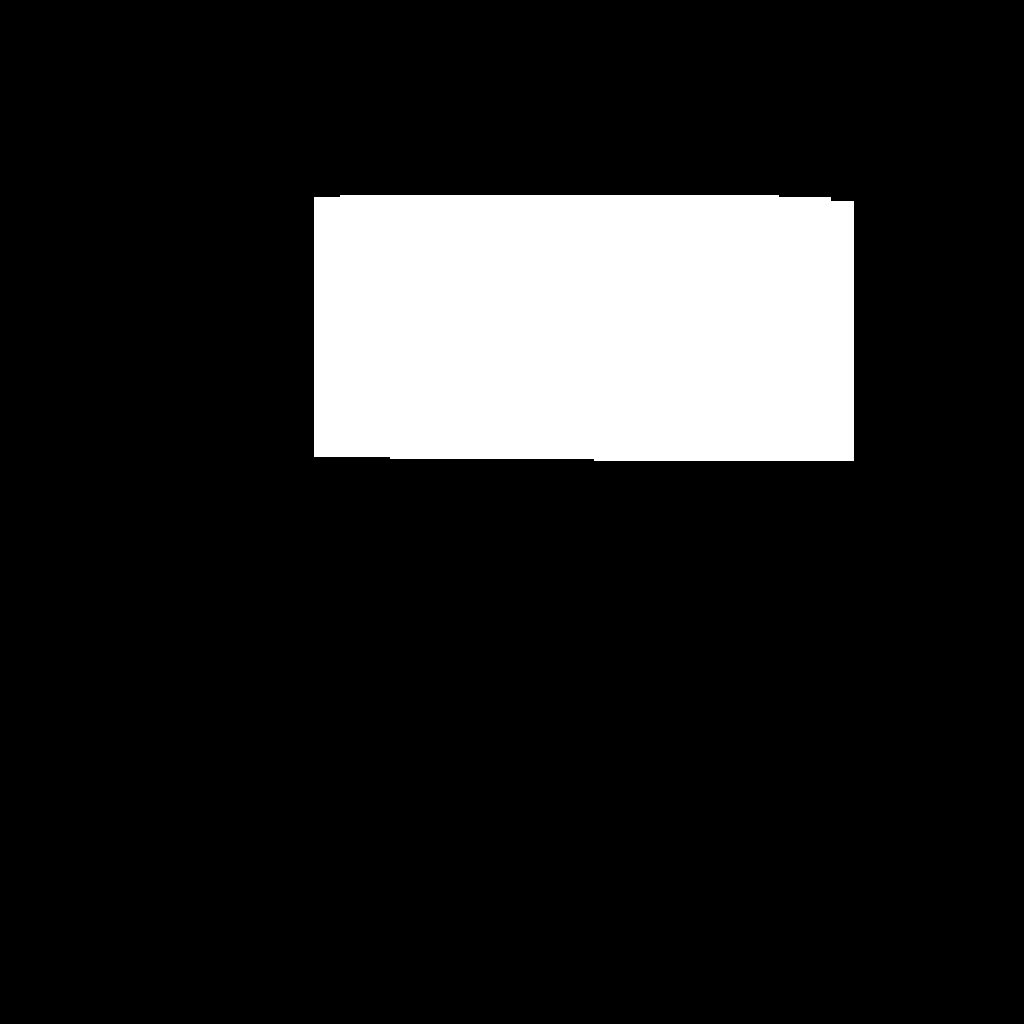
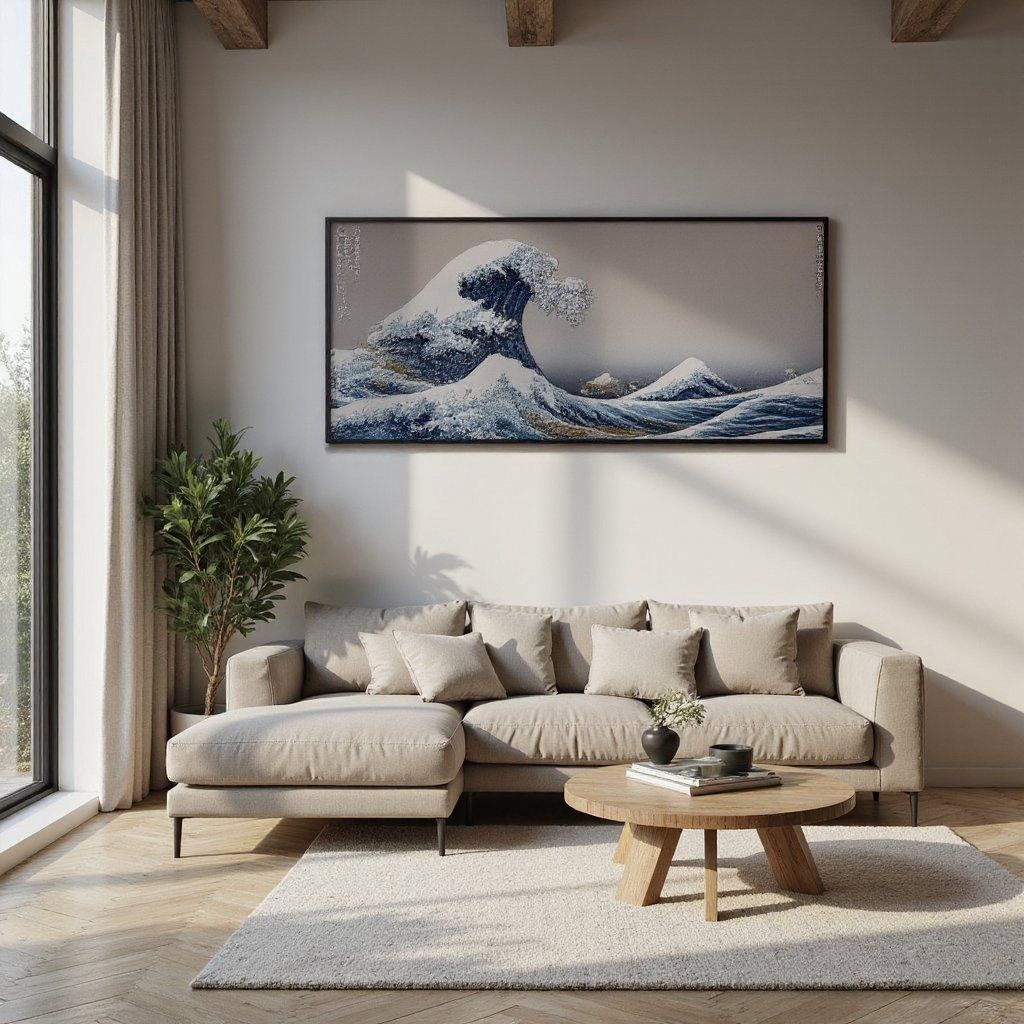
Introduce entirely new objects or elements to an existing scene by creating masks in empty areas or over regions you want to replace. Your prompt should describe just the new element itself. This approach is particularly effective for adding products to promotional images or enhancing scenes with additional compositional elements.
Text-to-image prompt: A modern living room with a sofa and coffee table, clean and minimal layout, sunlight coming in from the side.
Inpainting prompt: The Great Wave Off Kanagawa painting with a black frame.
Recommended settings:
- All models should be able to produce a good result.
- Medium to high strength, depending on how much the new background differs from the original.
- Medium to moderate CFGScale.
- Moderate to high steps.
Advanced techniques
Inpainting can be powerful, but it often requires more than just masking and prompting. These advanced techniques help you control edits more precisely and maintain consistency.
Multi-stage inpainting
Rather than attempting perfect results in a single pass, complex edits benefit from a progressive approach with multiple targeted inpainting operations.
Begin with broad structural changes using a larger mask and higher strength to establish fundamental elements. Then create more precise masks for refinement passes that enhance specific details or fix problem areas. When necessary, create specialized boundary masks targeting just the transition zones where integration issues often appear.
This iterative strategy gives you critical evaluation opportunities between stages, allowing you to make informed adjustments based on intermediate results. For challenging scenarios like replacing complex objects in detailed environments or making edits with significant lighting implications, this approach provides substantially better control than attempting everything at once.
Context-aware prompting
When using inpainting, the model automatically considers the unmasked areas as context, so you typically don't need to describe elements that are already visible outside the mask. Your prompt should focus primarily on what should appear in the masked area.
However, context-aware prompting becomes valuable in two specific scenarios:
- When you've accidentally included important elements in your mask that you want to preserve.
- When using
maskMargin, which limits the model's ability to see the broader context.
For example, if you're replacing a sofa but accidentally included part of the wooden floor in your mask, a context-aware prompt like "a red leather sofa with wooden floor" helps maintain consistency. Similarly, with maskMargin enabled, including details about surrounding elements ("red leather sofa in a room with warm lighting") becomes important since the model has less visual context to work with.
This approach helps the model create content that integrates naturally with elements both inside and outside the mask, particularly when perfect masking isn't possible or when zoom-focused inpainting is required.
Common challenges and solutions
Even with proper technique, inpainting sometimes presents specific challenges. Here are the most common issues you might encounter and how to address them effectively.
Visible boundaries
One of the most frequent challenges in inpainting is noticeable seams where the generated content meets the original image. These boundaries can appear as subtle color shifts, texture inconsistencies, or abrupt transitions that draw unwanted attention.
This issue typically occurs because the model struggles to perfectly match lighting conditions, textures, or structural elements across the boundary. To mitigate this problem, try softening your mask edges with a slight feather effect (4-8 pixels) to create a gradual transition zone rather than a hard edge. This gives the model more room to blend the new content with the original.
For particularly stubborn boundary issues, consider using specialized inpainting models like FLUX Fill, which are specifically designed to handle these transition zones more effectively. Alternatively, adjusting your generation parameters can help, try lowering the strength value slightly while increasing the step count to give the model more refinement iterations. In extreme cases, a follow-up inpainting pass focused solely on problematic boundary areas can smooth out remaining inconsistencies.
Lighting inconsistency
Another common challenge is when the lighting in the inpainted area doesn't match the rest of the image. This can manifest as shadows pointing in different directions, highlights appearing in illogical places, or an overall brightness mismatch that makes the edit obvious.
The key to solving lighting issues lies primarily in your prompt. Take time to explicitly describe the lighting conditions from the original image in your prompt. Mention the direction of light, its quality (harsh, soft, diffused), color temperature, and how it interacts with surfaces. For example, instead of simply requesting "a red vase", specify "a red ceramic vase with soft shadows on the left side and subtle highlights on the right rim, matching the warm afternoon lighting of the room".
Including references to surrounding colors and materials also helps the model maintain lighting consistency. For scenes with complex lighting, specialized models like FLUX Fill often produce better results as they're trained to preserve contextual lighting information more effectively.
Style mismatch
When the artistic style of your inpainted area doesn't match the original image, it creates a jarring visual disconnect. This commonly happens when working with images that have distinct artistic styles, filters, or post-processing effects.
To address style mismatches, incorporate specific style descriptors in your prompt that match the original image's aesthetic. If the original has a watercolor effect, include "watercolor style" in your prompt. For images with unique processing like film grain, vignetting, or color grading, mention these characteristics explicitly.
Another effective approach is to adjust your strength parameter slightly downward to retain more of the original image's stylistic elements while still allowing content changes. Increasing your CFG scale can also help the model adhere more strictly to your style directives, ensuring the new content maintains visual consistency with the surrounding areas.
Missing details
Sometimes inpainted areas lack the fine details and texture present in the rest of the image, resulting in patches that appear overly smooth or simplified compared to their surroundings.
The most effective solution for this issue is using the maskMargin parameter, which essentially zooms the model into the masked area, allowing it to dedicate more resolution to generating fine details. Values between 32-64 pixels typically work well for most cases, though you may need to experiment based on your specific image.
Increasing the step count also gives the model more refinement iterations to develop detailed textures.
Lastly, when writing your prompt, include terms that emphasize detail. Specify textures, materials, and small elements you want to see. For example, instead of "a leather chair", try "a leather chair with visible grain texture, subtle creasing at the seams, and small brass rivets".