Outpainting: Expanding image boundaries
Introduction
Outpainting allows you to expand images beyond their original boundaries, extending scenes in any direction while maintaining visual continuity. Unlike inpainting which modifies existing areas, outpainting generates new content that seamlessly connects to your original image edges.
At its core, outpainting is a specialized form of inpainting that operates on a mask created outside the original image dimensions. While you can manually create and provide this mask, our API offers a streamlined approach with the outpaint parameter that automatically generates the appropriate mask based on your specified directions and dimensions.
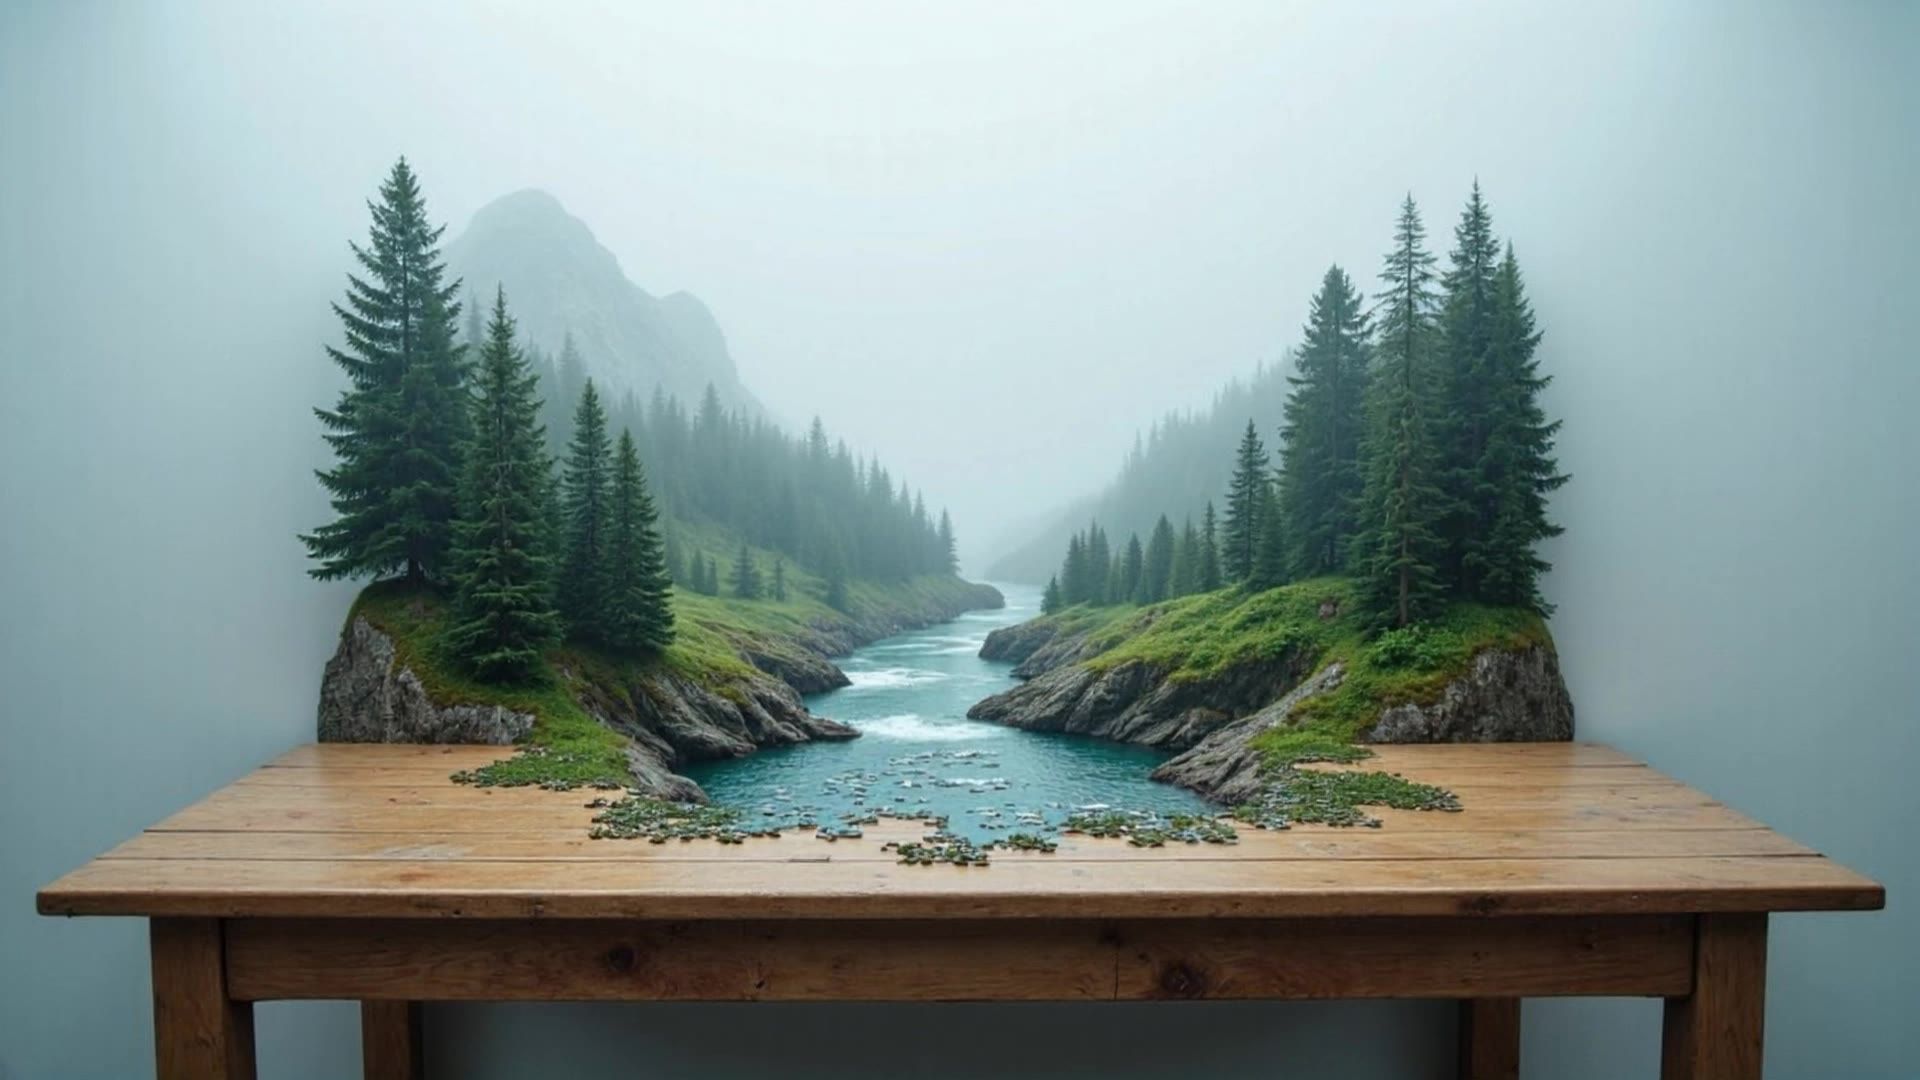
This guide covers everything you need to know about outpainting with the Runware API, from basic concepts to advanced techniques for creating natural-looking expansions.
Basic request example
Here's a simple outpainting request to get you started:
[
  {
    "taskType": "imageInference",
    "taskUUID": "c985ec13-6aef-4337-8df2-f7e17dd71589",
    "positivePrompt": "__BLANK__",
    "seedImage": "c985ec13-6aef-4337-8df2-f7e17dd71589",
    "outpaint": {
      "top": 256,
      "right": 256,
      "bottom": 256,
      "left": 256
    },
    "model": "runware:102@1",
    "width": 1280,
    "height": 1280,
    "steps": 40
  }
]{
"data": [
{
"taskType": "imageInference",
"imageUUID": "5ba056f3-3d09-4209-93c4-334df0533878",
"taskUUID": "b2728981-a3bd-45ae-b263-a6accde10332",
"seed": 6110856530272051867,
"imageURL": "https://im.runware.ai/image/ws/2/ii/5ba056f3-3d09-4209-93c4-334df0533878.jpg"
},
]
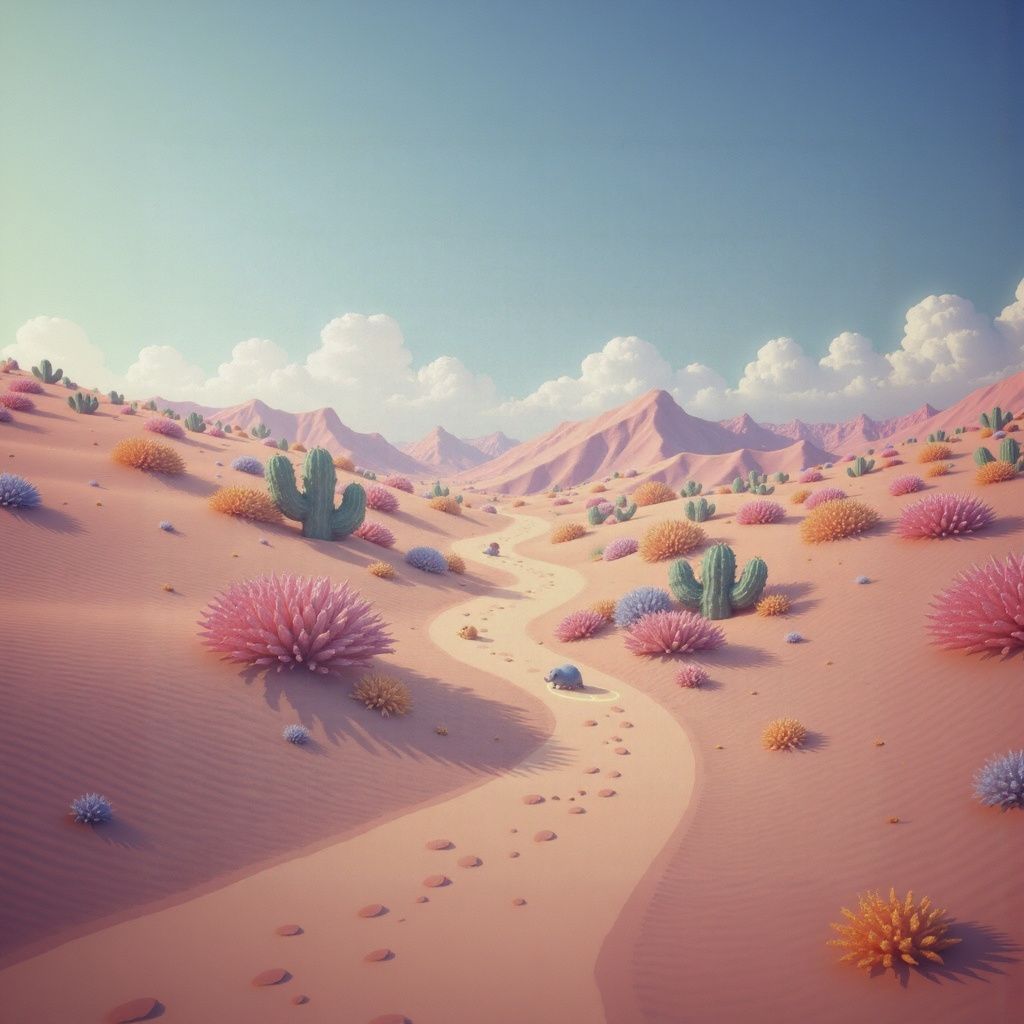
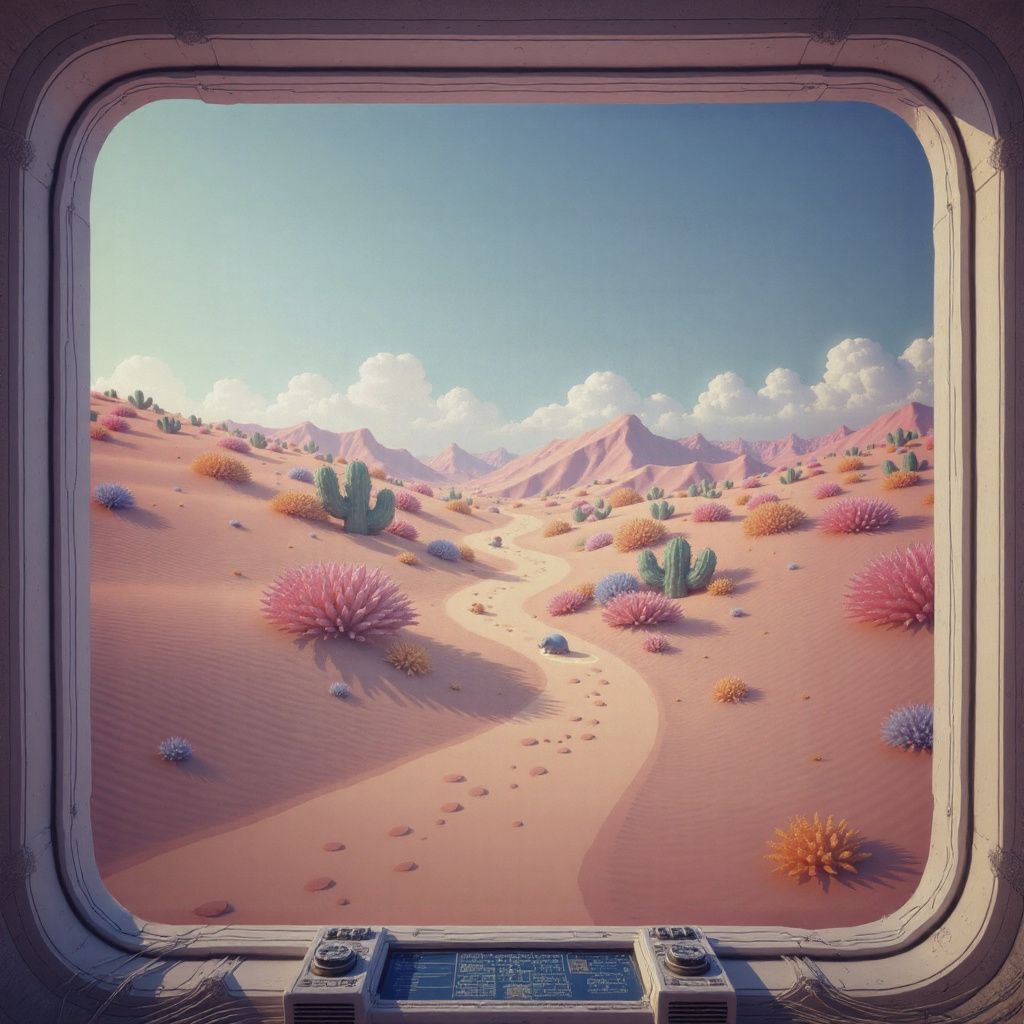
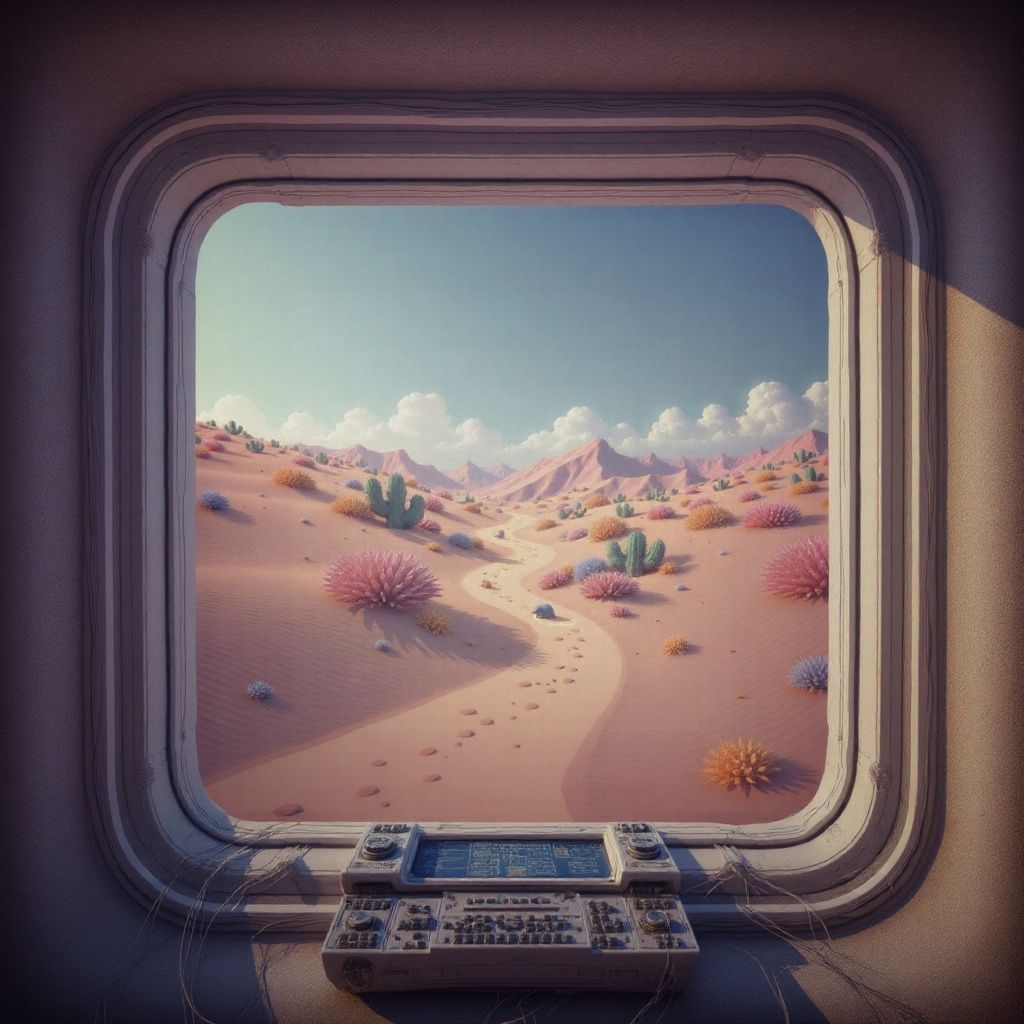
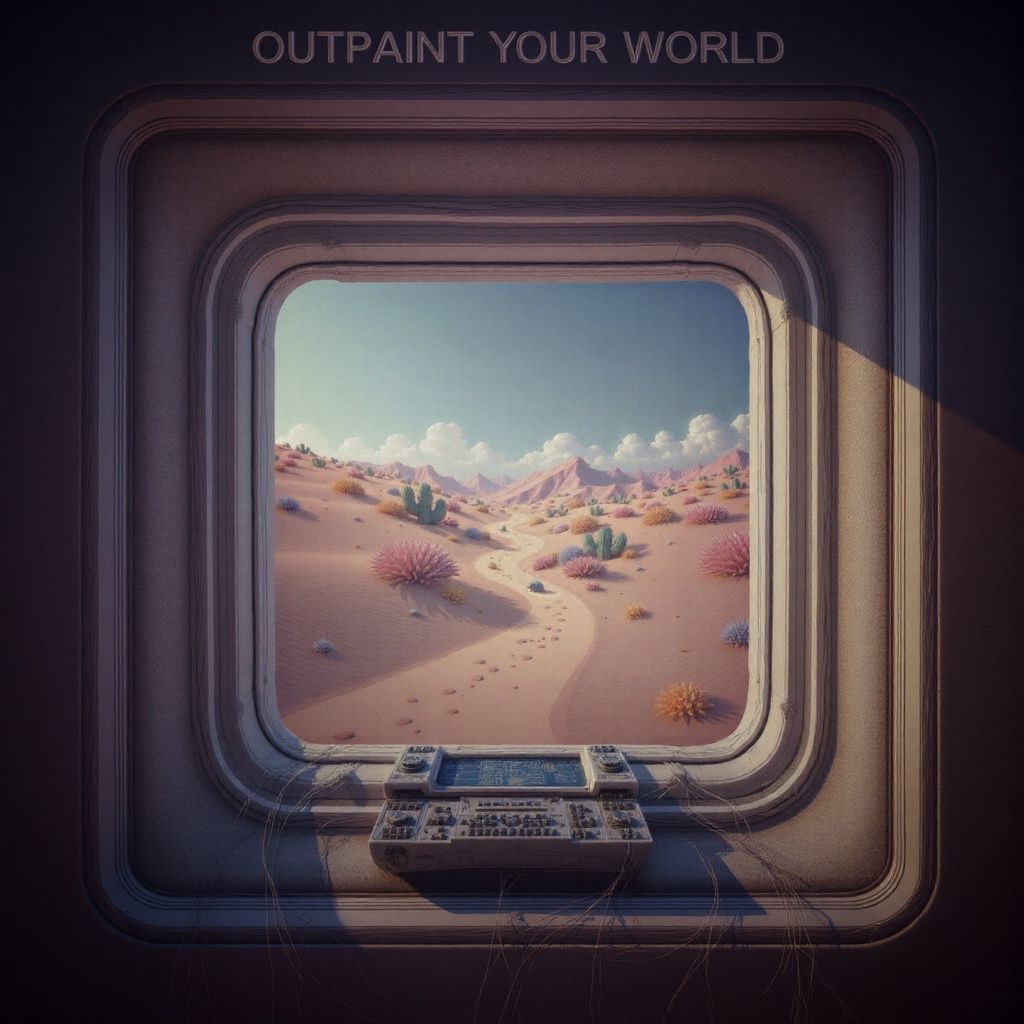
}This request extends our original landscape image by 256 pixels in every direction. The model generates appropriate content in these new areas based solely on the original image context. While a detailed prompt can be provided for guidance, here we've used __BLANK__ to allow the model to extend the scene based entirely on the visual information from the original image edges.
How outpainting works
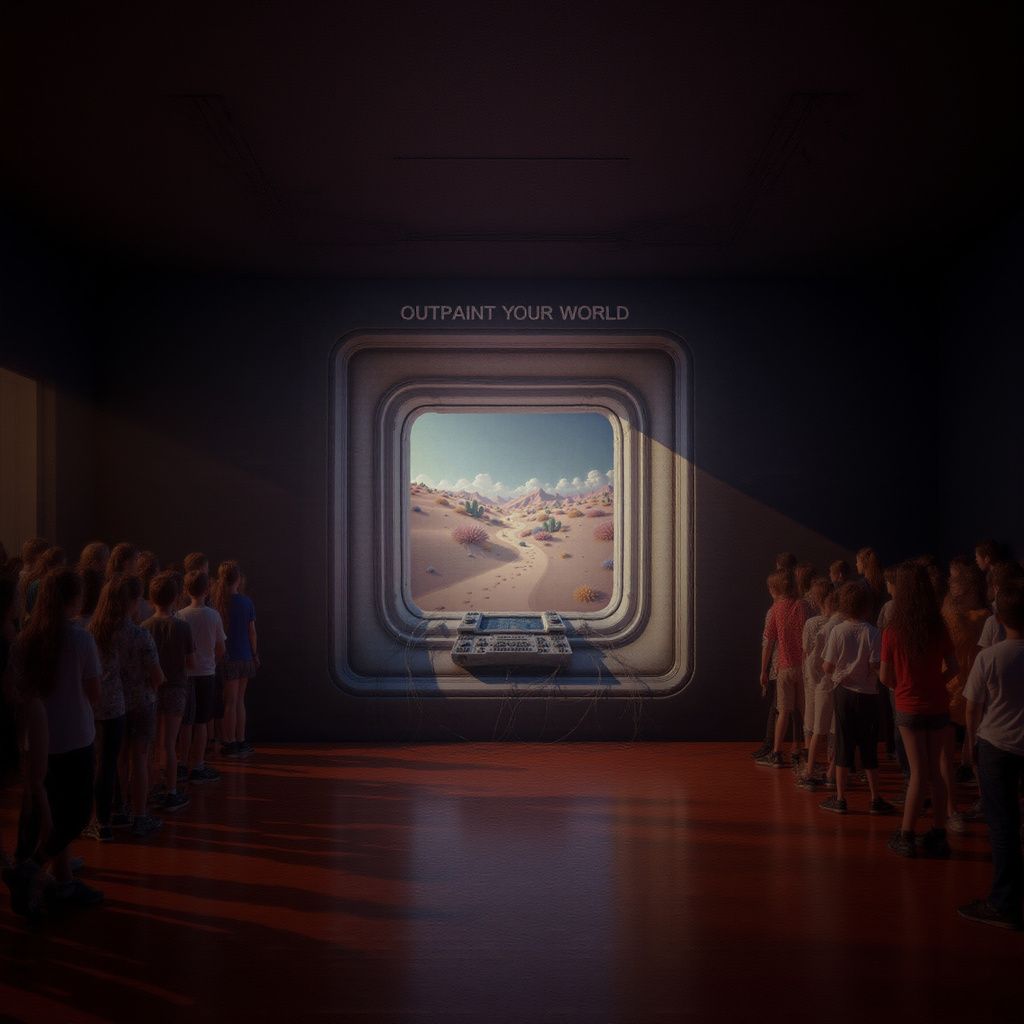
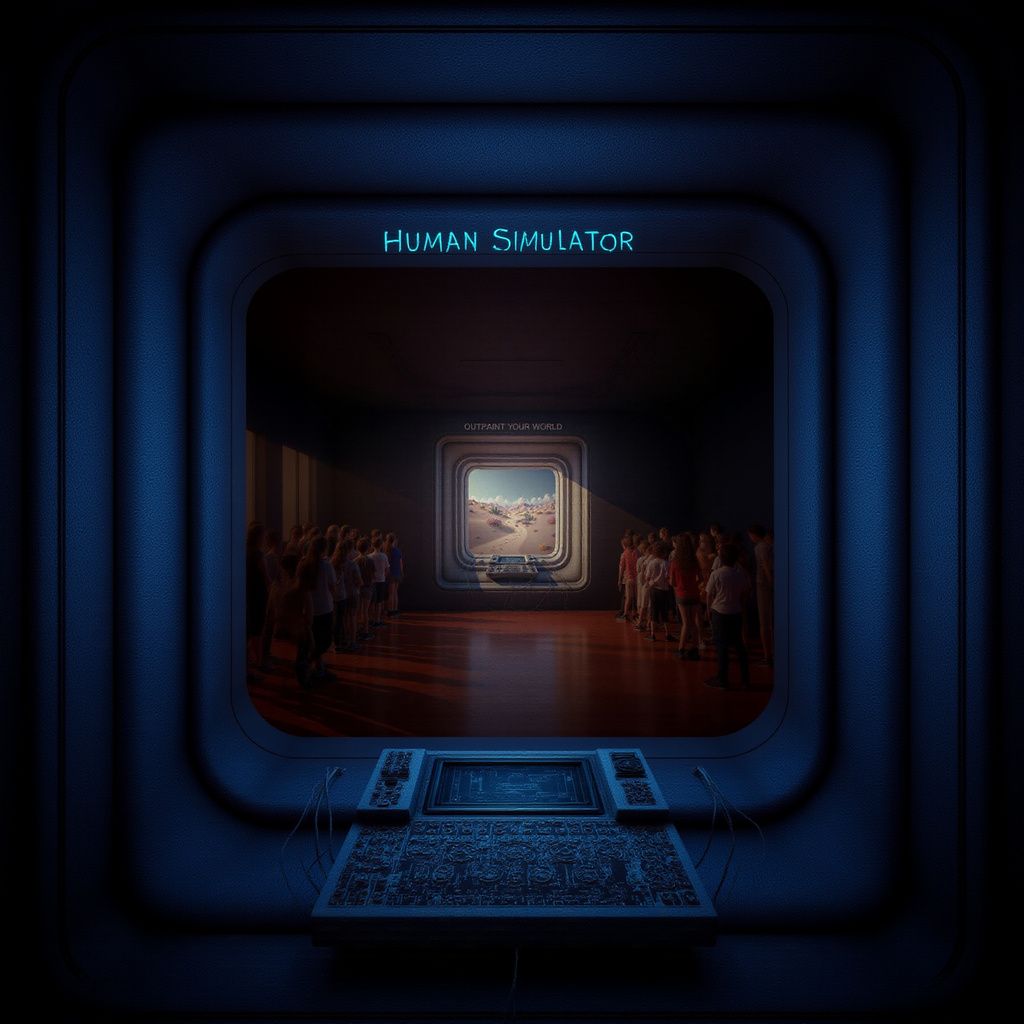
Outpainting extends your image by creating new content beyond the original boundaries that integrates seamlessly with existing elements. At its technical core, outpainting is a specialized form of inpainting that operates on a mask positioned outside the original image dimensions.
When you submit an outpainting request, the API first creates a larger canvas based on your specified dimensions. This is why it's critically important to set the width and height parameters to reflect the final combined dimensions (original image size plus extensions). Your original image is then positioned on this canvas, leaving empty spaces in the areas to be generated according to your outpaint directions.
The technical process begins with what's called edge extension or color bleeding, where the system extends the edge pixels of your original image outward to create initial guidance in the new areas. This step is necessary because unlike regular inpainting where the model has actual image content under the mask as a starting reference, in outpainting these new areas begin as undefined canvas space with no existing pixel data.
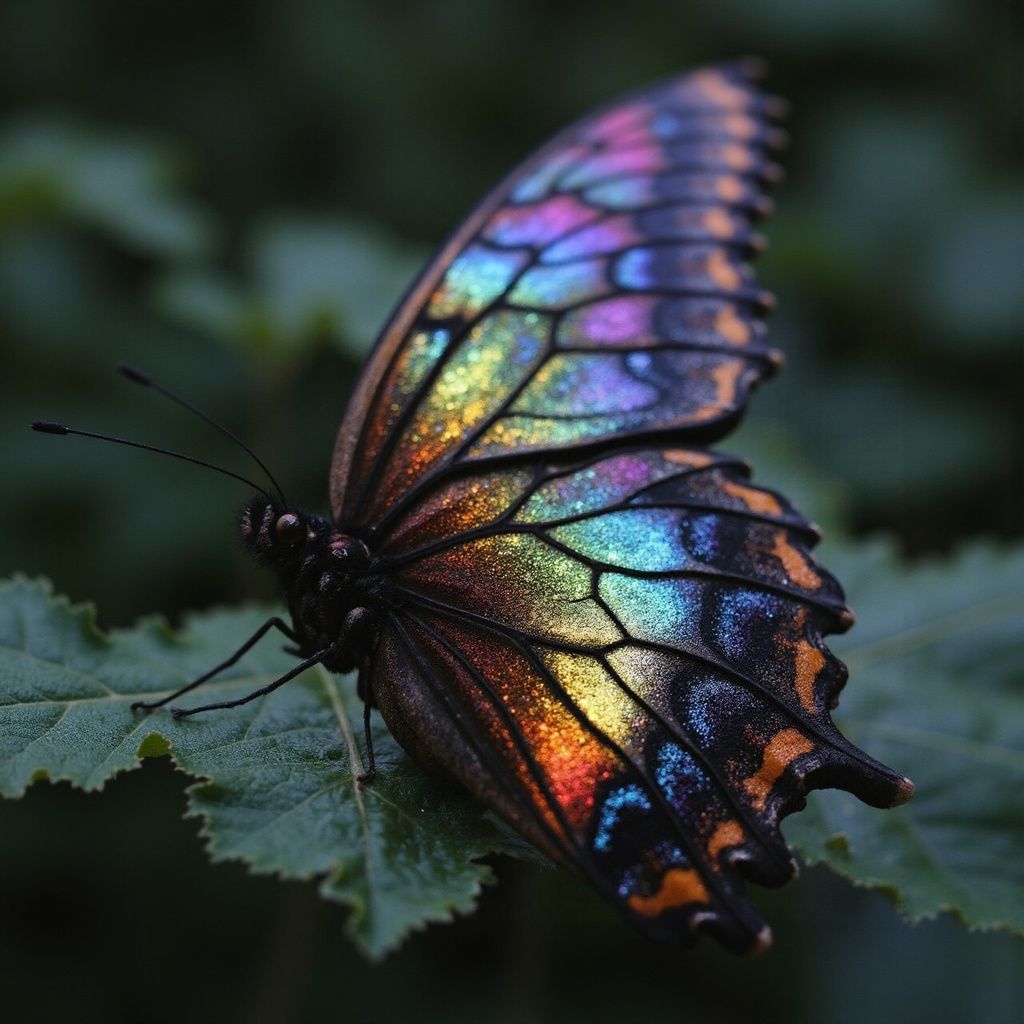
Prompt: A butterfly wing under magnification, revealing scales that shimmer like tiny stained glass windows in rainbow hues.
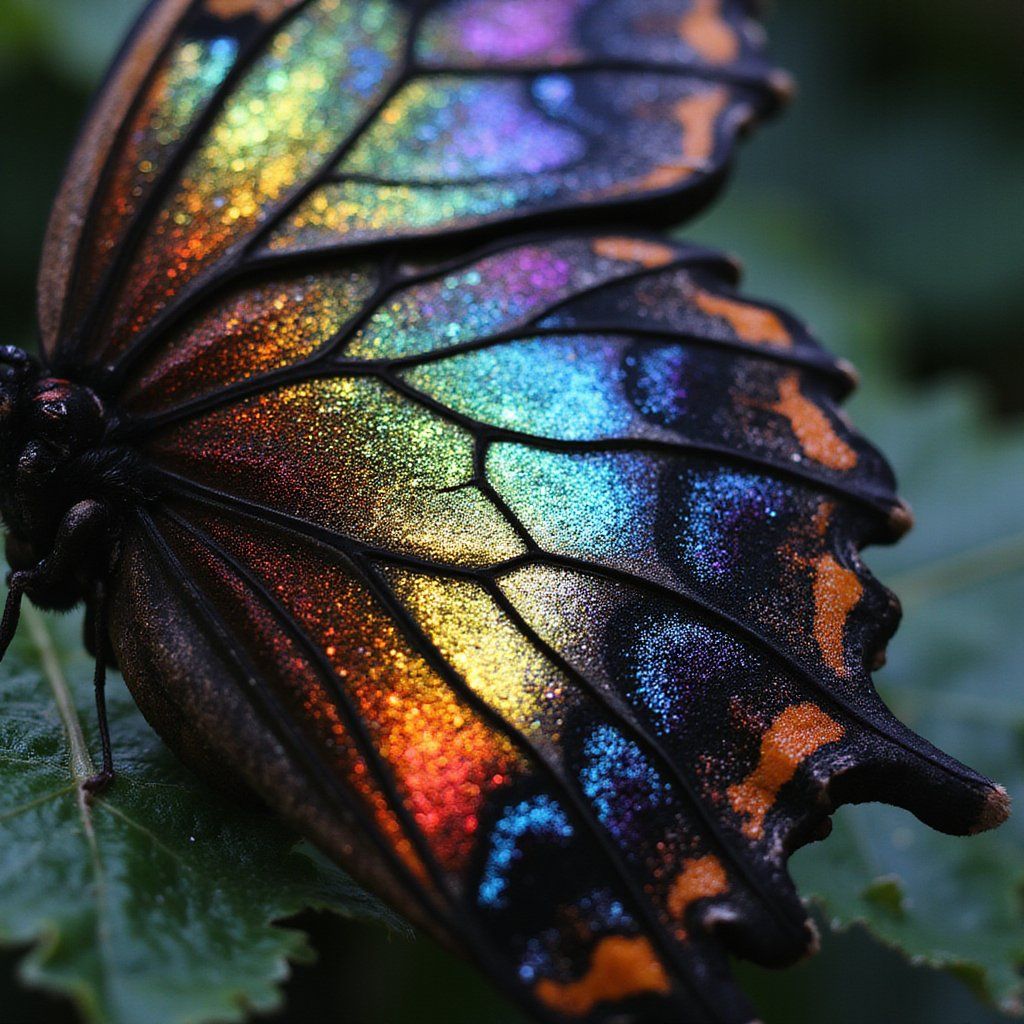
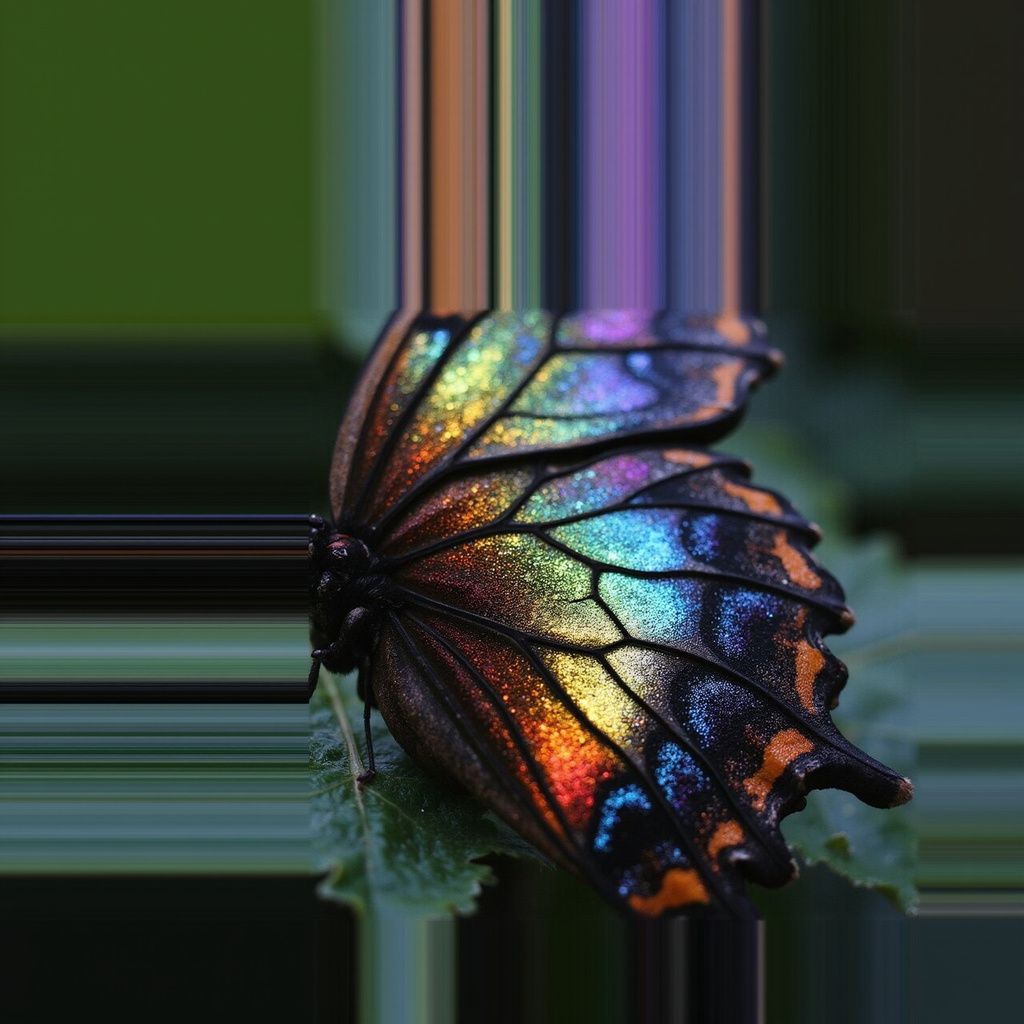
From this extended starting point, the generative model analyzes patterns, colors, textures, and structural elements at the boundaries of your original image. It uses this contextual information along with your prompt guidance to determine what content should be generated in the extended regions. The strength parameter controls how much of the initial edge extension is preserved versus replaced by prompt-guided content.
The boundary transition between original and generated content is controlled by the optional blur parameter. This parameter creates a gradient in the mask at the boundary between the original image and new areas. With higher blur values, the transition becomes more gradual, allowing the original edge pixels and their extensions to blend more smoothly with the newly generated content. This helps avoid abrupt transitions, particularly useful when extending complex patterns or textures.
What makes outpainting particularly challenging is that the model must generate coherent extensions with only partial context available from the image edges. Unlike standard inpainting where the model can reference surrounding content from all directions, outpainting requires the model to extrapolate beyond what's visible, effectively "imagining" how the scene continues based on limited edge information.
Key parameters
Outpaint: Defining the expansion
The outpaint parameter is an object that specifies which directions to expand your image and by how much. This is the core parameter that activates the outpainting functionality.
- outpaintobject
-
Extends the image boundaries in specified directions. When using
outpaint, you must provide the final dimensions usingwidthandheightparameters, which should account for the original image size plus the total extension (seedImage dimensions + top + bottom, left + right).View example
{
  "taskType": "imageInference",
  "taskUUID": "d06e972d-dbfe-47d5-955f-c26e00ce4959",
  "positivePrompt": "a beautiful landscape with mountains and trees",
  "negativePrompt": "blurry, bad quality",
  "seedImage": "59a2edc2-45e6-429f-be5f-7ded59b92046",
  "model": "civitai:4201@130090",
  "height": 1024,
  "width": 768,
  "steps": 20,
  "strength": 0.7,
  "outpaint": {
    "top": 256,
    "right": 128,
    "bottom": 256,
    "left": 128,
    "blur": 16
  }
}
Learn more 1 resource
Properties 5 properties
-
outpaint»toptopinteger Min: 0 -
Number of pixels to extend at the top of the image. Must be a multiple of 64.
-
outpaint»rightrightinteger Min: 0 -
Number of pixels to extend at the right side of the image. Must be a multiple of 64.
-
outpaint»bottombottominteger Min: 0 -
Number of pixels to extend at the bottom of the image. Must be a multiple of 64.
-
outpaint»leftleftinteger Min: 0 -
Number of pixels to extend at the left side of the image. Must be a multiple of 64.
-
outpaint»blurblurinteger Min: 0 Max: 32 Default: 0 -
The amount of blur to apply at the boundaries between the original image and the extended areas, measured in pixels.
Learn more 1 resource
-
These extension values define the exact pixel dimensions of the new canvas regions that will be created around your original image. The model's generation process will be confined to precisely these regions, while the original image remains untouched.
The blur parameter deserves special attention as it creates a gradient mask transition at the boundaries. Higher blur values create a more gradual blend that can help disguise transitions in complex textures or patterns. Lower values maintain sharper edges, which can be preferable when extending architectural elements or when precise structural continuity is essential.
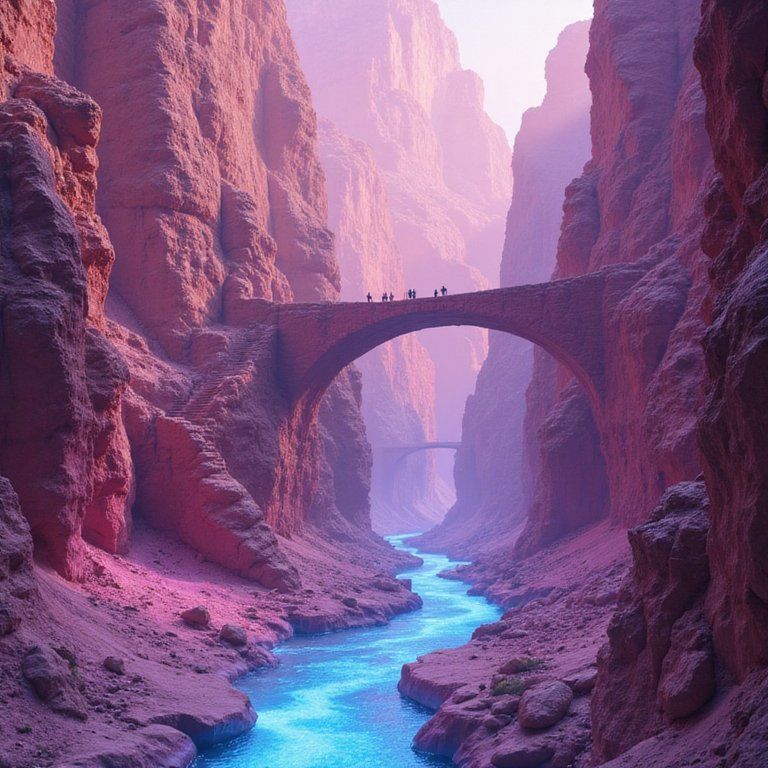
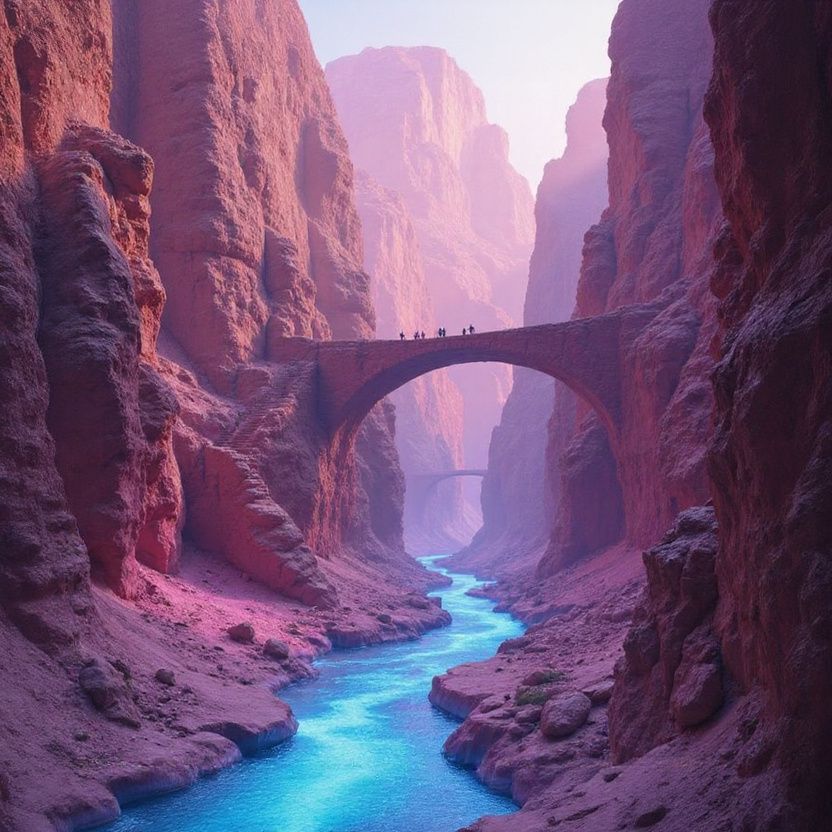
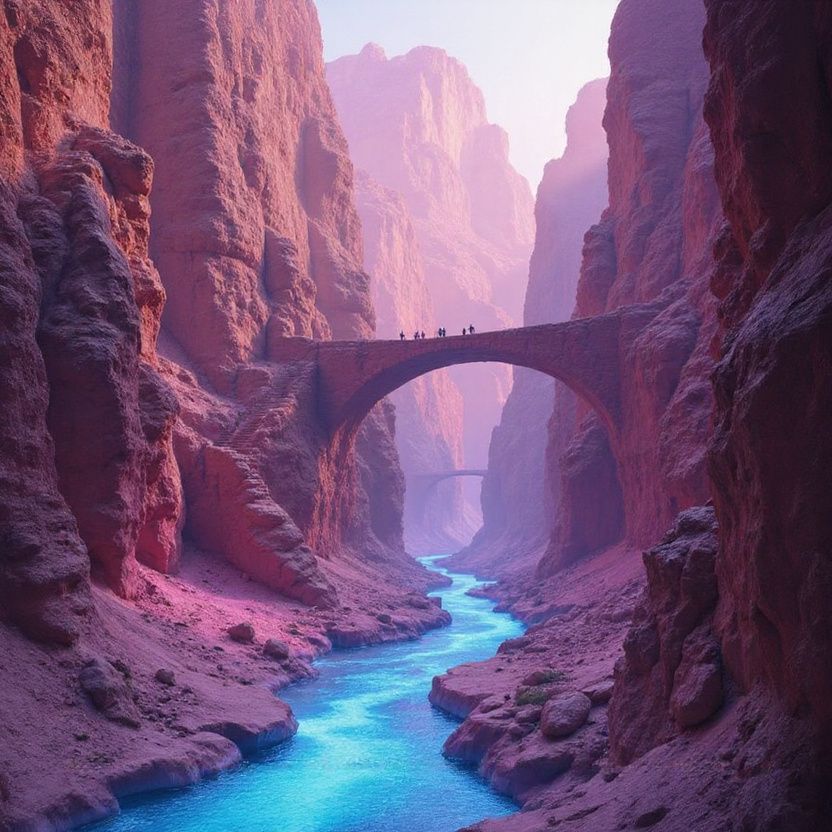

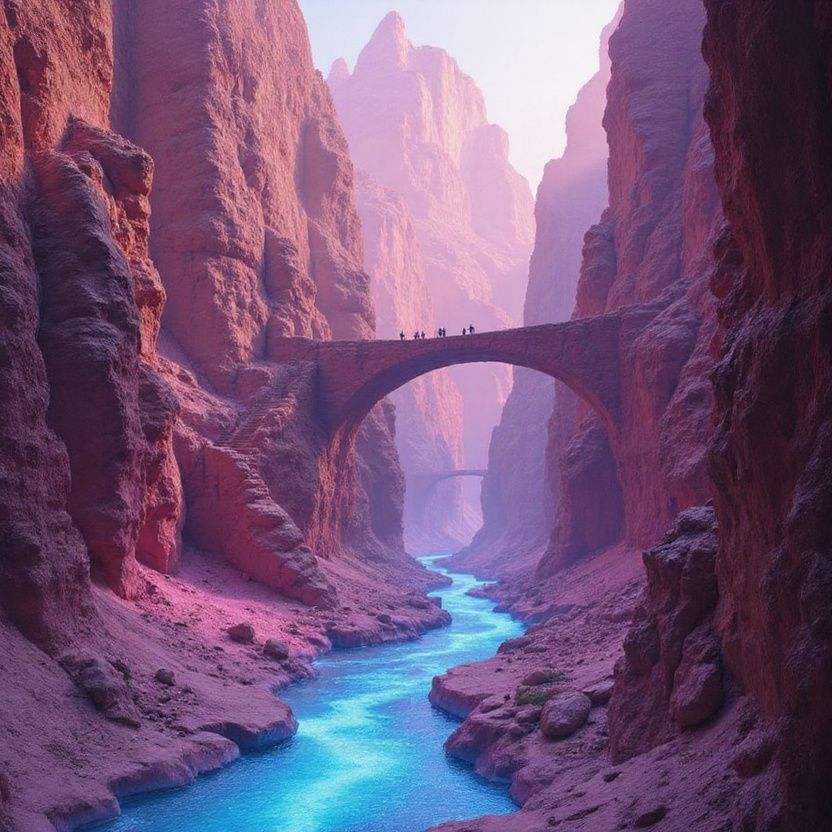
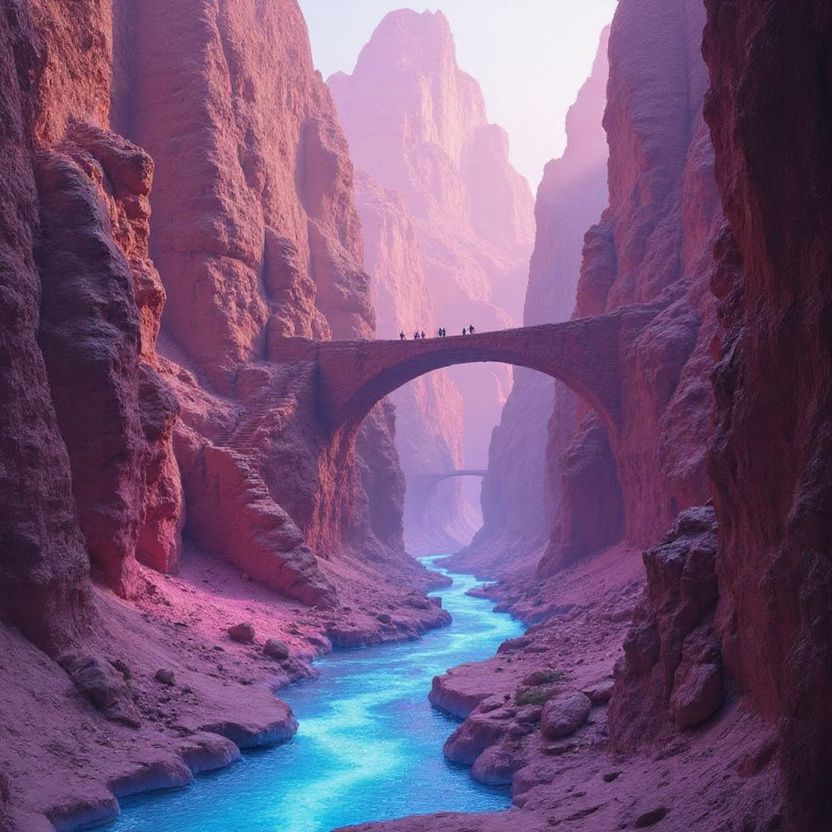
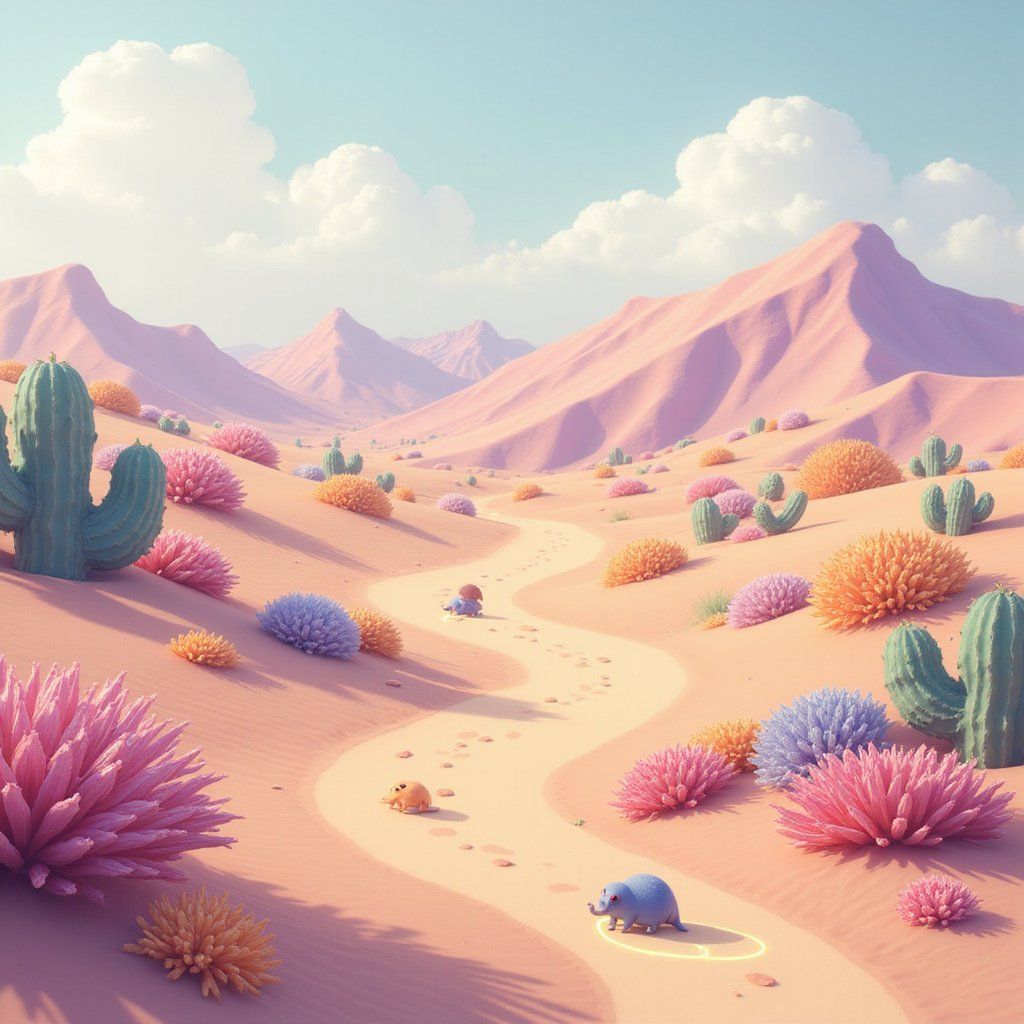
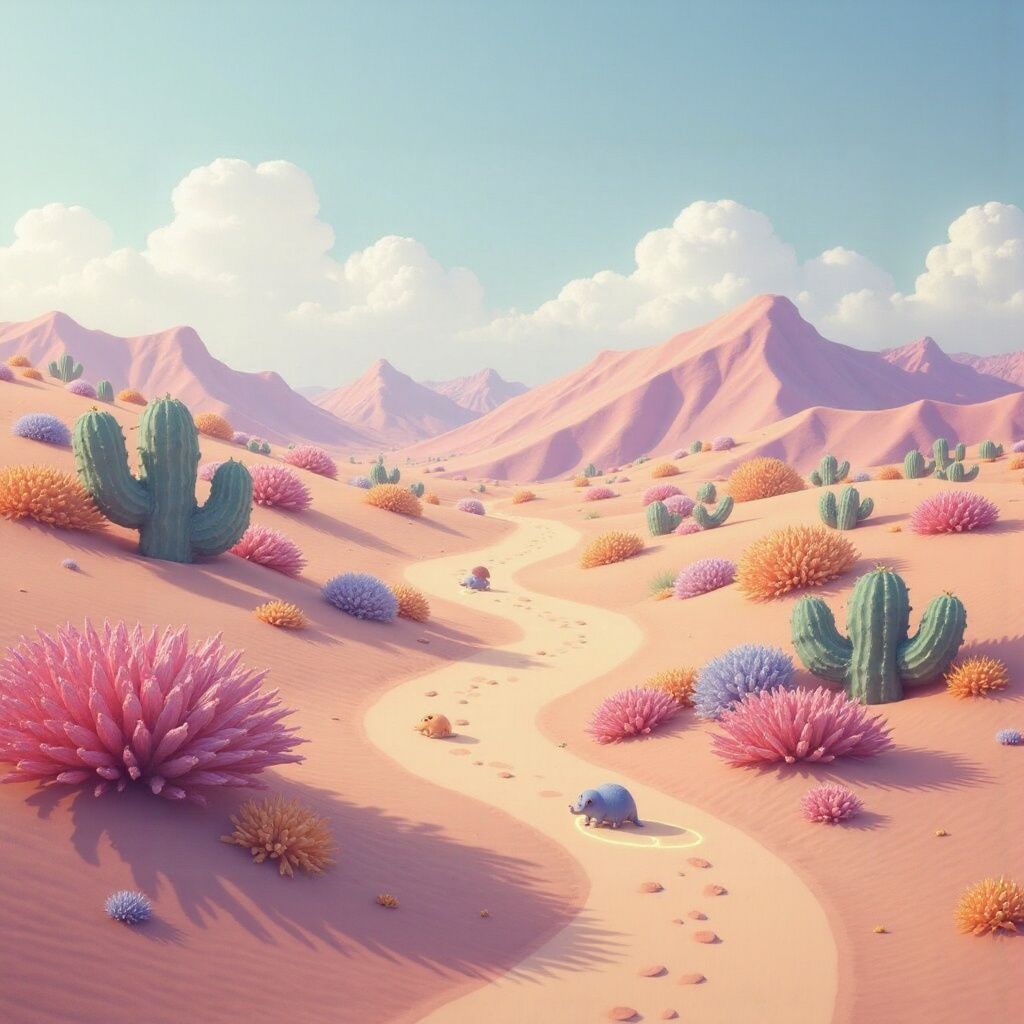
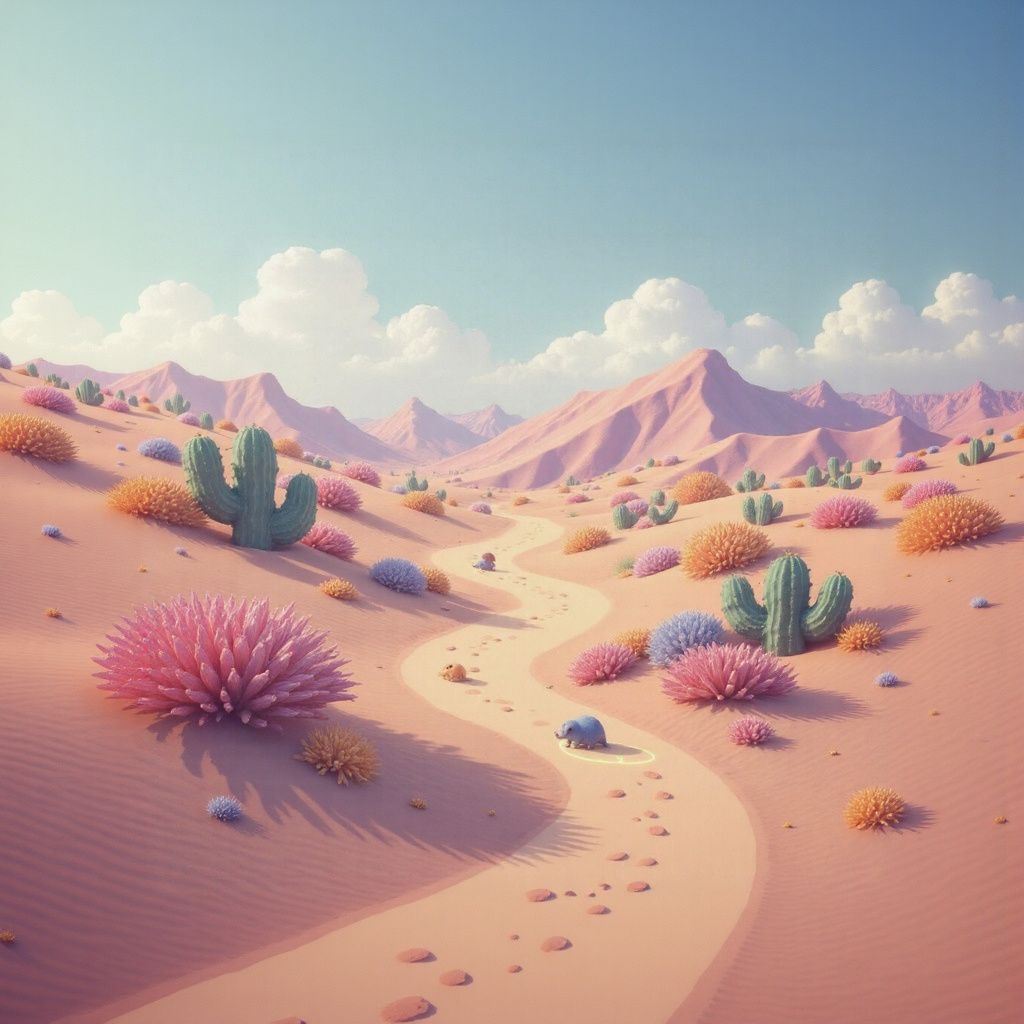
When applying different blur values, you can observe how this parameter affects content continuity at boundaries. Higher blur values create more seamless transitions between original and extended areas, maintaining stronger visual continuity. This is particularly noticeable in the river, where increased blur helps preserve its natural flow and characteristics across the boundary between original and generated content.
You can expand in any combination of directions simultaneously. For example, you might expand only to the right, or in all four directions at once.
The requirement for extensions to be multiples of 64 pixels is related to how image generation models process data in latent space. Using these dimensions ensures optimal performance and quality.
Dimensions: Critical for outpainting
When using outpainting, the width and height parameters take on special importance. They must explicitly account for the combined dimensions of your original image plus the extensions.
- heightinteger required Min: 128 Max: 2048
-
Used to define the height dimension of the generated image. Certain models perform better with specific dimensions.
The value must be divisible by 64, eg: 128...512, 576, 640...2048.
Learn more 2 resources
- widthinteger required Min: 128 Max: 2048
-
Used to define the width dimension of the generated image. Certain models perform better with specific dimensions.
The value must be divisible by 64, eg: 128...512, 576, 640...2048.
Learn more 2 resources
For correct outpainting, calculate these values as:
width= Original image width + left extension + right extension.height= Original image height + top extension + bottom extension.
If you don't specify the correct dimensions that account for both the original image and extensions, your outpainting result may be unexpected. Always calculate and provide accurate width and height values.
Strength: Understanding the critical threshold
The strength parameter controls how much influence the original image edges have on the newly generated areas during outpainting. This parameter works quite differently for outpainting compared to standard image-to-image tasks.
- strengthfloat Min: 0 Max: 1 Default: 0.8
-
When doing image-to-image or inpainting, this parameter is used to determine the influence of the
seedImageimage in the generated output. A lower value results in more influence from the original image, while a higher value allows more creative deviation.Learn more 3 resources
When outpainting begins, the system first creates what's essentially a color bleed extension from the edge pixels of your original image. These extended color values serve as initial guidance for the generation process. The strength parameter determines how much of this initial guidance is preserved versus replaced by prompt-guided content.
At low strength values (0.0-0.6), the result is dominated by this color bleeding effect, creating extensions that are essentially just stretched colors from the edge pixels without meaningful detail or content. These low values typically produce unusable results for most outpainting purposes.
Effective outpainting typically starts at strength values of 0.7 and above:
- Values around 0.7-0.8 maintain significant influence from edge patterns while allowing new content.
- Values around 0.9-0.95 provide an optimal balance for most outpainting scenarios, offering creative freedom while maintaining reasonable continuity.
- Values at or very near 1.0 may cause subtle variations in the original image portion, though these changes are typically minor.
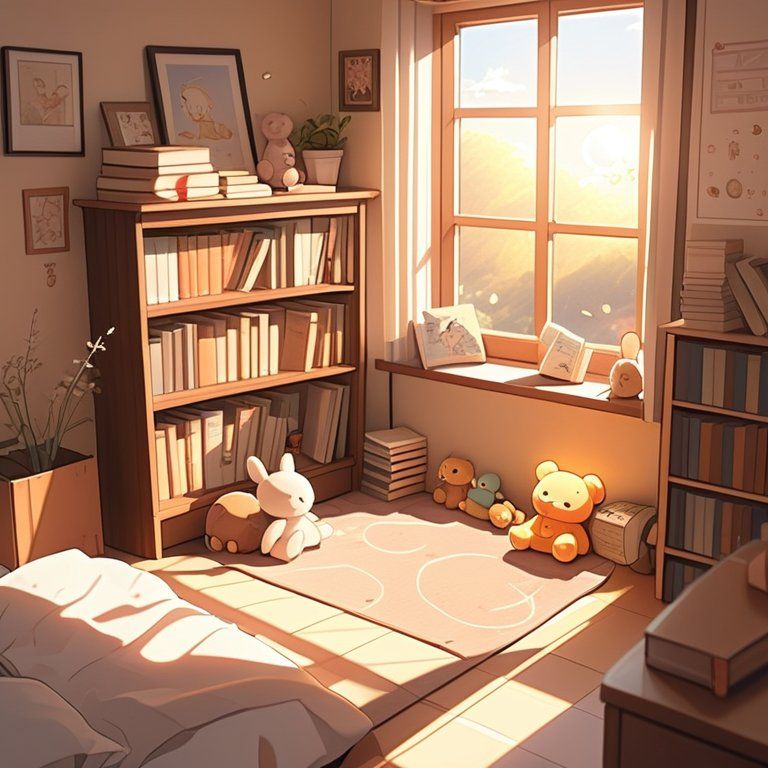
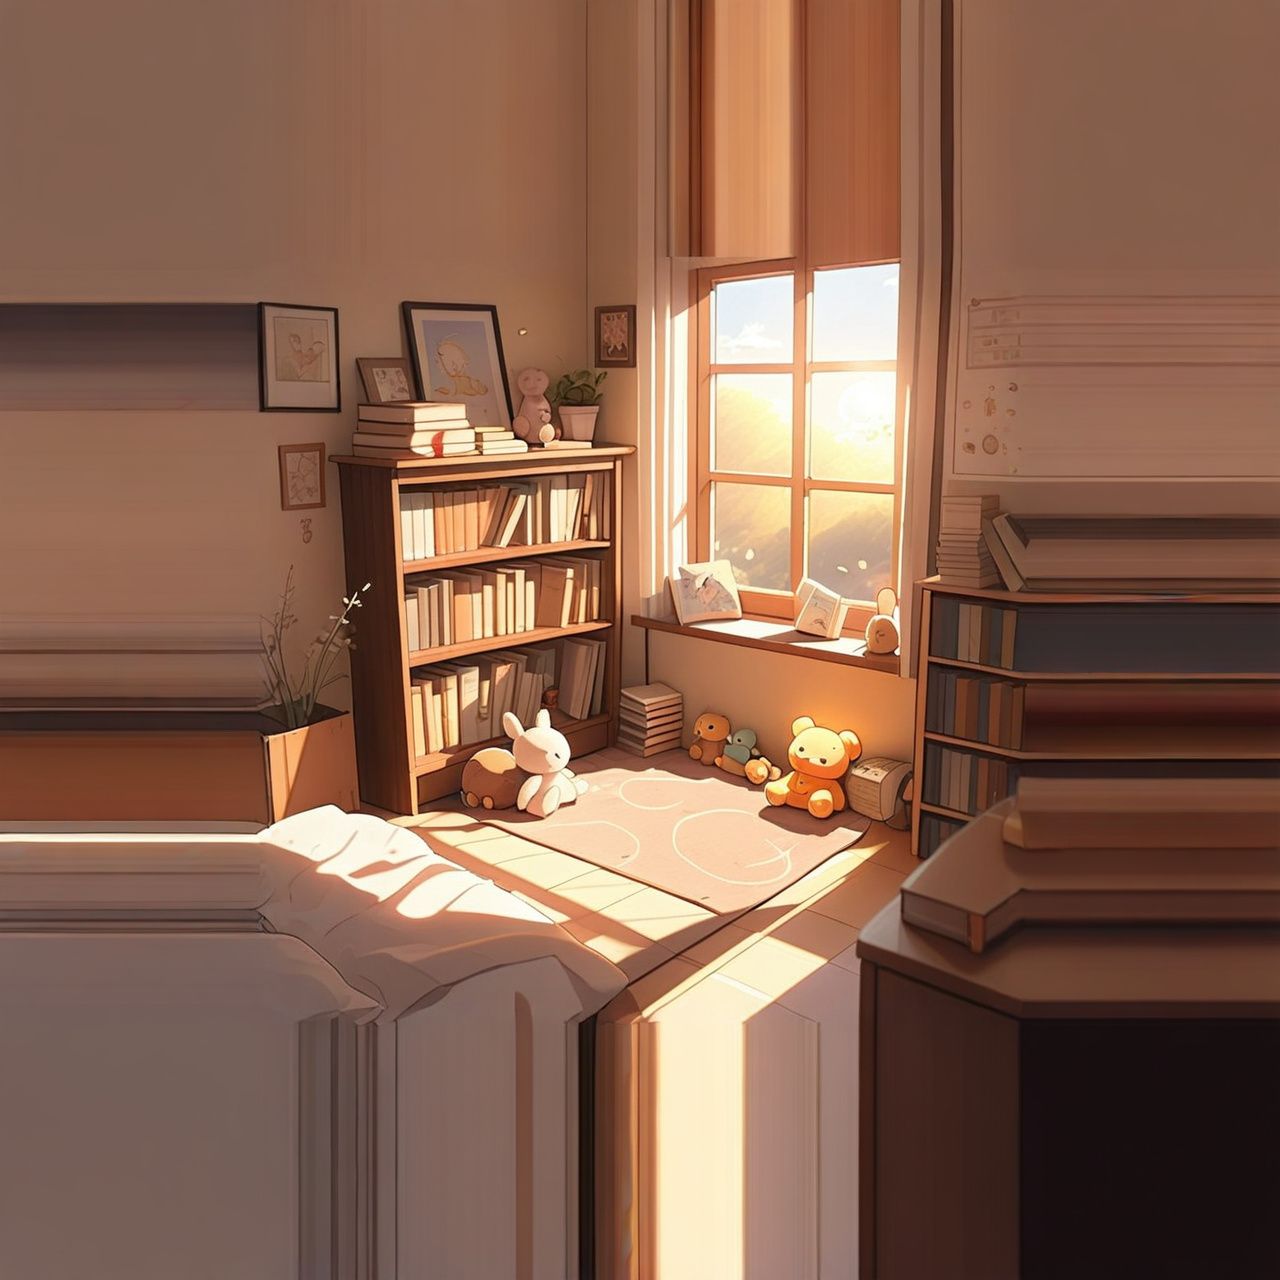
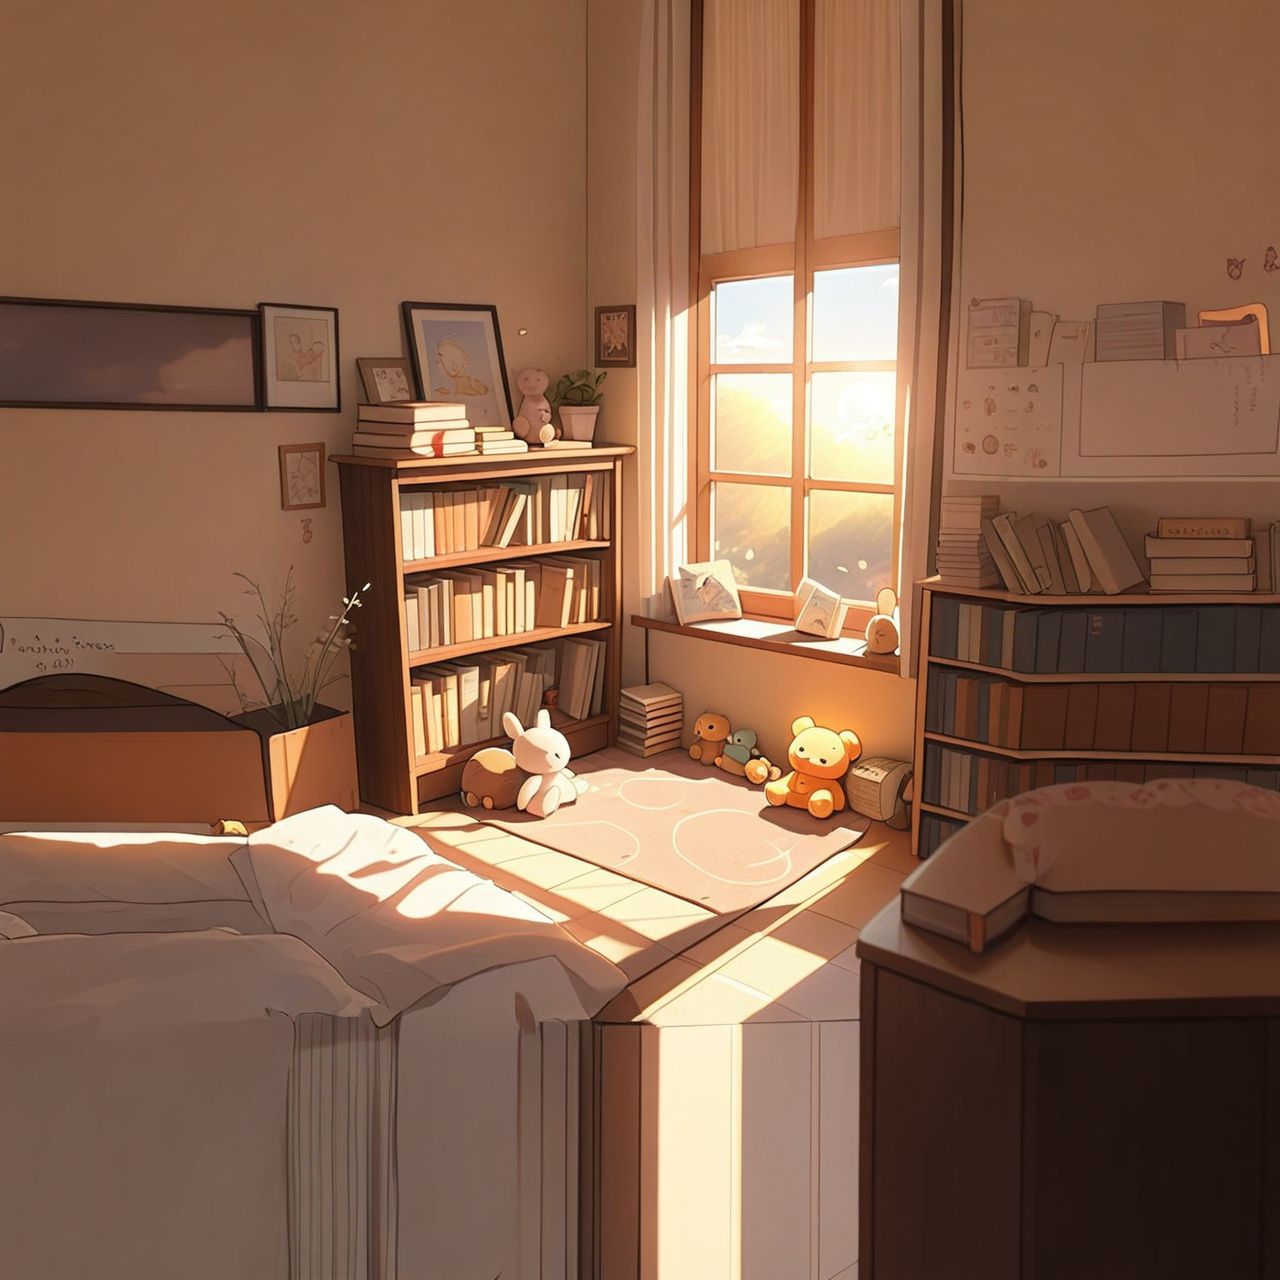
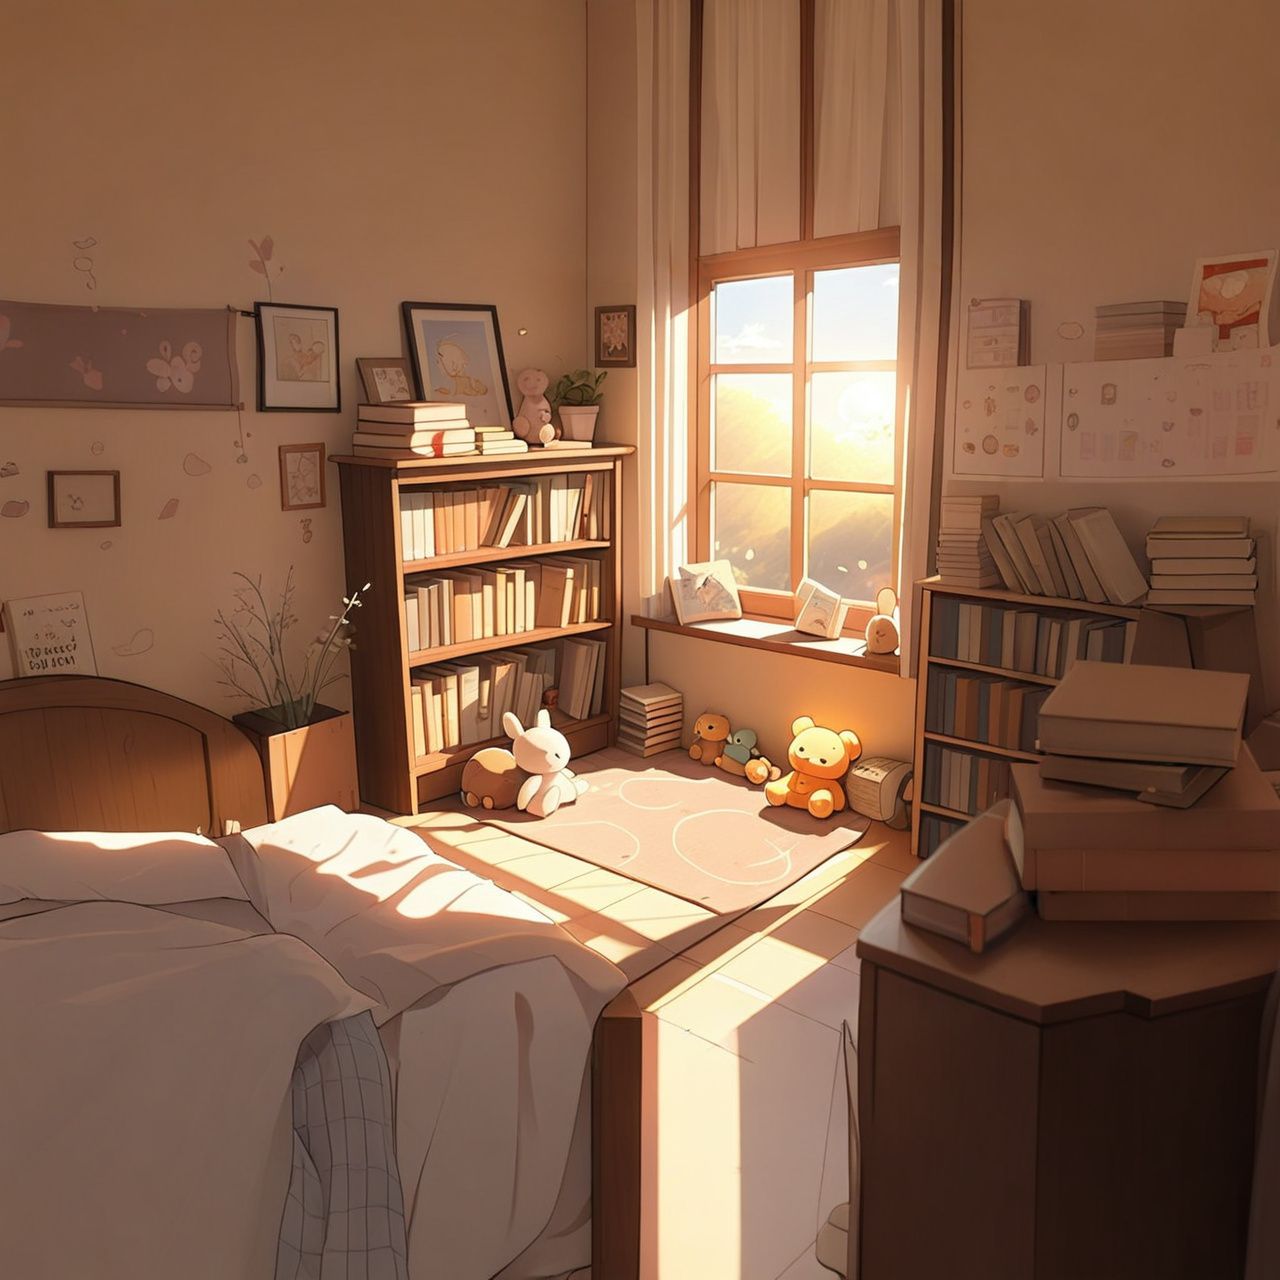
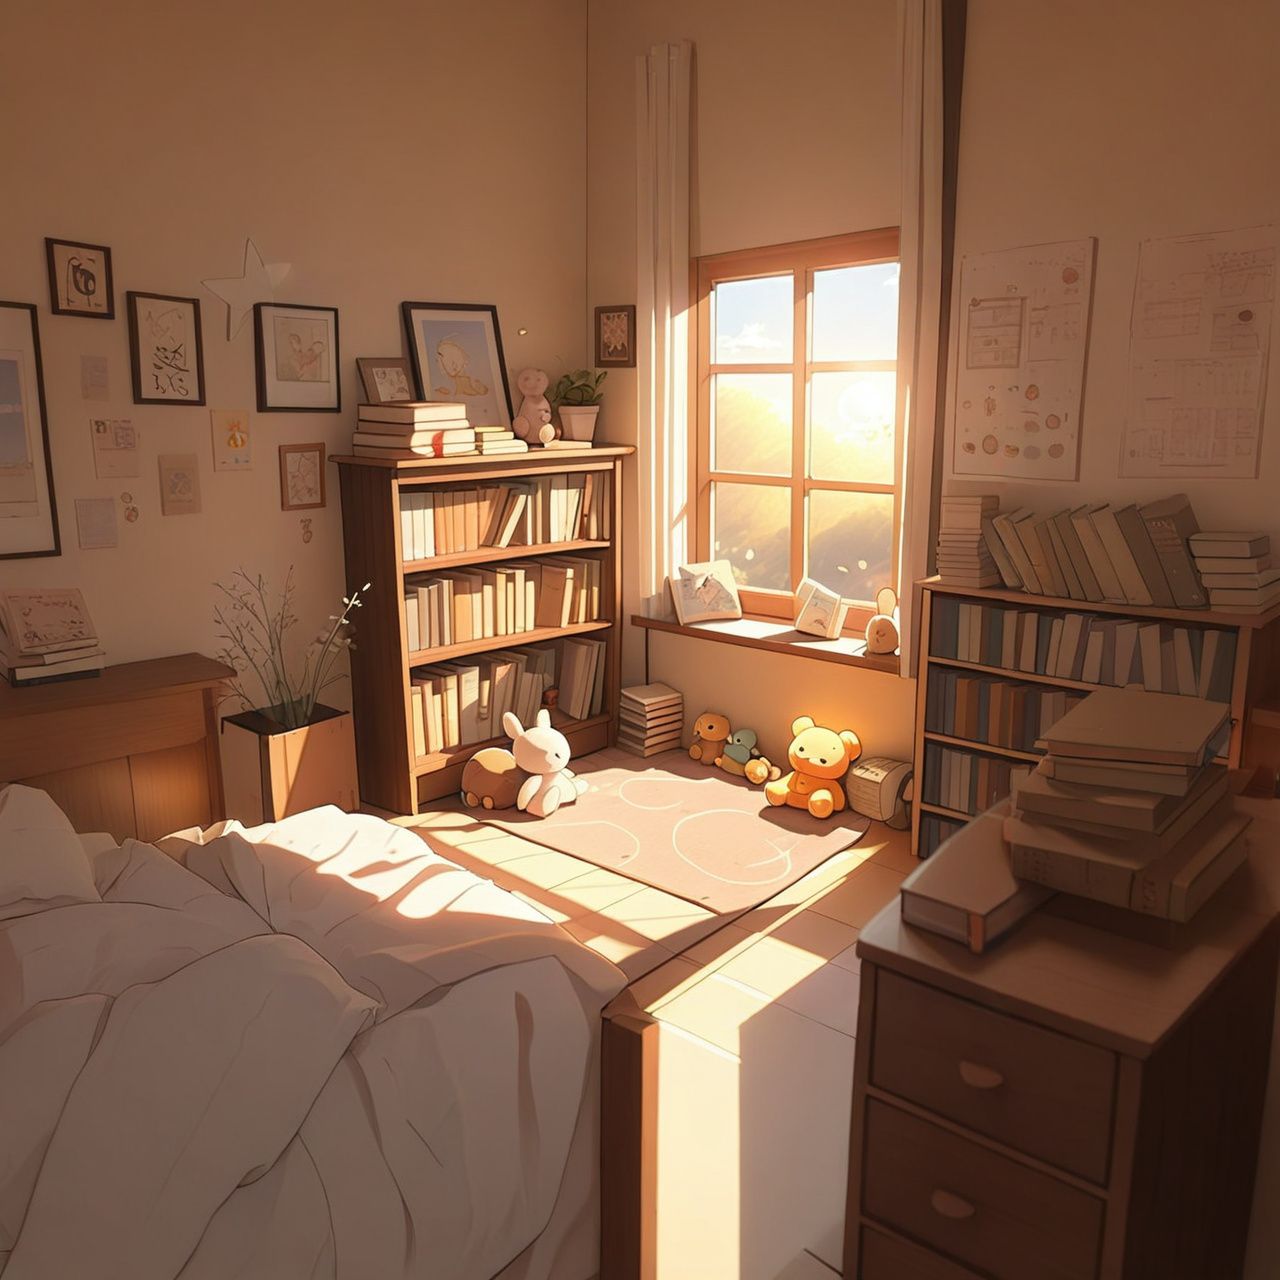
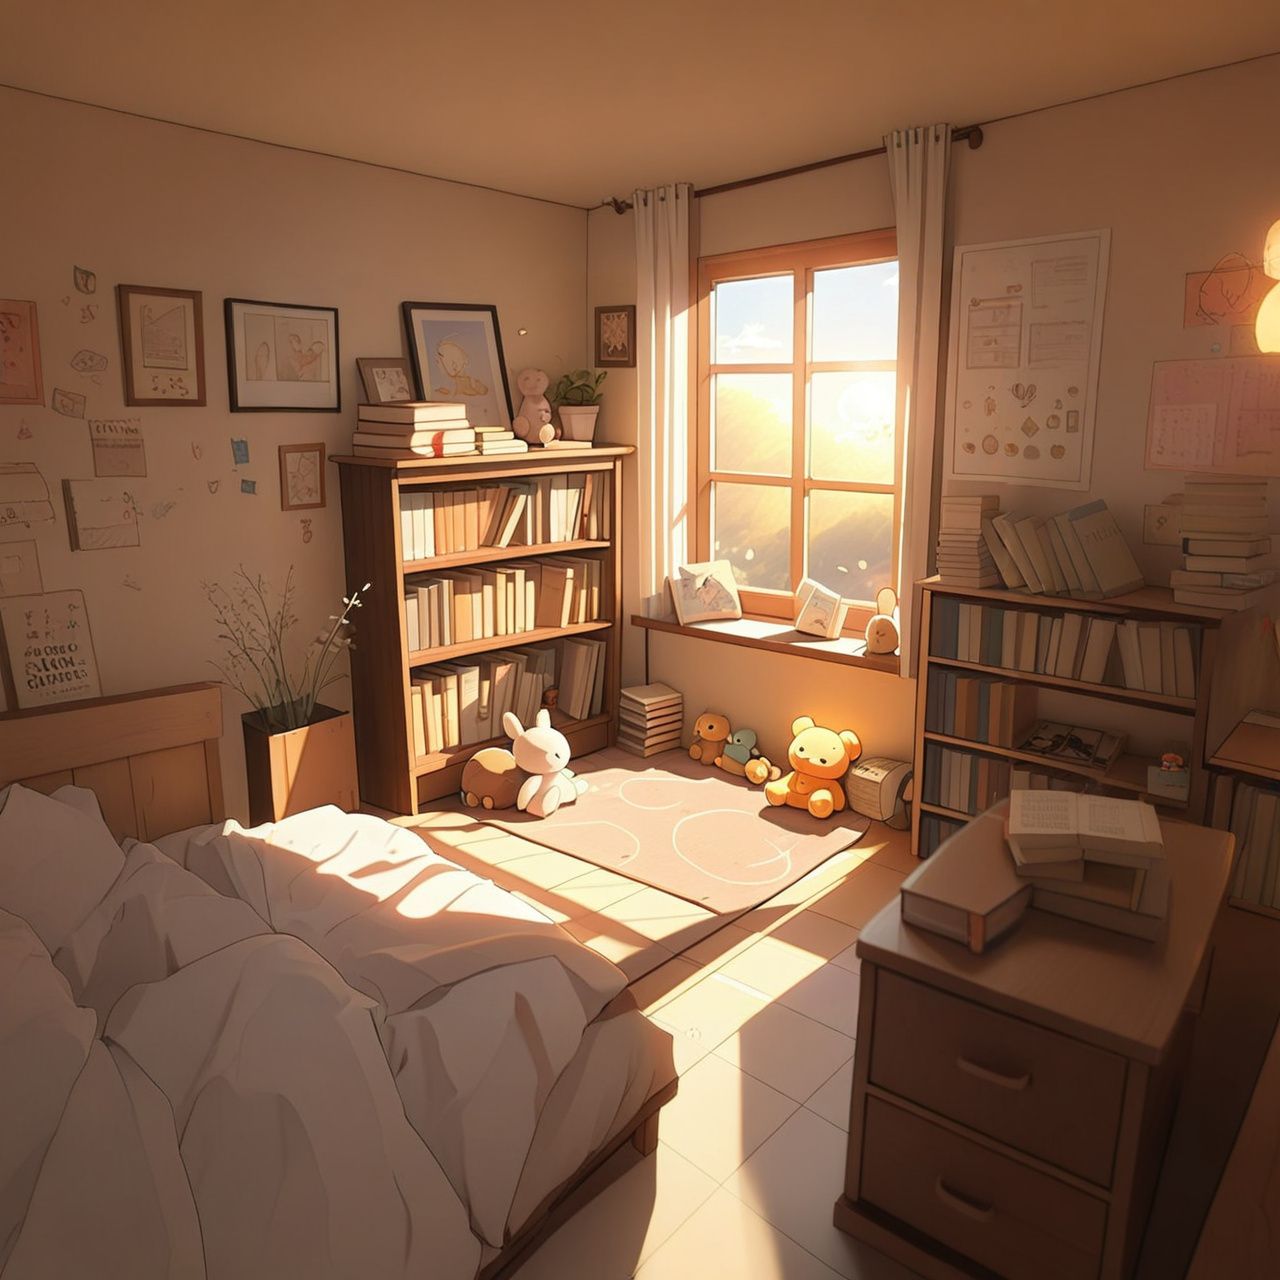
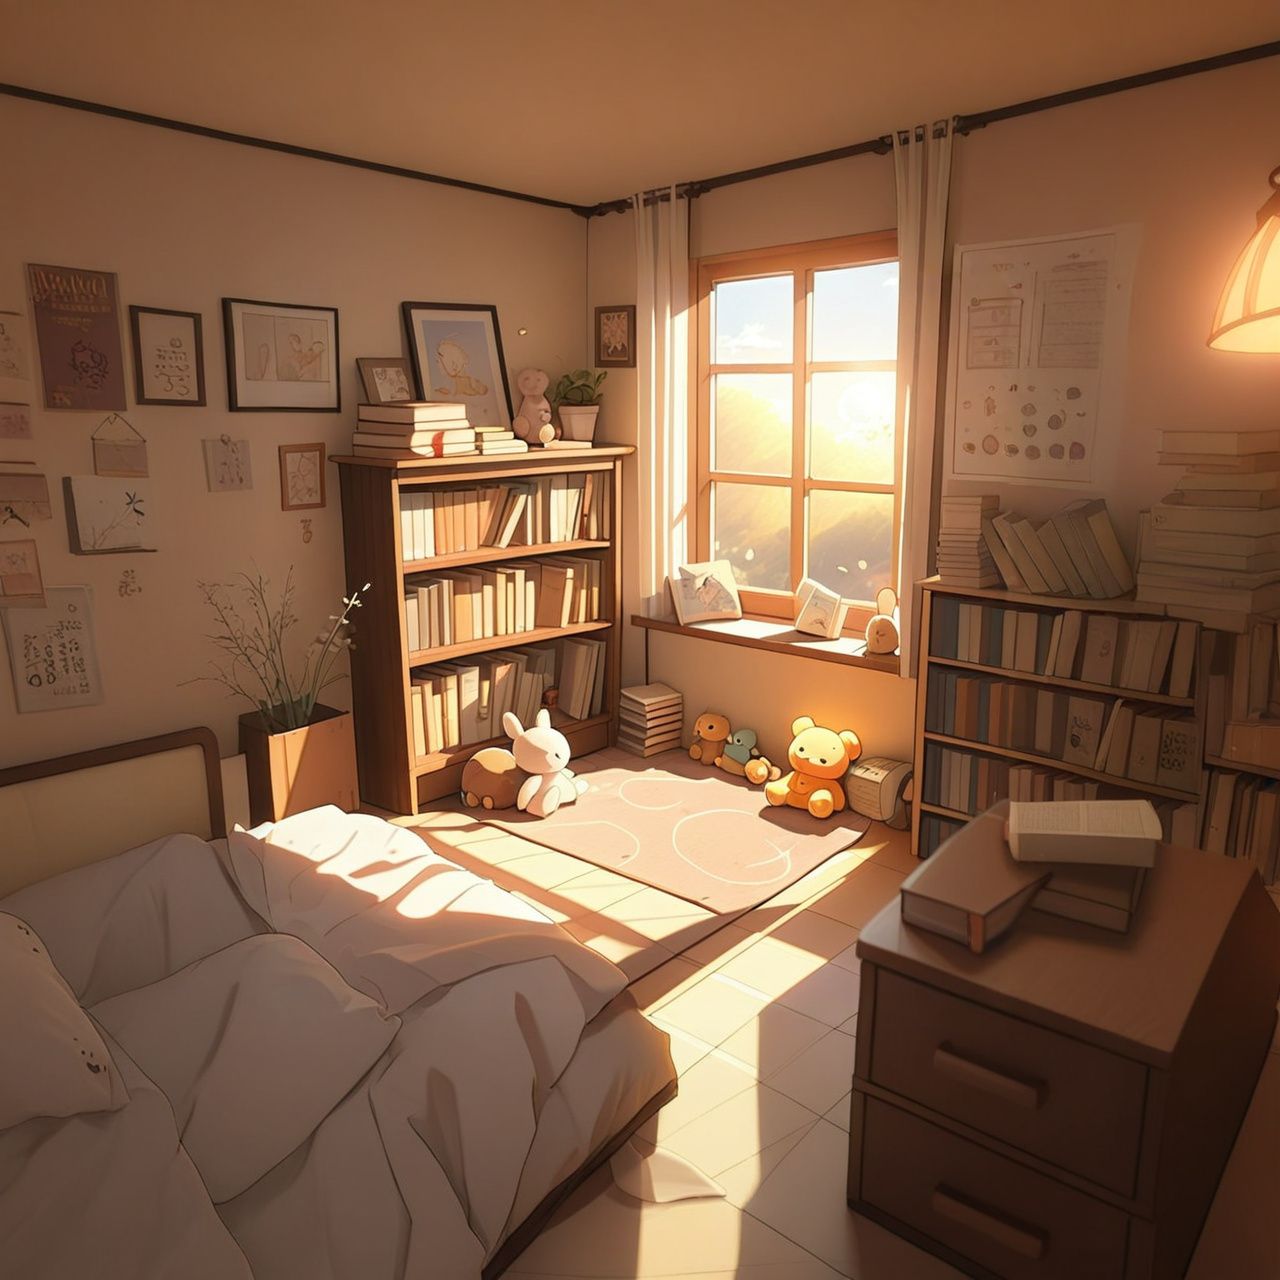
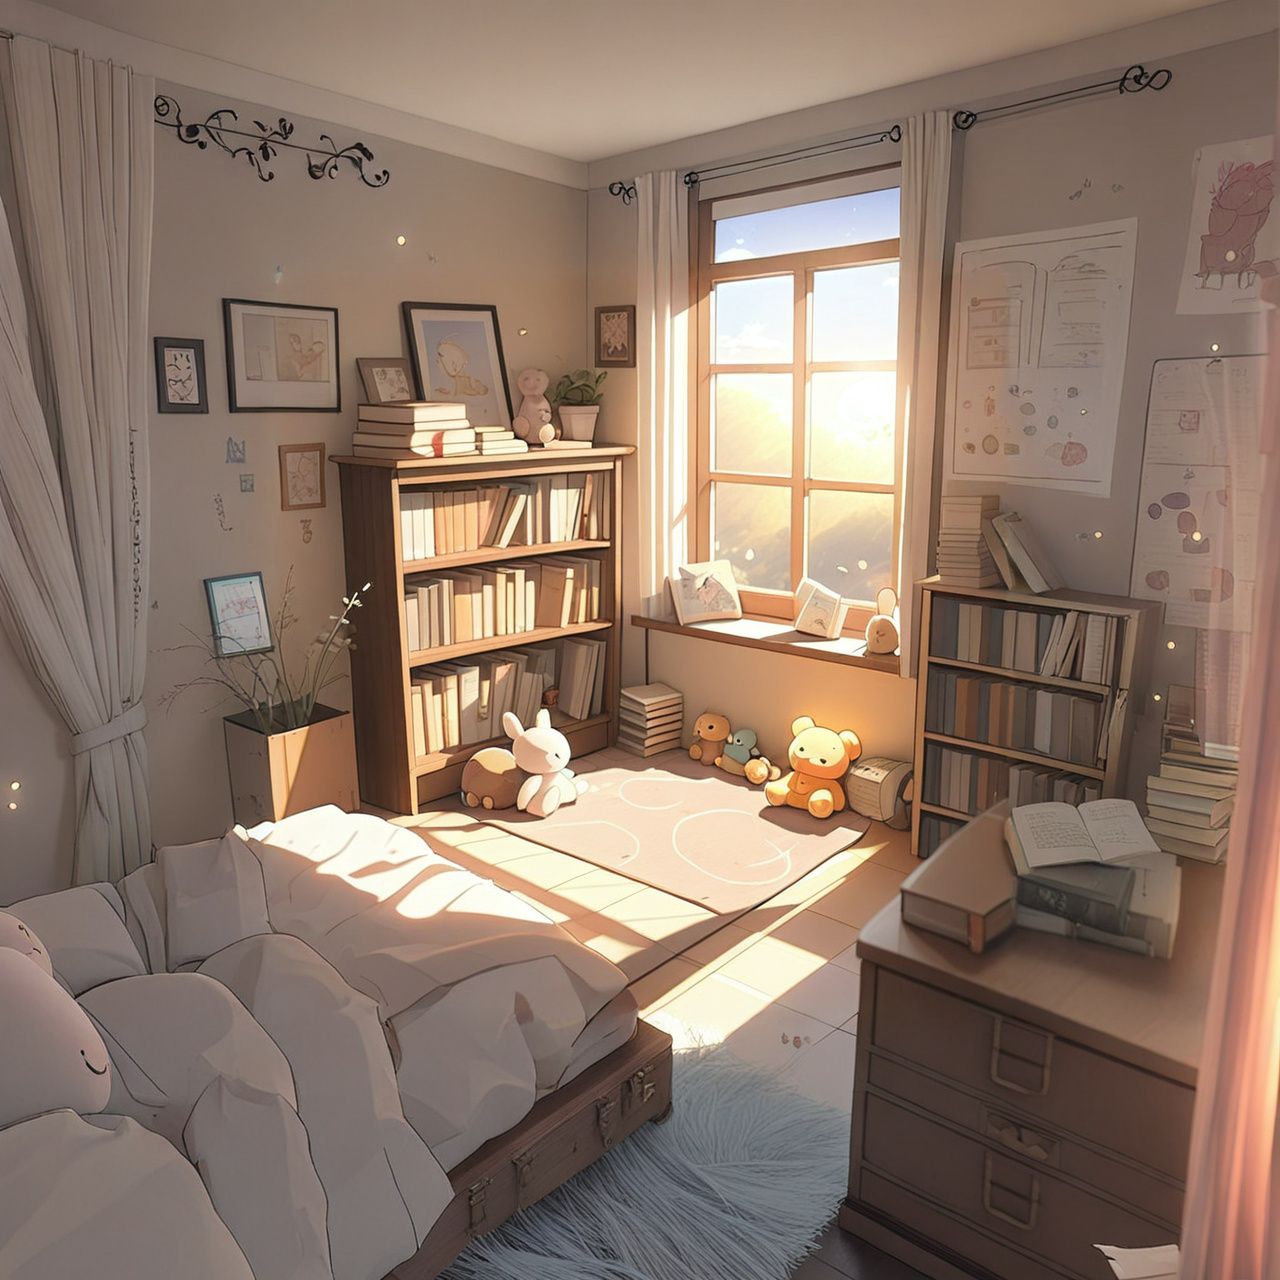
For most outpainting tasks, we recommend strength values between 0.85-0.95 for the best balance between creative generation and edge consistency. This range gives the model enough freedom to generate meaningful content while still respecting the visual cues from your original image boundaries.
FLUX Fill does not use the strength parameter as it employs a different technical approach to outpainting. When using FLUX Fill (runware:102@1), the model automatically determines the optimal balance between edge guidance and new content generation, making the strength parameter unnecessary. Simply omit this parameter when using FLUX Fill for outpainting.
Seed image: The starting point
The seedImage provides the base image to be extended. Unlike standard inpainting, with outpainting this image will be positioned within a larger canvas according to your expansion directions.
- seedImagestring required
-
When doing image-to-image, inpainting or outpainting, this parameter is required.
Specifies the seed image to be used for the diffusion process. The image can be specified in one of the following formats:
- An UUID v4 string of a previously uploaded image or a generated image.
- A data URI string representing the image. The data URI must be in the format
data:<mediaType>;base64,followed by the base64-encoded image. For example:data:image/png;base64,iVBORw0KGgo.... - A base64 encoded image without the data URI prefix. For example:
iVBORw0KGgo.... - A URL pointing to the image. The image must be accessible publicly.
Supported formats are: PNG, JPG and WEBP.
Learn more 3 resources
The original image is kept intact, with new content generated only in the expanded areas. As mentioned earlier, the system first extends the edge pixels of your seedImage outward to create initial color guidance in the new areas. This edge extension provides the starting foundation upon which the model builds the generated content.
The seedImage quality and content significantly influence the outpainting result, as the model draws contextual cues from the image edges.
Other critical parameters
The positivePrompt parameter guides what content should appear in the expanded areas. As with inpainting, you can focus primarily on describing what should appear in these new regions.
Since the model has access to the entire original image in outpainting, it can understand the existing scene context. Your prompt can therefore be as simple as describing just the new elements you want to see in the expanded areas, similar to inpainting.
For maximum creative freedom, you can even pass __BLANK__ as your prompt, which tells the model to generate extensions based solely on the visual information in the original image. This approach allows the model to determine the most natural continuation without any specific text guidance.
Prompt: A baby whale floating through a dreamy sky full of clouds and paper stars, trailed by sparkles.
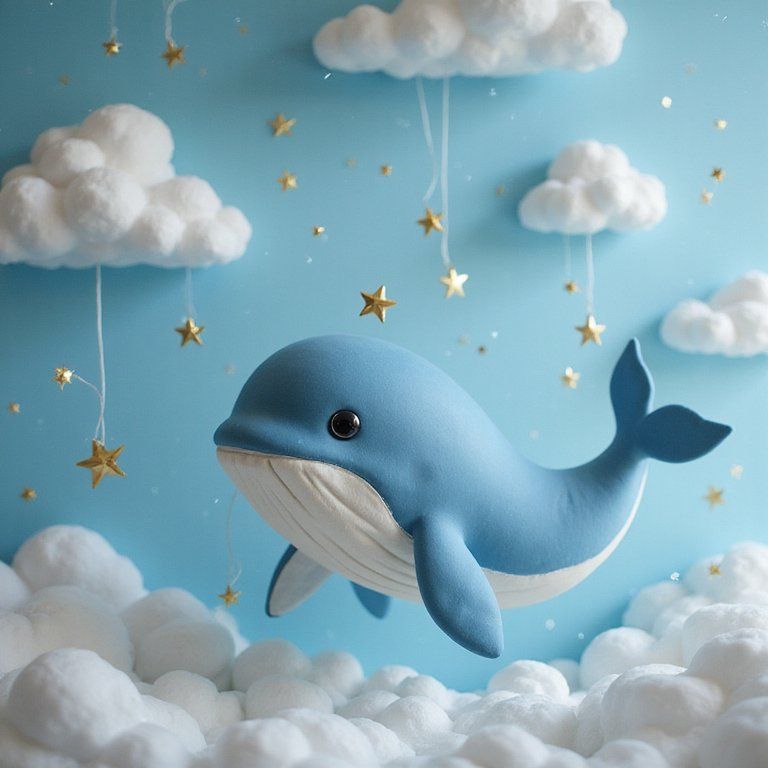
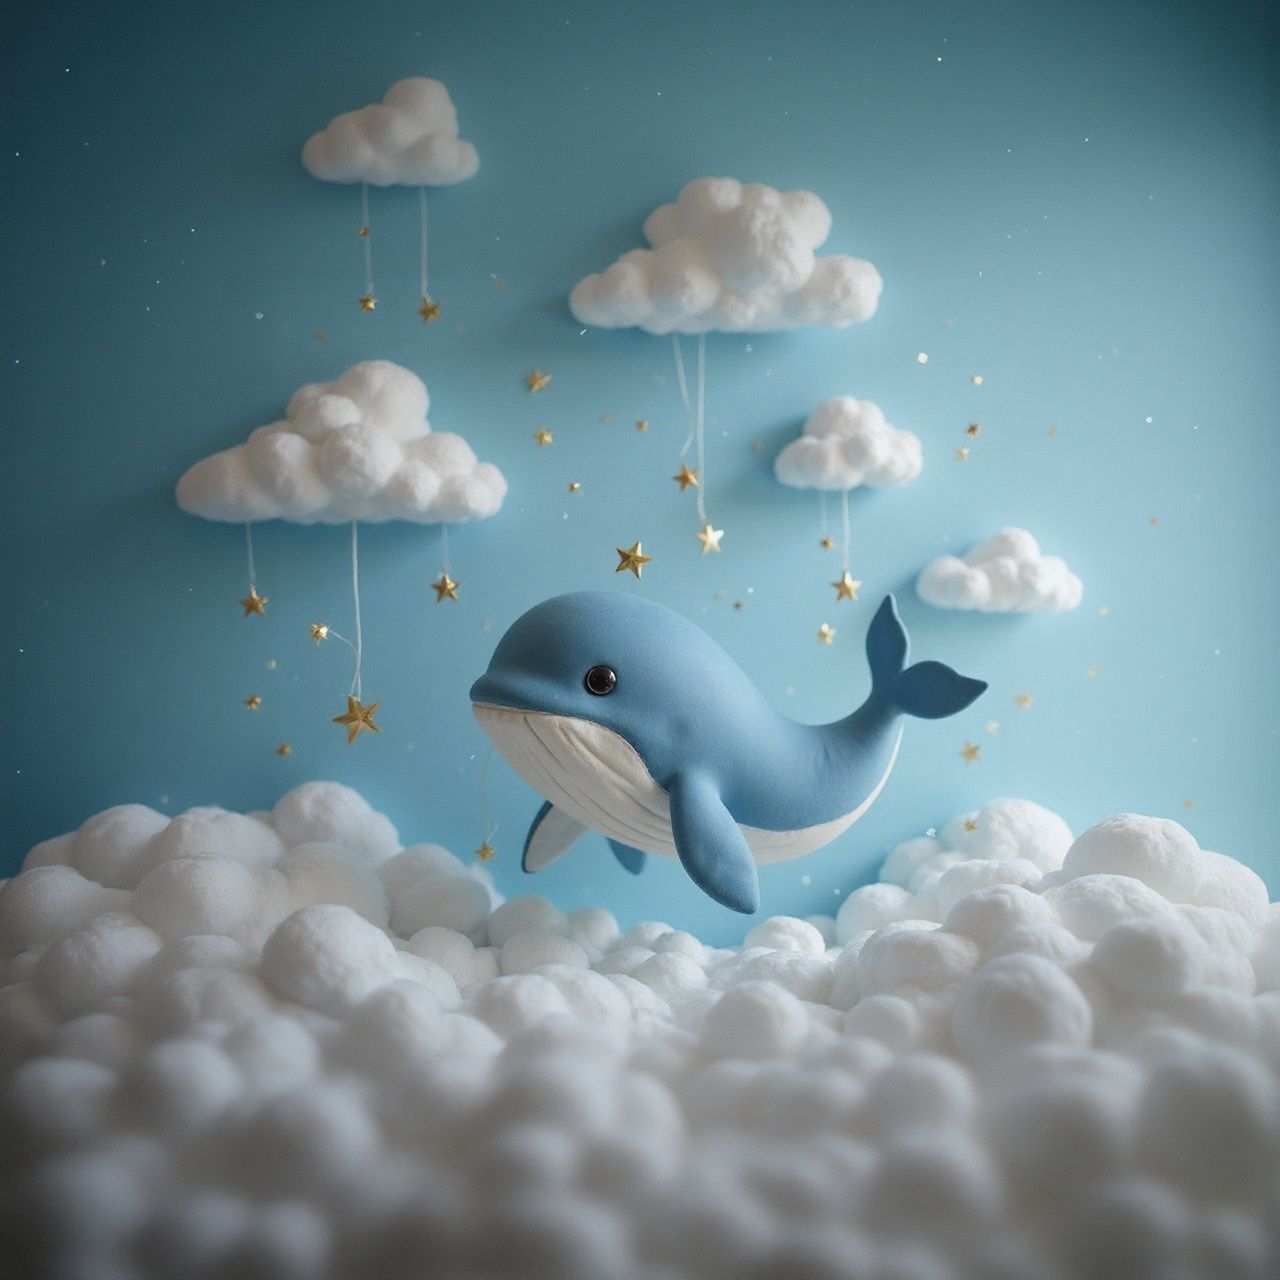
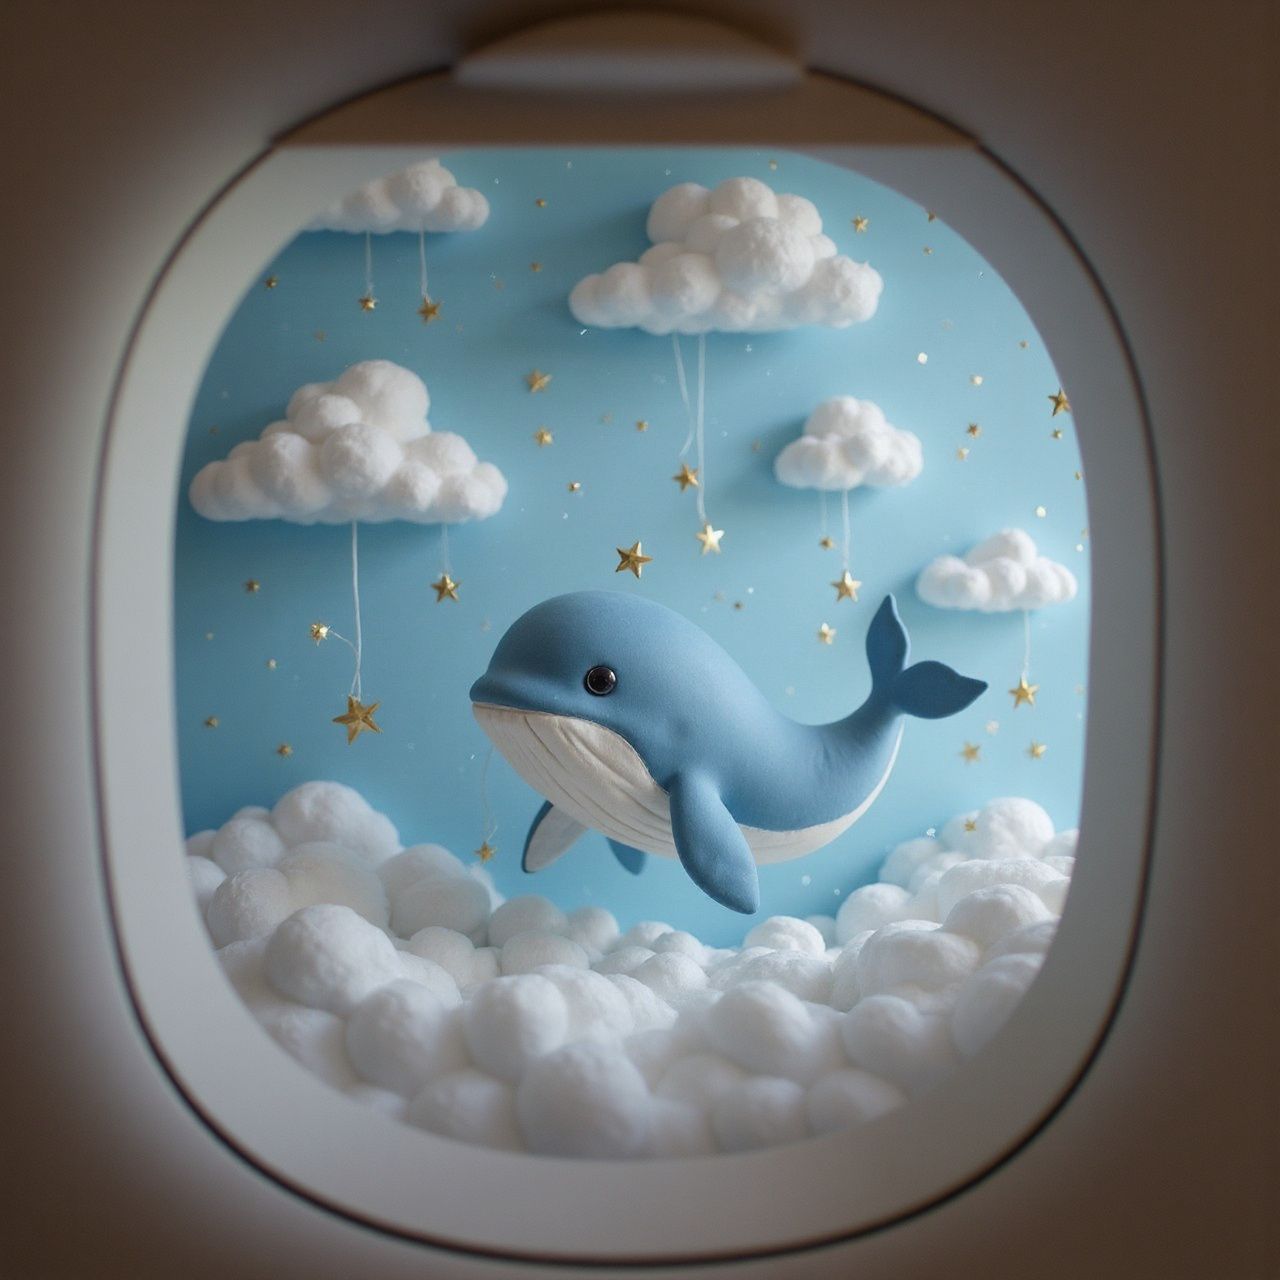
That said, for complex scenes or when you need precise control, providing more comprehensive prompts that reference both existing elements and how they should continue can help ensure visual coherence.
The optimal approach depends on the complexity of your scene and how specific your requirements are for the extended areas.
- positivePromptstring required
-
A positive prompt is a text instruction to guide the model on generating the image. It is usually a sentence or a paragraph that provides positive guidance for the task. This parameter is essential to shape the desired results.
For example, if the positive prompt is "dragon drinking coffee", the model will generate an image of a dragon drinking coffee. The more detailed the prompt, the more accurate the results.
If you wish to generate an image without any prompt guidance, you can use the special token
__BLANK__. This tells the system to generate an image without text-based instructions.The length of the prompt must be between 2 and 3000 characters.
Learn more 2 resources
The model parameter determines which AI model performs the outpainting. Some models handle boundary continuation better than others.
- FLUX Fill (
runware:102@1) is specifically designed for boundary-aware generation and typically produces the most seamless outpainting results. - Inpainting-specific models based on architectures like SDXL or SD 1.5 also perform well for outpainting tasks and offer optimal boundary handling. However, these are often older architectures, so while they excel at transitions, they may not match the overall image quality of newer models like FLUX.
- Base models can work but may show more noticeable transitions at boundaries.
- modelstring required
-
We make use of the AIR (Artificial Intelligence Resource) system to identify models. This identifier is a unique string that represents a specific model.
You can find the AIR identifier of the model you want to use in our Model Explorer, which is a tool that allows you to search for models based on their characteristics.
Learn more 3 resources
For outpainting, both the steps and CFGScale parameters play crucial roles in overcoming the challenges of generating content from limited edge information.
Higher step counts give the model more refinement iterations to develop detailed content and create natural transitions at boundaries. Since outpainting starts with just color-bled edges as reference, these additional steps provide more time for the model to transform this basic information into coherent scenes.
Similarly, a highly elevated CFG scale helps ensure the model follows your prompt guidance more closely rather than relying too heavily on the simple edge extensions. This is particularly important in outpainting where the initial "canvas" in extended areas contains minimal useful information.
Original image prompt: A penguin wearing a scarf, fishing through a hole in the ice. A colorful aurora shimmers in the sky behind.
Outpainting prompt: Polaroid photo frame with the words 'Summer 2029' written on it, on a wooden table.
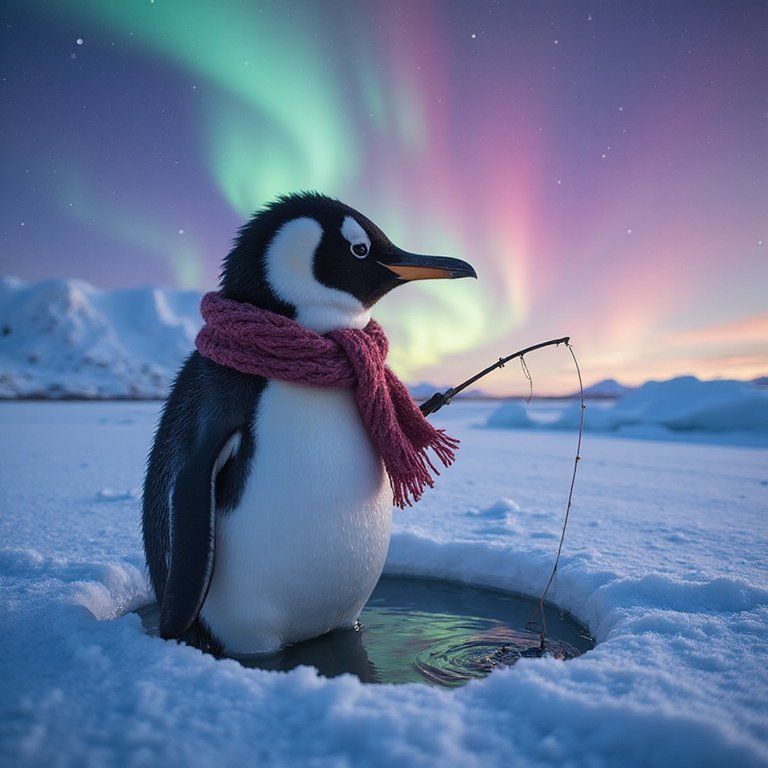
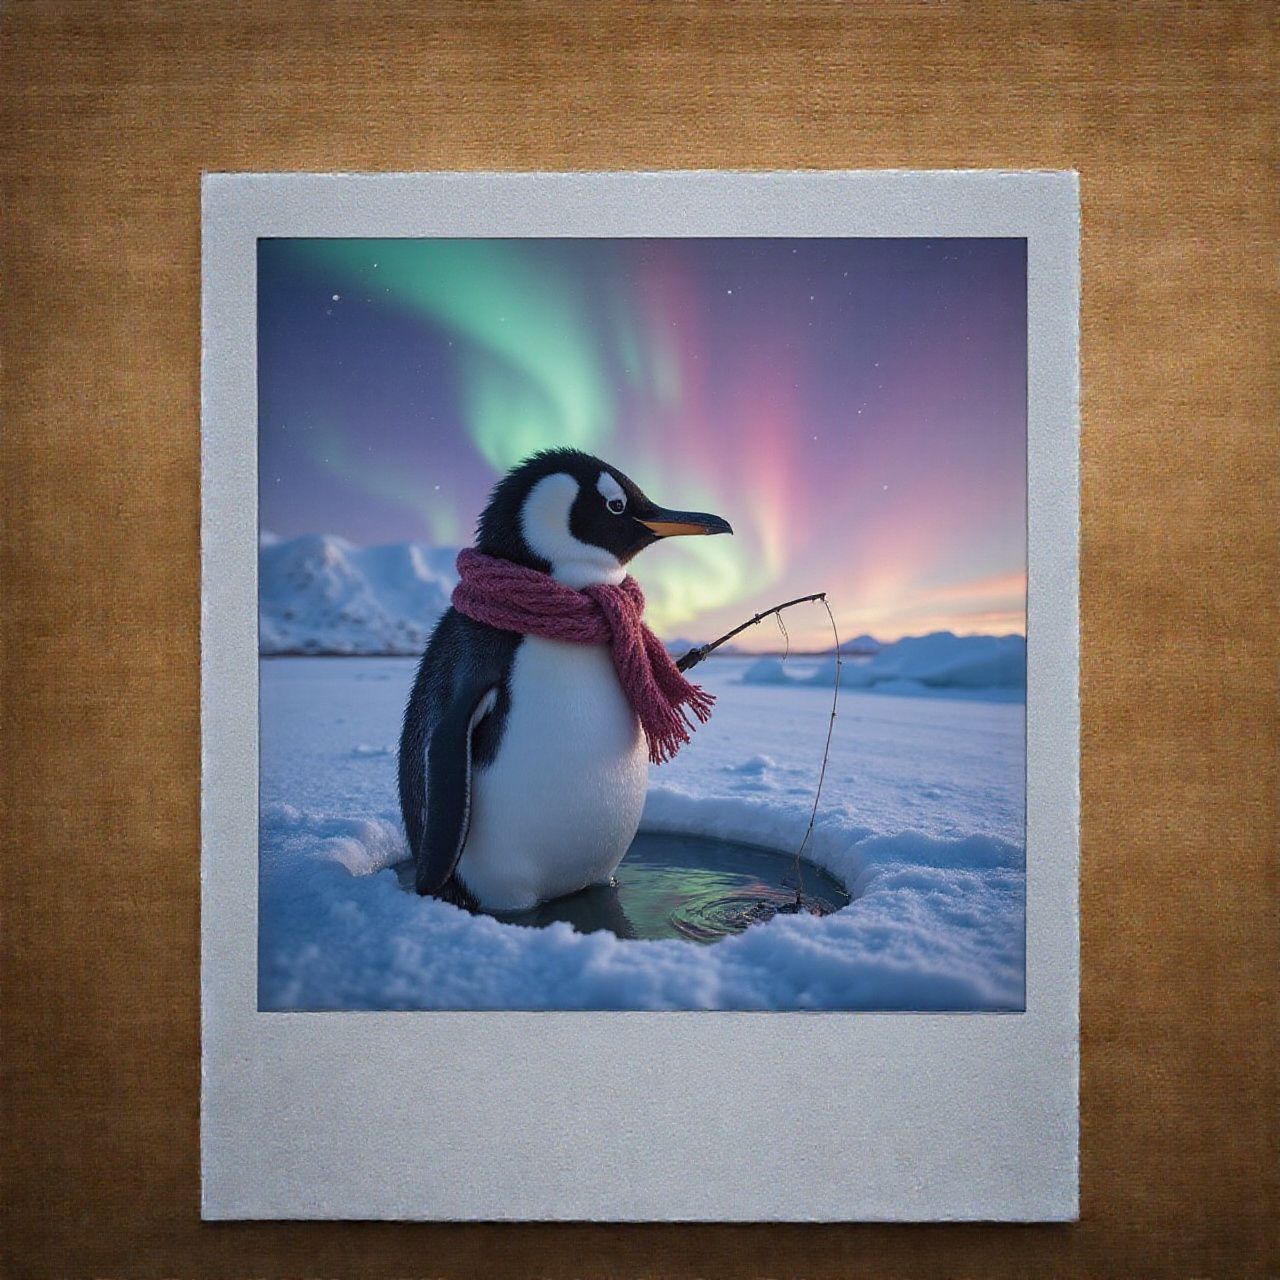
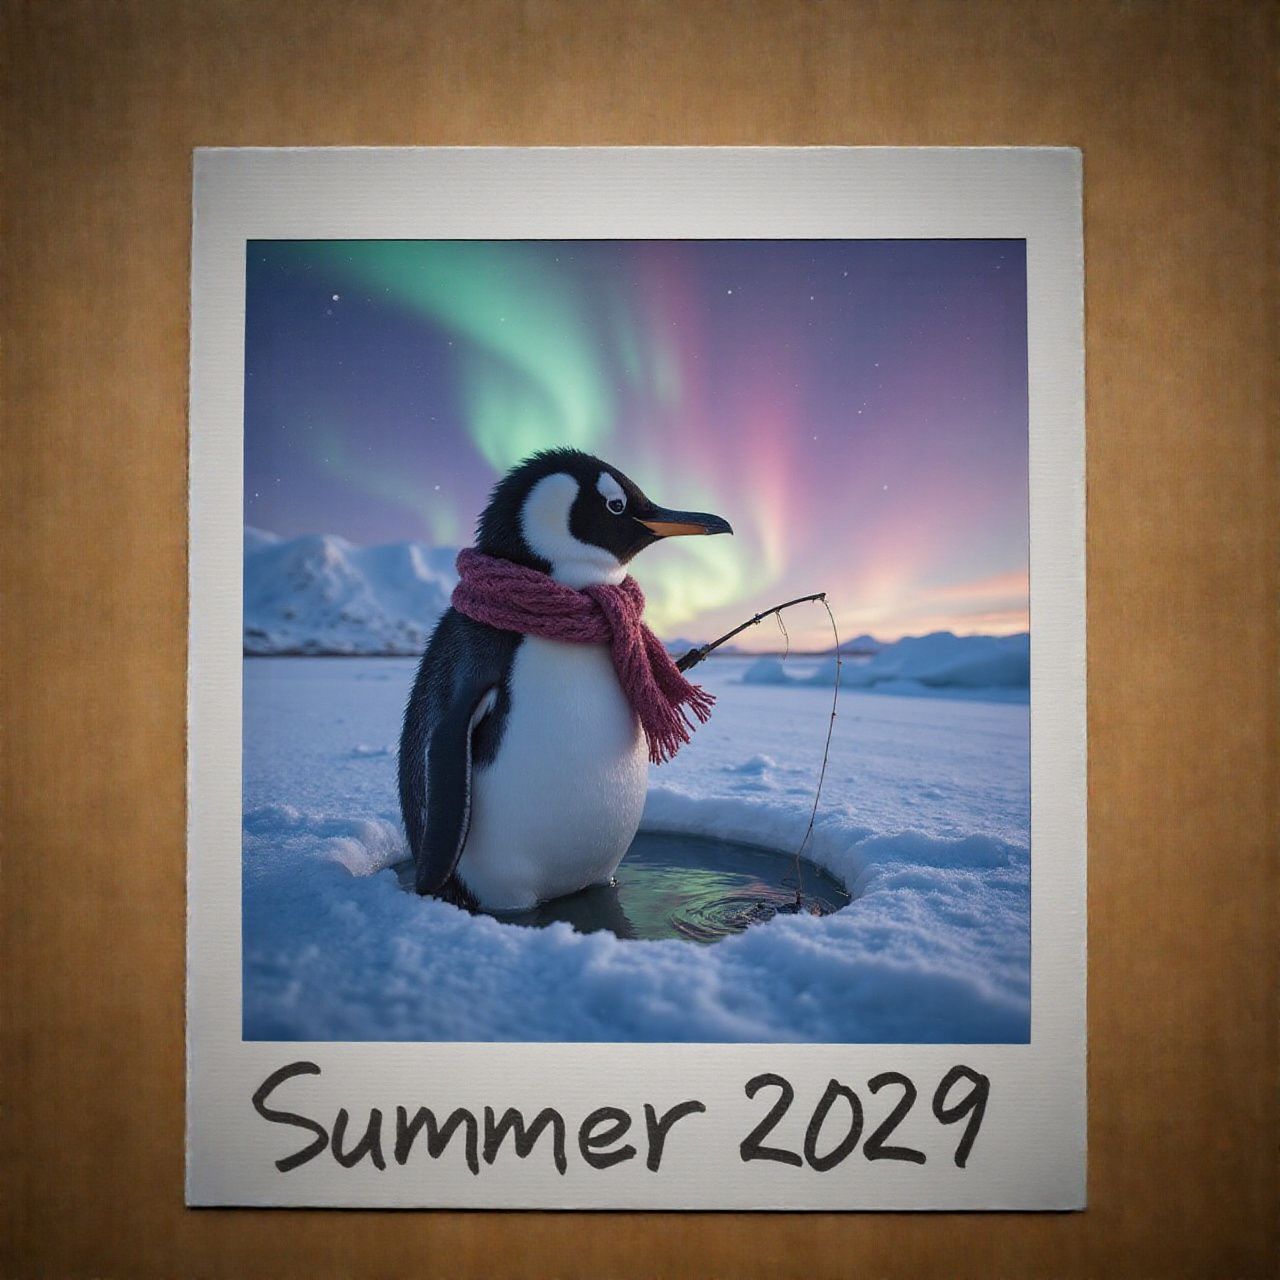
The combination of higher step counts and appropriate CFG scale gives the model both the time and directional guidance needed to reimagine the extended zones as natural continuations of your image.
FLUX architecture models, including FLUX Fill, can handle significantly higher CFG Scale values (up to 50) without the image degradation typically seen in other architectures. This is partly due to their distillation-based design which processes prompt guidance differently. When using SDXL or SD-based models, keep CFG values below 10-15 to avoid prompt overfitting.
- stepsinteger Min: 1 Max: 100 Default: 20
-
The number of steps is the number of iterations the model will perform to generate the image. The higher the number of steps, the more detailed the image will be. However, increasing the number of steps will also increase the time it takes to generate the image and may not always result in a better image (some schedulers work differently).
When using your own models you can specify a new default value for the number of steps.
Learn more 1 resource
- CFGScalefloat Min: 0 Max: 50 Default: 7
-
Guidance scale represents how closely the images will resemble the prompt or how much freedom the AI model has. Higher values are closer to the prompt. Low values may reduce the quality of the results.
Learn more 1 resource
The scheduler parameter can significantly impact how well outpainted areas blend with your original image. Different scheduler algorithms handle the generation of boundary areas with varying approaches.
For outpainting, the scheduler choice influences both generation quality and boundary integration. Stochastic schedulers like Euler Ancestral (EulerAncestralDiscreteScheduler) or DPM++ 2M SDE introduce helpful randomness that often creates more natural transitions between original and extended areas, making them excellent choices for large extensions or creative scenes. These schedulers excel at avoiding repetitive patterns at boundaries.
On the other hand, deterministic schedulers like DDIM or DPM++ 2M Karras tend to produce more precise continuations of patterns and structures from the original image. These can be preferable when extending architectural elements, structured patterns, or scenes where exact continuation of lines and forms is critical.
For most outpainting tasks, DPM++ 2M SDE offers an excellent balance between creative freedom and structure preservation, making it a reliable default choice. However, experimenting with different schedulers can yield noticeably different results, particularly in how they handle the critical boundary zones.
- schedulerstring Default: Model's scheduler
-
An scheduler is a component that manages the inference process. Different schedulers can be used to achieve different results like more detailed images, faster inference, or more accurate results.
The default scheduler is the one that the model was trained with, but you can choose a different one to get different results.
Schedulers are explained in more detail in the Schedulers page.
Learn more 2 resources
Common use cases
Outpainting serves several practical purposes in image editing and creative workflows. Here are the most common applications.
Canvas expansion
One of the most practical applications of outpainting is adjusting image composition by extending the canvas in strategic directions. This allows you to improve framing, create more breathing room around subjects, or reveal more of a scene that was cut off at the edges.
Prompt: Pixar-style 3D render of a baby panda playfully biting another panda’s cheek, soft fluffy fur, big expressive eyes, warm lighting, shallow depth of field, the second panda is partially cut off on the left, cute and mischievous, stylized realism.
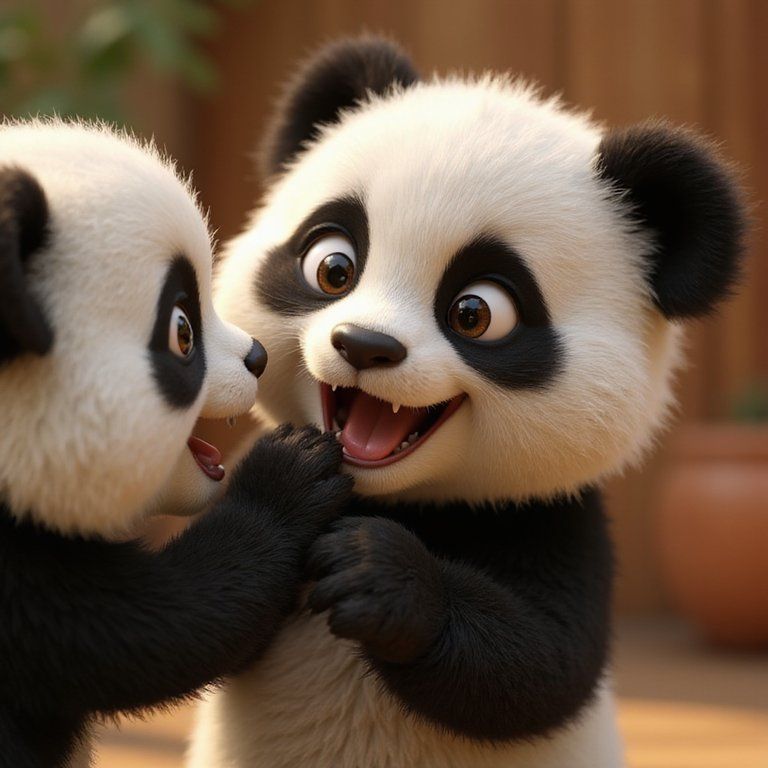
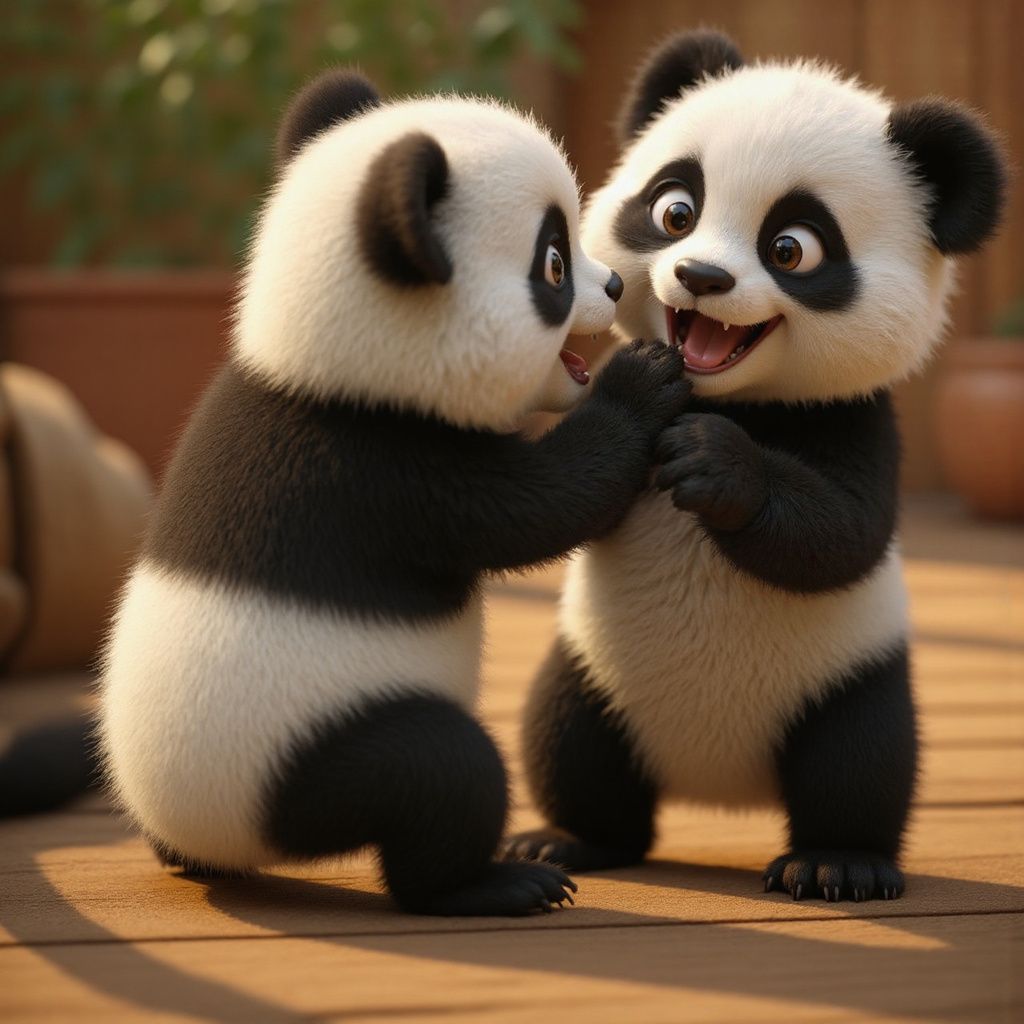
When using outpainting for composition adjustments:
- Focus on extending the immediate environment rather than adding entirely new scenes.
- Use extensions that make sense for the existing context (e.g., extending sky above, ground below).
- Consider how the final composition will guide the viewer's eye.
- Use blur values for smooth transitions in textured areas.
This approach is particularly valuable for photography post-processing, revealing more context in cropped images, or preparing visuals where specific compositional balance is required.
Aspect ratio conversion
Outpainting provides a powerful solution for transforming images between different aspect ratios without cropping or distorting the original content. By strategically extending specific sides, you can adapt images to fit various display formats while preserving all original elements.
Prompt: A goddess-like woman wrapped in golden fabric, her head tilted upward toward a beam of celestial light. Her body disappears downward into flowing sand, as constellations circle her arms and crown.
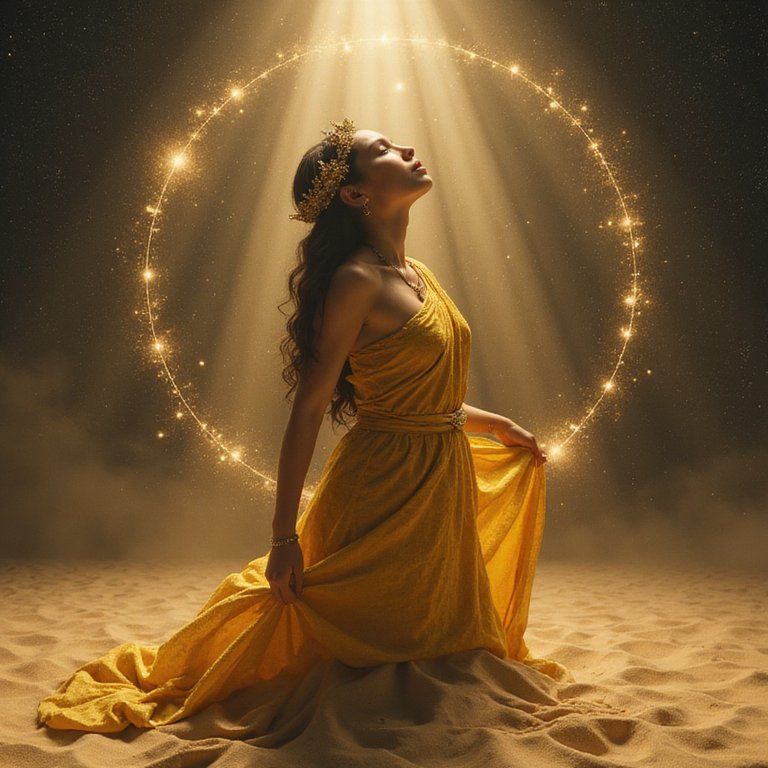
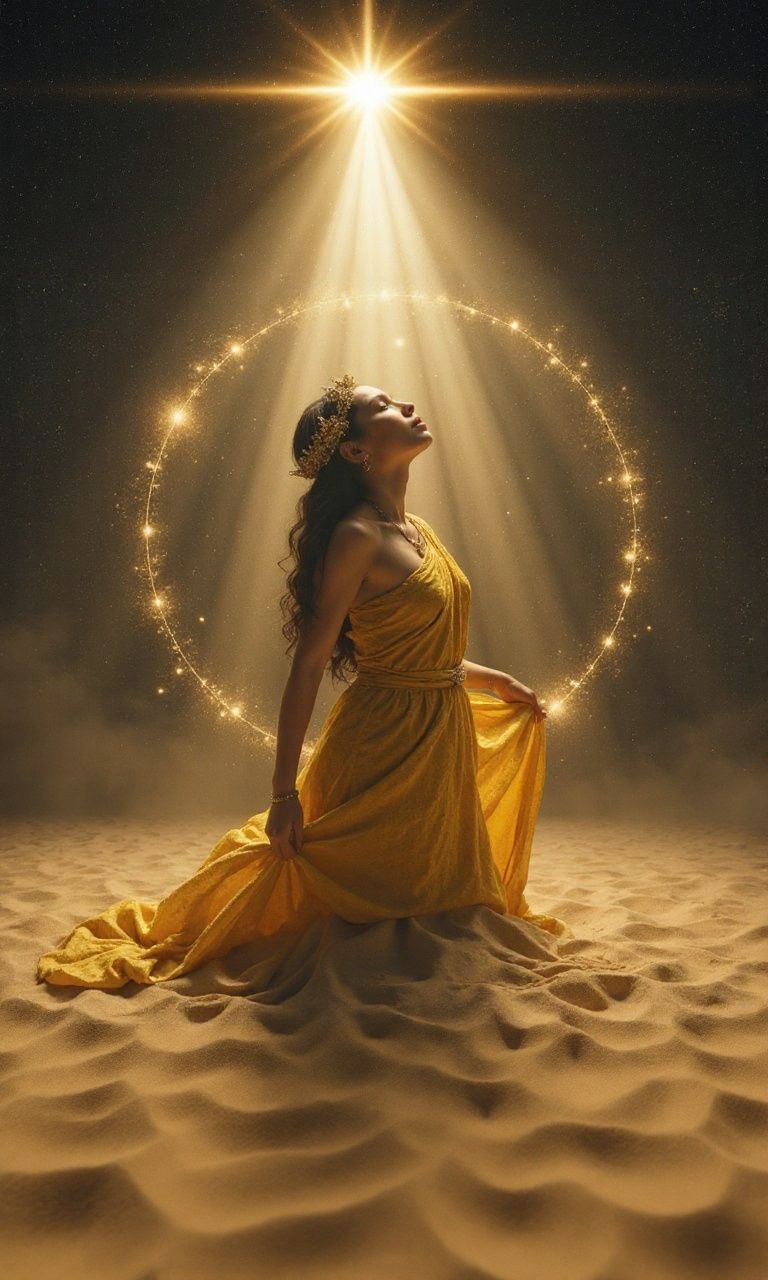
For effective aspect ratio conversions, first calculate the exact extension dimensions needed to achieve your target ratio, then choose which sides to extend based on your subject positioning. The goal is to maintain the visual prominence of key elements while creating a balanced composition in the new format. Your prompt should guide the model to extend the scene in ways that complement the existing content.
This technique is especially valuable for adapting content across platforms (social media, print, web), converting between horizontal and vertical formats, or creating panoramic versions of standard images for specific display contexts.
Advanced techniques
While basic outpainting can deliver impressive results, more complex extensions often benefit from refined approaches. These advanced techniques help you achieve more precise control, better integration, and more natural continuations when expanding images beyond their original boundaries.
Multi-stage outpainting
For large or complex extensions, a multi-stage approach often produces significantly better results than attempting to extend too far in a single operation.
Begin with moderate extensions (128-256 pixels) in your primary direction, then use that result as a new seed image for subsequent outpainting operations. This iterative process gives you better boundary continuity as each stage only needs to bridge a manageable distance. You'll also have opportunities to refine prompts between stages based on intermediate results, gaining more control over how the extended scene evolves.
This approach is particularly valuable when extending more than 512 pixels in any direction, or when working with complex scenes where maintaining visual consistency is challenging. Each stage builds upon the previous one, allowing the model to establish coherent structures progressively rather than attempting to imagine distant areas with minimal context.
Context reinforcement prompting
Enhance continuity between original and extended regions by using prompts that explicitly describe key contextual elements from your original image.
Basic prompt: Beach.
Reinforced prompt: Sandy beach with golden afternoon sunlight, calm turquoise water and palm trees.
This technique works by providing the model with specific reference points from the original image that should be maintained or extended into the new areas. By explicitly naming important visual elements, lighting conditions, colors, and stylistic attributes, you create strong guidance for coherent continuation.
The key is identifying which elements contribute most to the image's visual identity and explicitly referencing them in your prompt. This is particularly effective for maintaining consistent lighting and atmosphere across the expanded canvas, ensuring color palette coherence, and preserving distinctive patterns or textures from the original borders.
For maximum effectiveness, focus especially on elements that intersect with the borders where expansion will occur, as these provide direct continuation points.
Strategic border selection
The most effective outpainting often comes from making intelligent choices about which borders to extend based on the original image content.
Choose borders where the content naturally invites continuation. Edges containing partial objects, structures, or patterns that clearly continue beyond the frame are ideal candidates for extension. Conversely, avoid extending borders where there are complex, unique elements that would be difficult to match convincingly or where the content definitively ends (like a distinct wall or boundary).
Prompt: Modern living room with large windows and wooden floor, soft afternoon light.
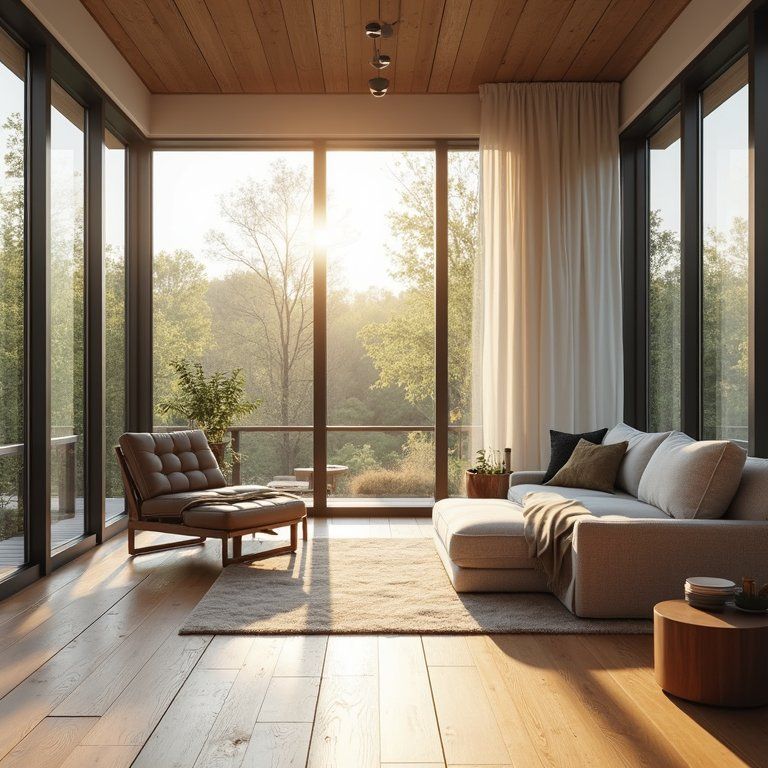
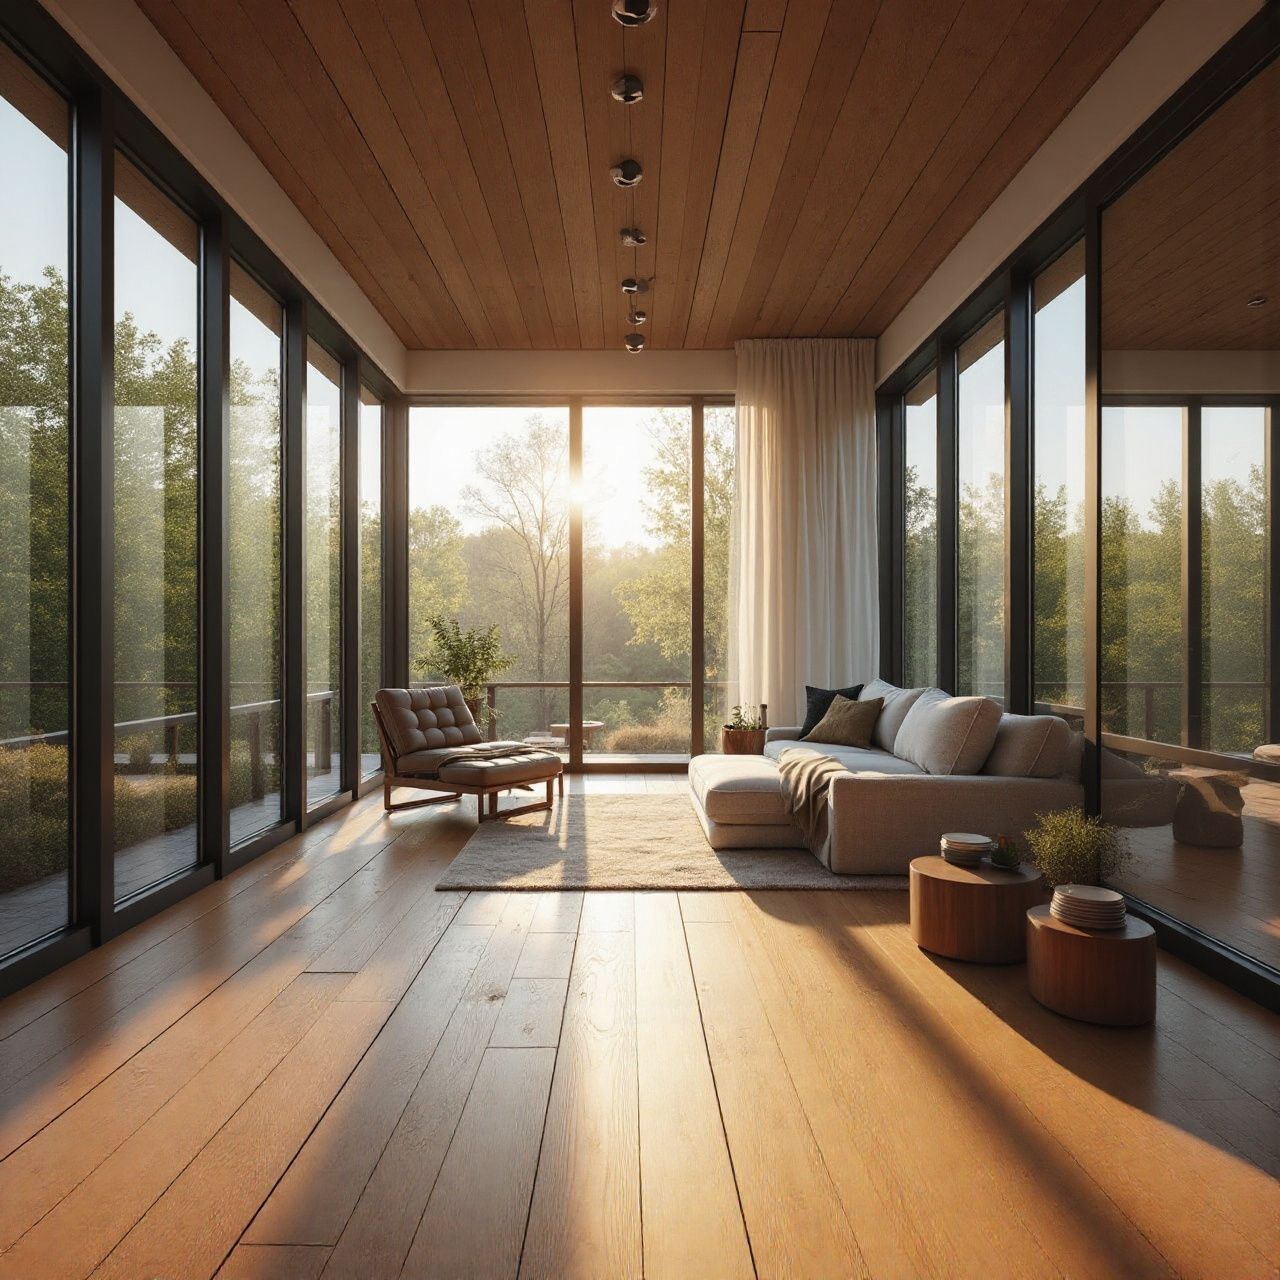
This selective approach to border extension focuses the model's capabilities on areas where successful continuation is most likely, resulting in more convincing and useful outpainting results. When extending in multiple directions, consider applying different extension distances to each side based on their continuation potential rather than uniform expansion.
Common challenges and solutions
Even with the right parameters and approach, outpainting can sometimes present unique challenges due to the complexity of extending content beyond original boundaries. When your results don't meet expectations, these solutions can help address the most common issues that arise during the outpainting process.
Boundary discontinuities
One of the most common challenges in outpainting is visible seams or breaks where the original image meets the extended areas. These discontinuities can manifest as abrupt texture changes, color shifts, or pattern interruptions that make the extension appear artificial.
This issue typically occurs because the model struggles to maintain perfect continuity when generating new content from limited edge information. To address this problem, first adjust the blur parameter to create a wider transition zone between original and generated content. Values between 8-16 pixels often provide enough gradient for smoother blending, especially with complex textures or detailed patterns.
For particularly challenging cases, try reducing your strength value slightly (to 0.7-0.8) to preserve more influence from the edge-extended pixels. This forces the model to pay closer attention to the existing patterns at the boundaries rather than generating entirely new content. Also, specialized models like FLUX Fill often handle boundary transitions more effectively as they're specifically designed for context-aware generation.
Lighting and color mismatches
Another frequent issue is inconsistent lighting or color treatment between the original image and extended areas. This can appear as a noticeable shift in color temperature, changes in shadow direction, or different ambient lighting quality.
This problem comes from the model's challenge in inferring complete lighting information from just the edge of the original image. The most effective approach is to explicitly describe the lighting conditions in your prompt. Be precise about color palettes, describing specific tones rather than general colors.
For images with distinctive color grading or mood, reference these conditions directly. Models like FLUX Fill typically excel at preserving lighting consistency due to their enhanced contextual understanding, making them valuable for this scenarios.
Content repetition or mirroring
A unique challenge in outpainting is when the model repeats or mirrors elements from the original image rather than generating appropriate new content. This can result in strange pattern repetitions in the extended areas.
This issue occurs because the model sometimes defaults to replicating existing elements when uncertain about what new content to generate. To prevent this, provide more specific descriptions of diverse elements in your prompt. Instead of vague descriptions like "mountain landscape", use more detailed content like "mountain range with varied peaks and ridges, a pine forest with scattered clearings, and a small lake reflecting the sky".
Using a higher strength value (0.9-0.95) helps the model create more new content instead of repeating existing elements. Lastly, the multi-stage outpainting approach can also help, as it lets you catch and fix repetition issues before extending further.