
Creating consistent gaming assets with ControlNet Canny
Learn how to transform game assets while preserving their structure using Canny edge detection, ControlNet, and specialized LoRAs to maintain consistent style across multiple variations.
Introduction
When you're making a game, keeping a consistent visual style across everything from characters and items to environments and UI is key to creating a smooth and immersive experience for players. But coming up with multiple versions of each asset while sticking to the same core look can be tough. It's especially challenging if you're working solo or with a small team.
This is where AI-assisted asset creation can provide a significant advantage. By combining specialized LoRAs with ControlNet's edge detection capabilities, we can generate variations of existing assets that maintain their fundamental structure while applying new styles or details. This approach allows for rapid iteration and experimentation without losing design consistency.
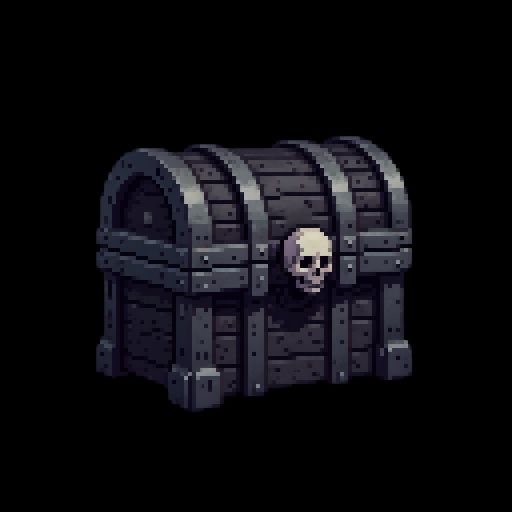
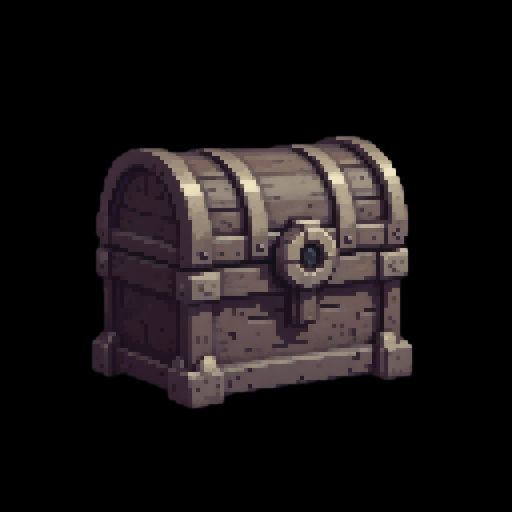
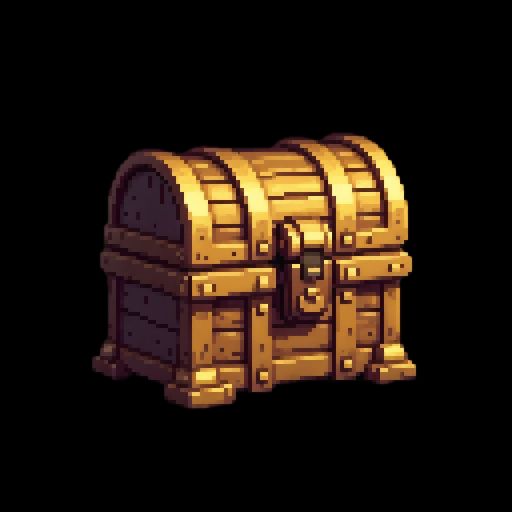
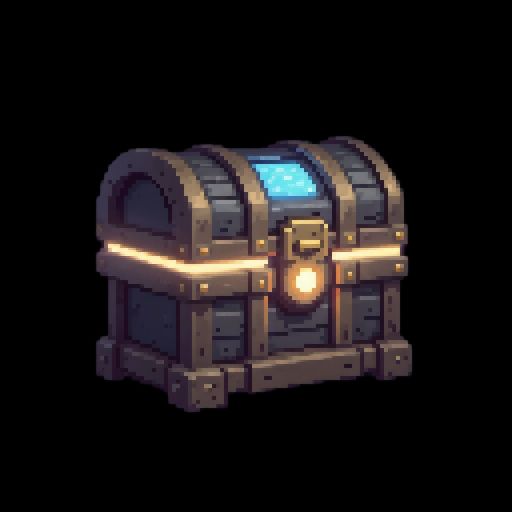
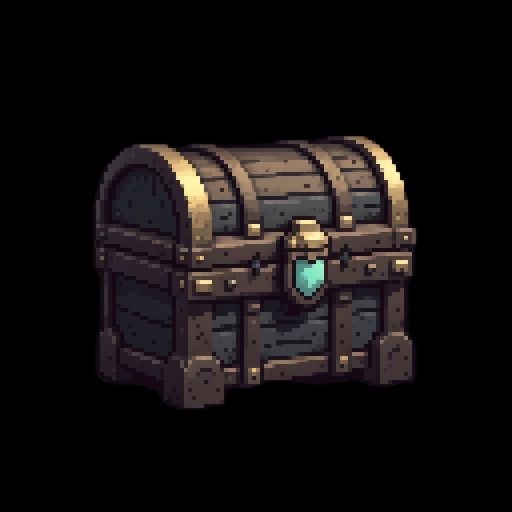
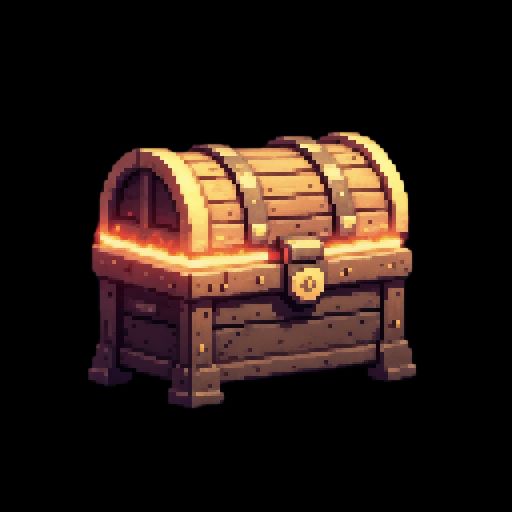
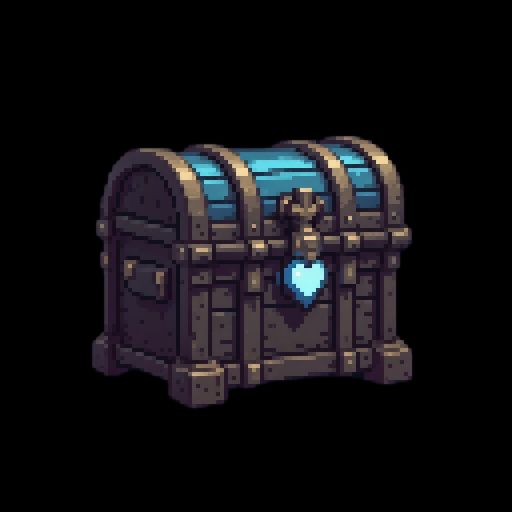
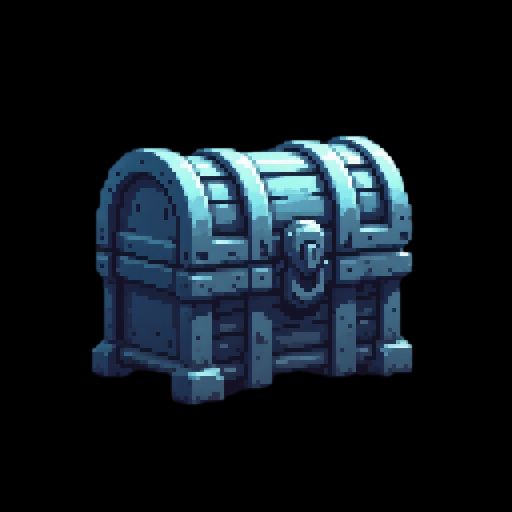
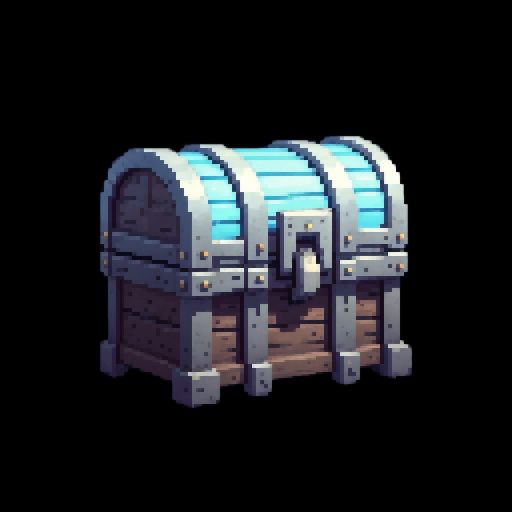
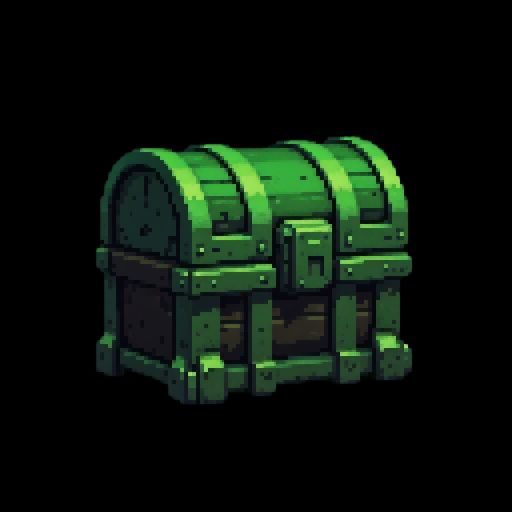
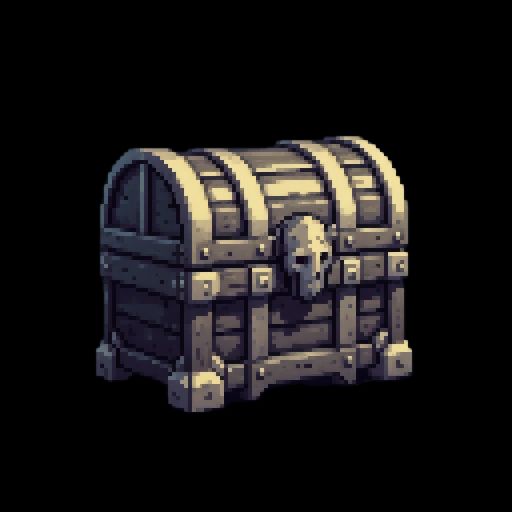
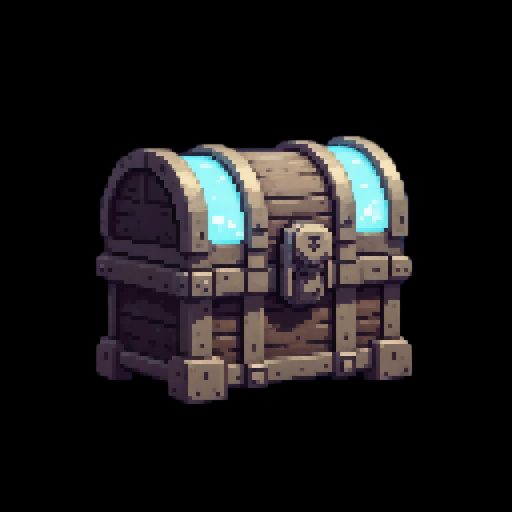
In this article, we'll explore a workflow that combines Canny edge detection with pixel art style LoRAs to transform basic game assets into stylistically consistent elements ready for implementation. This technique is particularly valuable for indie developers, game jams, or prototyping phases where speed and flexibility are essential.
Understanding the workflow components
The full workflow has three main stages: Canny edge detection to extract structure, image generation using ControlNet and a pixel art LoRA, and finally, background removal to isolate the asset for use in-game. Let’s take a closer look at each step.
ControlNet and edge detection
ControlNet is a neural network structure designed to add controllability to diffusion models. It allows us to guide the image generation process using reference images, sketches, poses, or other visual inputs. For this workflow, we'll be using edge detection as our control mechanism, using the model runware:25@1 when doing inference.
- tools
- controlnet
- tool
- flux
- flux1.d
- cnflux
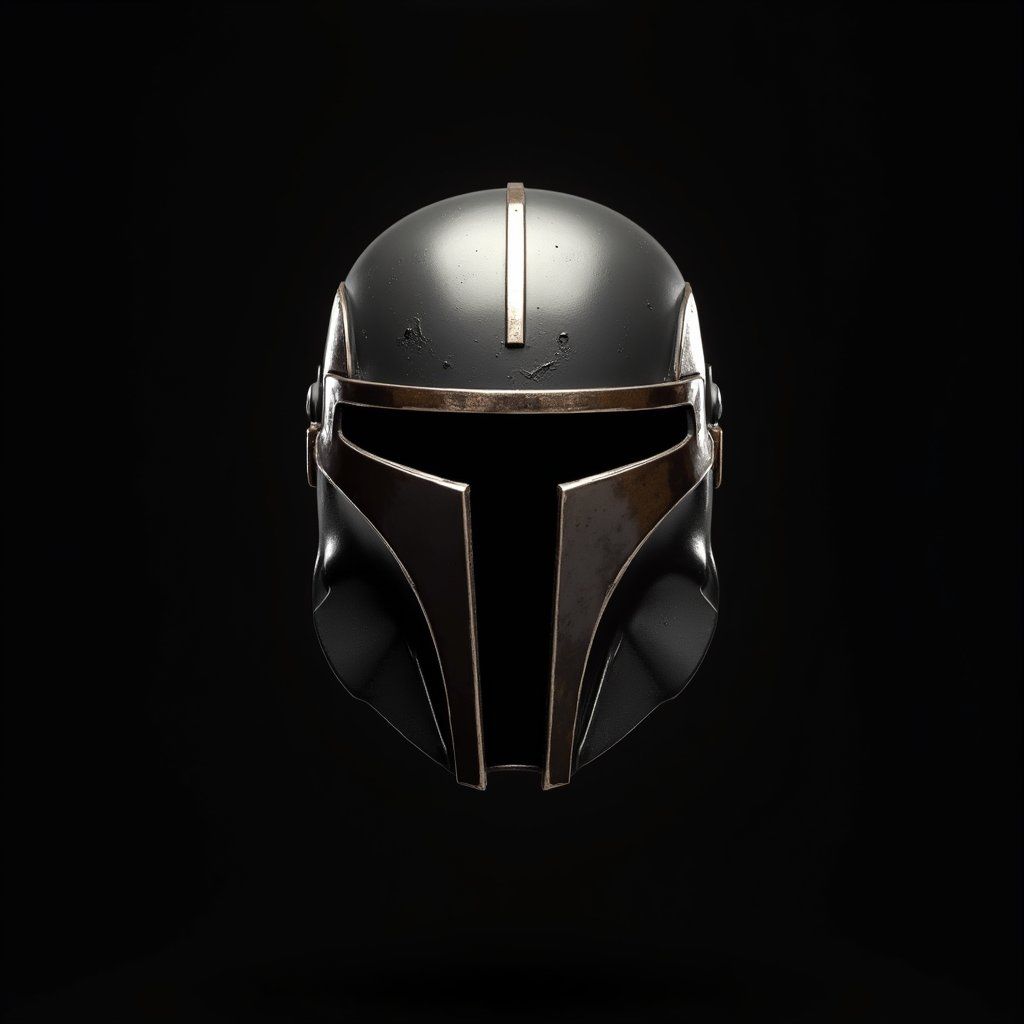
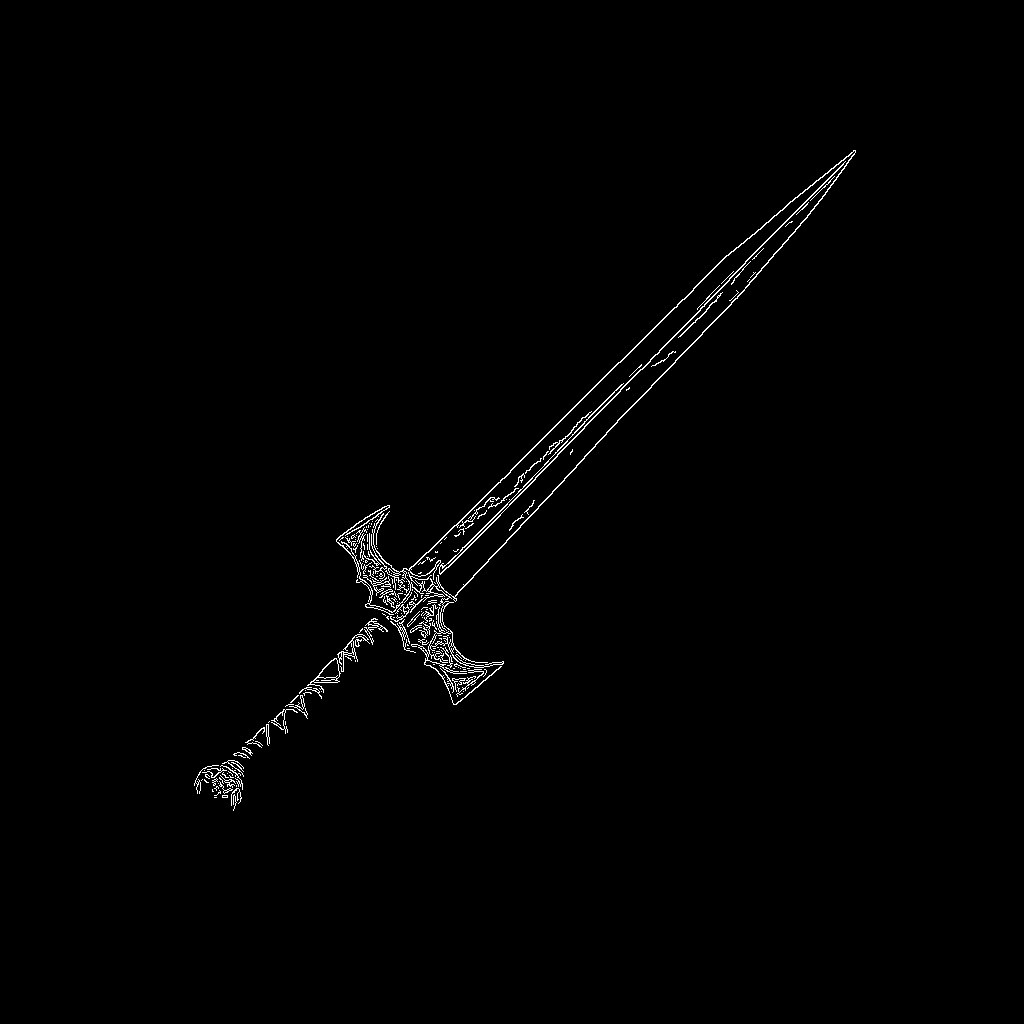
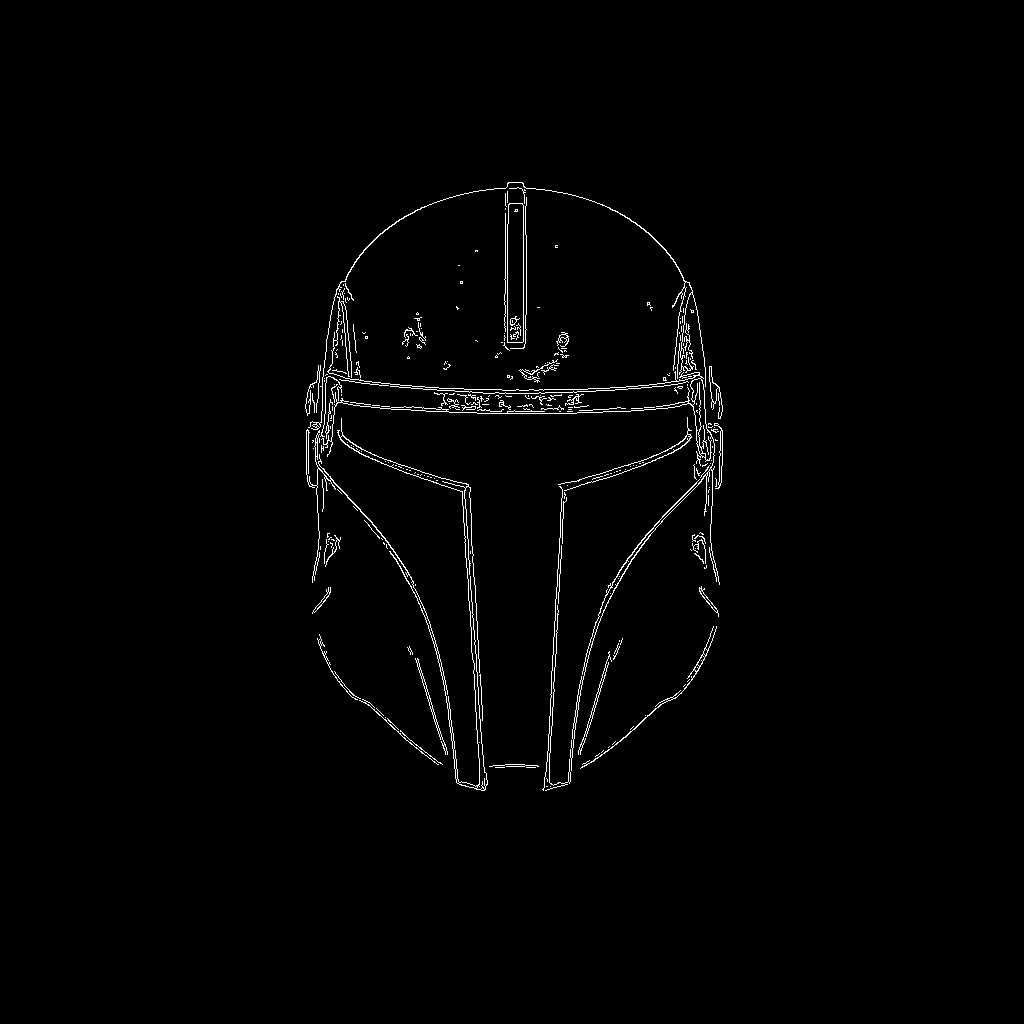
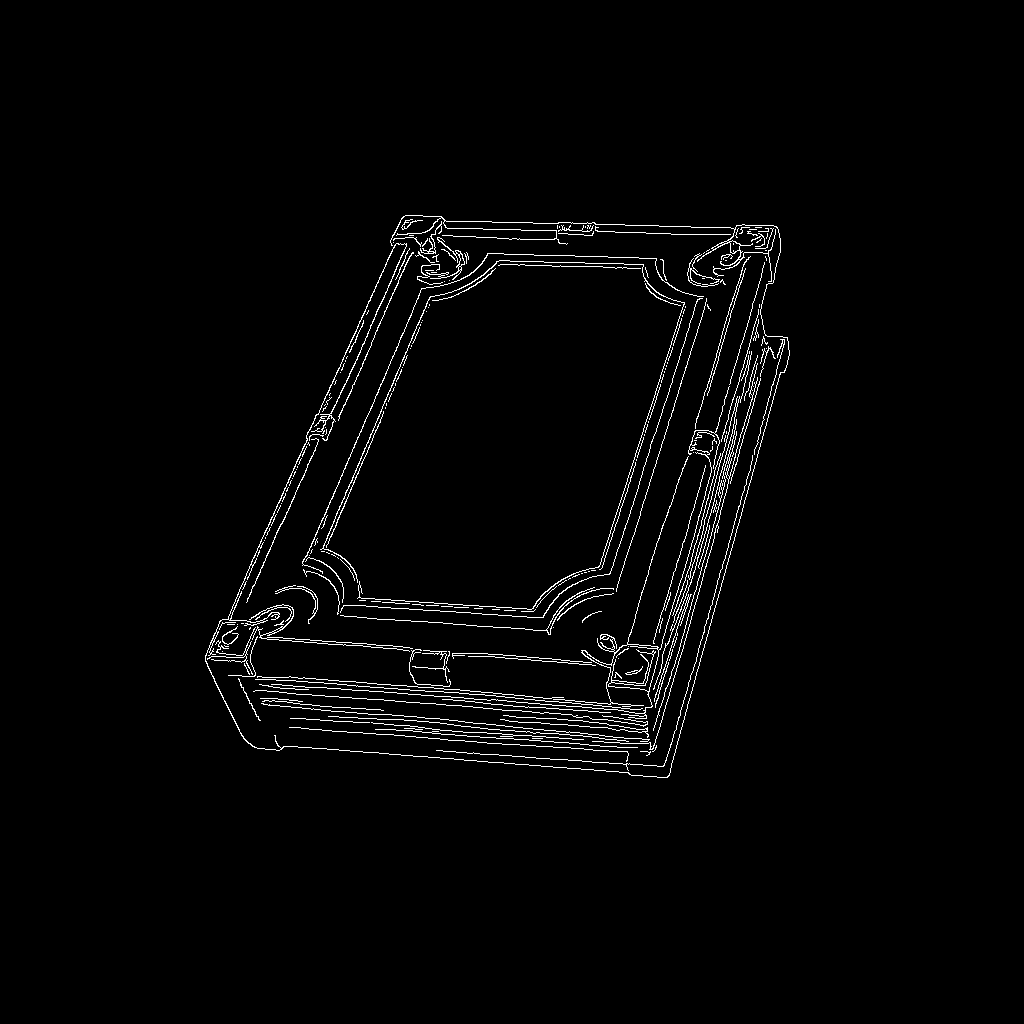
Edge detection works by identifying boundaries within an image where brightness changes sharply. These edges often correspond to important structural elements, exactly what we want to preserve when transforming game assets. By focusing on these edges, we can ensure that our generated variations maintain the same basic shape and proportions as the original asset.
The Canny edge detector
The Canny edge detection algorithm, developed by John F. Canny in 1986, has become one of the most widely used edge detection methods in computer vision. As a PhD student at MIT, Canny set out to create an optimal edge detector that was as effective and accurate as possible. To achieve this, he focused on maximizing the signal-to-noise ratio to detect true edges while minimizing false positives, precisely localizing those edges to match their real positions, and ensuring that each edge was detected only once to avoid redundant results.
The resulting algorithm has stood the test of time, remaining relevant nearly four decades after its creation. Its effectiveness comes from a multi-stage process:
- Noise reduction using Gaussian filtering.
- Gradient calculation to find the intensity and direction of edges.
- Non-maximum suppression to thin out detected edges.
- Hysteresis thresholding to eliminate weak edges while preserving strong ones.
When applied to game assets, Canny edge detection excels at identifying the defining contours that give game elements their distinctive silhouettes and internal structures. This makes it an ideal control mechanism for our AI transformation process.
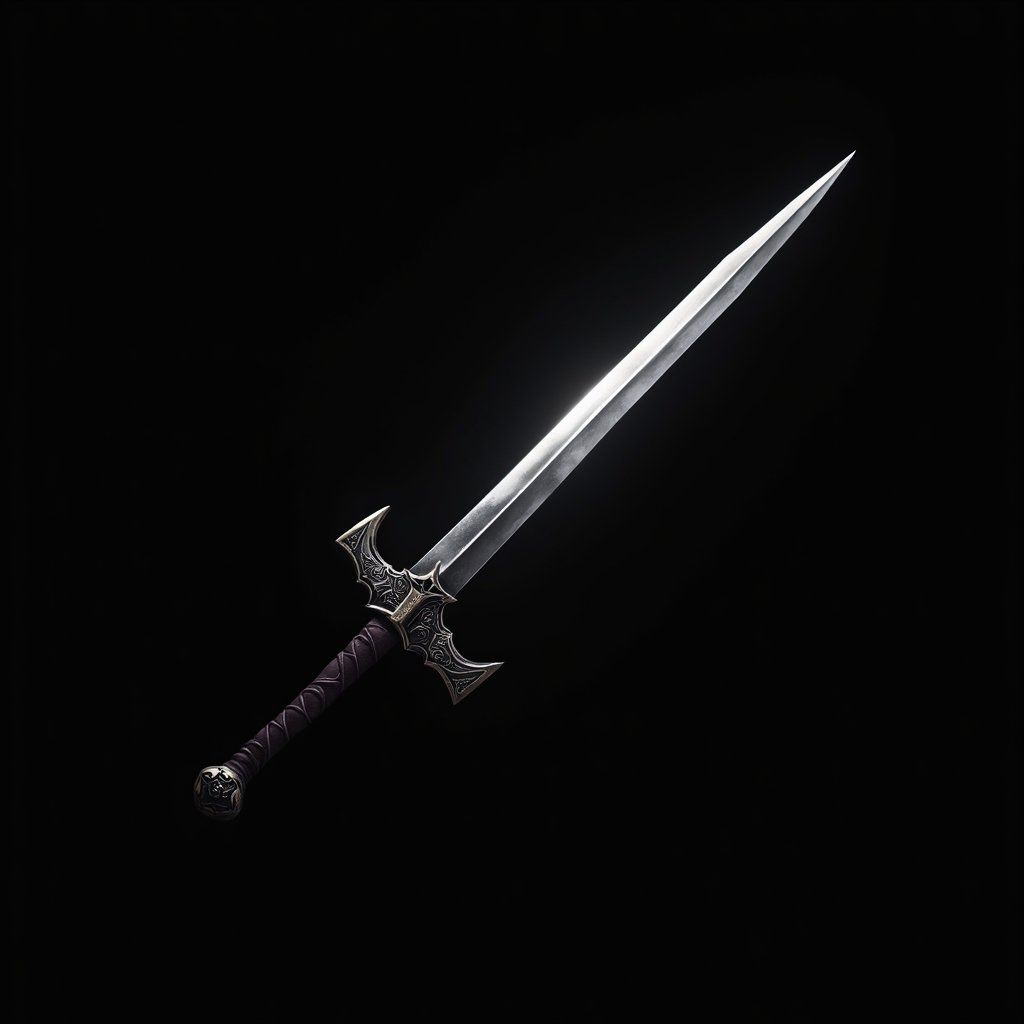
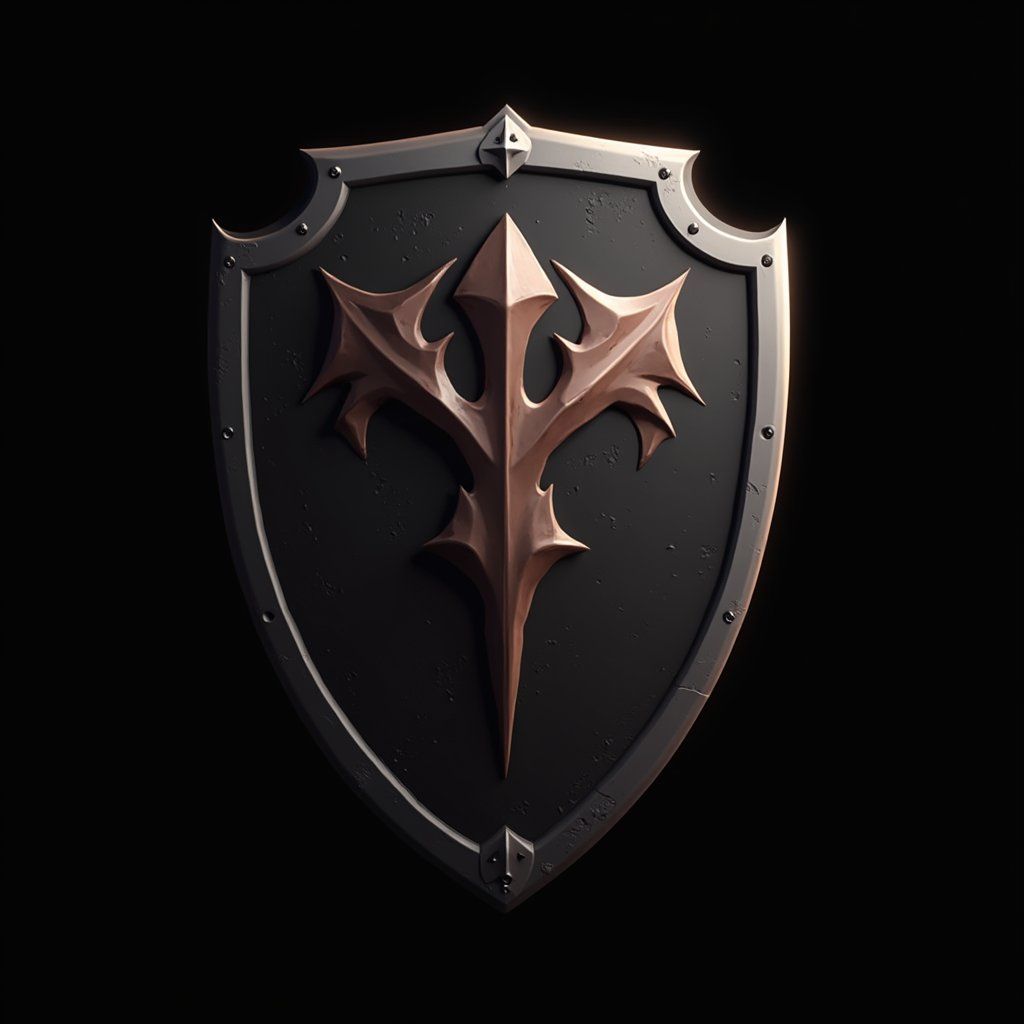
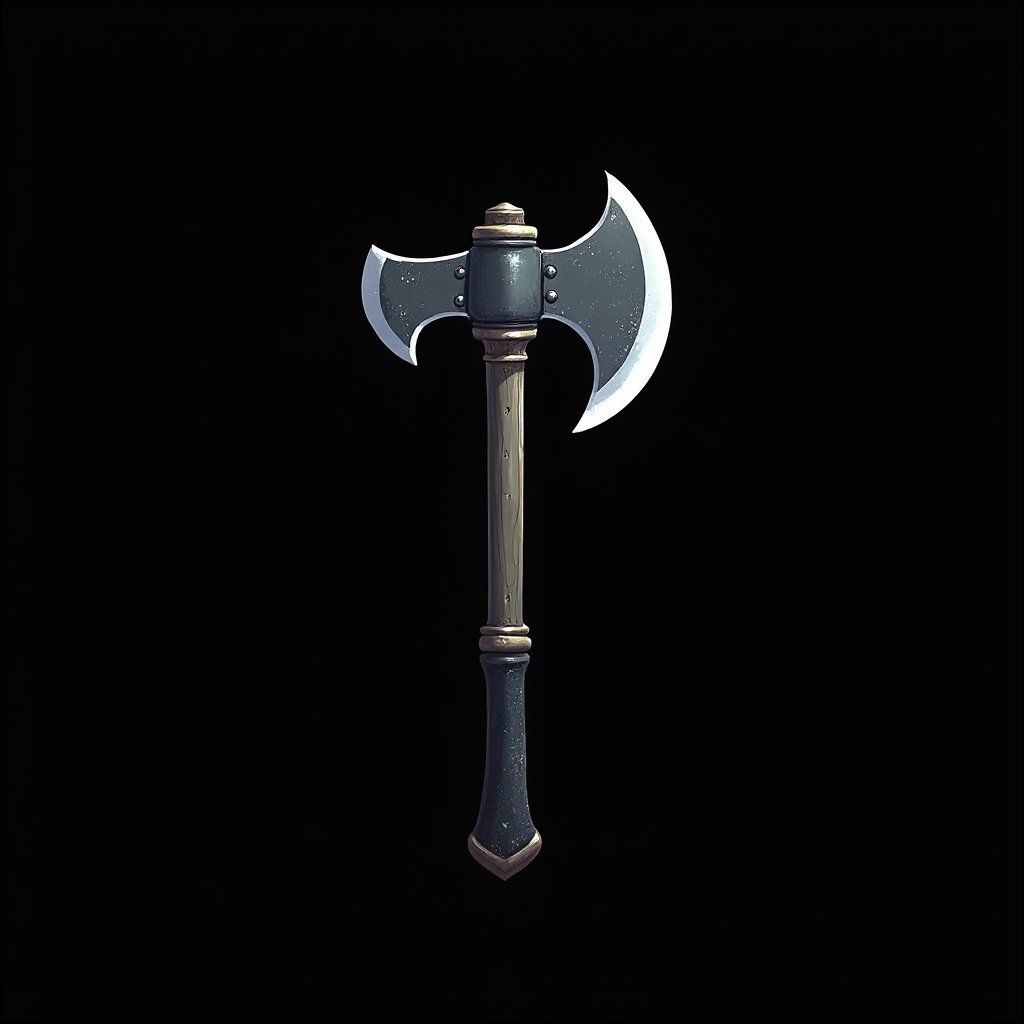





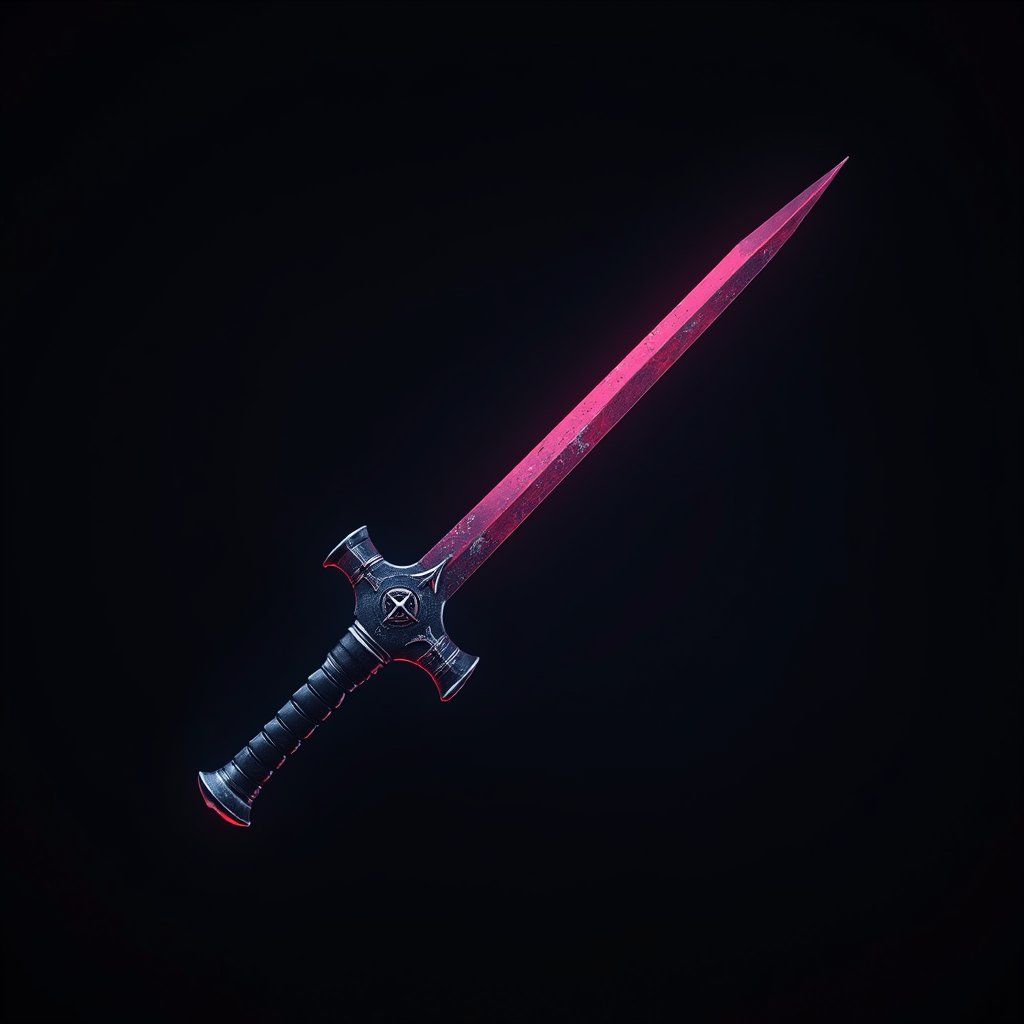
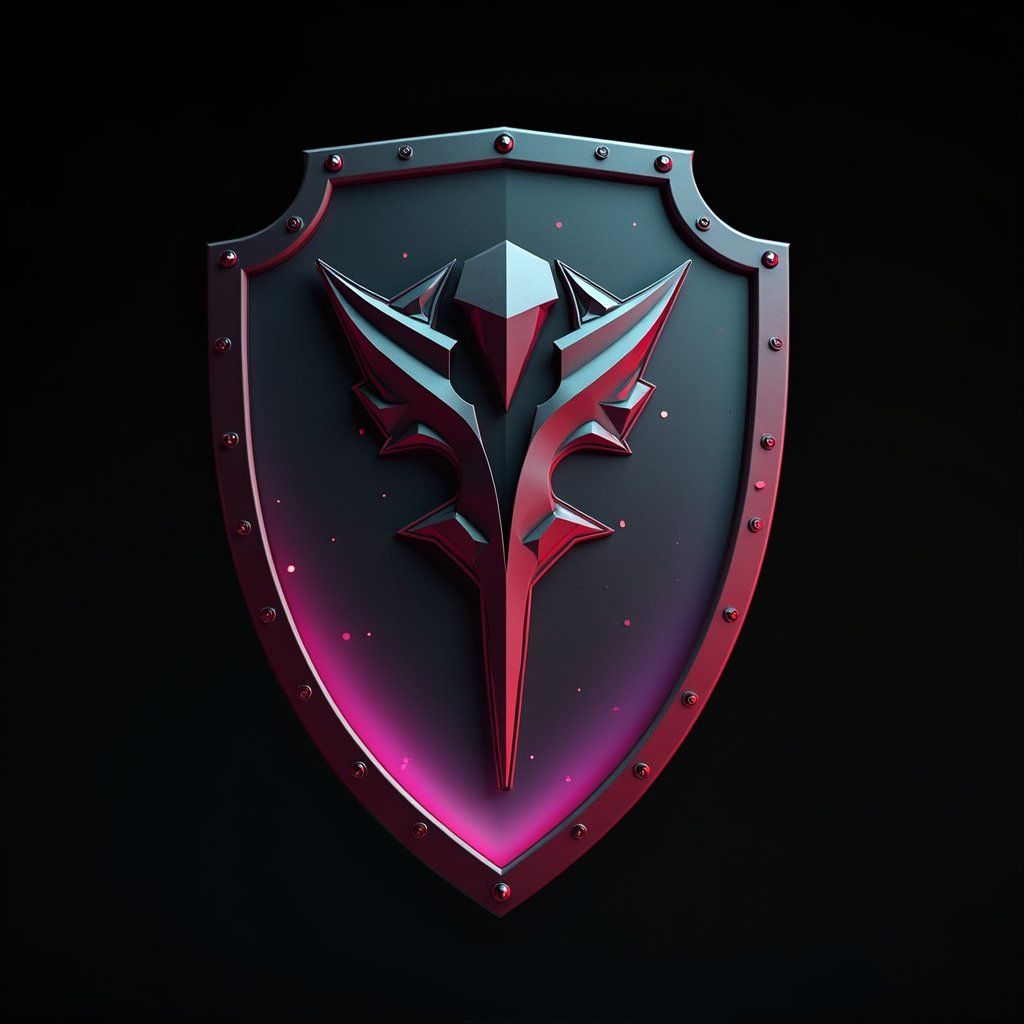
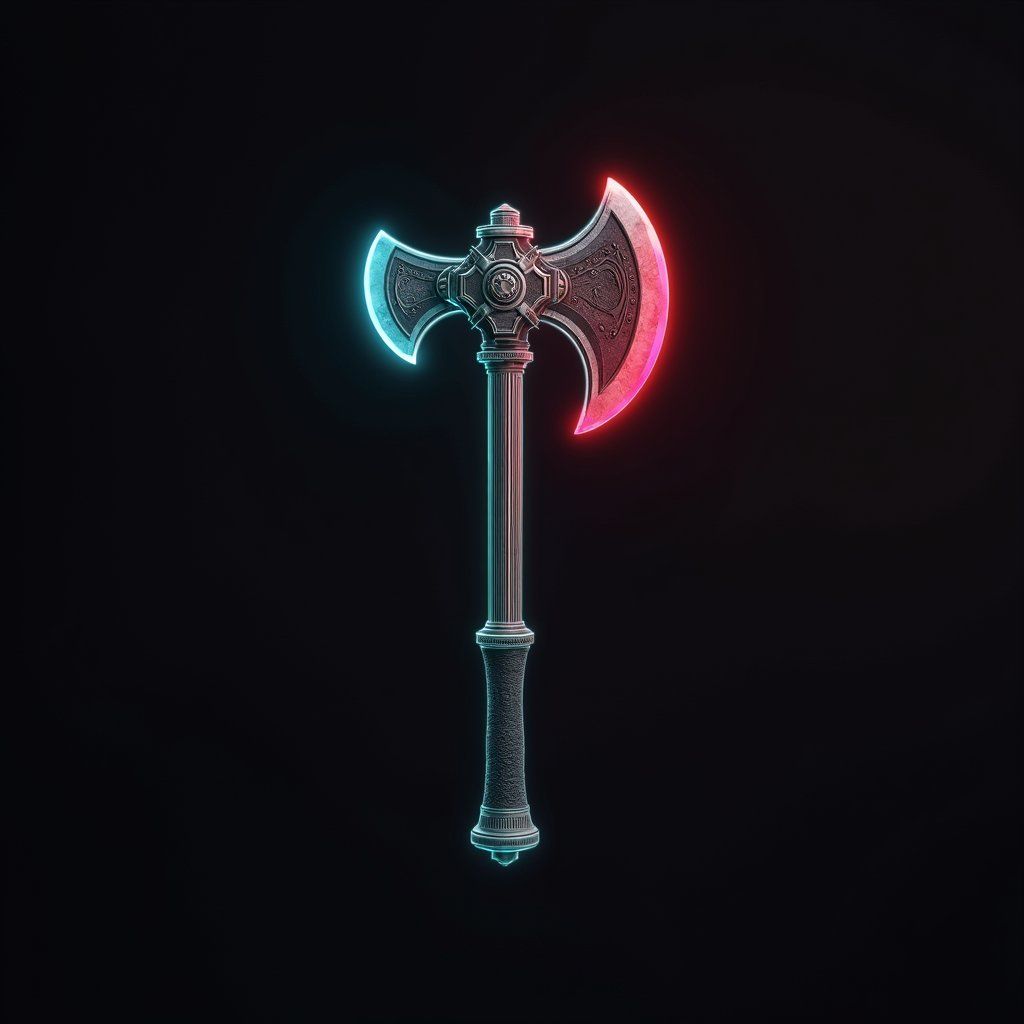
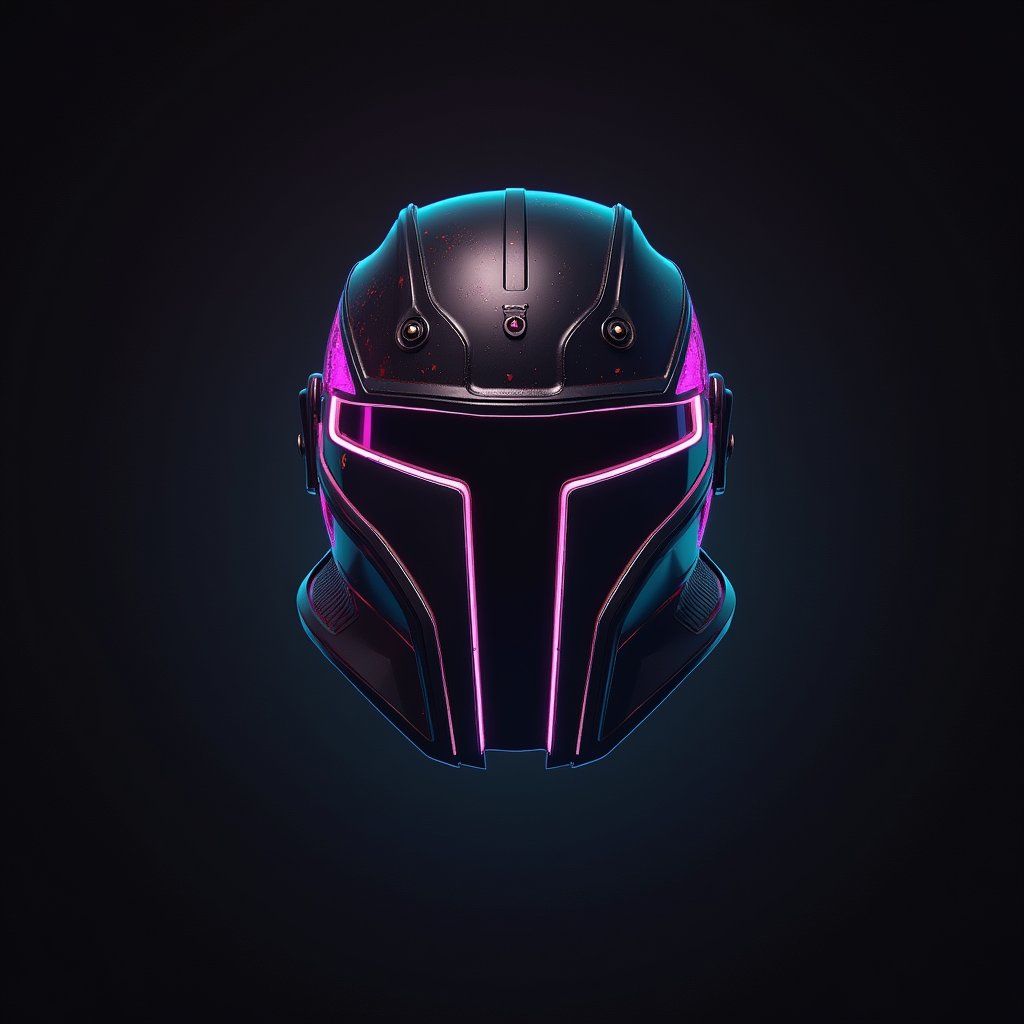

LoRAs (Low-Rank Adaptations)
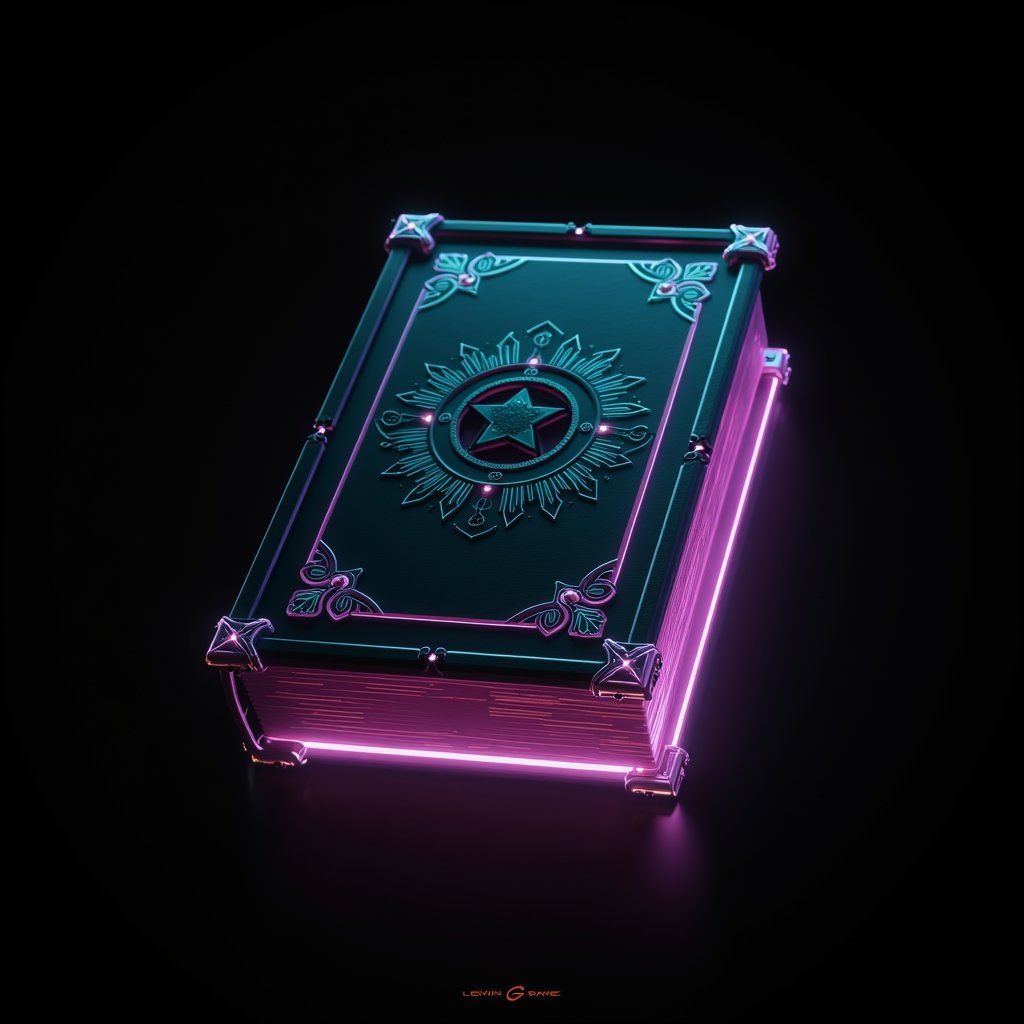
LoRAs (Low-Rank Adaptations) allow us to fine-tune diffusion models for specific styles without retraining the entire network. They work by adding a small number of trainable parameters to the model, which can be adjusted to adapt the model's output to a particular style or theme.
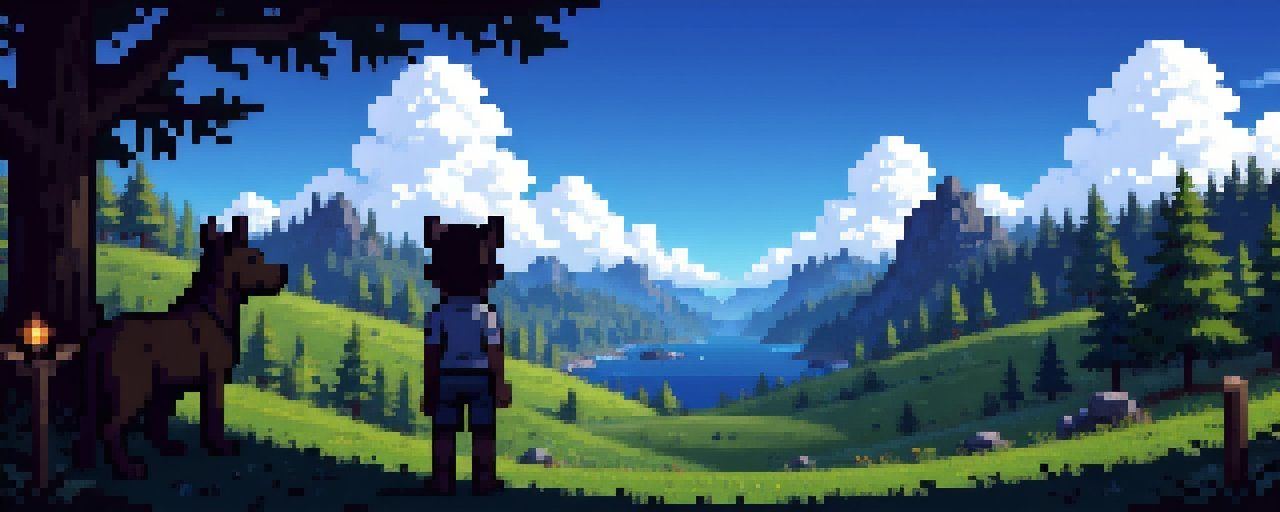
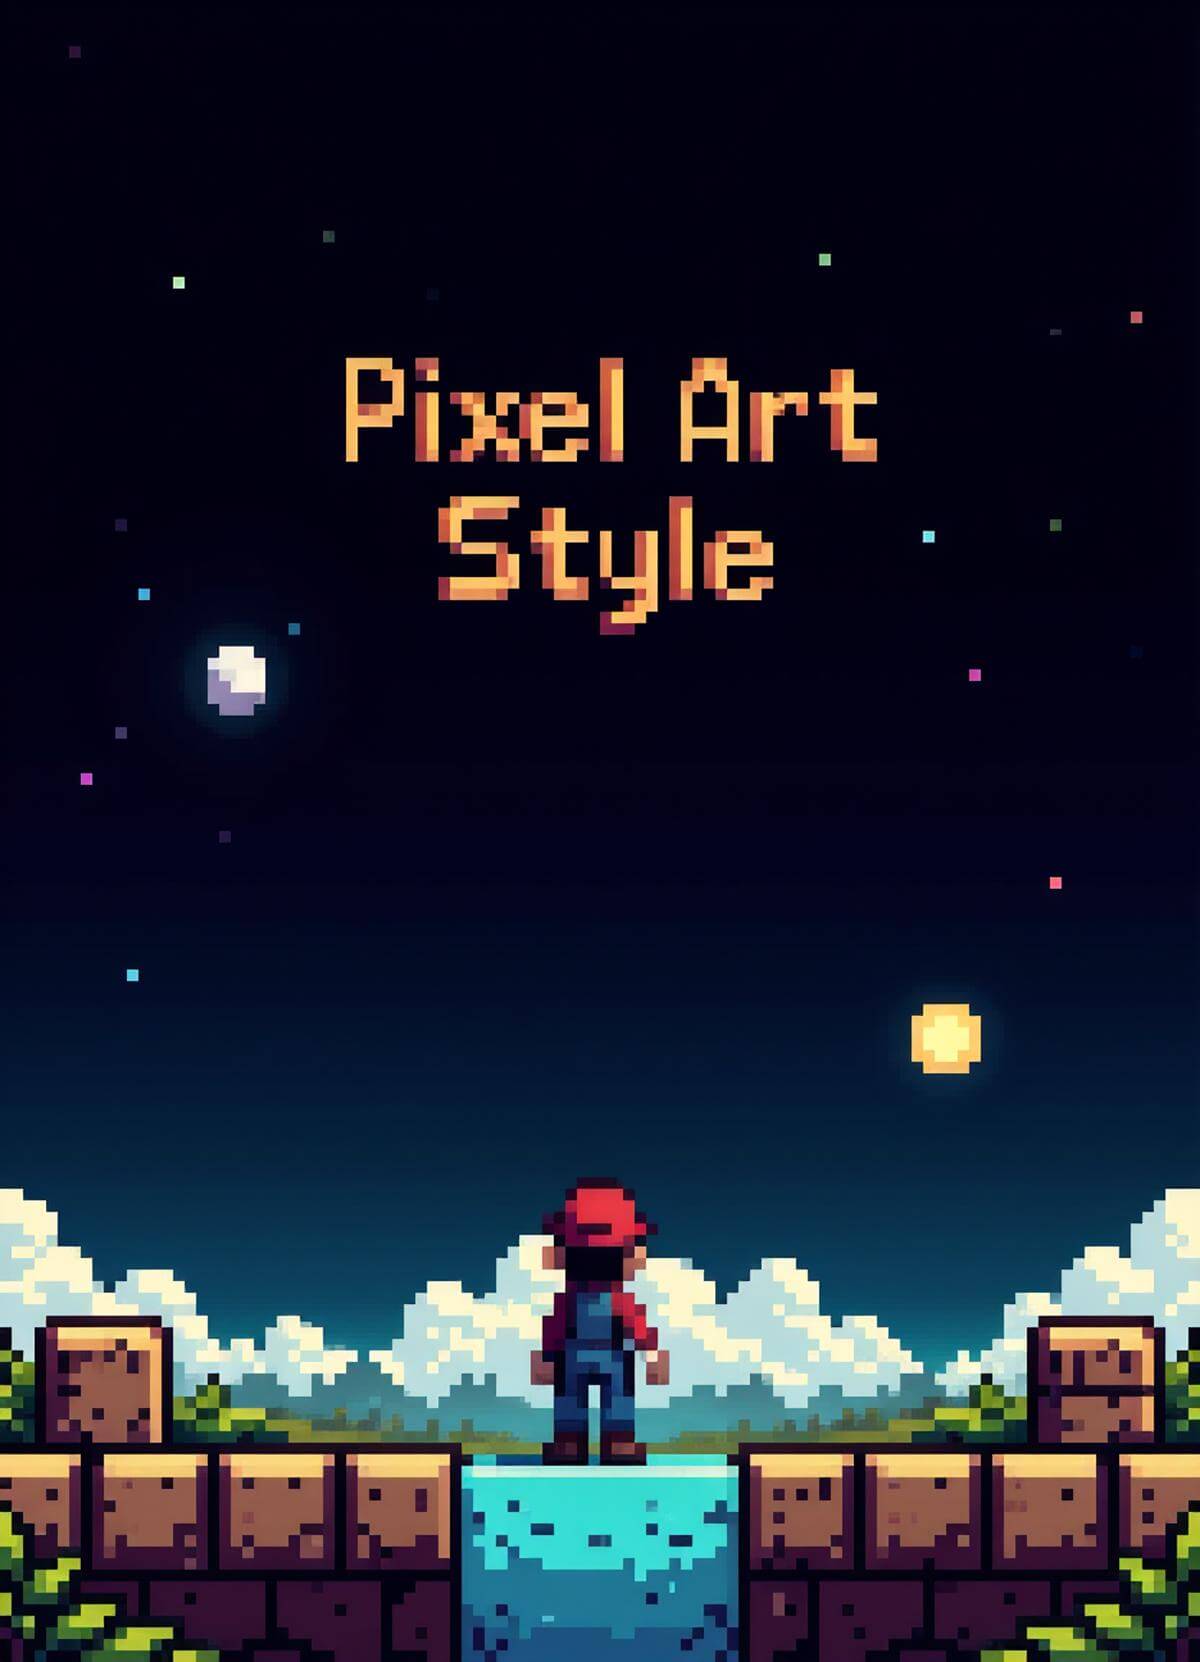
There are many LoRAs available for various styles, including pixel art, anime, and realistic rendering. For our workflow, we'll focus on a pixel art style LoRA that helps the model understand the distinctive characteristics of pixel art, such as grid-aligned pixels, limited color palettes, and clean outlines.
- style
This is particularly useful for generating game assets, as we can apply a specific style to our generated images while maintaining the underlying structure provided by ControlNet.
Background removal
Once we've generated our new asset, we may want to remove the background to isolate the object. This is particularly useful for game assets that need to be placed on different backgrounds or integrated into various environments.
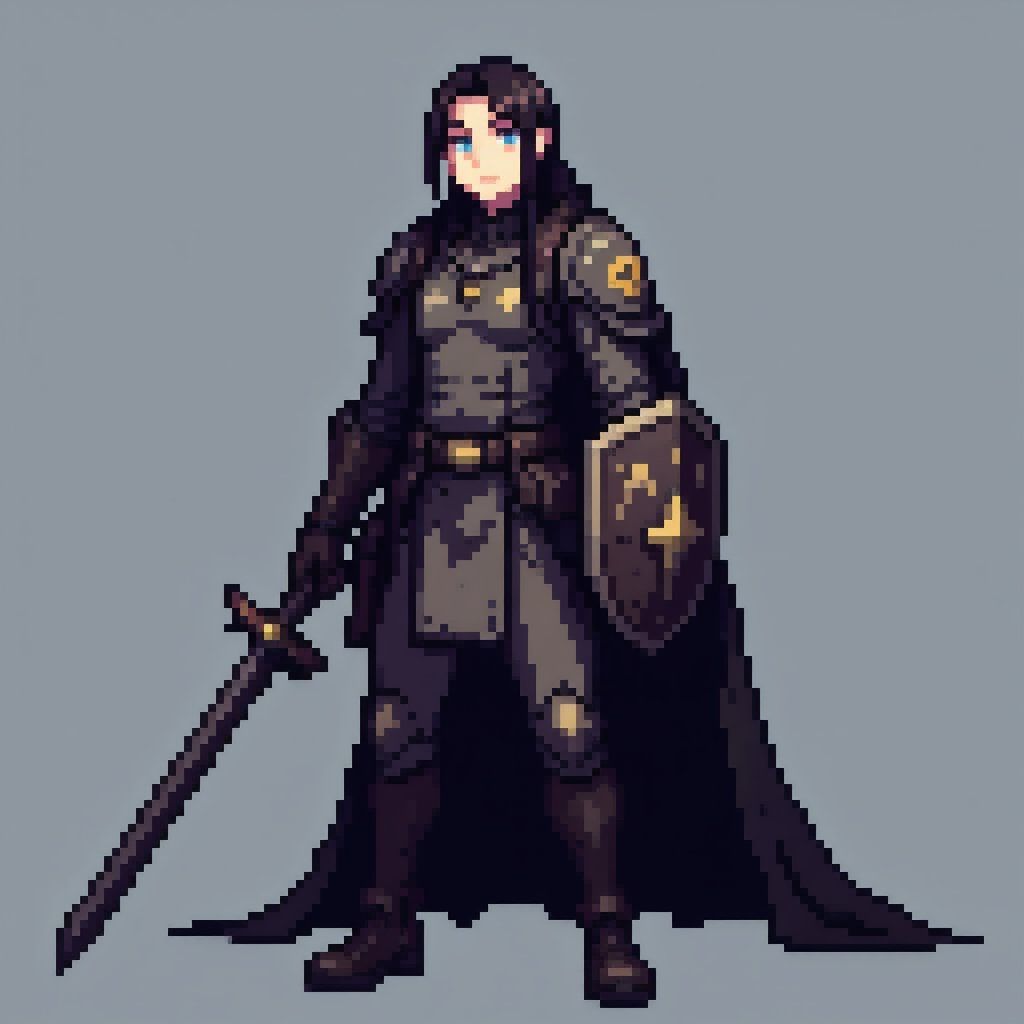
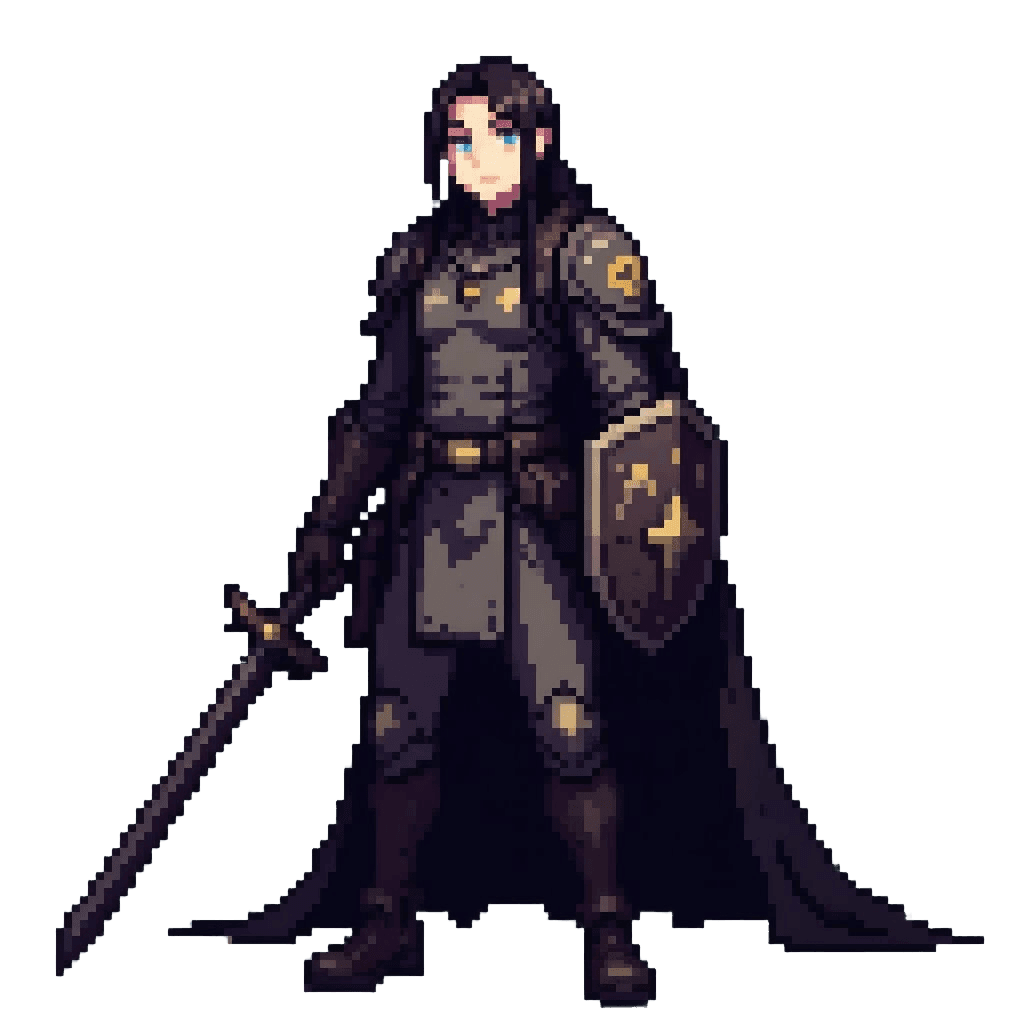
We can use a background removal model to achieve this. The model will analyze the generated image and separate the foreground (the asset) from the background, allowing us to generate a transparent PNG or other formats suitable for game development.
The complete workflow
Now let's walk through the process of transforming your game assets using API calls. We'll cover the steps involved, from preprocessing your original asset to generating the final output.
Preparing your reference assets (preprocessing)
Start with clear, distinct game assets as your reference images. These should have:
- Clean outlines - Well-defined boundaries make edge detection more effective.
- Distinct features - Important elements should be clearly visible.
- Appropriate contrast - Too little contrast can result in missed edges.
- Minimal noise or texture - Excessive detail can create unwanted edges.
If your original assets don't meet these criteria, consider simplifying them first. You might trace over complex assets to create cleaner versions or adjust the contrast to make edges more prominent.
To use Canny edge detection in our workflow, we need to preprocess our original asset. This step generates a guide image that highlights the important edges while removing unnecessary details. The resulting image will be used as input for ControlNet during the inference process.
[
  {
    "taskType": "controlNetPreprocess",
    "taskUUID": "{{taskUUID}}",
    "inputImage": "{{originalImage}}",
    "preProcessorType": "canny"
  }
]
The resulting guide image will be used in the next step of the workflow.
More information on ControlNet preprocess tool can be found in the ControlNet preprocess documentation.
Fine-tuning the edge detection
The default Canny edge detection parameters work well for most assets, but adjusting them can improve results for specific types of artwork:
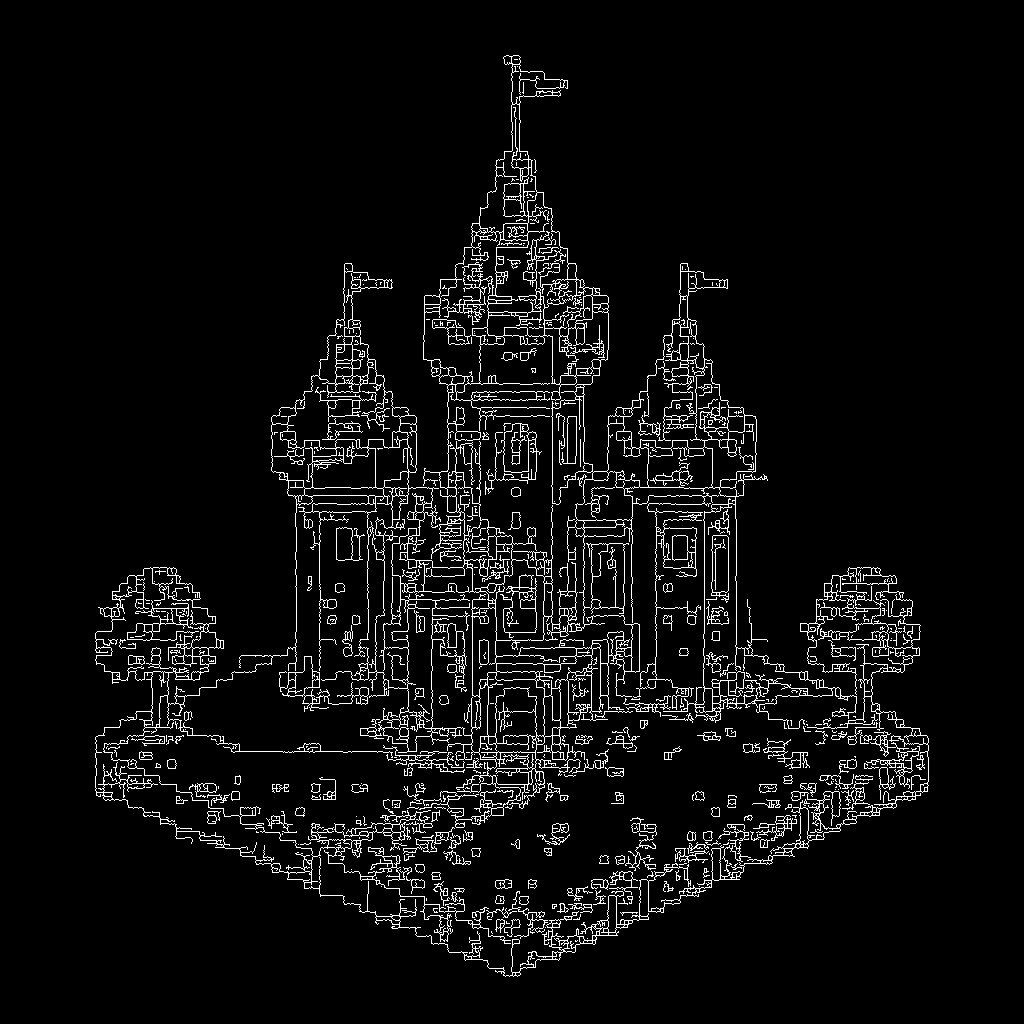
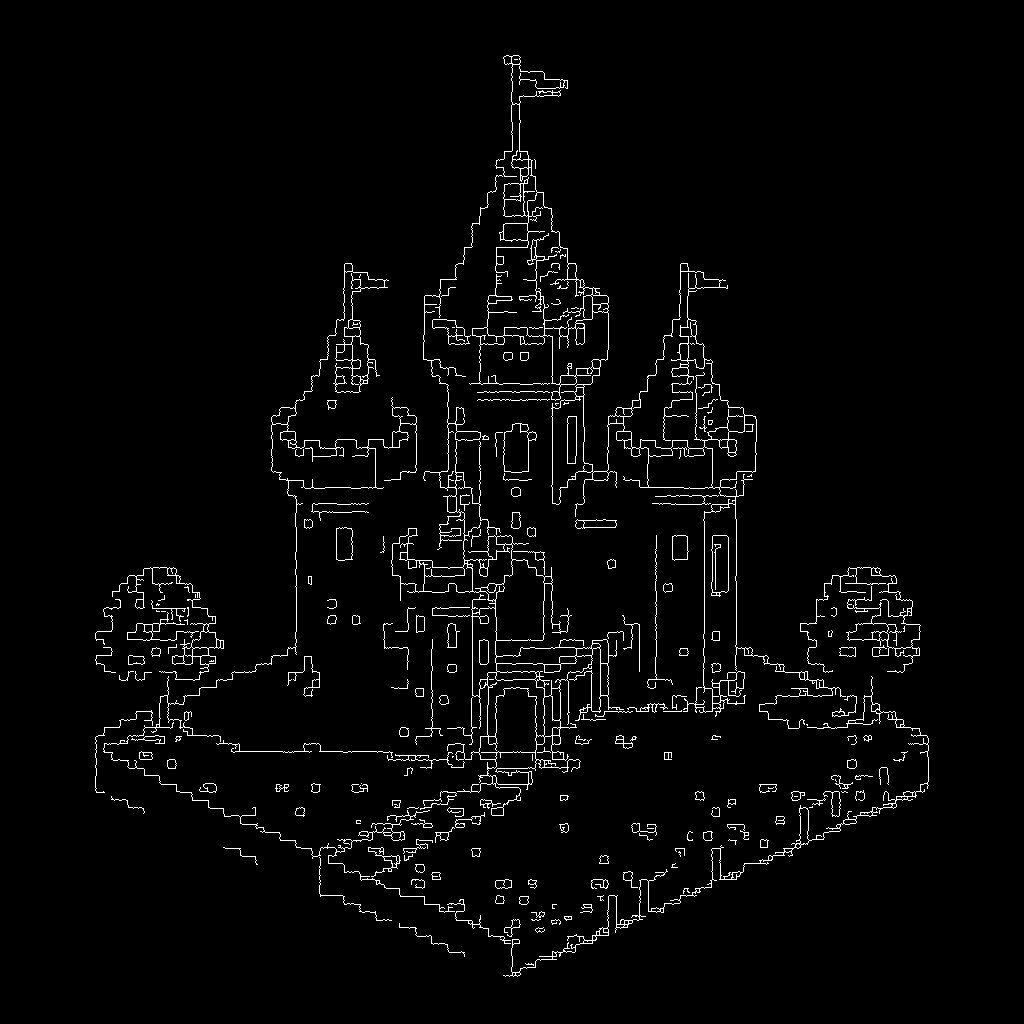
- Lower thresholds: Capture more subtle edges, useful for assets with soft transitions (lowThresholdCanny).
- Higher thresholds: Focus only on the most prominent edges, reducing noise (highThresholdCanny ).
- Different preprocessing methods: Try Sobel, HED, or other edge detection algorithms for different effects (preProcessorType).
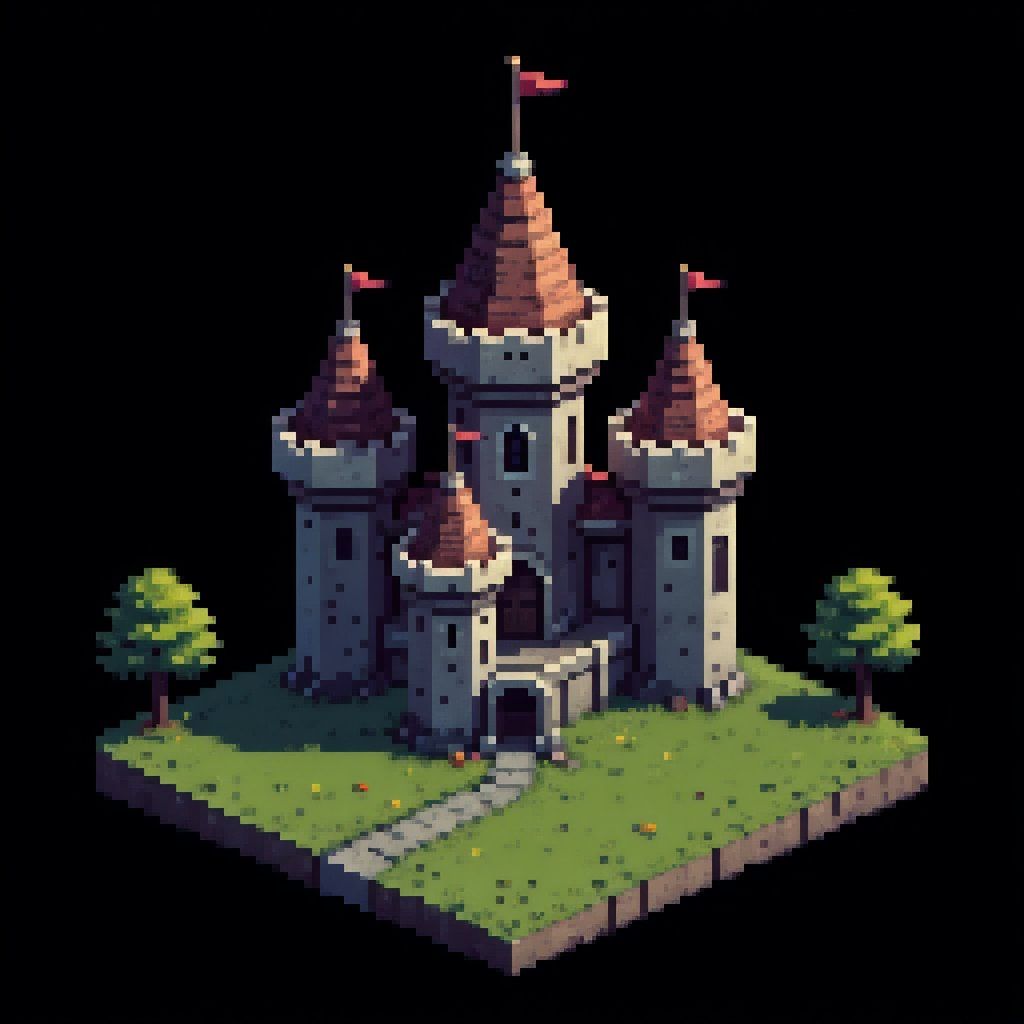
The images below show how changing the Canny thresholds alters the extracted edges. Each example uses the same input, but with different sensitivity levels. This helps illustrate how the thresholds control the amount of detail passed to ControlNet during generation.
High: 5
High: 200
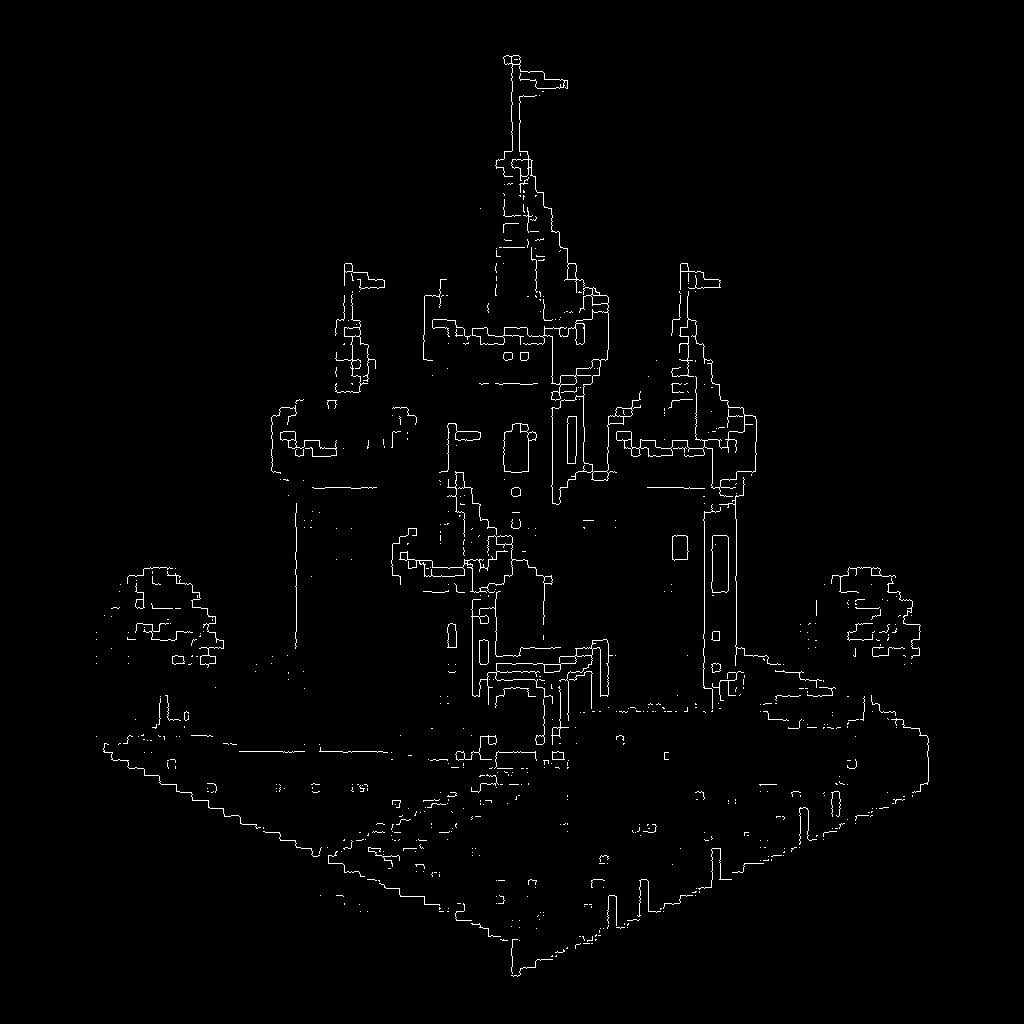
High: 255
Generating the new asset (image inference)
Once we have our guide image, we can proceed to the image inference step. This is where we apply the pixel art style LoRA and ControlNet to generate our new asset. We need to supply the guide image and a prompt that describes the style of the asset we want to create.
[
  {
    "taskType": "imageInference",
    "taskUUID": "{{taskUUID}}",
    "positivePrompt": "{{positivePrompt}}",
    "negativePrompt": "nsfw, monochrome, blurry",
    "height": 1024,
    "width": 1024,
    "steps": 30,
    "model": "runware:101@1",
    "lora": [
      {
        "model": "civitai:689318@771472",
        "weight": 1
      }
    ],
    "controlNet": [
      {
        "model": "runware:25@1",
        "guideImage": "{{guideImage}}",
        "startStep": 1,
        "endStep": 10,
        "weight": 1
      }
    ],
    "numberResults": 4
  }
]
More information on ControlNet parameters can be found in the ControlNet section inside the image inference documentation.
Let's examine the key parameters that make this workflow effective in the next sections.
ControlNet parameters
The ControlNet configuration includes several important settings:
- Guide image: Your original asset after Canny edge detection preprocessing.
- Weight: Controls how strongly the edge guidance influences generation (1.0 is a balanced starting point).
- Start/end steps: By setting
startStep: 1andendStep: 10, we're applying edge guidance during the early generation phases when structural elements are being formed, then allowing creative freedom in later steps. Using a higherstartStepvalue will make the model start applying the edge guidance later in the generation process, which can lead to less or even no adherence to the original structure. Using a higherendStepvalue will reduce the quality of the generated image, as the model will have less freedom to deviate from the original structure. Play around with these values to find the right balance for your specific assets. - Control mode: Determines how much influence ControlNet has compared to the text prompt. Use
balancedfor a mix of both,controlnetto prioritize structure over the prompt, orpromptto let the text prompt take the lead while still using the guide image as a loose reference.
This approach ensures that the basic structure remains intact while still allowing room for stylistic interpretation in the finer details.
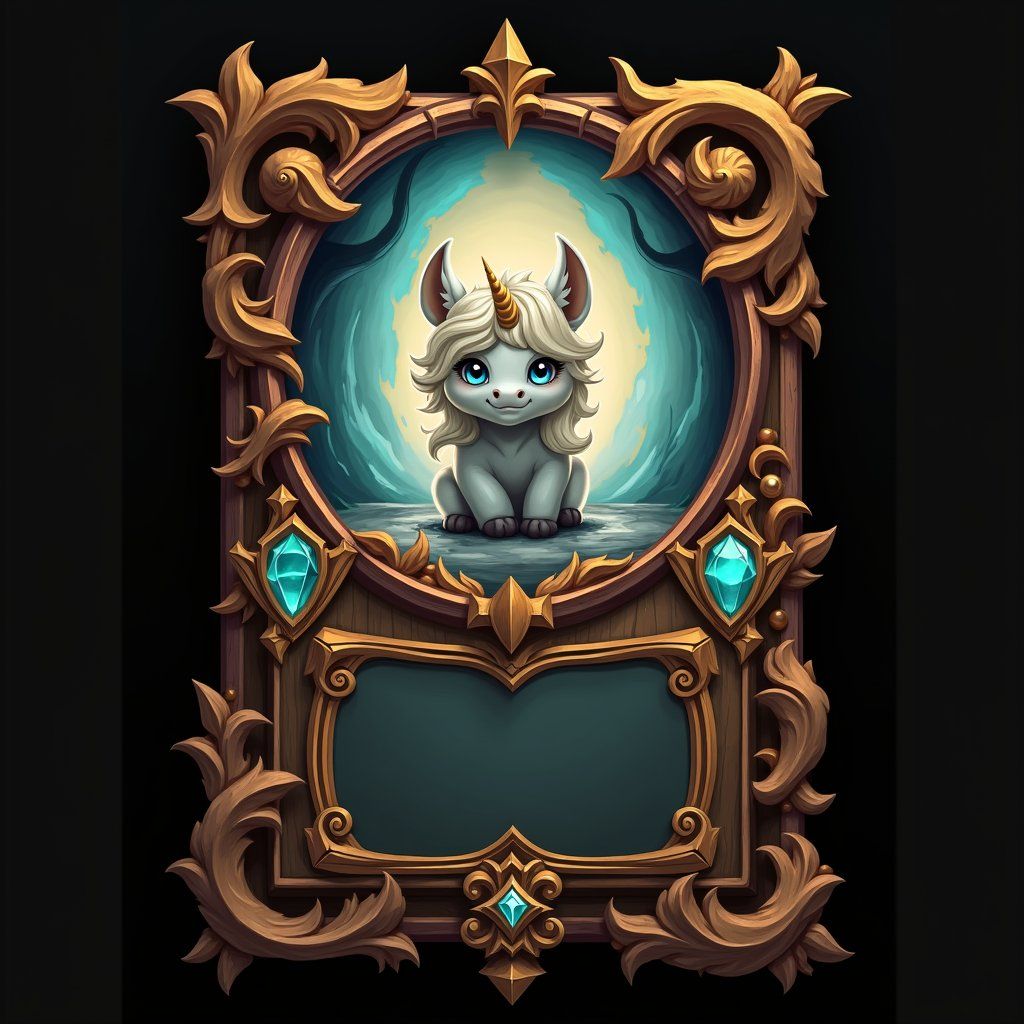
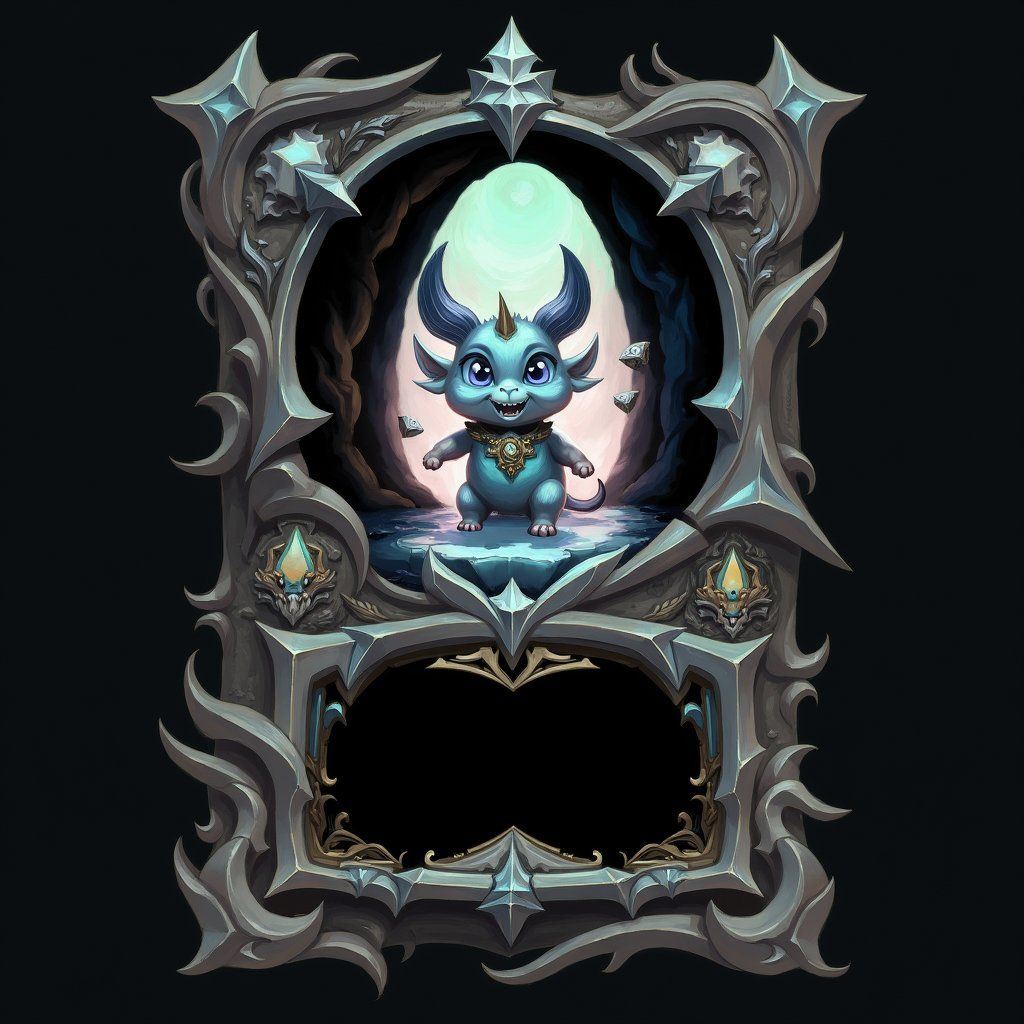
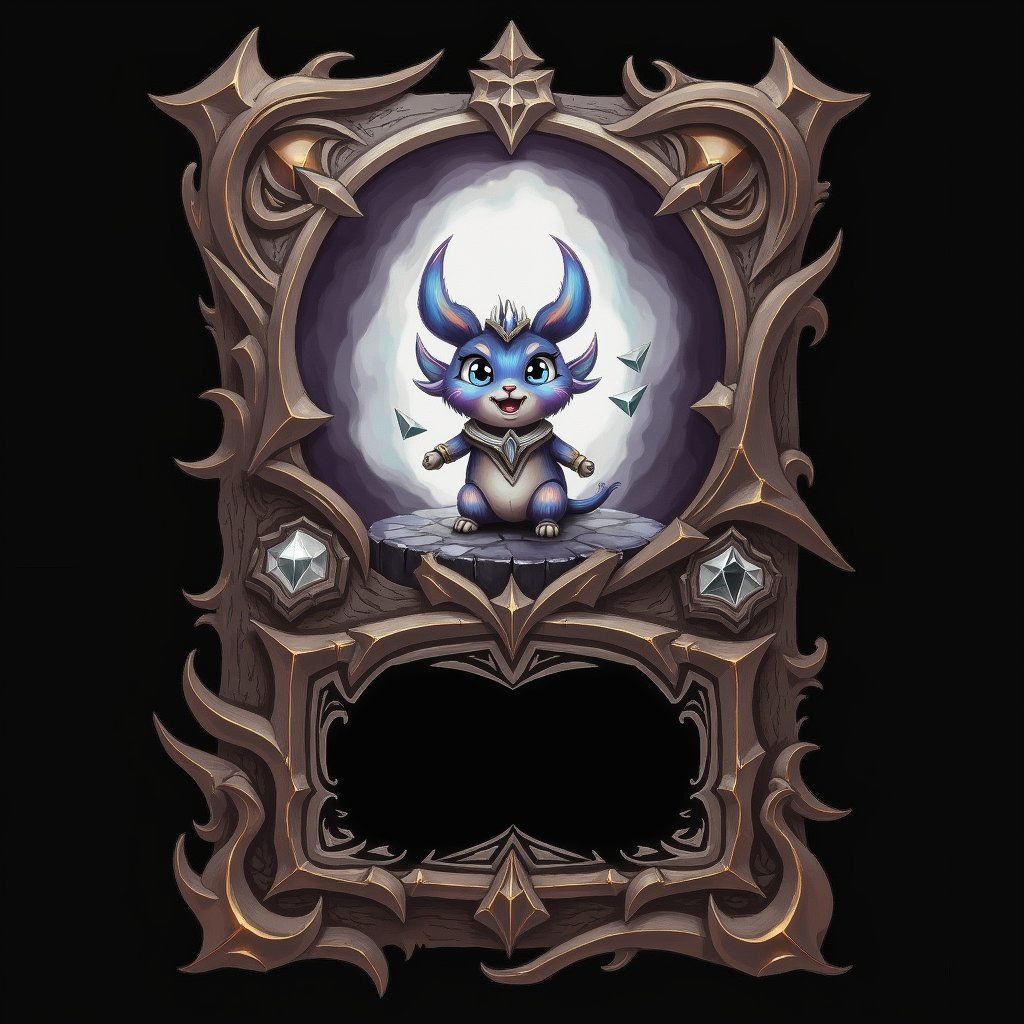
The examples below compare different startStep and endStep settings. Each image uses the same guide and prompt, but changes when ControlNet starts and stops influencing the generation. Use this comparison to better understand how these two parameters control the balance between structure and creativity.
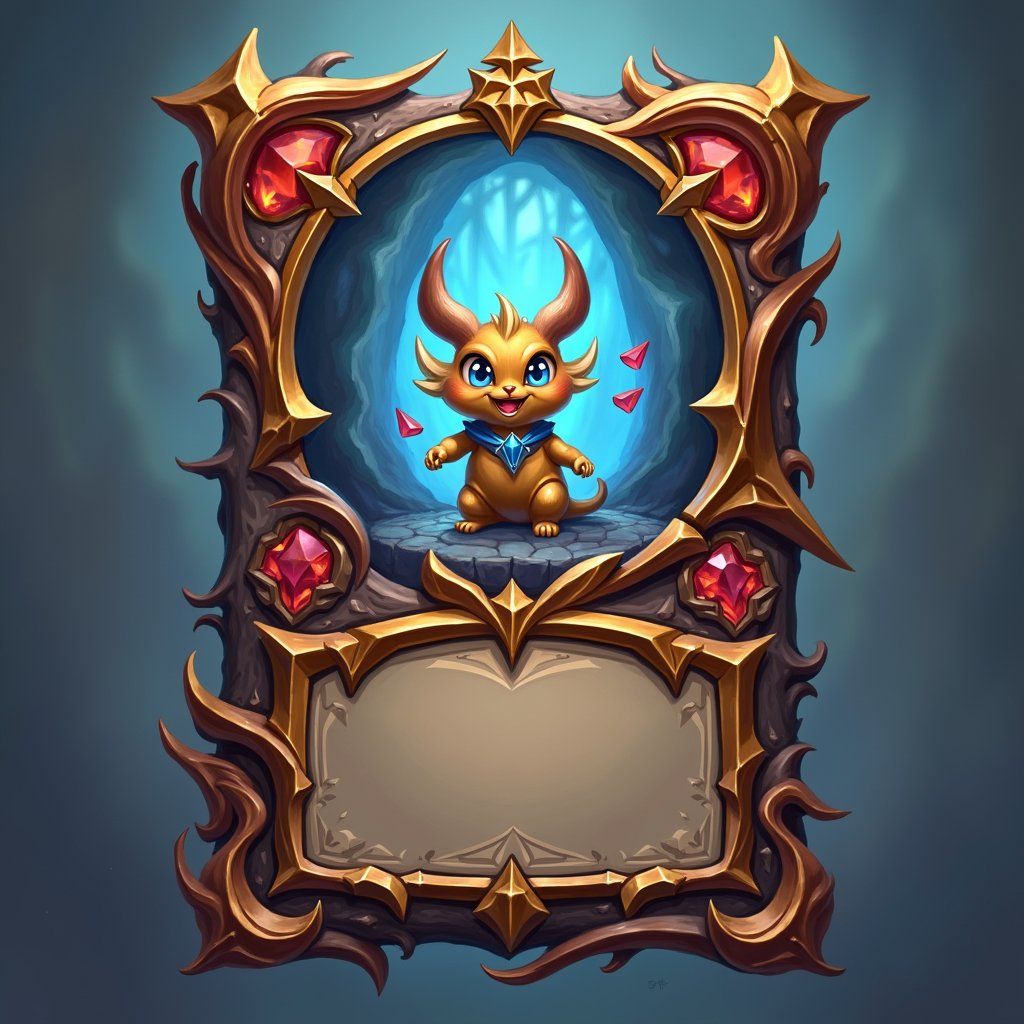
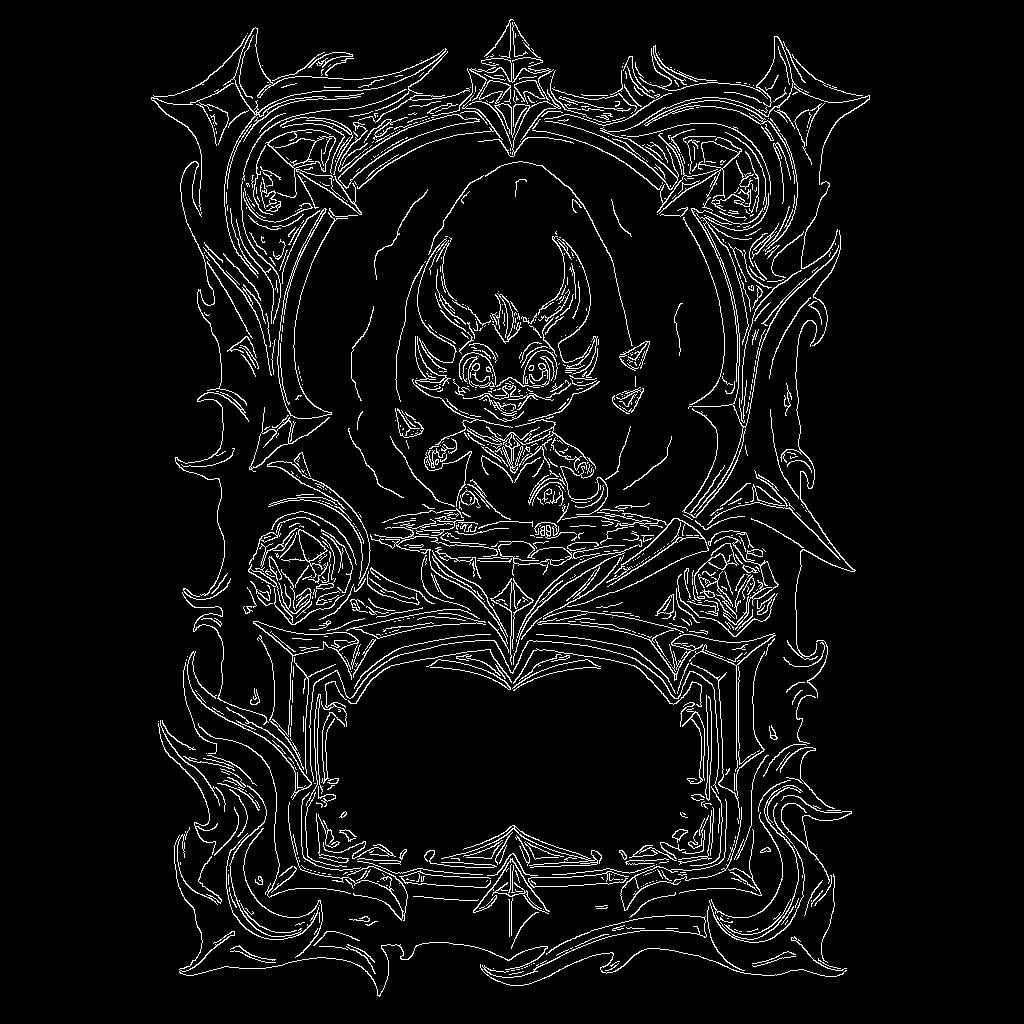
startStep: 1, endStep: 5
ControlNet activates early but stops influencing too soon. The card shape is loosely preserved, but not very accurate. On the upside, the unicorn appears clearly and with creative detail, since the model has more freedom in the later steps.



startStep: 1, endStep: 10
A well-balanced result. The card layout is well retained, and the unicorn is clearly integrated. There's enough structure to recognize the format and enough flexibility to change the subject.
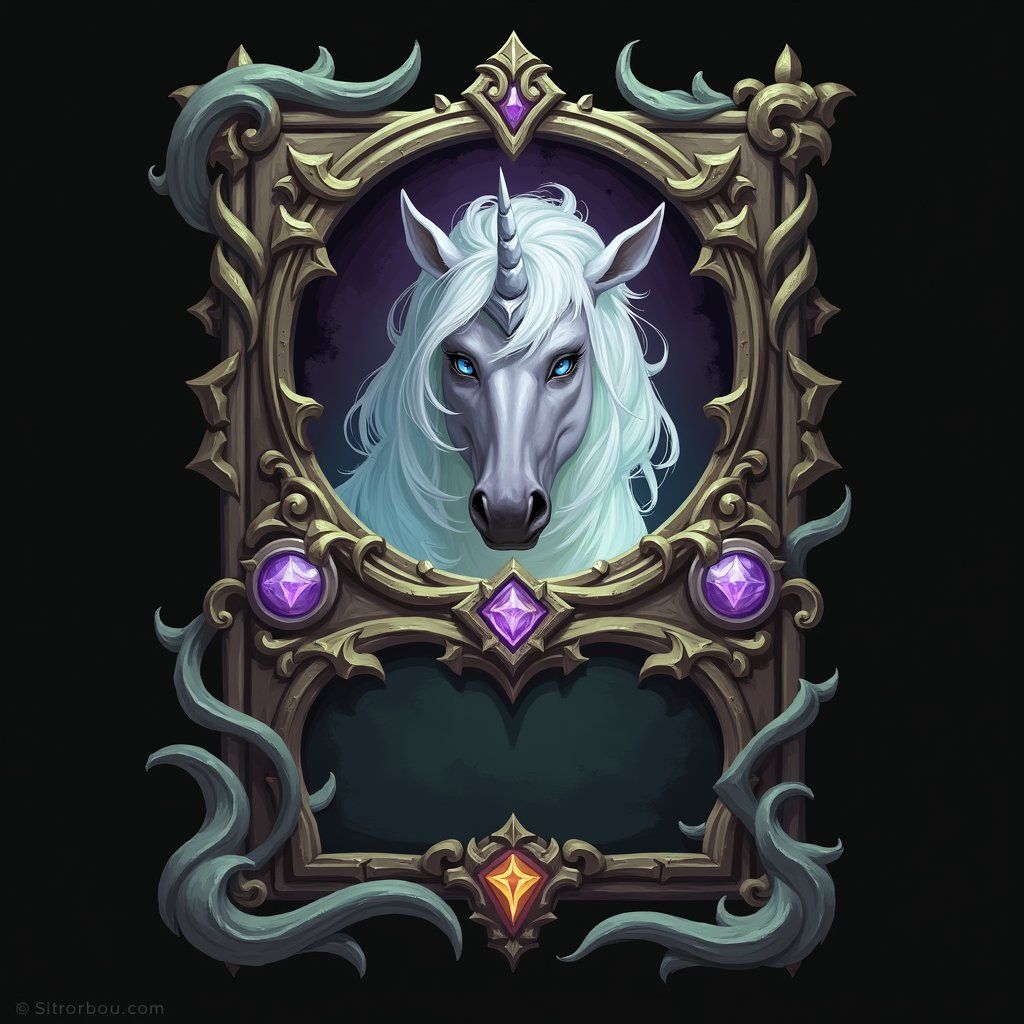

startStep: 1, endStep: 20
The structure is followed so strictly that the unicorn can't fully emerge. The image mostly restyles the original card without introducing meaningful subject change. Useful for visual variations that keep the same layout, but not for transforming content.
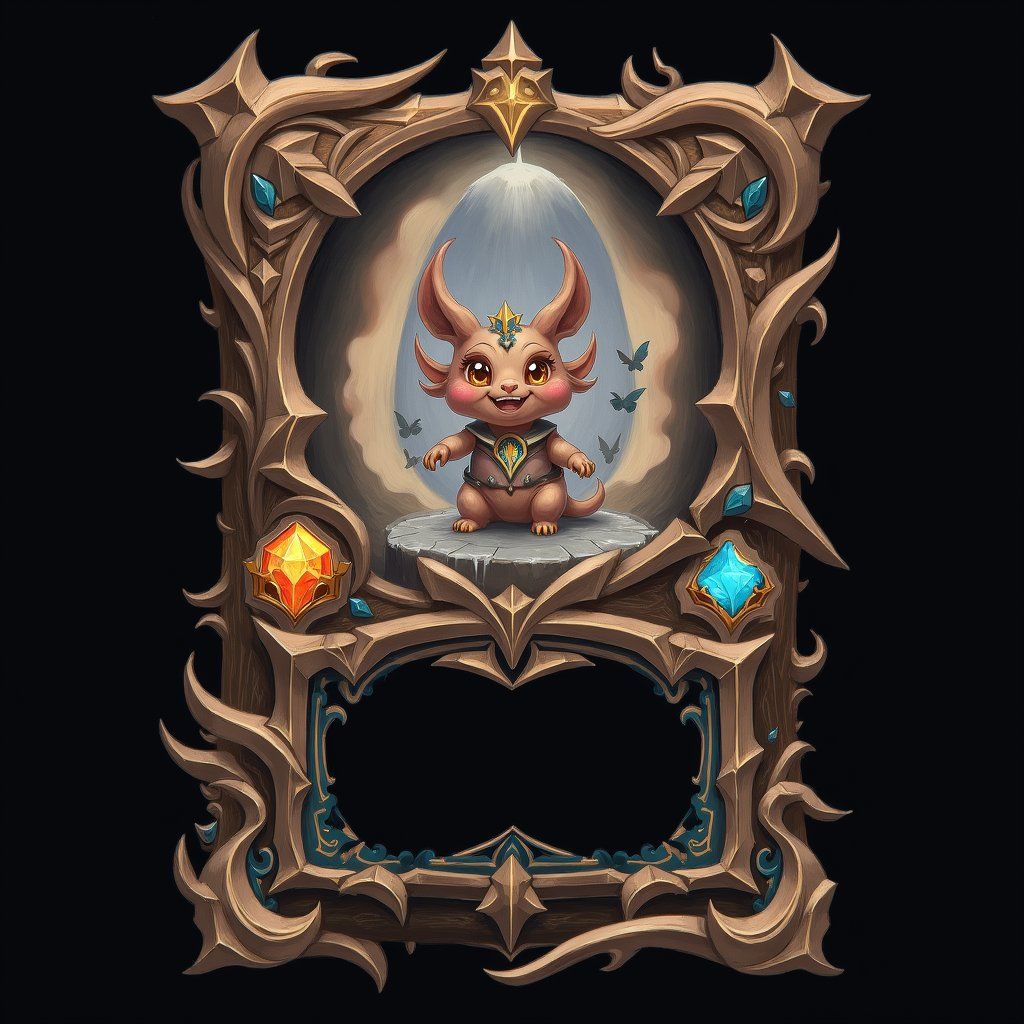
startStep: 5, endStep: 10
Guidance kicks in too late. The model generates a unicorn image with slight hints of a card-like shape, likely based on the prompt alone. Structural alignment is weak because ControlNet isn’t involved during the initial layout generation.



Prompt engineering
Your prompt should describe both the type of asset and the desired style. The type of asset will help the model understand what you're looking for, while the style will guide the desired aesthetic. A good prompt structure might look like this:
pixel art game asset, [type of asset], [specific details], clean lines, vibrant colors, game-ready, professional pixel art style, black backgroundExamples:
pixel art game asset, healing potion, glowing red liquid, glass bottle, magical effect, clean lines, vibrant colors, game-ready, professional pixel art style, black background
pixel art game asset, mana potion, swirling blue liquid, ornate glass bottle, magical effect, clean lines, vibrant colors, game-ready, professional pixel art style, black background
pixel art game asset, poison potion, bubbling green liquid, cracked glass bottle, toxic effect, clean lines, vibrant colors, game-ready, professional pixel art style, black background
pixel art game asset, elixir of life, shimmering golden liquid, ornate glass bottle, magical effect, clean lines, vibrant colors, game-ready, professional pixel art style, black background
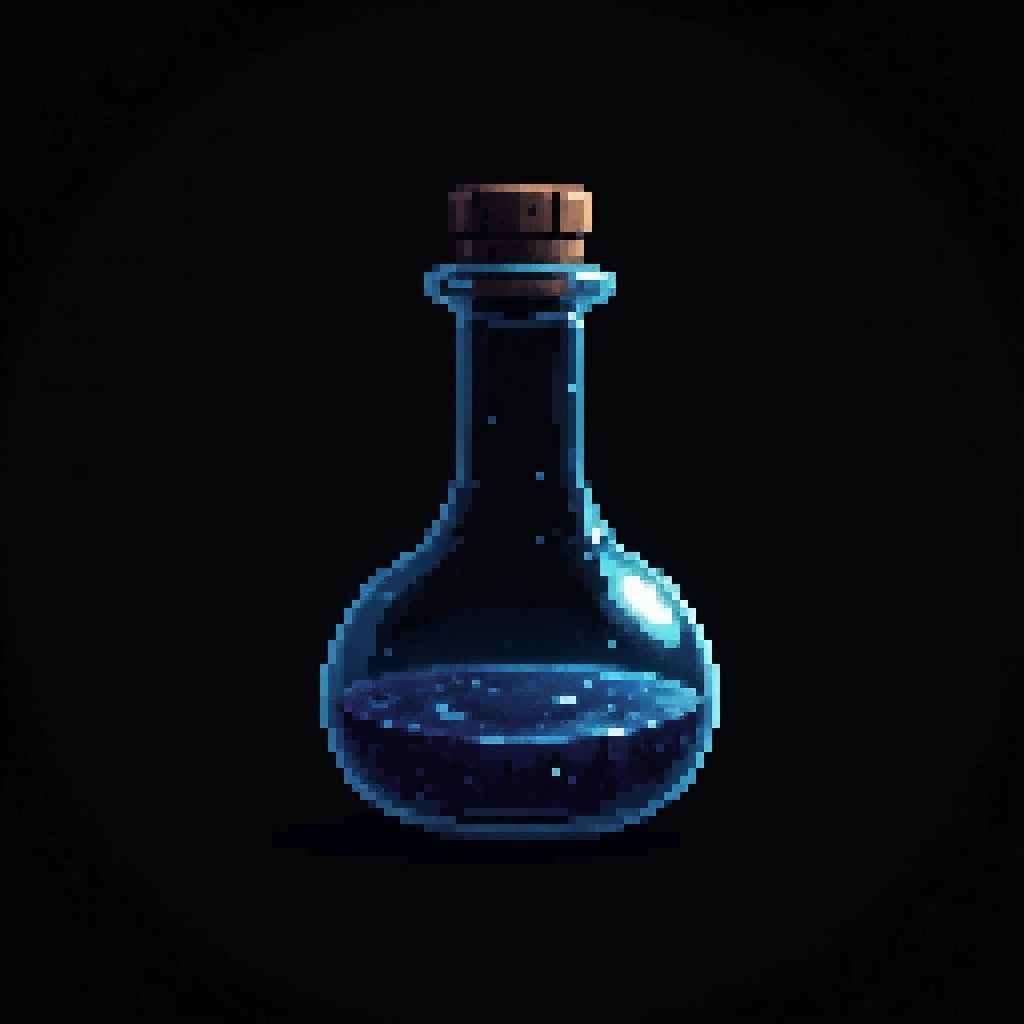
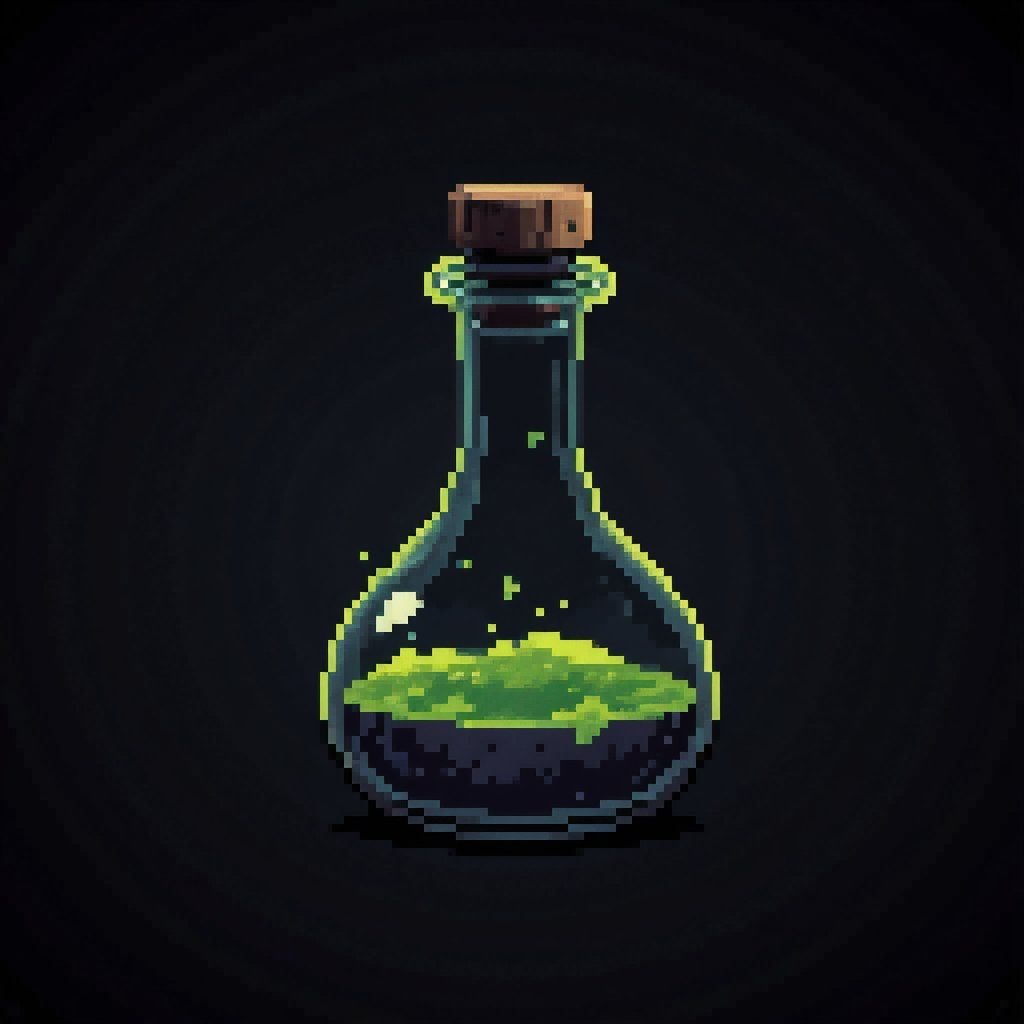

These prompts help guide the stylistic elements while the ControlNet handles the structural guidance.
Cleaning up the generated image (background removal)
After generating the new asset, we may want to remove the background to isolate the object. This is particularly useful for game assets that need to be placed on different backgrounds or integrated into various environments.
[
  {
    "taskType": "removeBackground",
    "taskUUID": "{{taskUUID}}",
    "inputImage": "{{generatedImage}}"
  }
]
As simple as that! The background removal model will analyze the generated image and separate the foreground (the asset) from the background. More documentation on the background removal model can be found here.
Interactive playground
Here's a playground where you can experiment with the workflow. Upload your game asset to preprocess it, generate a new version with the desired style, and remove the background if needed. The playground is divided into three tabs. Each playground contains a set of hidden parameters that will be used to run the workflow. You can modify the visible parameters to experiment with different settings.
You can also explore this workflow in our full-featured playground, available inside the dashboard. It offers the same tools with a more flexible interface, making it easy to upload assets, adjust parameters, and iterate on results in one place.
Conclusion
Using ControlNet with Canny edge detection gives you a reliable way to transform game assets while keeping their structure intact. You can swap styles, add detail, or create entire item sets without losing the shapes and silhouettes that tie everything together.
The key strength here is consistency at scale. Once you’ve set up your workflow, generating dozens of cohesive items becomes a repeatable process, not a manual one-off task. That means fewer bottlenecks, more room for creative direction, and faster turnaround during prototyping or asset expansion.
This setup works especially well when you:
- Need variations of the same object (like biome-specific versions of an item).
- Want to apply a new visual theme across existing assets.
- Care about speed without sacrificing visual coherence.
Tweak the prompts and adjust the parameters sensitivity to fit your needs. Once dialed in, this approach doesn’t just enhance your pipeline, it simplifies it.
